


DIY Fretwork Mirrors
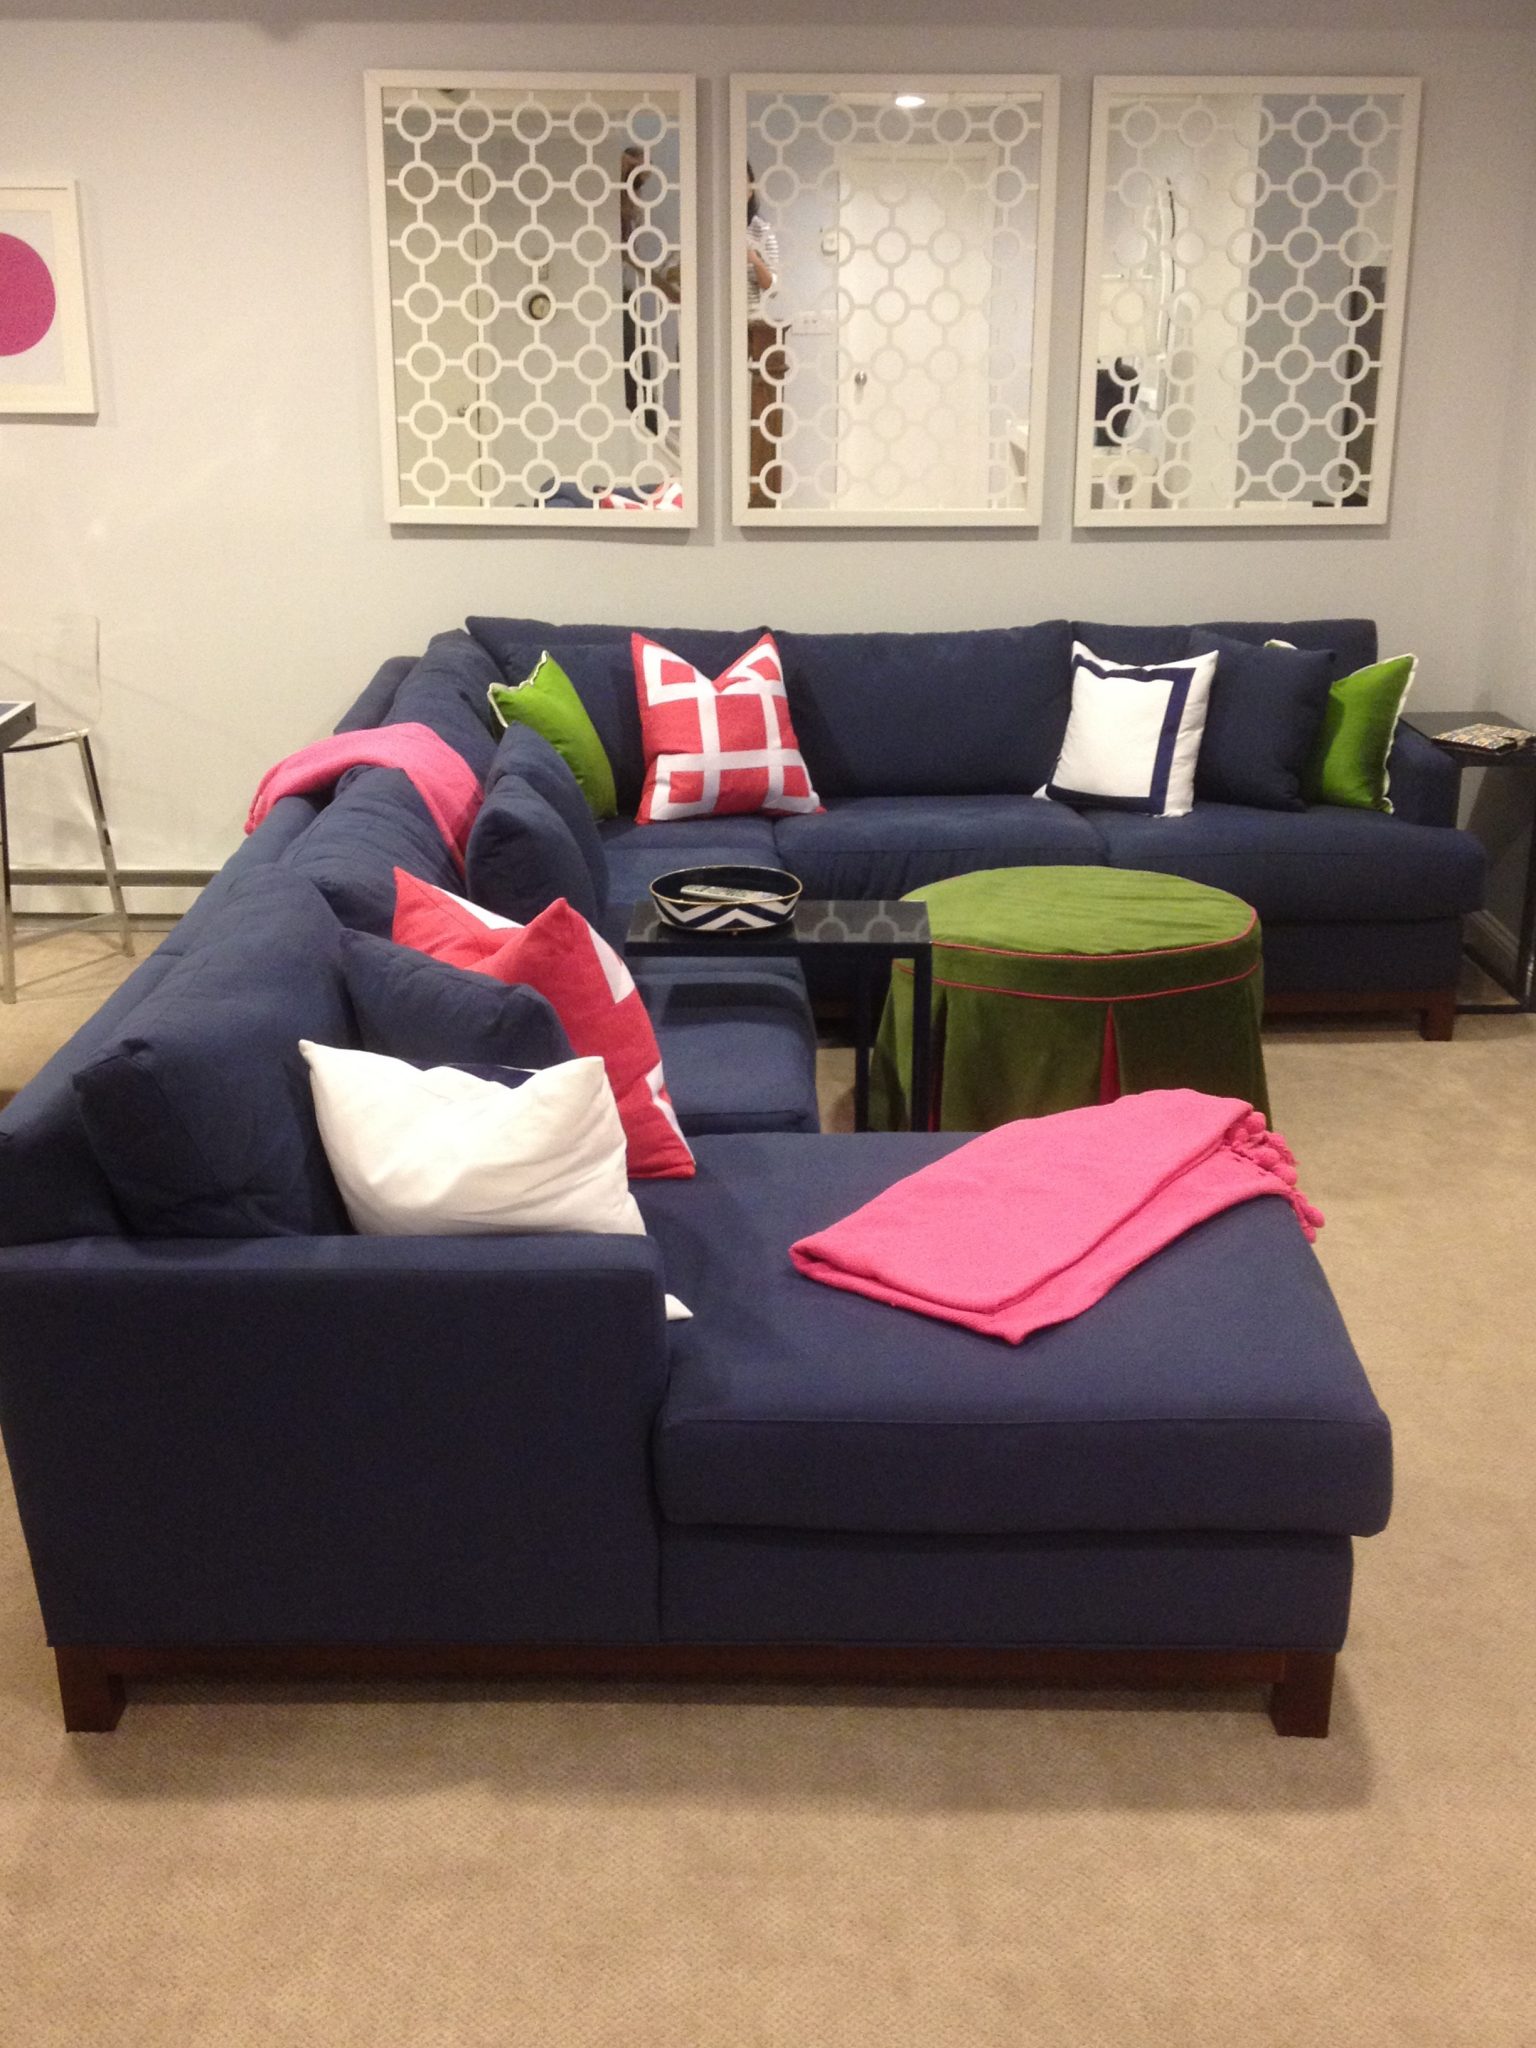
From yesterday’s reveal I have received a bunch of emails about the mirrors and where they can be purchased. Well, the short answer is that they can’t be purchased because they were a DIY project. The longer answer is the DIY steps that I will be going over in this post. It was actually a really easy project and really cost effective.
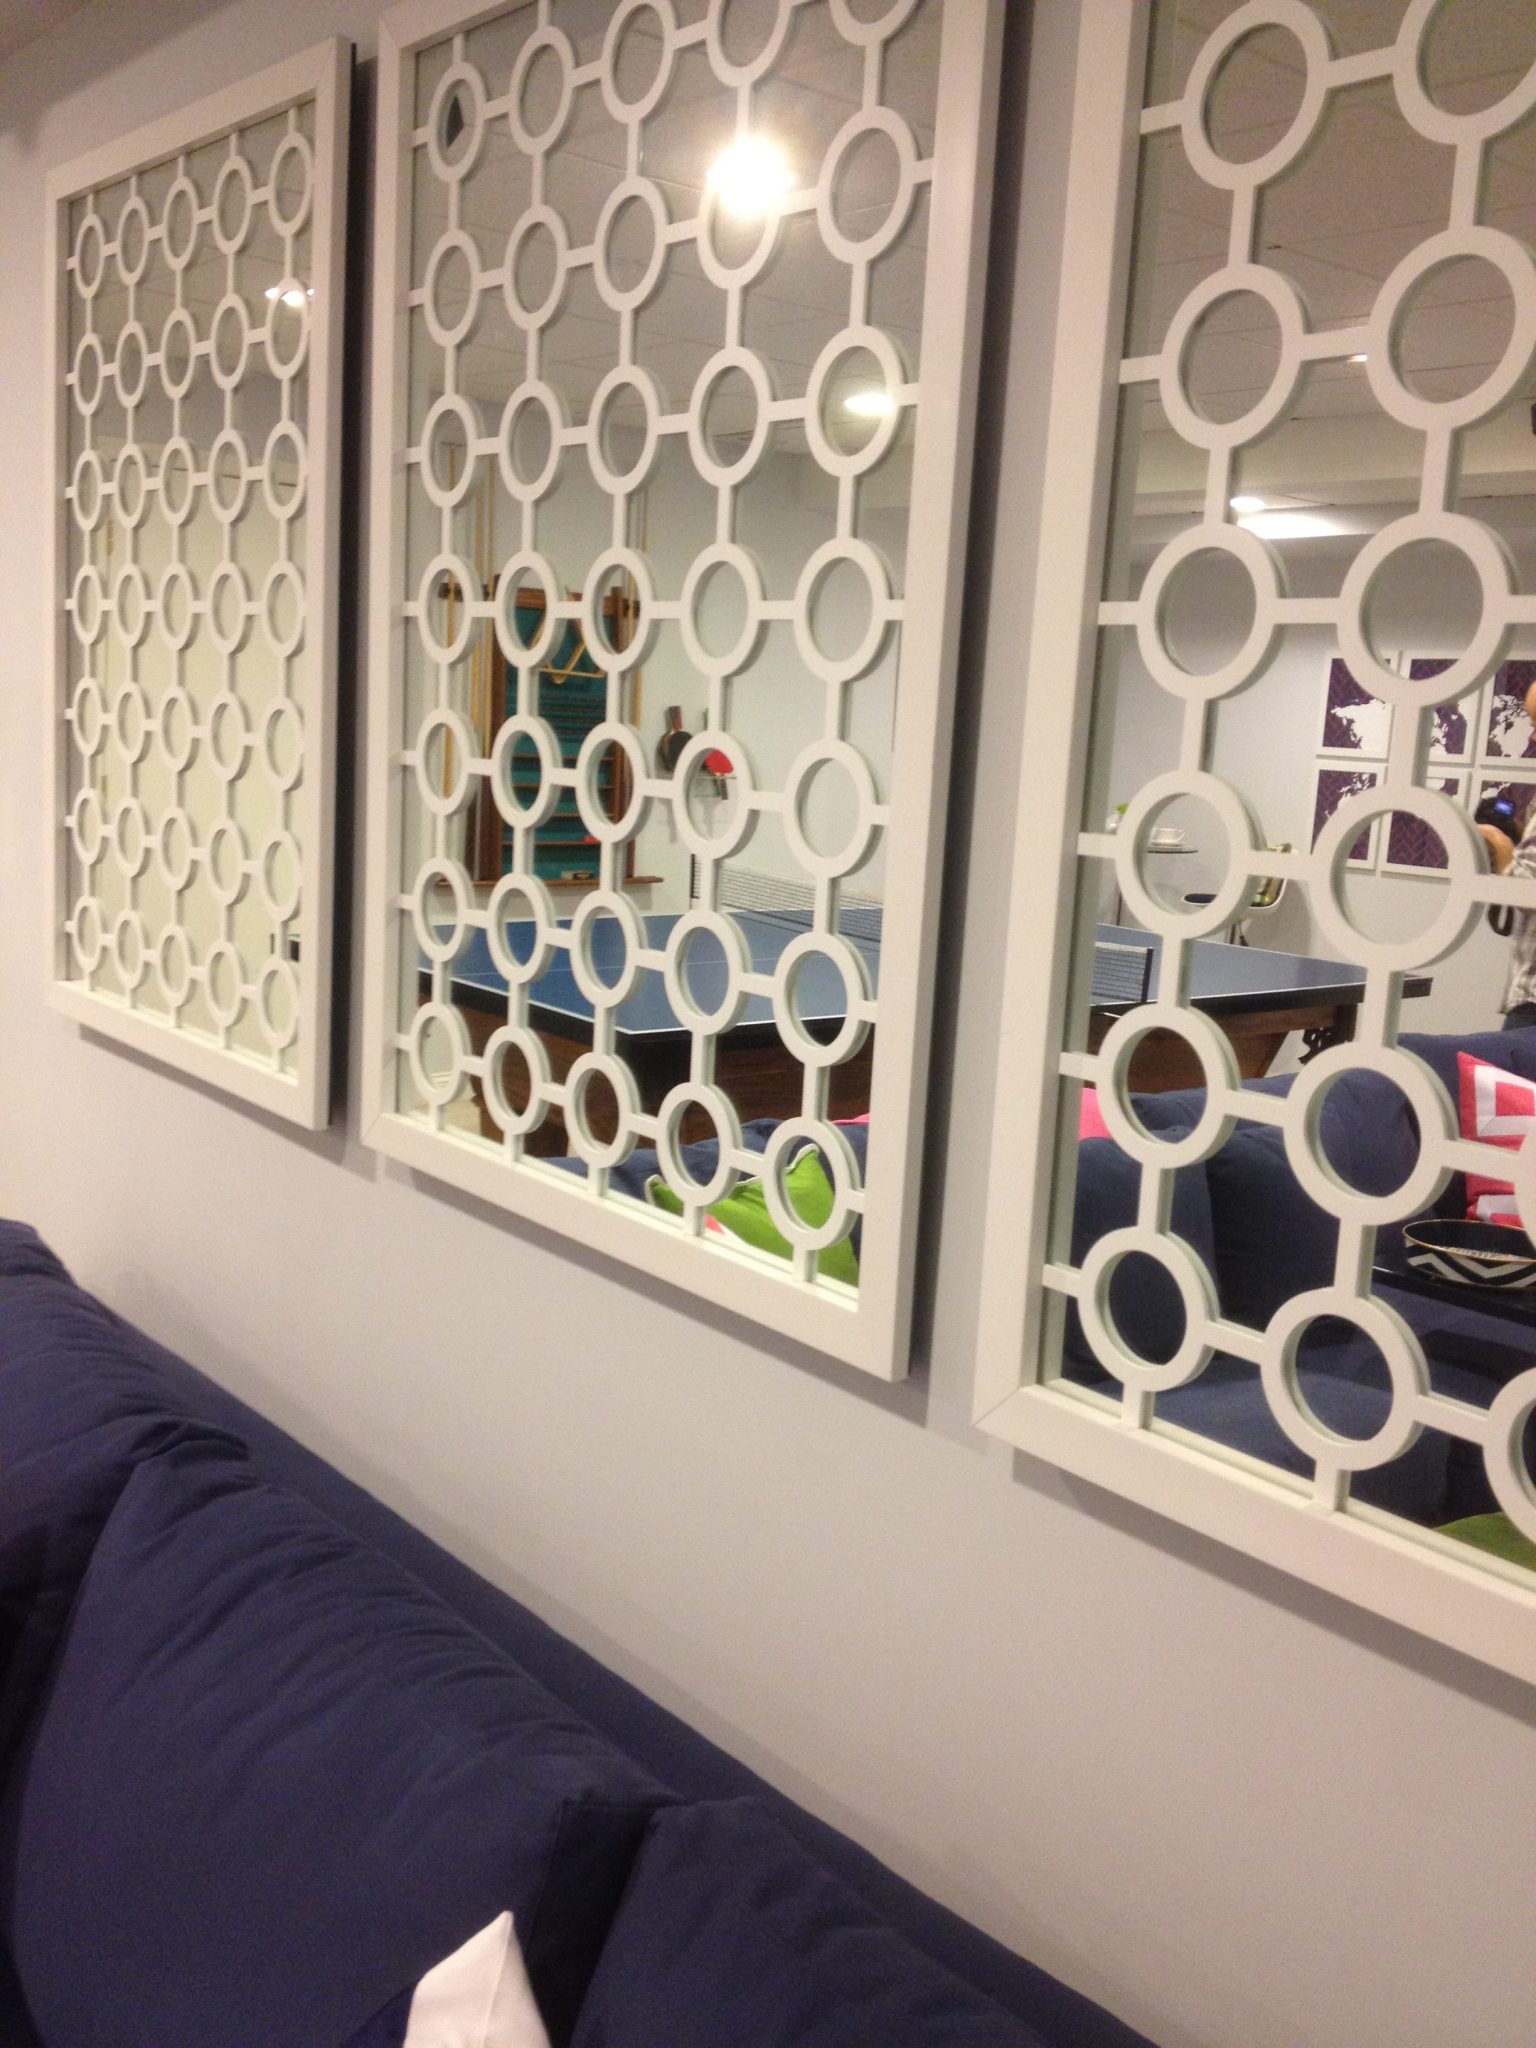
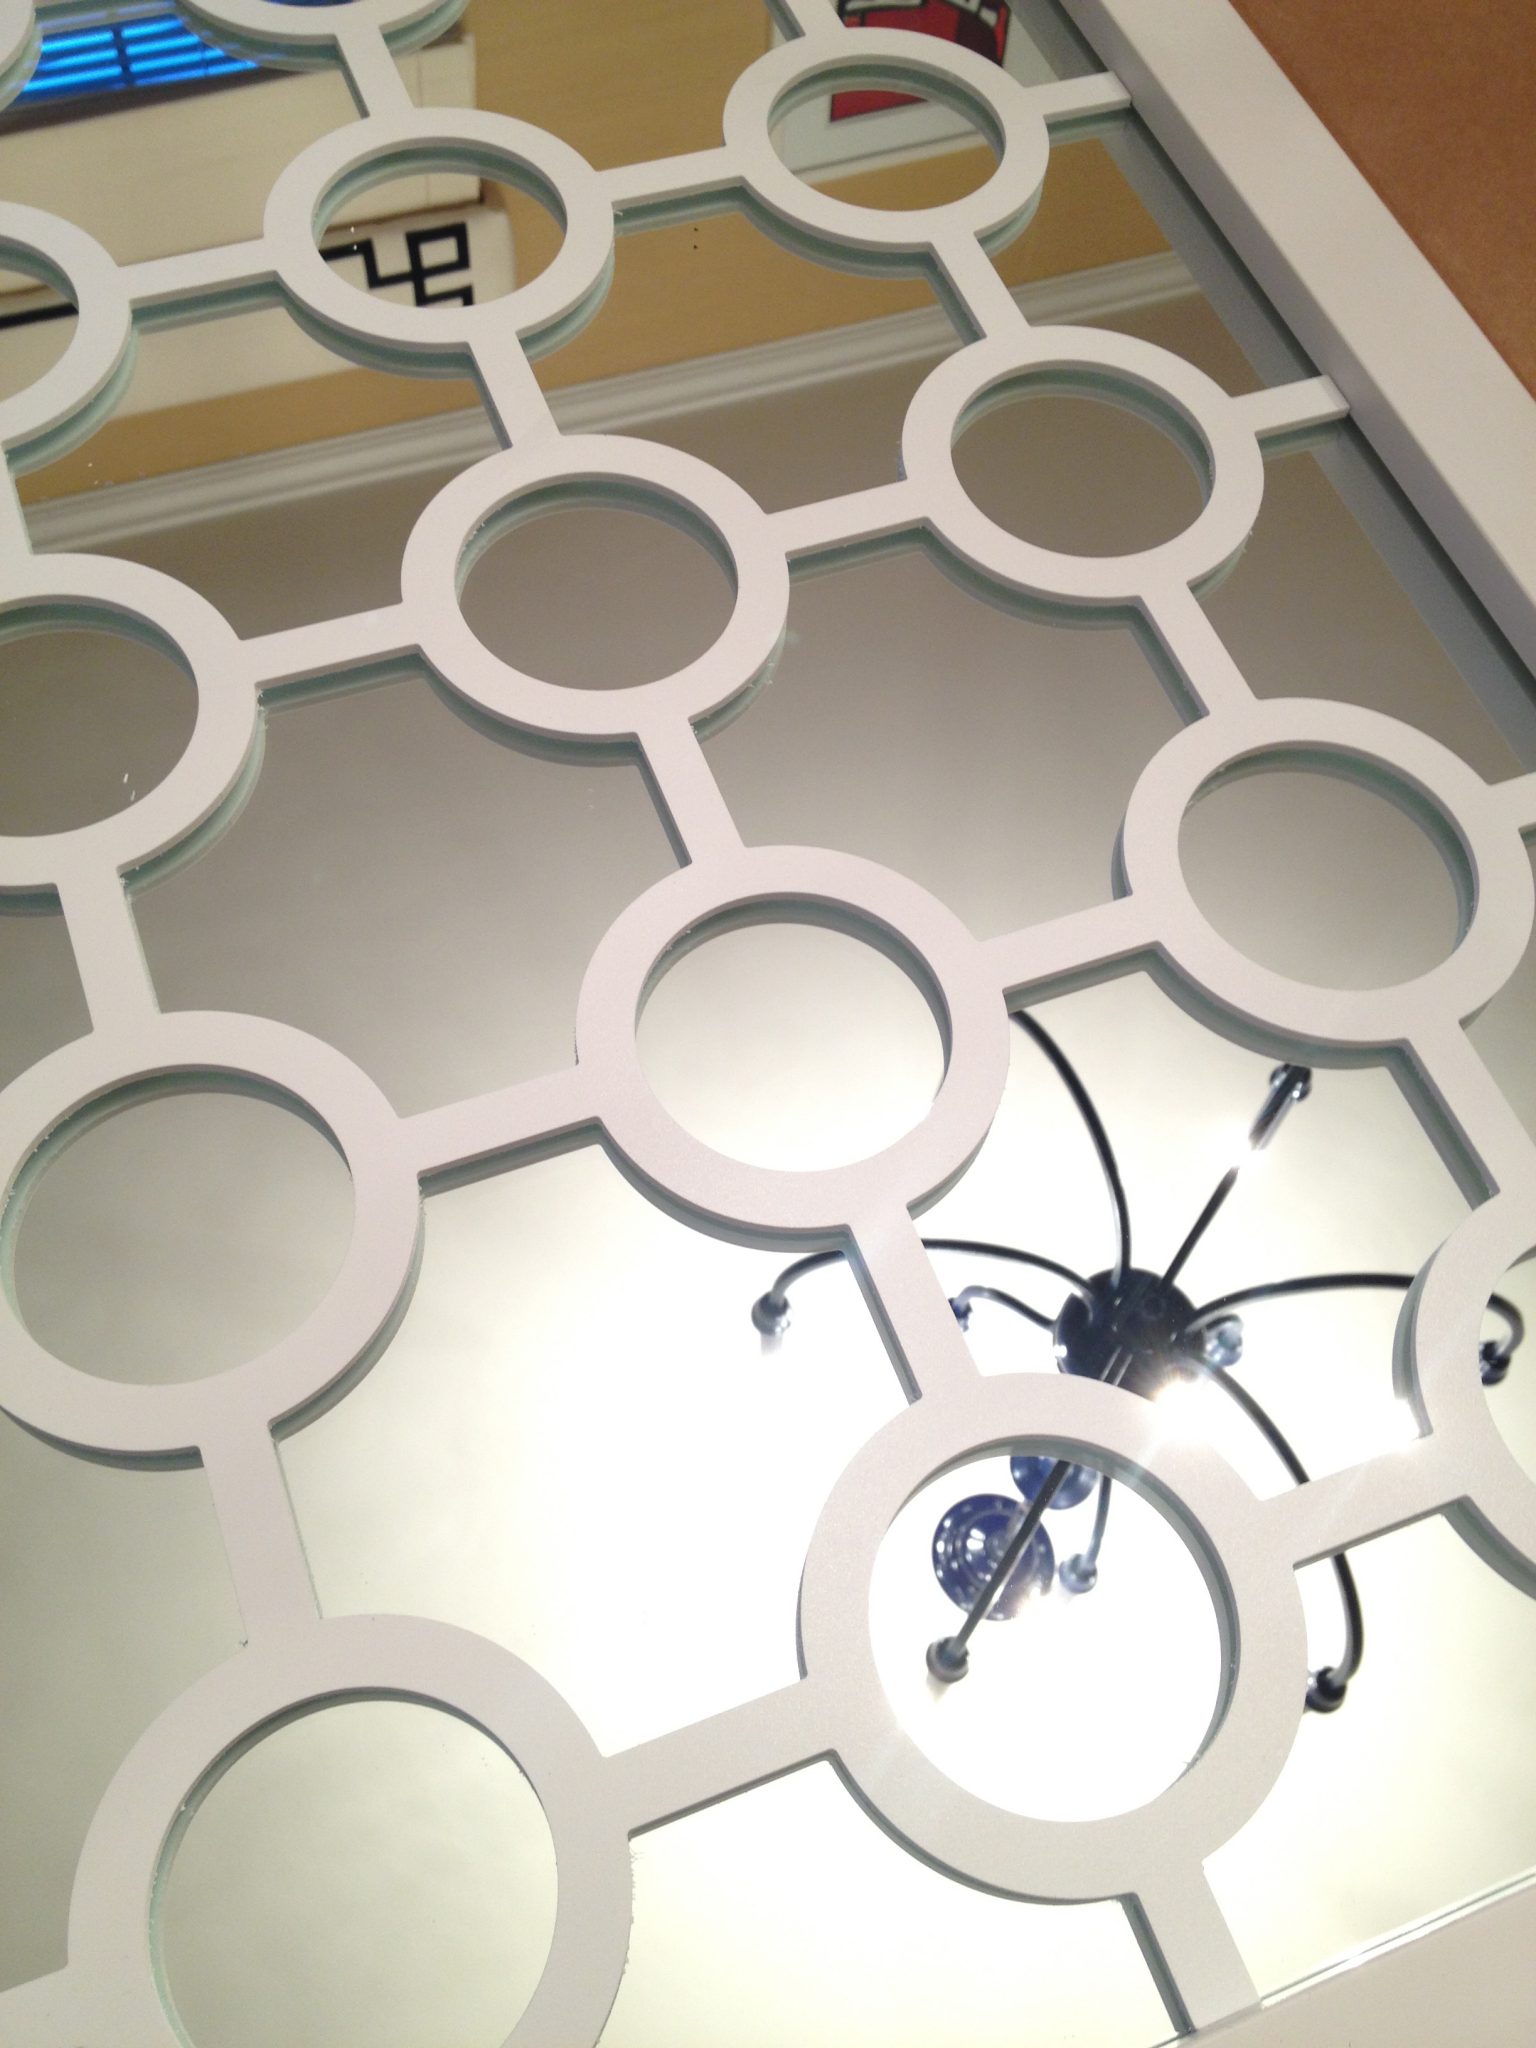
Close up of mirrors:
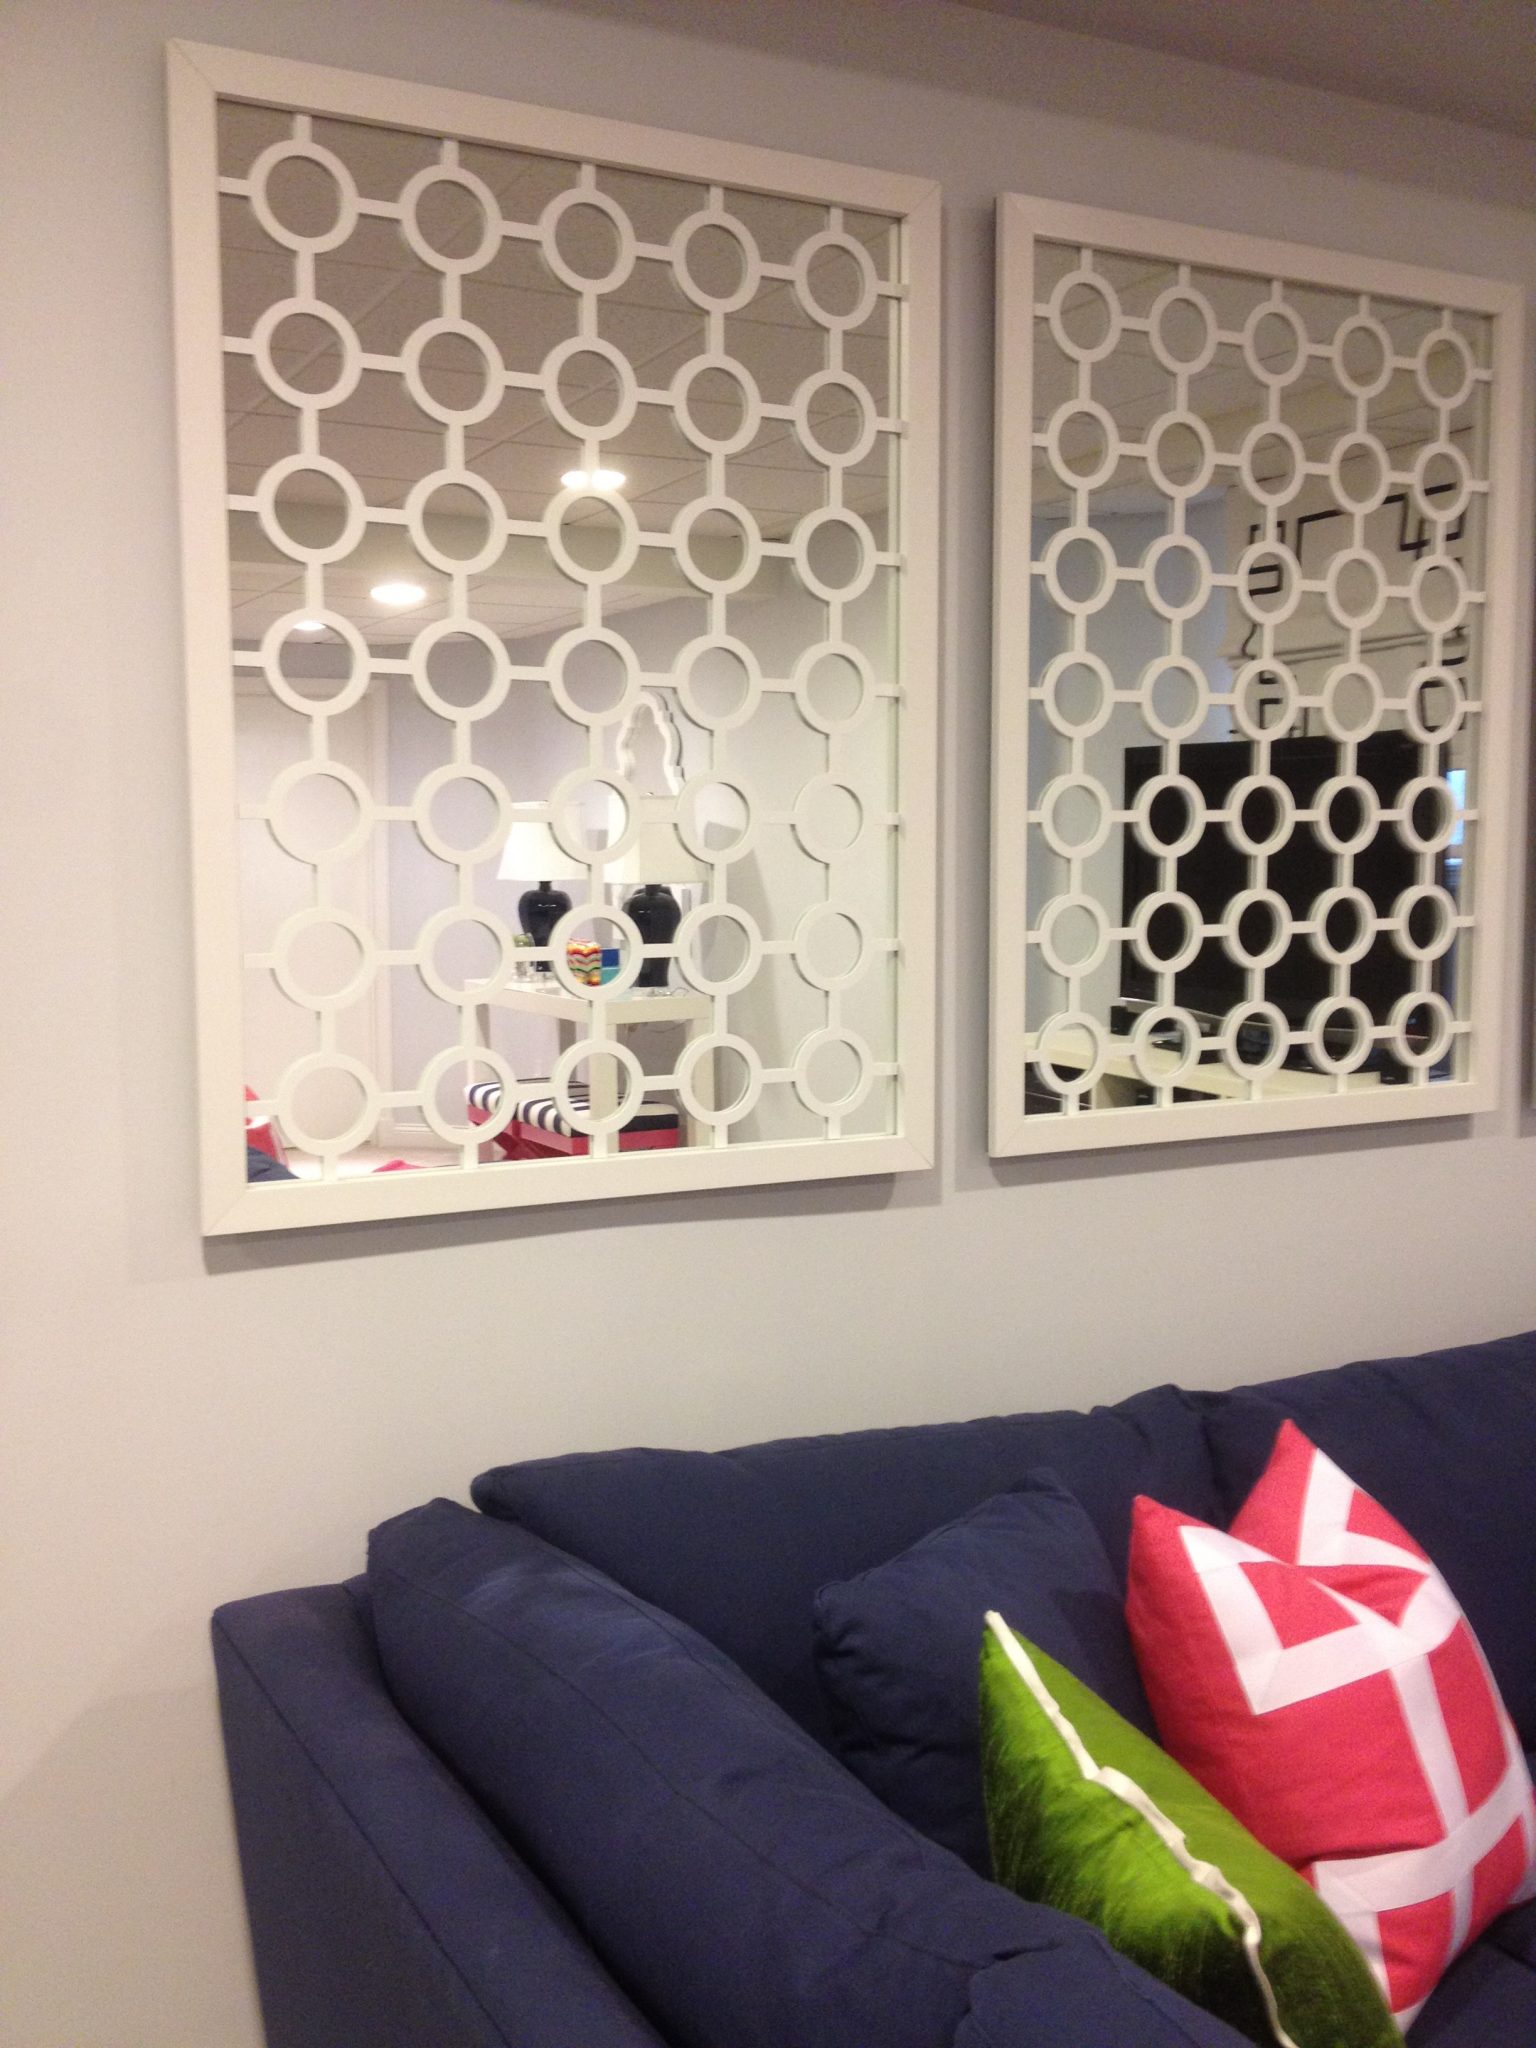
For this space we needed a set of 3 mirrors that was 30″ x 40″. When I sourced out framed mirrors with those measurements it was really difficult to find something with a clean and crisp frame. Next step then was getting a quote from a glass/mirror workroom I use and see how much it would be for them to make the mirrors for me and that was quoted at $1,000 for the set of 3! So, of course we decided we just make it ourselves and that worked out perfectly and came in around $275 for the set of 3!
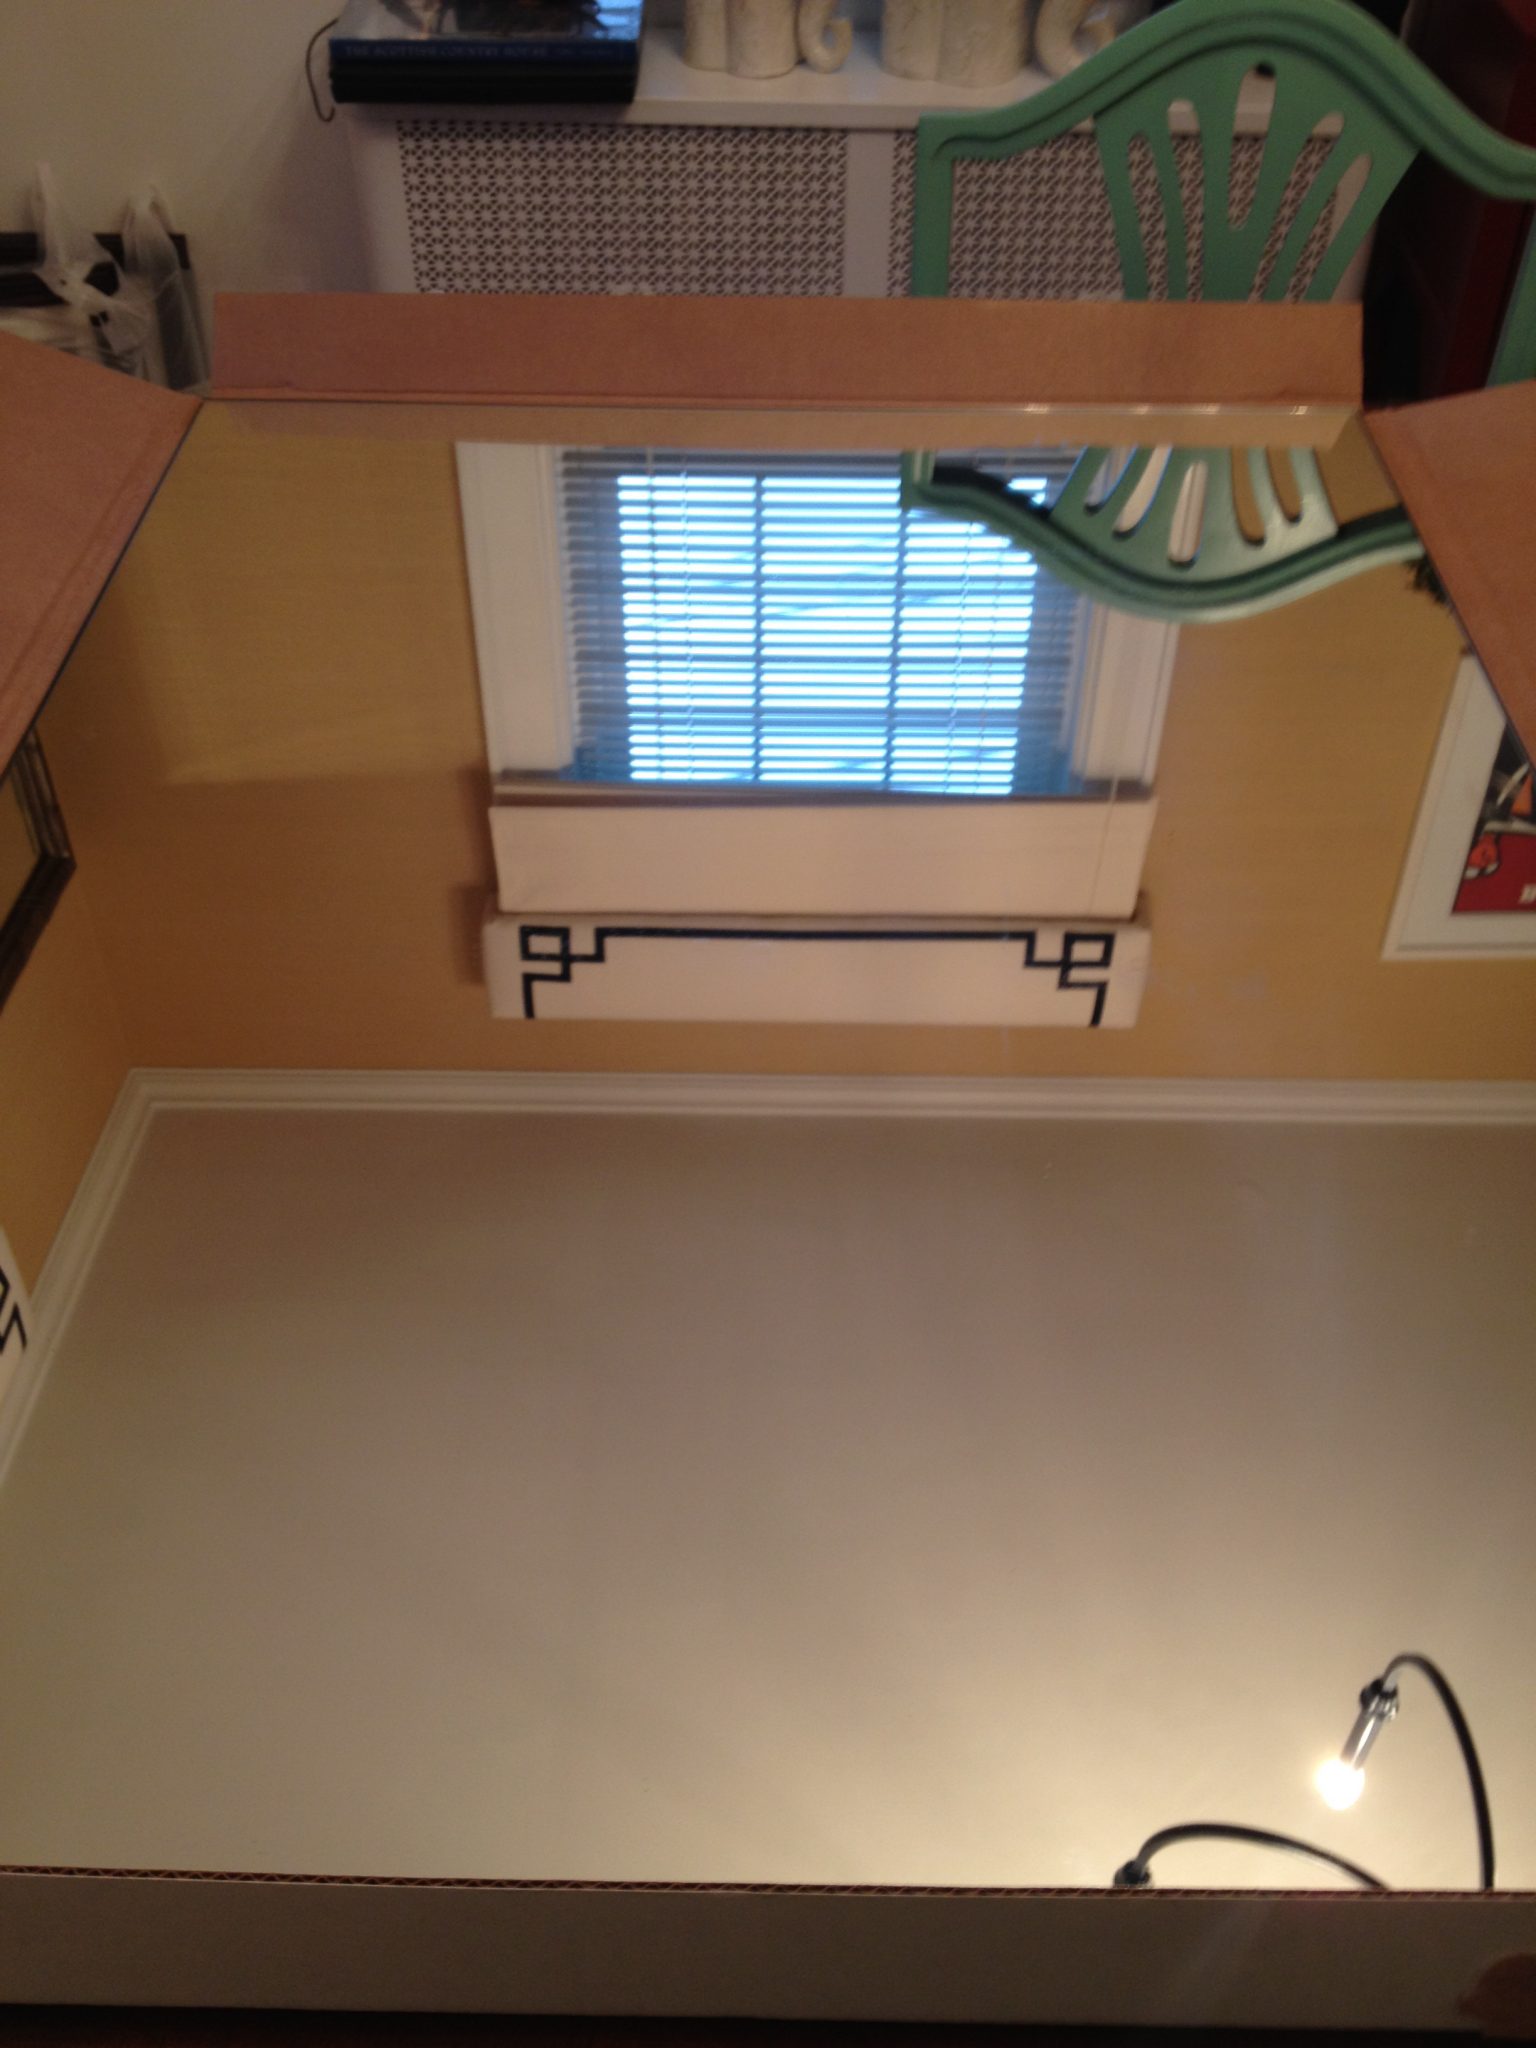
Since we couldn’t find a framed mirror we liked we picked up framesless mirrors at Lowes.A 30″ x 40″ frameless mirror came in at $36.97.
Then I contacted my pal Danika from O’verlays and got a quote on their circle/square pattern. I can’t seem to find it online anymore, but this pattern is similar.

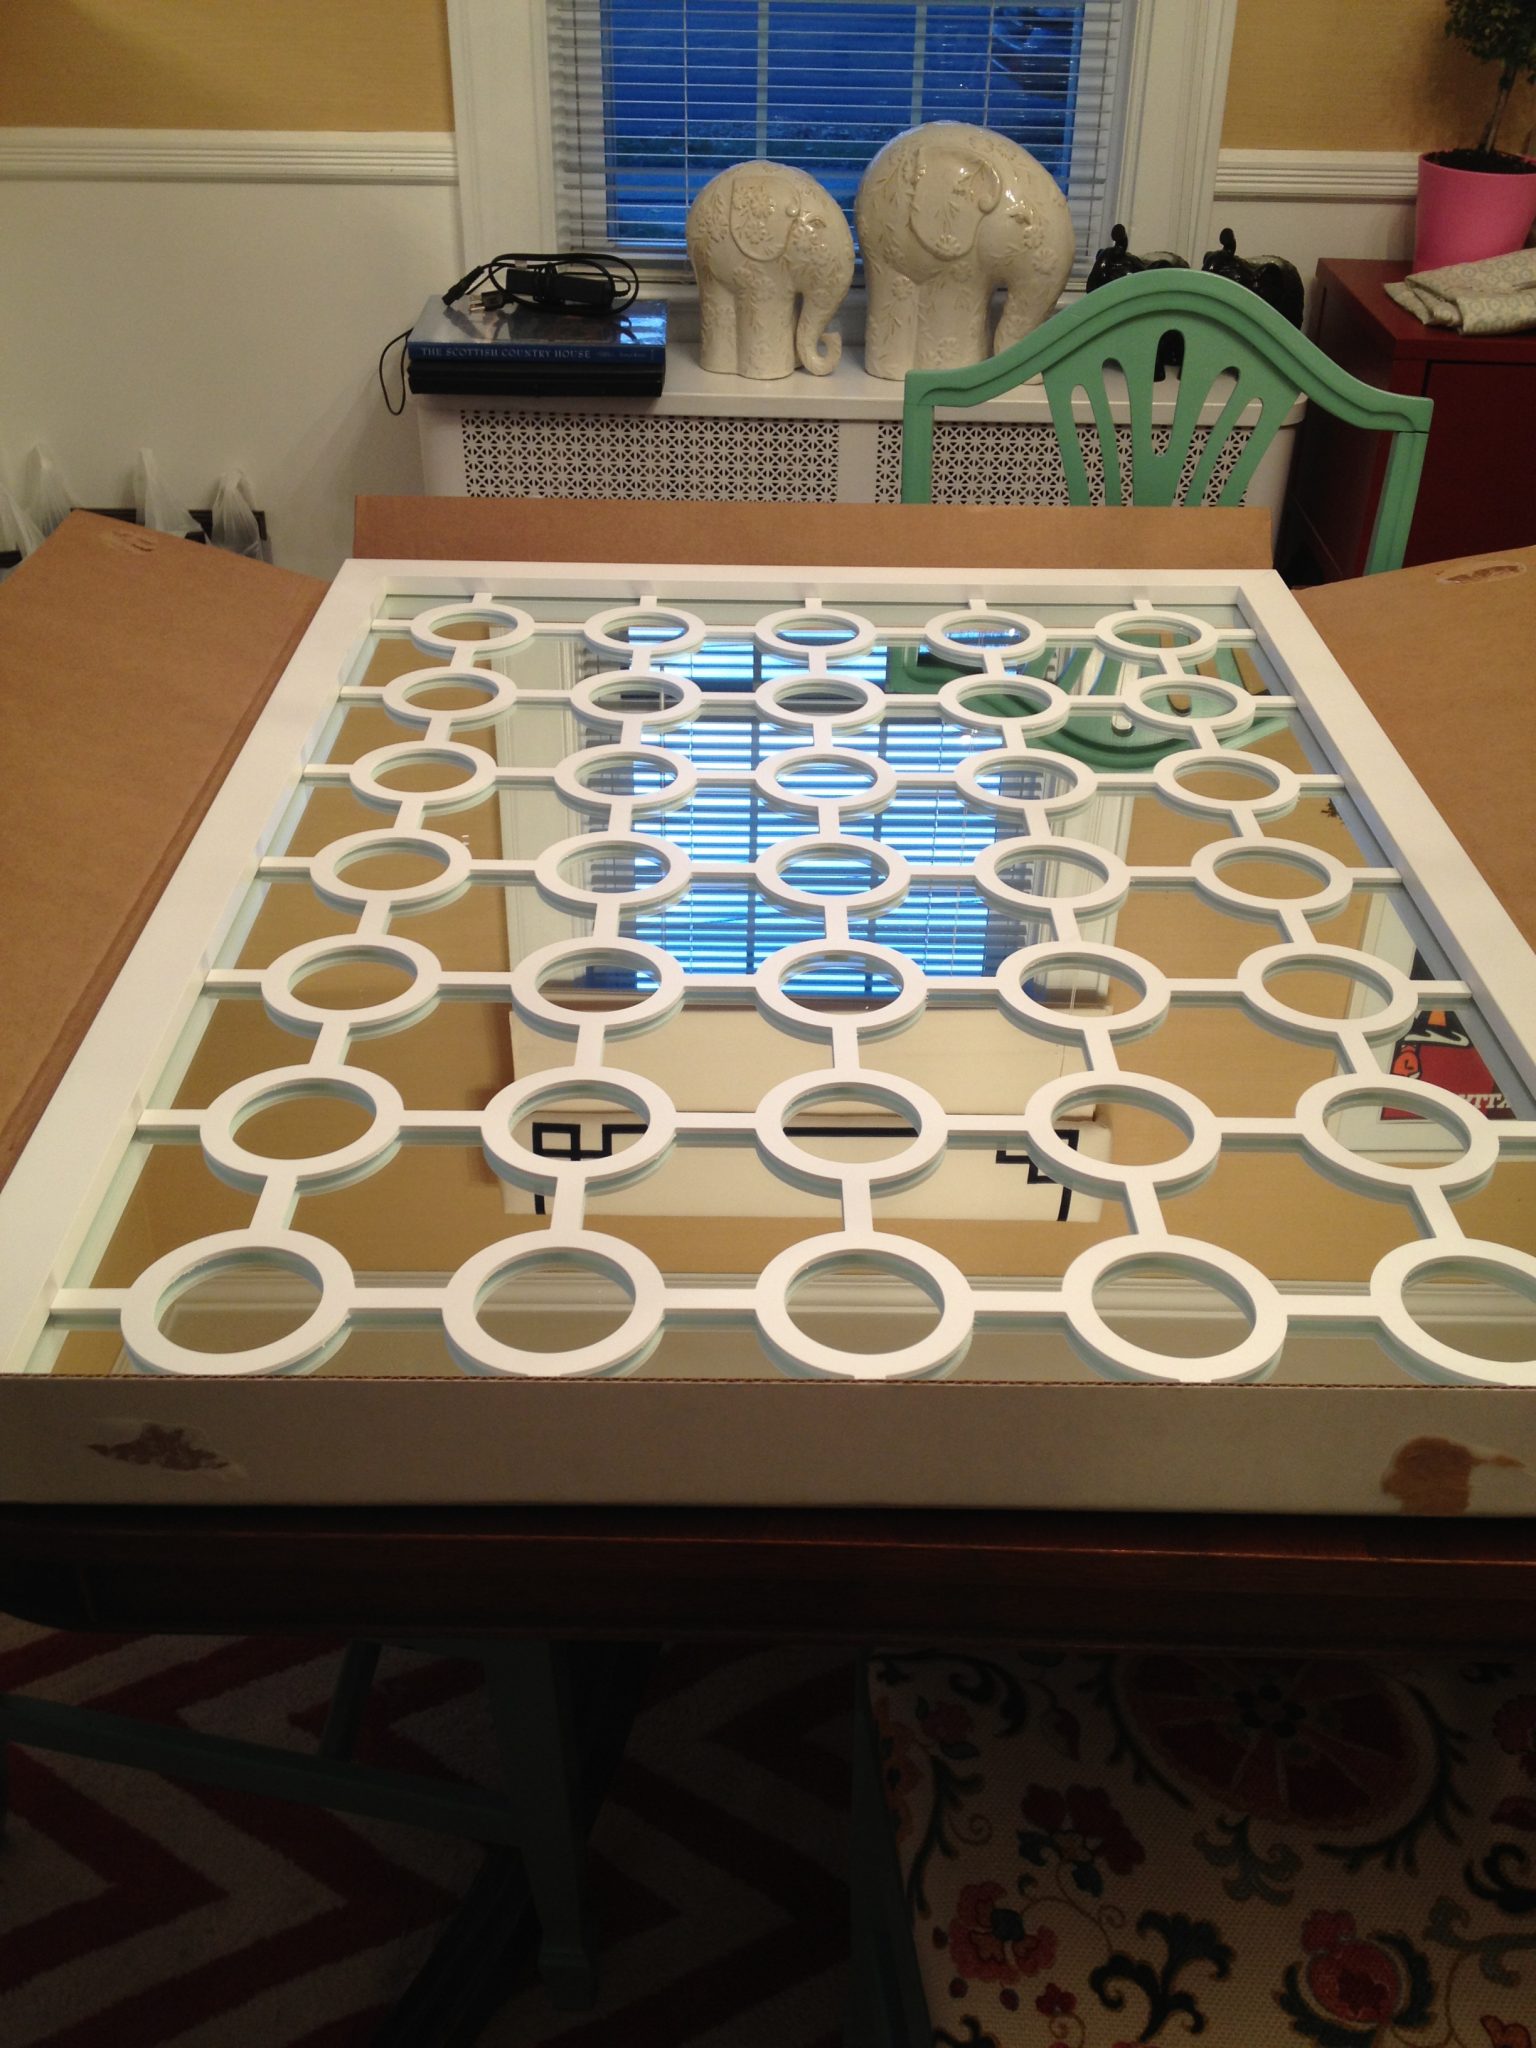
We ordered the O’verlays in 27″x 37″ so that we would have some spacing on the frameless mirror to add trim to it. We then applied the O’verlays to the mirror with the adhesive stickers they provide.
We then picked up some Azek trim, which is a PVC composite that is already white and matches the white in the O’verlays so there is no need to paint it if you want it all white. The perks of using it instead of wood trim is that it cuts out the priming and painting step and you won’t get any splintering of the trim during cutting.
We applied trim pieces onto the mirror with clear silicone.
The last step is how to now apply the mirror onto the wall. Frameless mirrors do not come with any hanging hardware so we needed to make it work on our own. We realized that the best way to hang the mirrors was with french cleats. Since frameless mirrors have no backings we had nothing to screw the french cleats into the backs of the mirror.
So, here is what we did:

We took two pieces of wood in the measurements above and applied it with mirror mastic. Once it set we were able to attach the french cleat with screws. The bottom piece of wood was added to balance the top piece so that mirror would not lean once it was on the wall.
All done!
Happy Friday!
*If you have any questions just leave them in the comments section and I will respond there.
Leave a Reply
get inspired with our own home tour
ON THE BLOG


My living room is one of the rooms that evolved drastically from when we first moved one. Originally I painted the walls chocolate brown and did accents of white, blue and orange. That lasted maybe 2 years.

Our dining room sat empty for months. Okay maybe it was empty for just a handful of weeks and then we couldn’t take it anymore and put in a folding table and plastic outdoor chairs, but in my mind that was still empty.

On the main floor of our house we have a Florida room. Being that it’s a Florida room it is a considered a 3 season room, because there is no heat in the room. The previous owners used it as an indoor patio with outdoor furniture and it looked like this when we moved in.


Those look great! I’m such a terrible DIY-er
http://www.designsbykaty.com
How does this material take paint? Are there any treatments needed prior to painting? Will paint adhere well?
It is a bit glossy so I would make sure to prime it first and then paint away. 🙂
What a great idea! If I put one on my mantle, I could just lean it and not need the french cleats.