


DIY Distressed Signs
My school renovation project was on a tight budget. We needed all new flooring and a new paint job. Once that was done a huge chunk of the budget was finished. Then we needed new tables and chairs and I was left with even less, which meant a couple of DIY projects to get the style we wanted at an affordable price point.
The new space is full of natural wood play items and fixtures and to keep in theme with the natural look we wanted reclaimed wood signage throughout the space.

Here is how you tackle it on your own! It was so simple and cheap!
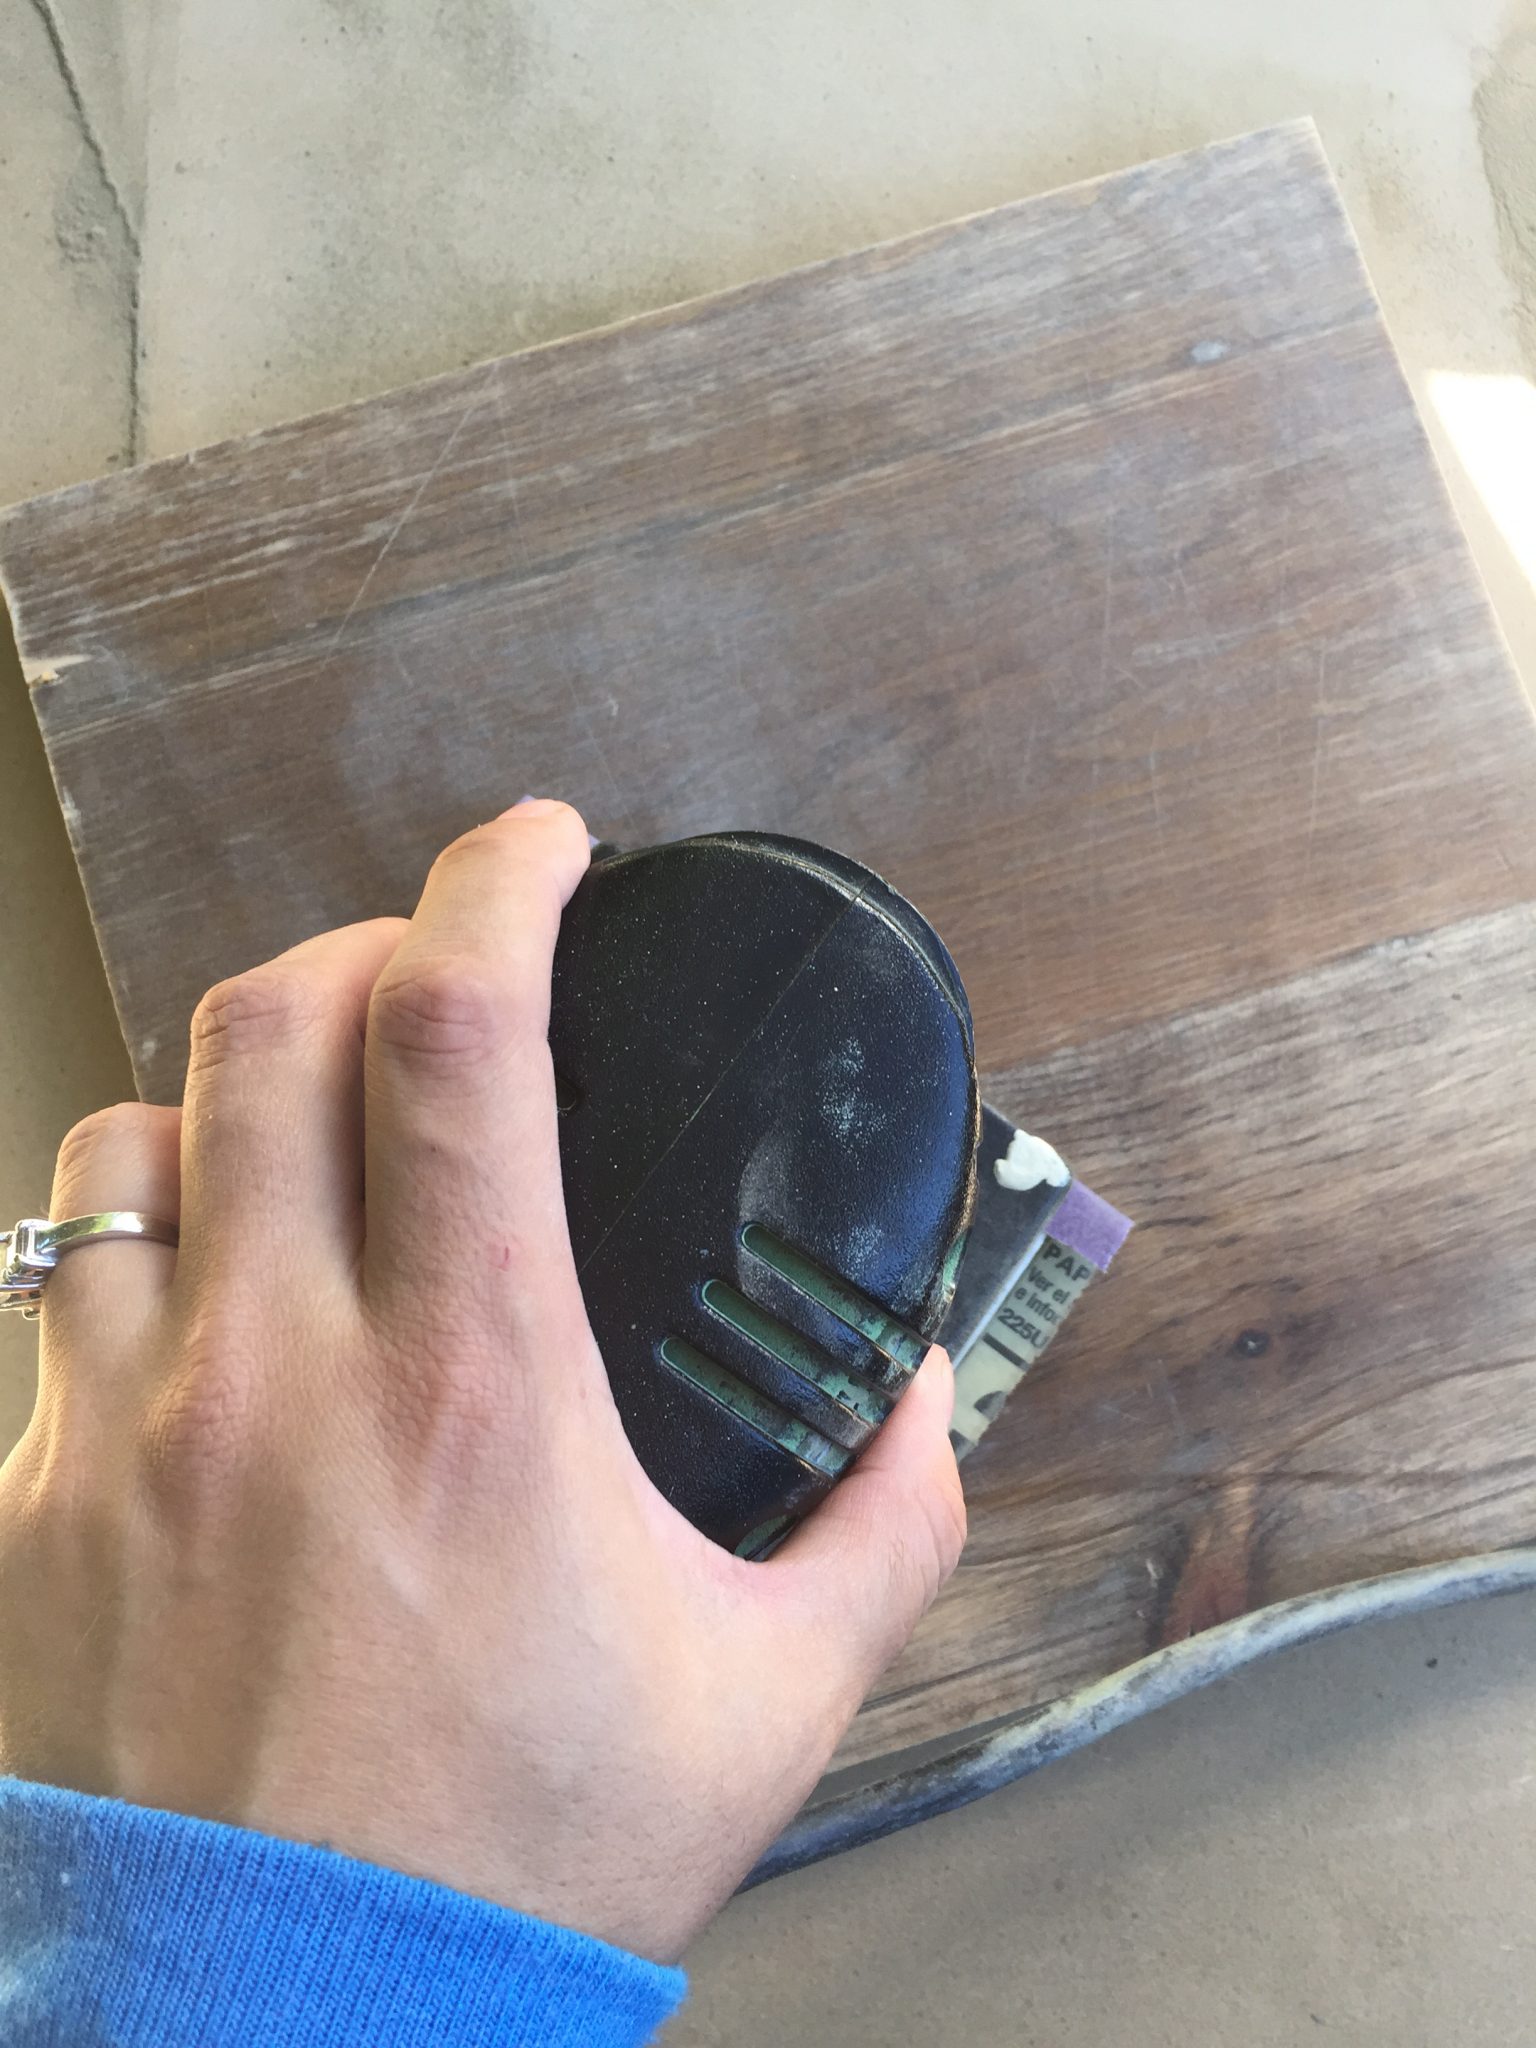
Step 1: Sand your piece of wood. I used some old boards I had laying around and had Jon cut them down to 12″ x 12″ size.
Step 2: Use a cloth to wipe on some paint. This paint color will be your background layer. If you like a solid wood finish you don’t have to do this step.

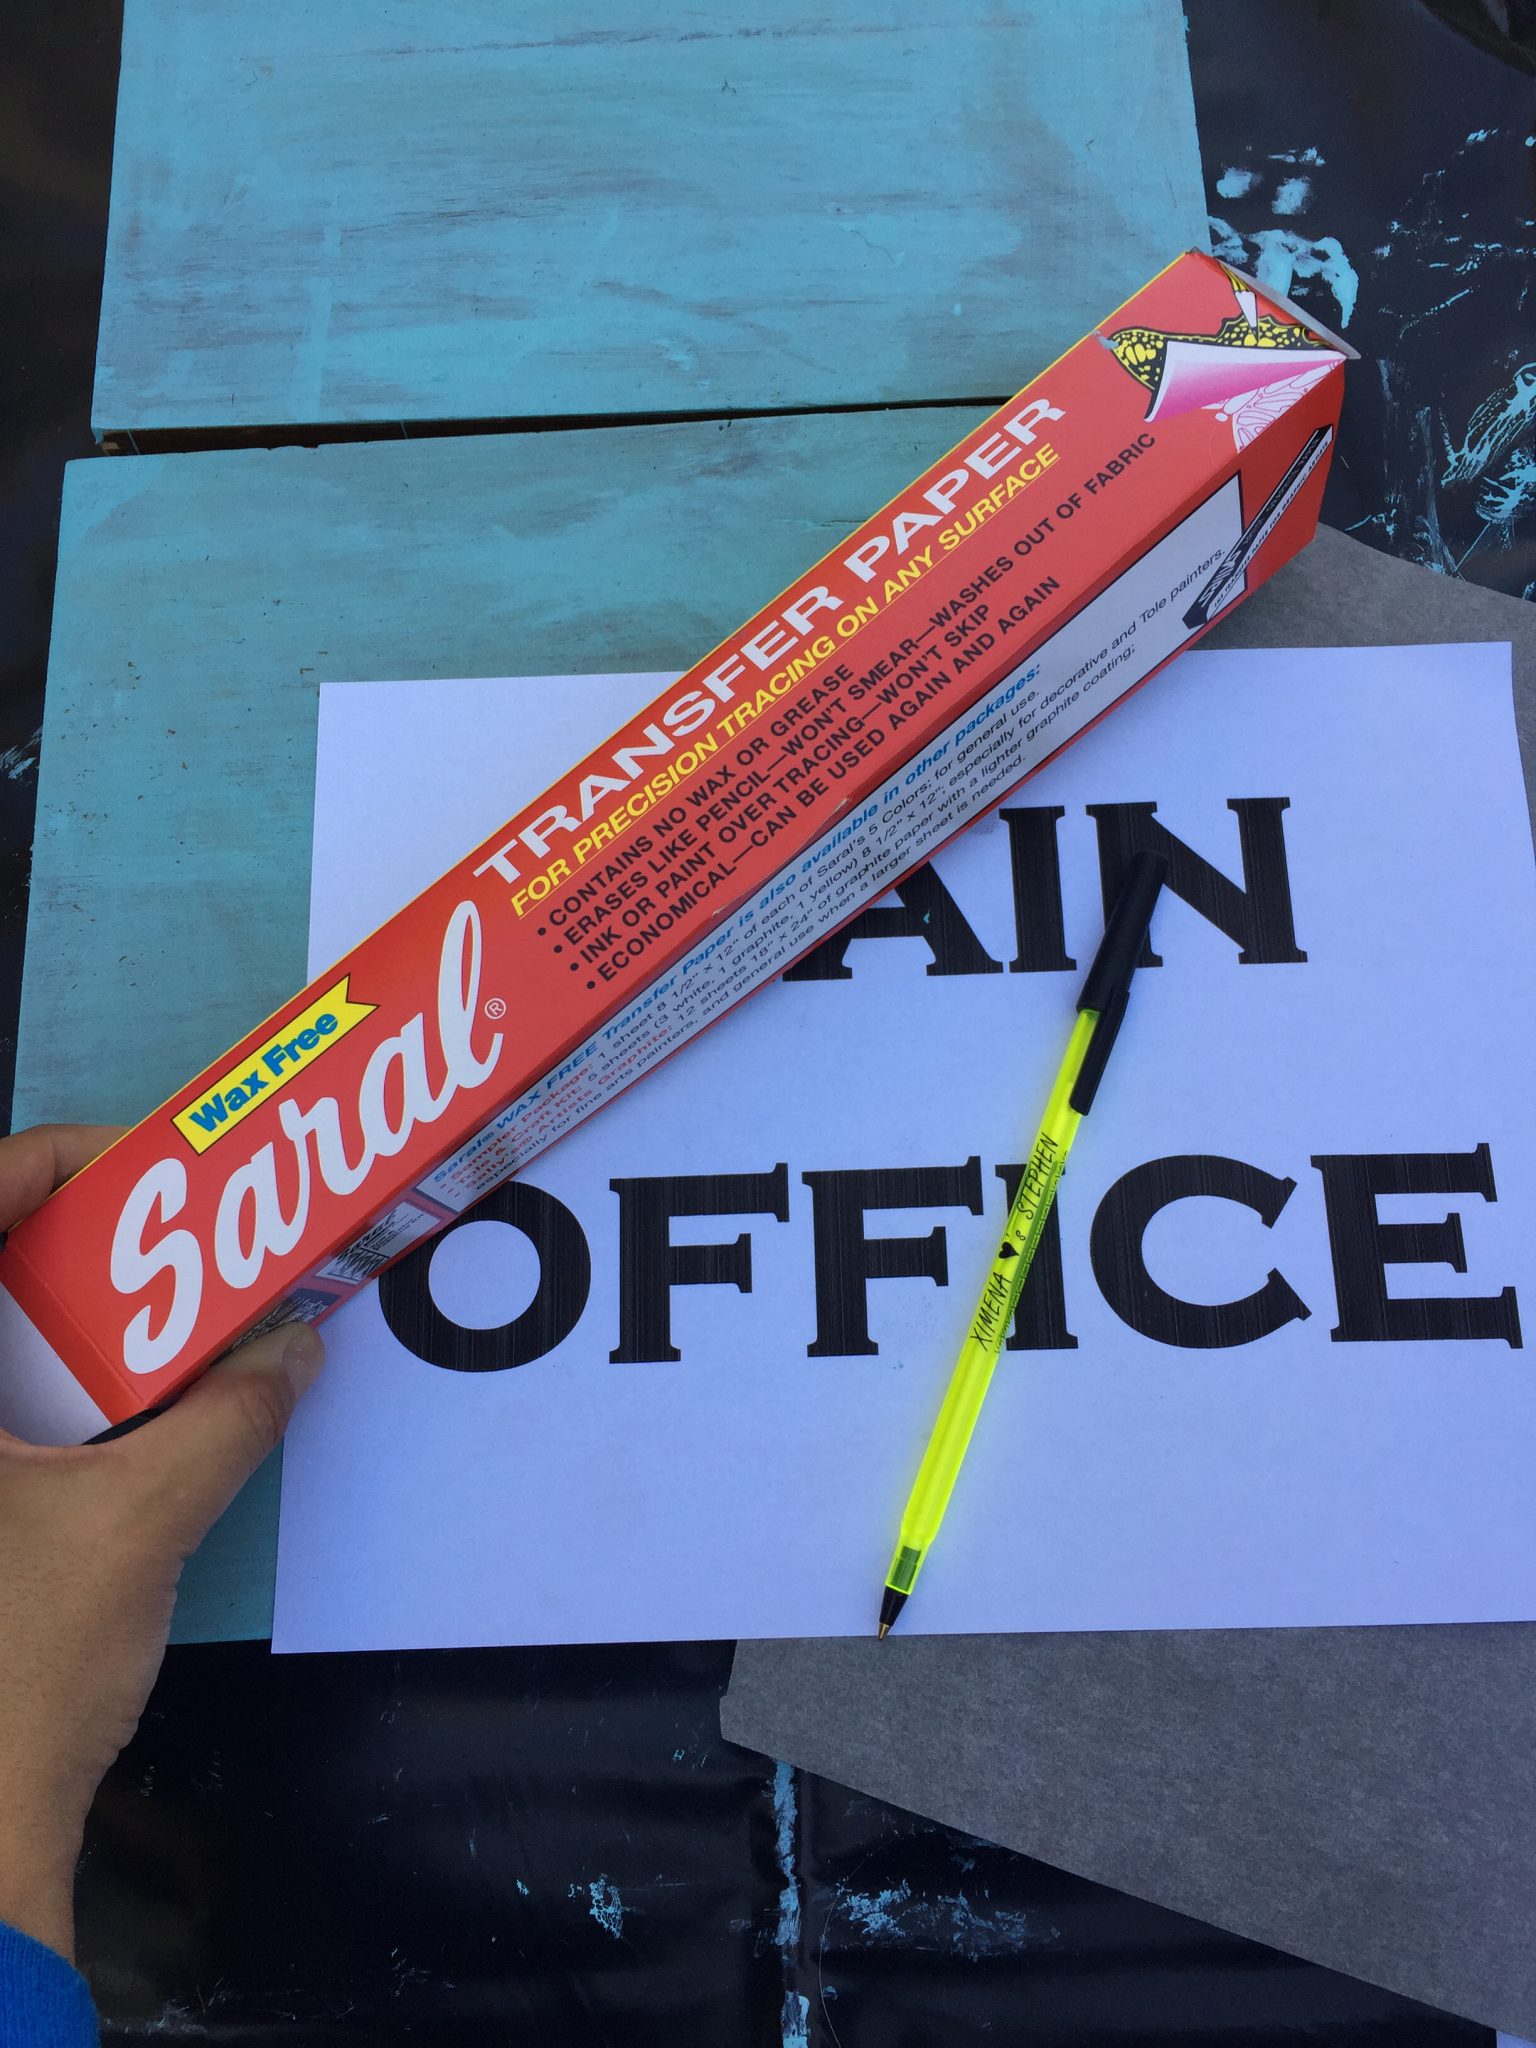
Step 3: Pick up Saral transfer paper.You will also need to pick out a font and print out your copy/wording.
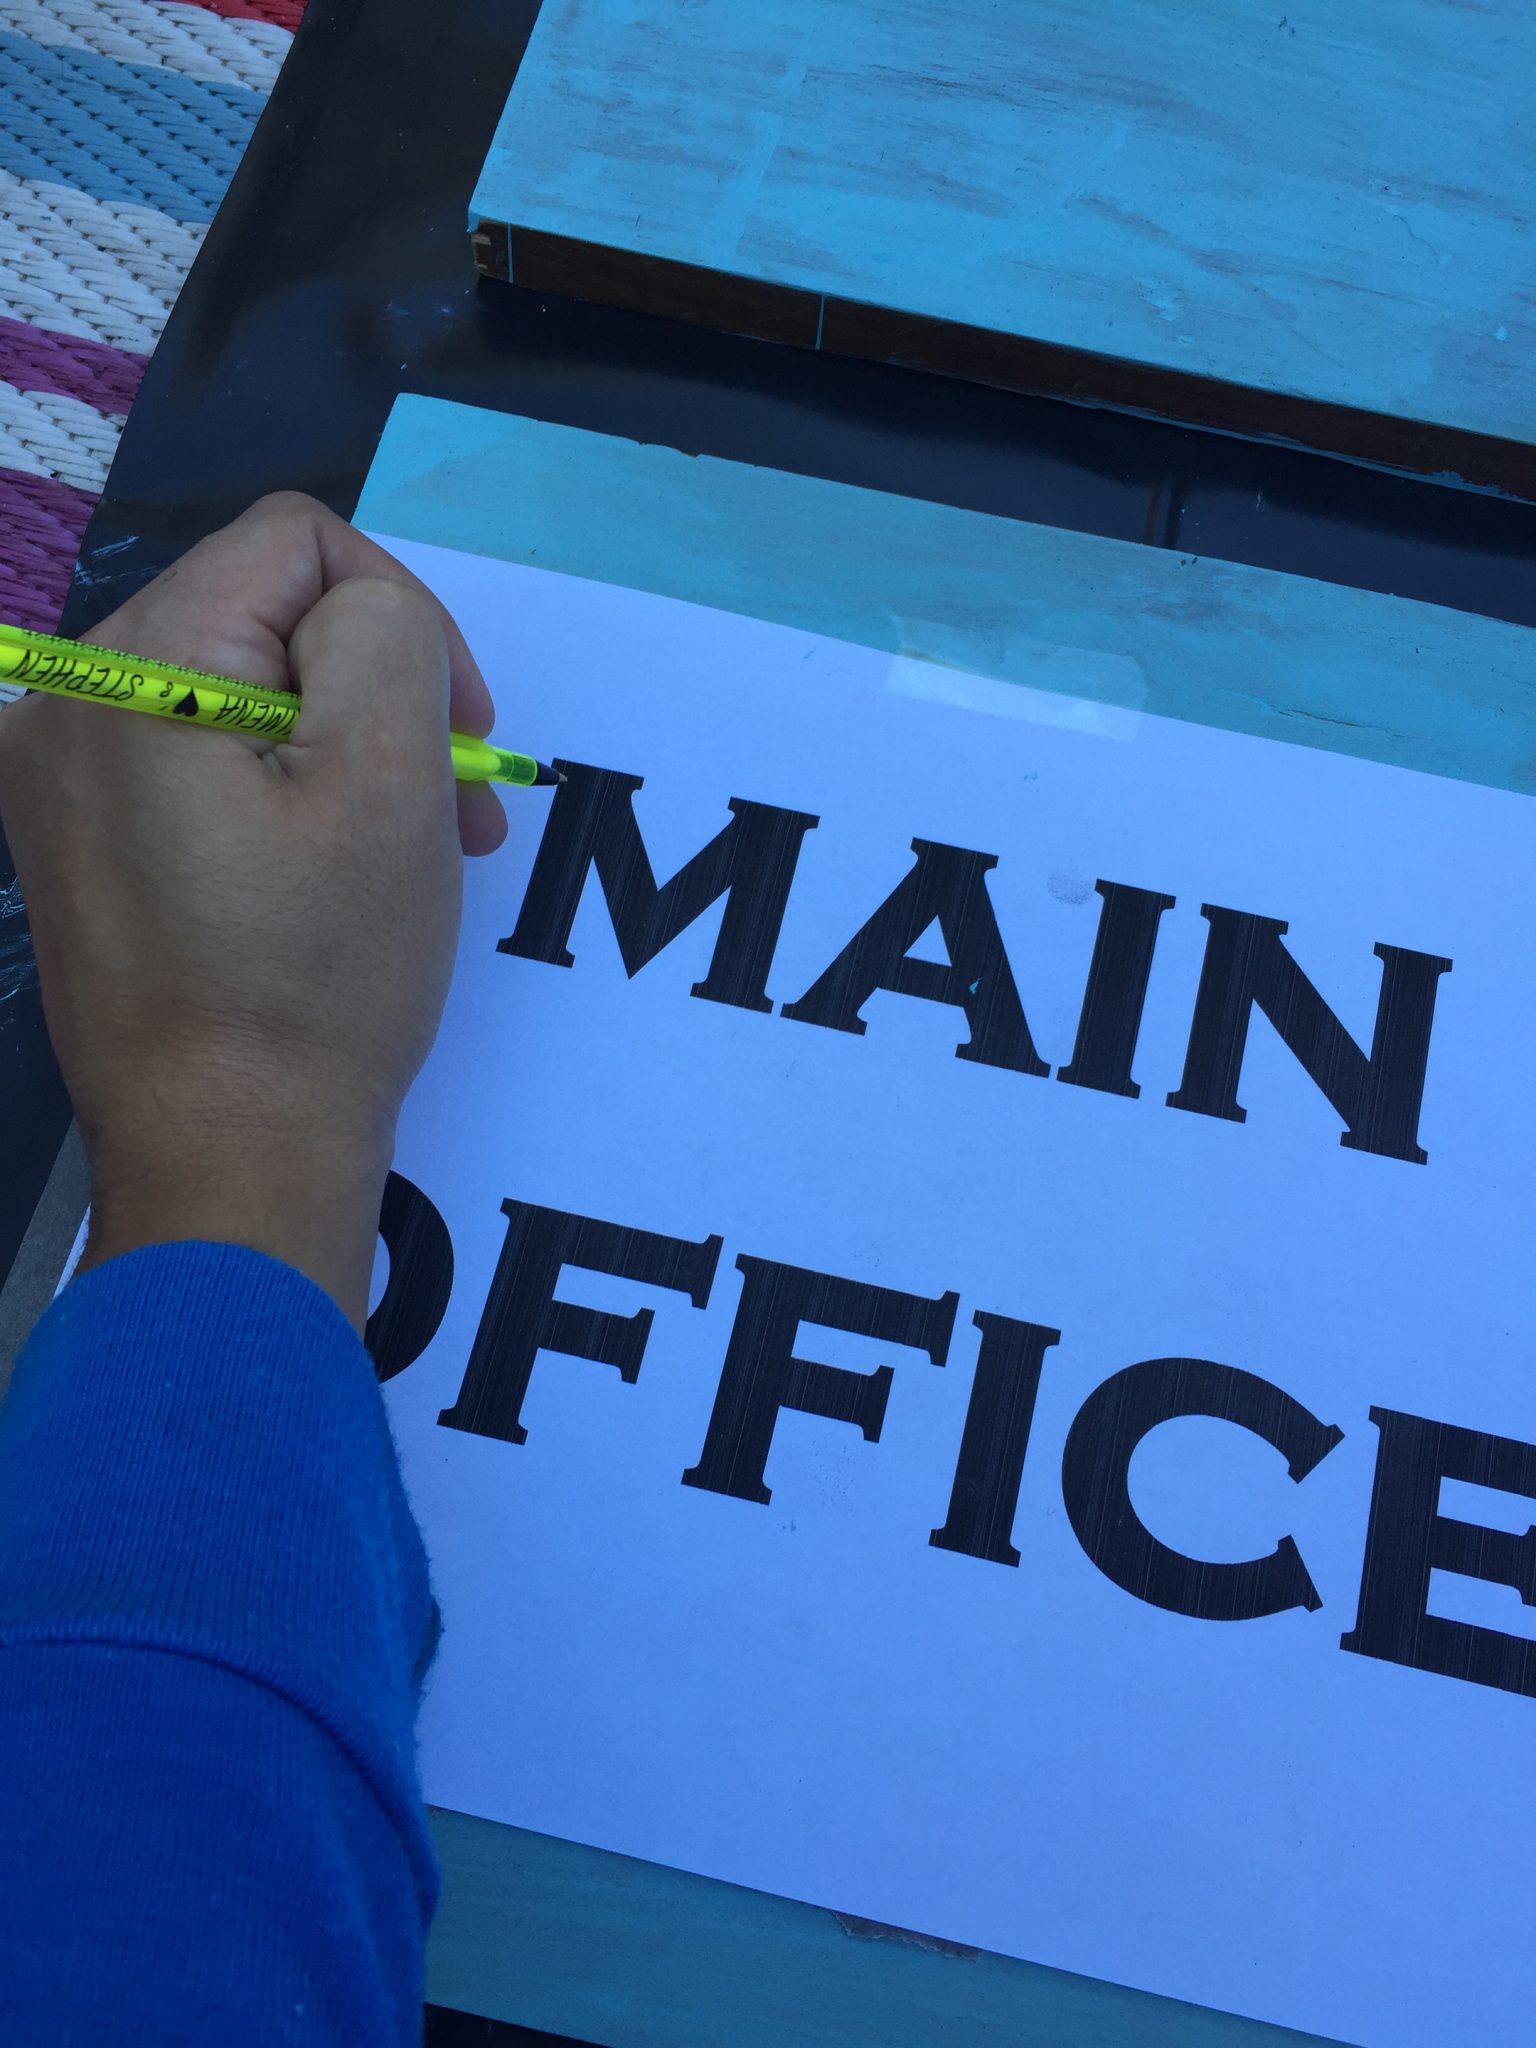
Step 4: Tape on the transfer paper and then your wording paper on top of it. Simple trace the outlines of the letters.

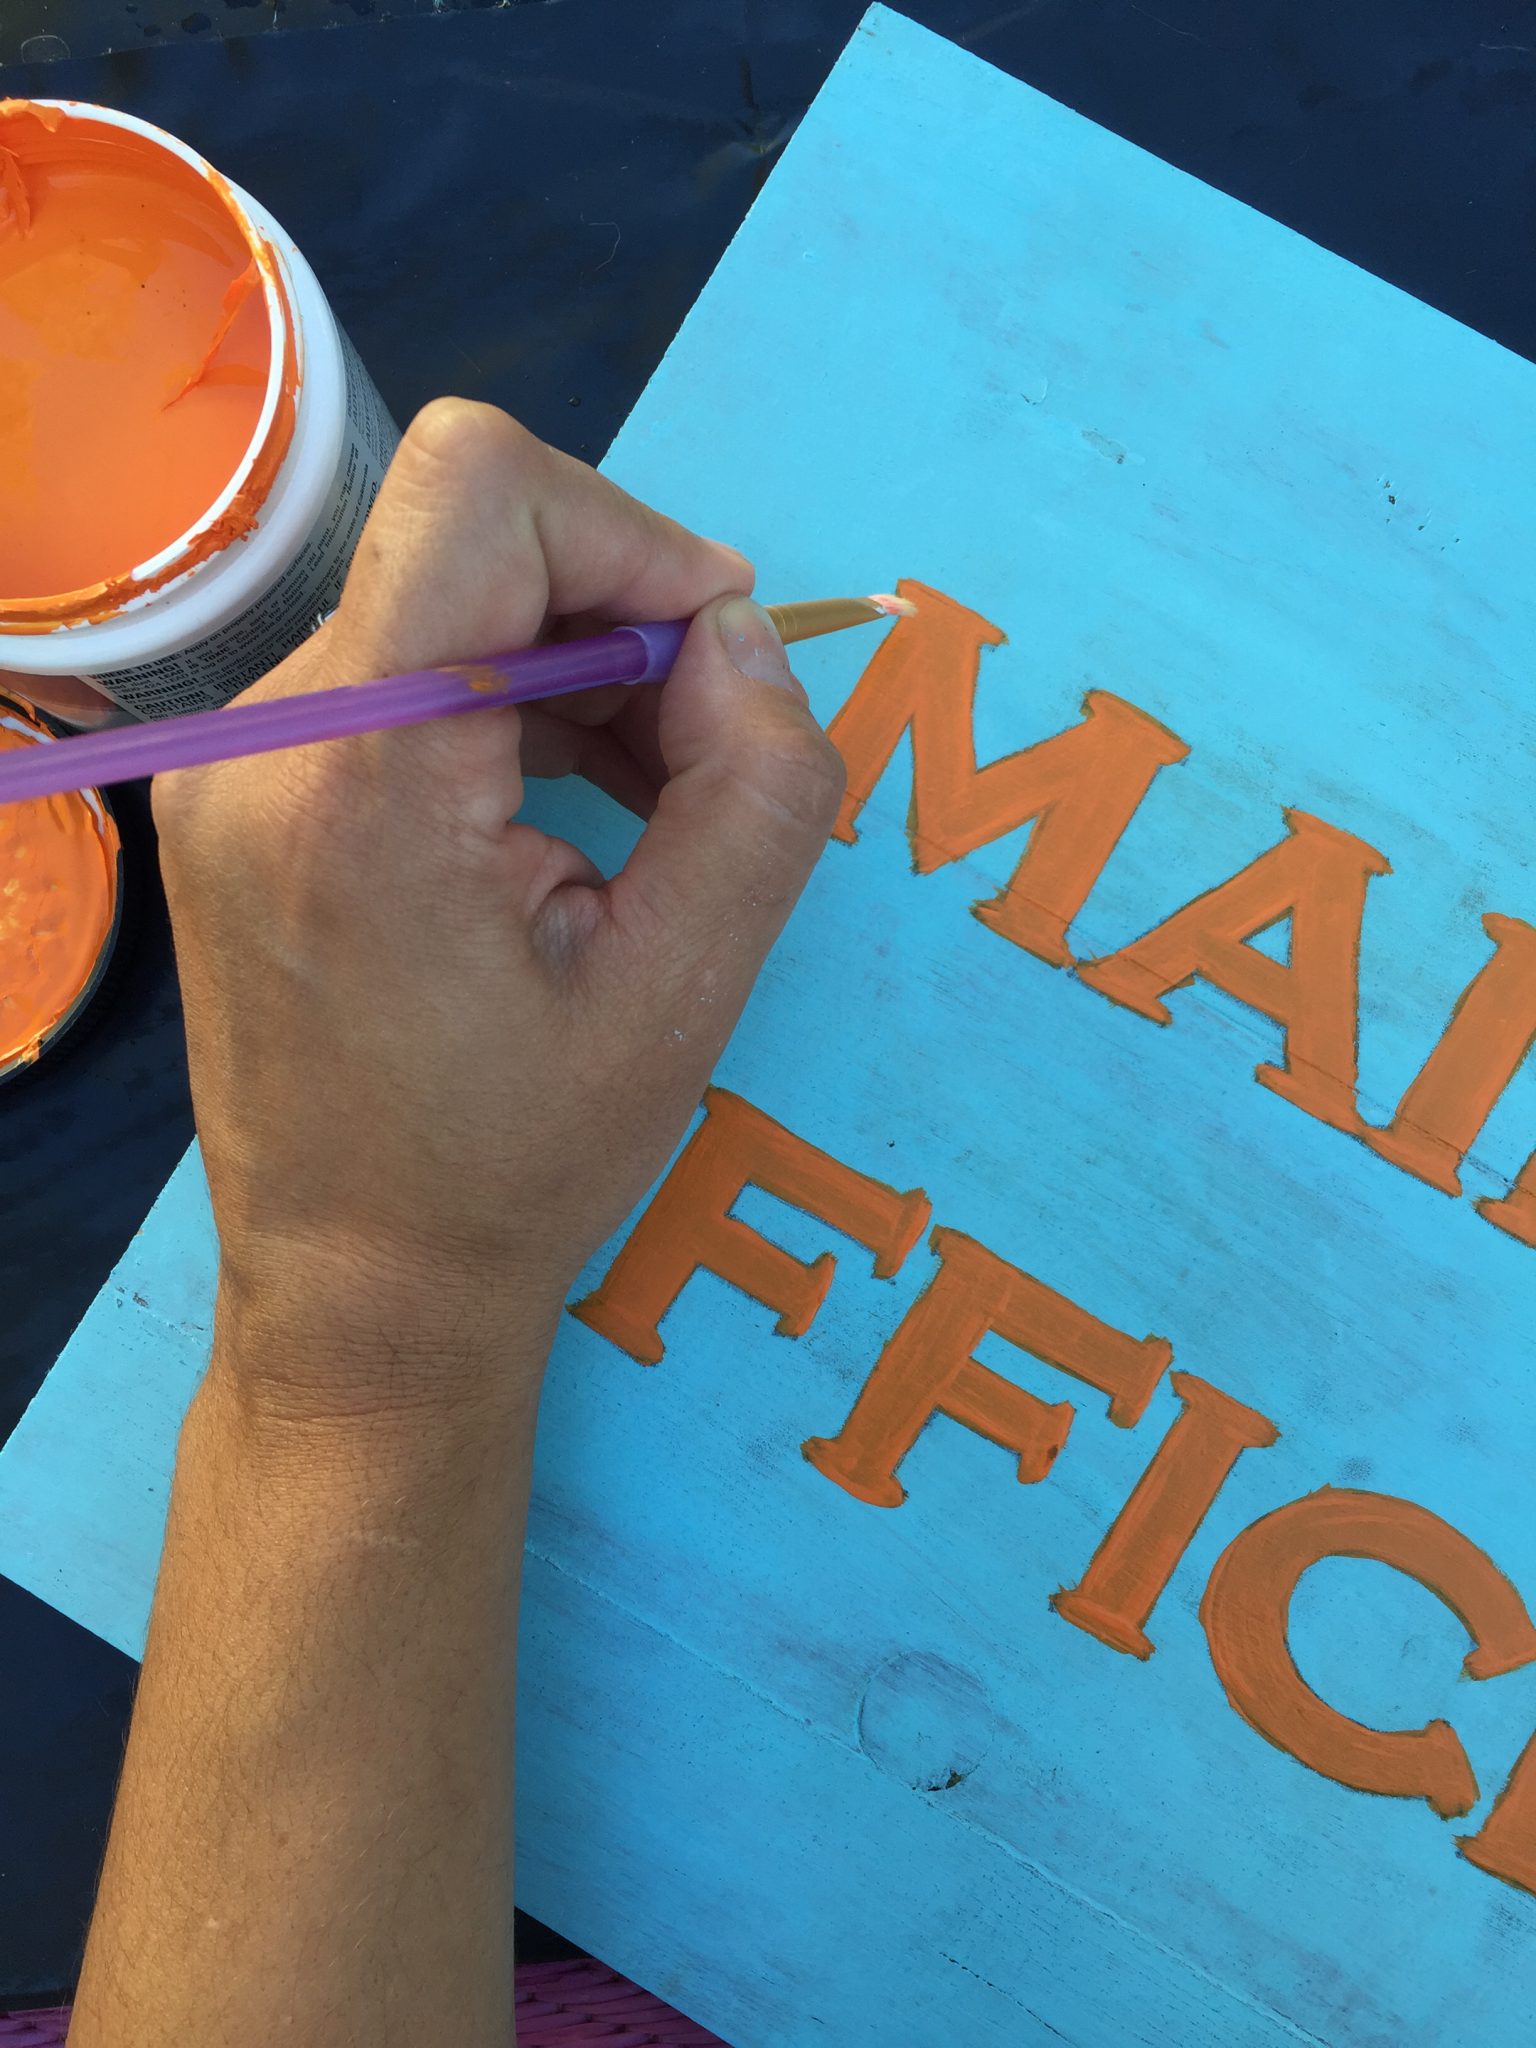
Step 5: Use your accent color and fill your letters in. Since you are going to want a distressed look it’s okay for your paint job to not be super perfect.
Step 6: Let your letters dry and then use any sort of wood stain and wipe it on with a dry cloth.

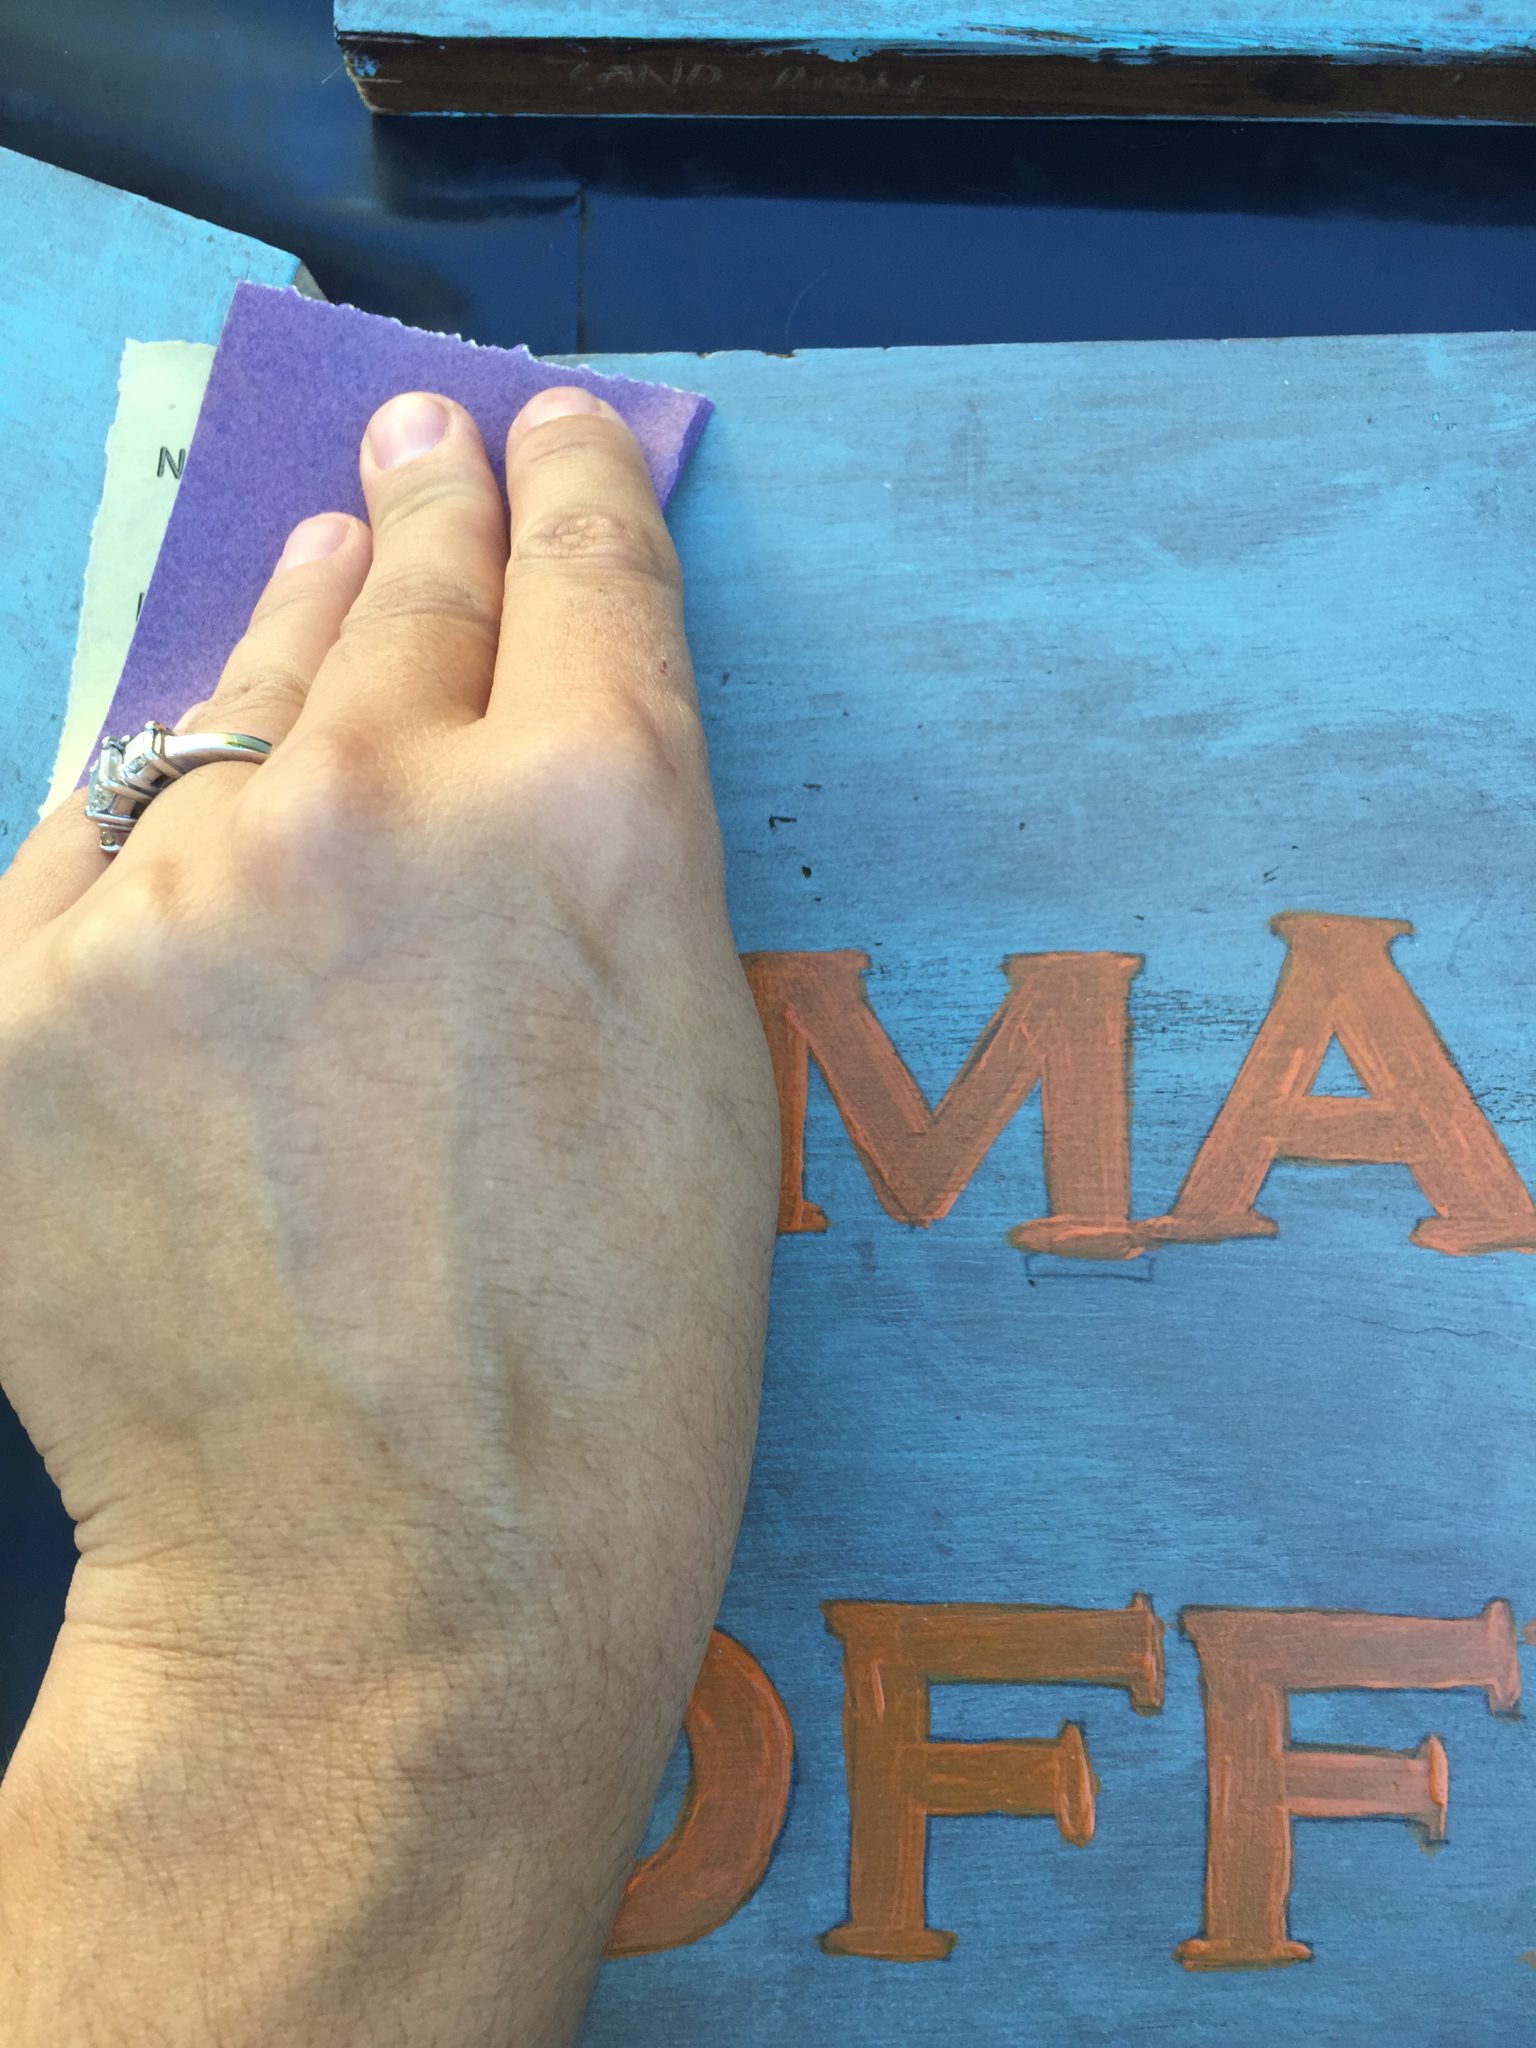
Step 7: Once that’s all dry you need to rough it up with some sand paper.
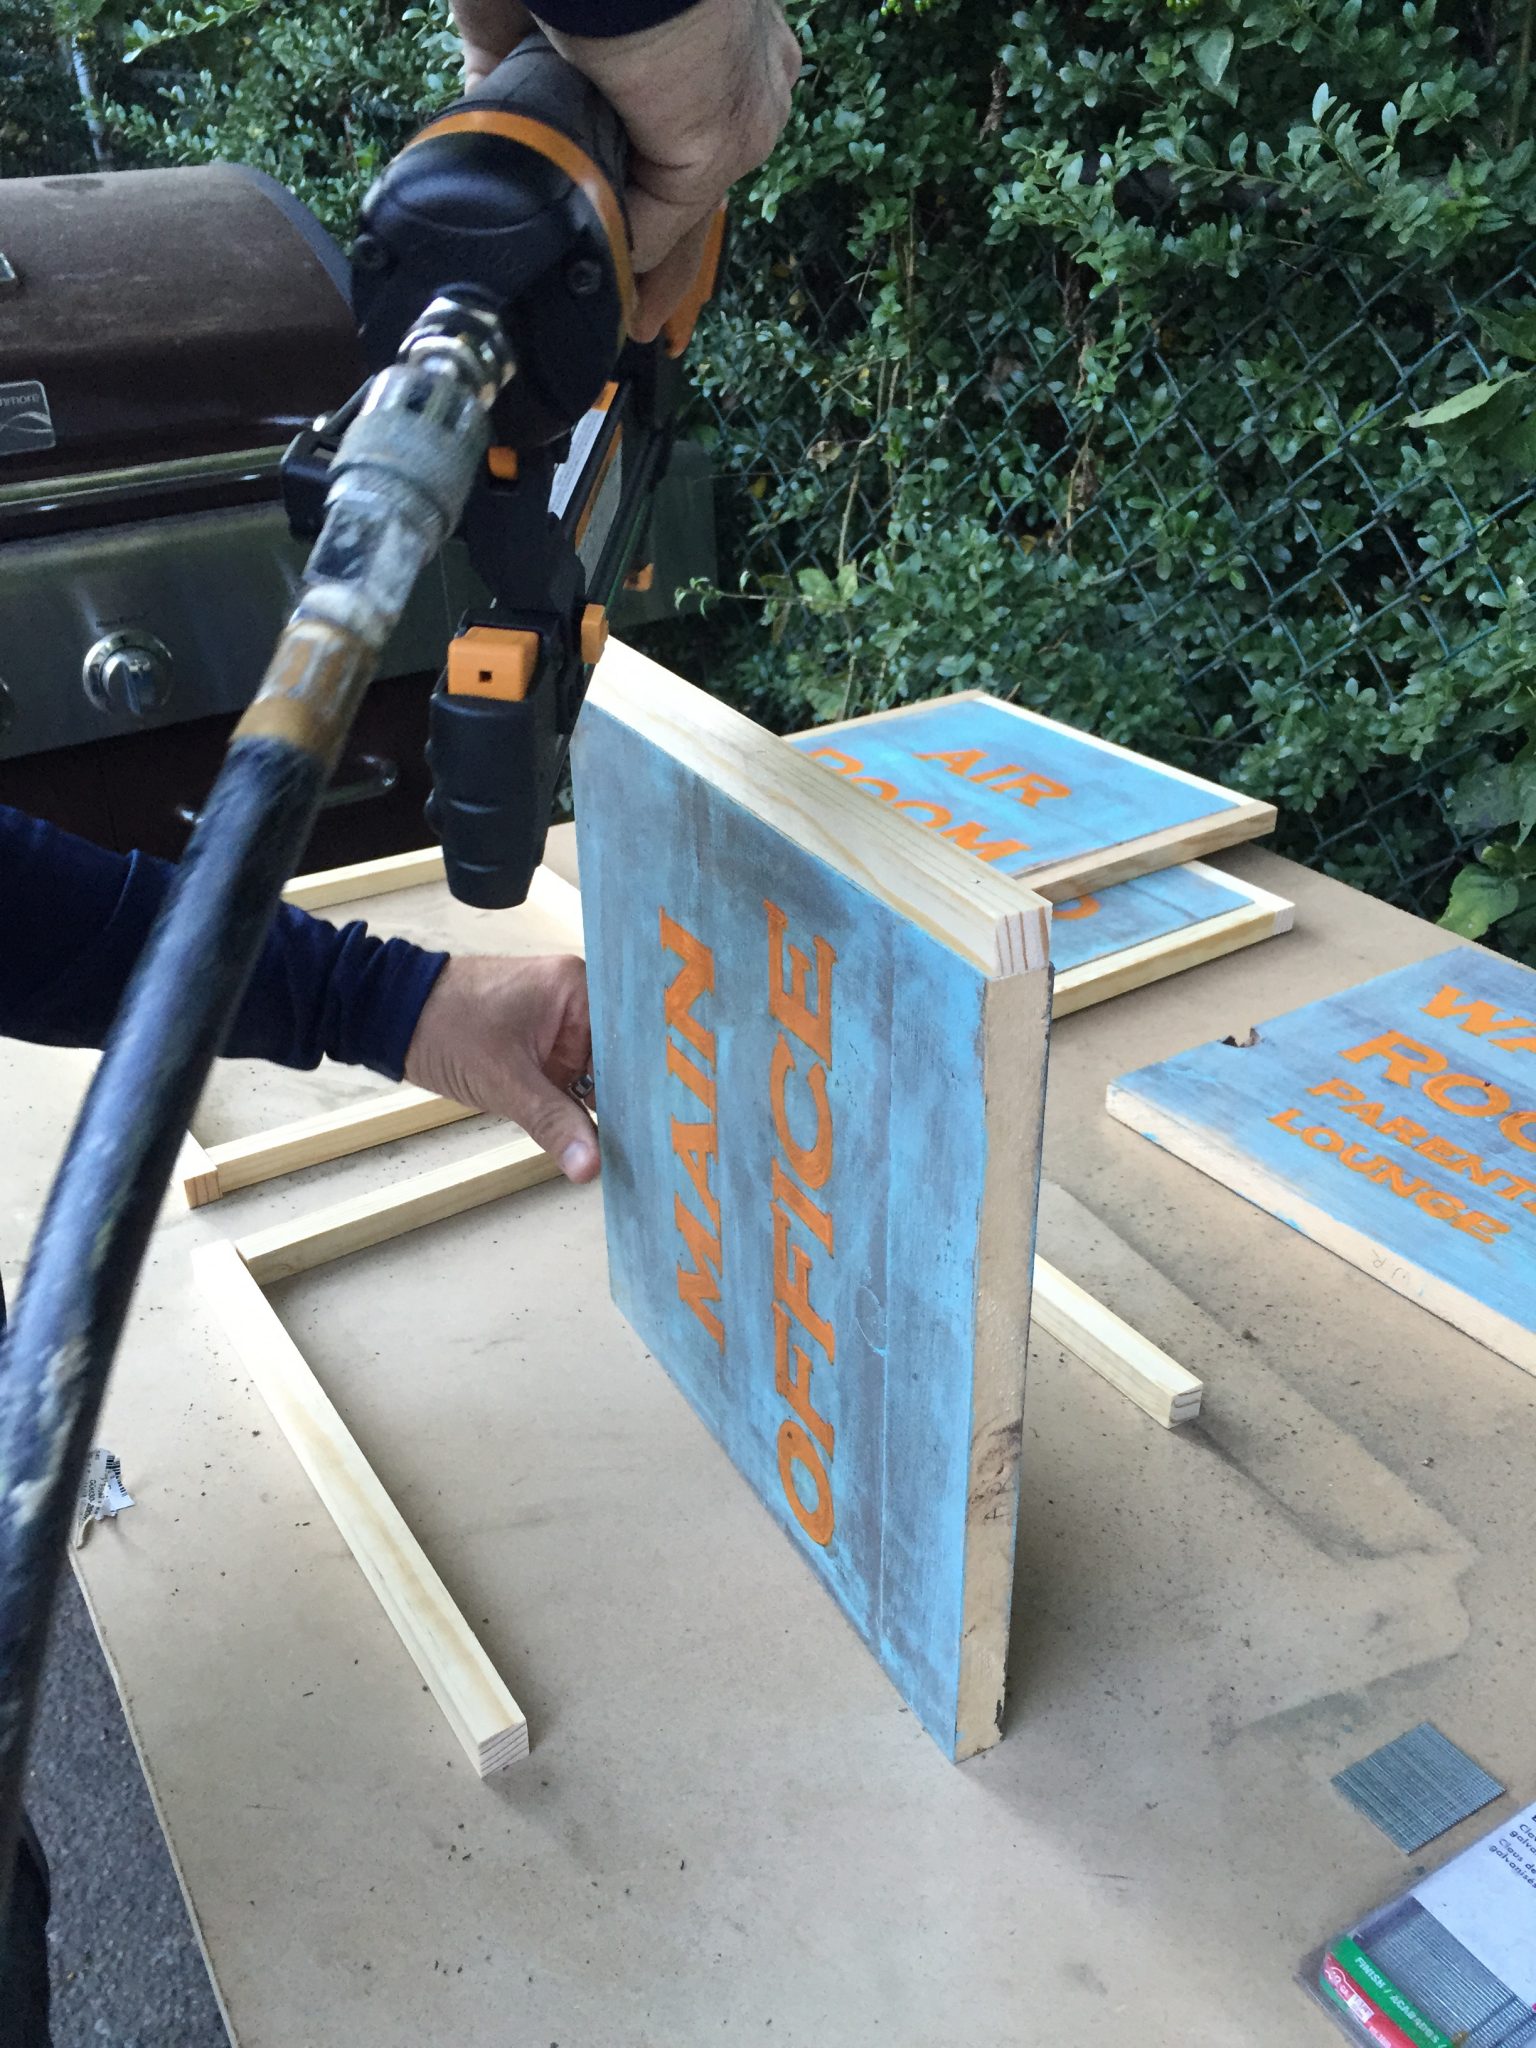
Step 8: Pick up some square trim in the moulding aisle at your local home improvement store and cut it to size and nail into place.

Step 9: Almost there! Now you simply have to wipe on a little more wood stain on the border.
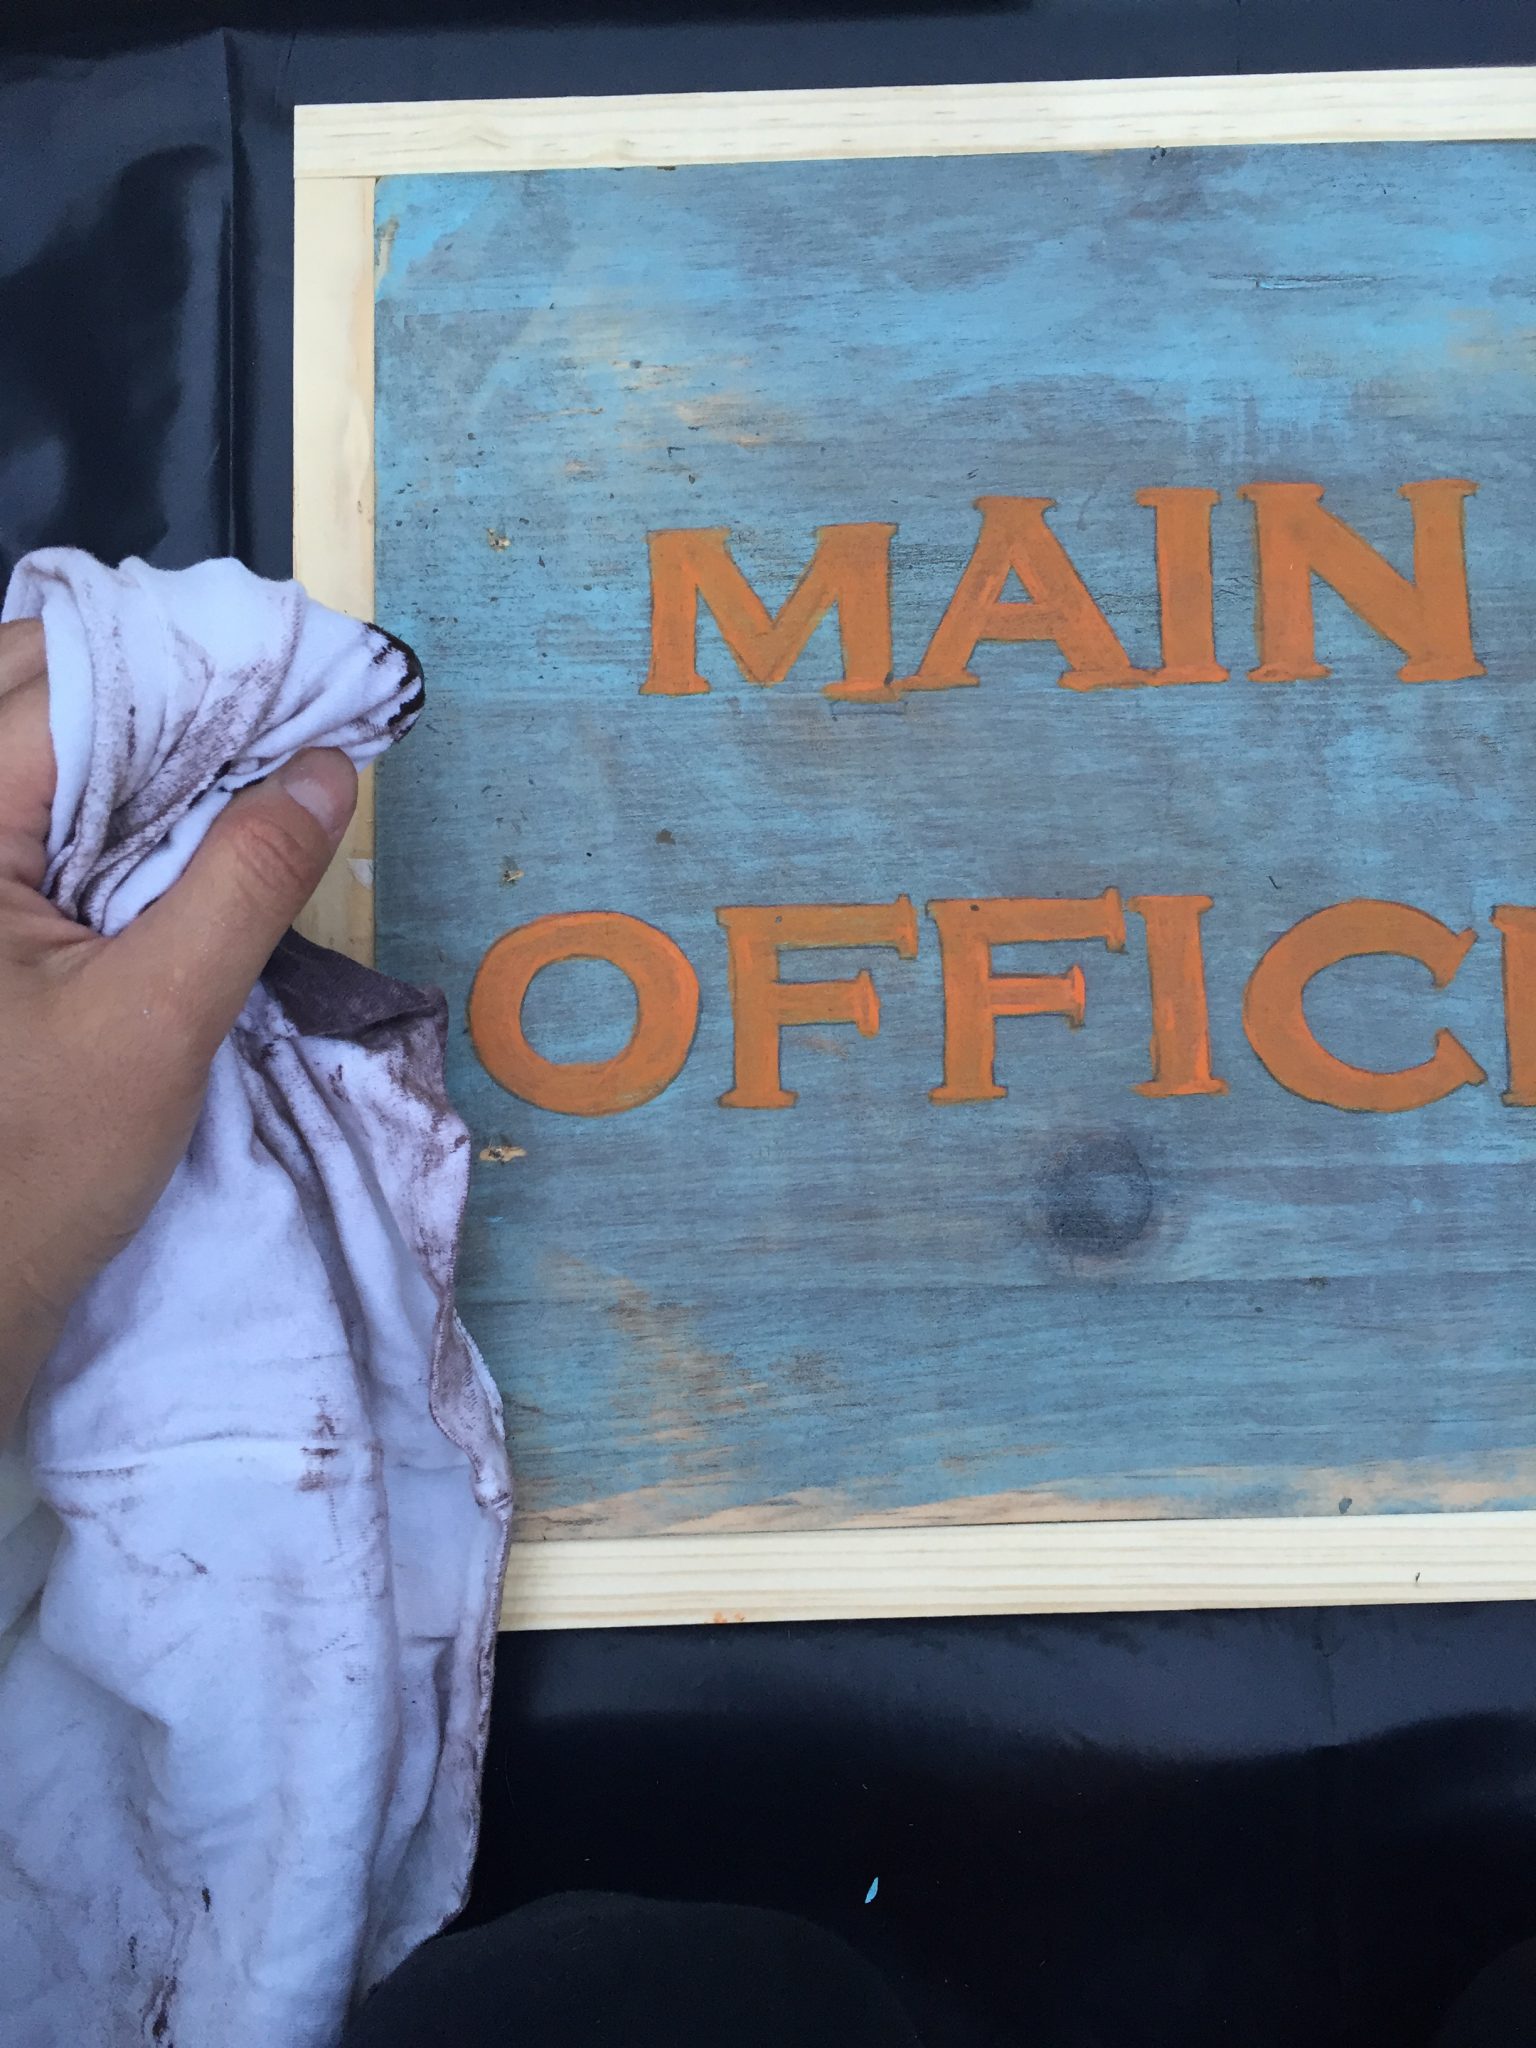
All finished!
I think these would make great holiday gifts. I imagine them with your family’s last name and an established by date on them.
Leave a Reply
get inspired with our own home tour
ON THE BLOG


My living room is one of the rooms that evolved drastically from when we first moved one. Originally I painted the walls chocolate brown and did accents of white, blue and orange. That lasted maybe 2 years.

Our dining room sat empty for months. Okay maybe it was empty for just a handful of weeks and then we couldn’t take it anymore and put in a folding table and plastic outdoor chairs, but in my mind that was still empty.

On the main floor of our house we have a Florida room. Being that it’s a Florida room it is a considered a 3 season room, because there is no heat in the room. The previous owners used it as an indoor patio with outdoor furniture and it looked like this when we moved in.


Super cute.
You probably already know this but you can do this without the transfer paper – just outline the print out in pencil and then fill in the pencil marks. Added bonus of not having to erase anything after the fact.
LOVE these! noticed them yesterday in the center pix….look beyond expensive. I am going to tackle them thanks to your effortless and wonderful instructions! Also the happy place pillow, a source for that, love the graphic letters. You did a fab job at the center, the children and parents are so lucky!!!!!!!!!!!!!!!!