
DIY: Hardware Store Window Treatments!
When I decided to embark on fixing up the Florida room to become my office we were on a very small budget!
We ran out one Saturday morning to our local LOWES and decided to not only pick up some Oops paint for our stripes, but all of the supplies for window treatments.
The room is full of windows that are UGLY and need to be replaced, but since we are on a budget I thought it best to just HIDE them!
Here is a little reminder of the BEFORE:
Here is the after shot with window treatments up:
Here is how we did it:
At LOWES we picked up the following supplies:
Finish Factor 6′ x 9′ canvas drop cloths
Eye Hooks
Wire Rope Cable Clamps
1/8” steel cable {not plastic coated}
Cable tensioner
STEP 1: Put eye hooks at opposite ends of walls.
STEP 2: Thread cable through eye hook and secure with wire clamp. Make sure you tighten clamp.
It will look like this on wall:
STEP 3: Cut the cable that has been threaded through the eye hook 2 ft shy of the ending wall.
i.e.: If the space between the eye hooks is 10 ft long then make a cut at 8ft long.
You will now have two pieces of cable. An 8 ft section already attached to an eye hook and a remaining 2 ft section by it’s self.
STEP 4: At the end of the cable that is already attached to an eye hook (i.e.: 8ft section) thread cable through one of the loops of the tensioner. (Loops on tensioner should be almost fully extended) Secure cable with a wire clamp.
Here is what it looks like on the wall:
 * Note we place a bit of electrical tape on the exposed wire, because we didn’t want it to snag the fabric.
STEP 5: Starting at opposite wall eye hook thread 2ft section through and secure with wire clamp. This is exactly like STEP 2 you are now doing it on opposite wall.
STEP 6: Take other end of 2ft cable and thread through the empty end of the tensioner. Pull with all your might and then secure final loop with wire clamp. This is exactly like STEP 4.
Here is how it will look with both loops on the tensioner threaded:
 Cable should now be installed and taut.
STEP 7: To place curtain panels on tension rod simply unscrew one loop of the tensioner and thread panel. We left a 1” and 1/4 opening on panel so that the cable and hardware could pass smoothly.
STEP 8: Have some one assist you in supporting weight of curtains to prevent the cable from drooping you are now ready to reconnect the loop to the tensioner.
STEP 9: Spin center portion of tensioner to tighten cable. If you have a very large window and want additional support you can add an additional eye hook in the center of wall to support weight.
STEP 10: Sit back and relax and enjoy your new chic and cheap curtains! Give your husband a big smooch for doing all the hard work!
We continued and made one more tension rod for the other wall of windows. When placing these eye hooks you will have to place it a tiny bit higher than the existing eye hook from the previous rod so that they don’t interfere.
This was a super easy and inexpensive solution to my window dilemma. Depending on your local hardware store the cable should run around .20 cents a foot, the wire clamps around .50 cents, tensioner from $1-$2 a piece, eye hooks from $3-$4 for a bag and canvas drop cloths around $10 for 6’ x 9’ section.
For one wall you will need:
4 clamps
1 Tensioner
2 Eye Hooks
Drop Cloths for curtain panel. Depending on wall size you will know if you need 1 or 2, etc to cover the wall.
The drop cloths I purchased had finished edges so I only needed to sew the section for the curtain rod to pass through. I do recommend that you give them a wash before you use them. They had a bit of smell to them from being in the package.
I liked the look of them so I left them as is, but you could dye them whatever color you like, add ribbon trim to the edges, fabric paint, nail head trim to make a border, iron on transfer for monogram the possibilities are endless.
It just goes to show that even if you have a next to nothing budget you can still improve on what you have! I love nothing better than a budget re-design.
If you need any help in decorating rooms in your home on a budget I would love to help! I have reasonable rates, no mark-ups on to the trade items and can work with any budget!
You can contact my office at 516-661-6993 or send me an email at cpavone0107@gmail.com. I’m in the NY tri-state area, but also take on e-decorating clients as well.
Related
Leave a Reply Cancel reply
get inspired with our own home tour
ON THE BLOG
My living room is one of the rooms that evolved drastically from when we first moved one. Originally I painted the walls chocolate brown and did accents of white, blue and orange. That lasted maybe 2 years.
Our dining room sat empty for months. Okay maybe it was empty for just a handful of weeks and then we couldn’t take it anymore and put in a folding table and plastic outdoor chairs, but in my mind that was still empty.
On the main floor of our house we have a Florida room. Being that it’s a Florida room it is a considered a 3 season room, because there is no heat in the room. The previous owners used it as an indoor patio with outdoor furniture and it looked like this when we moved in.
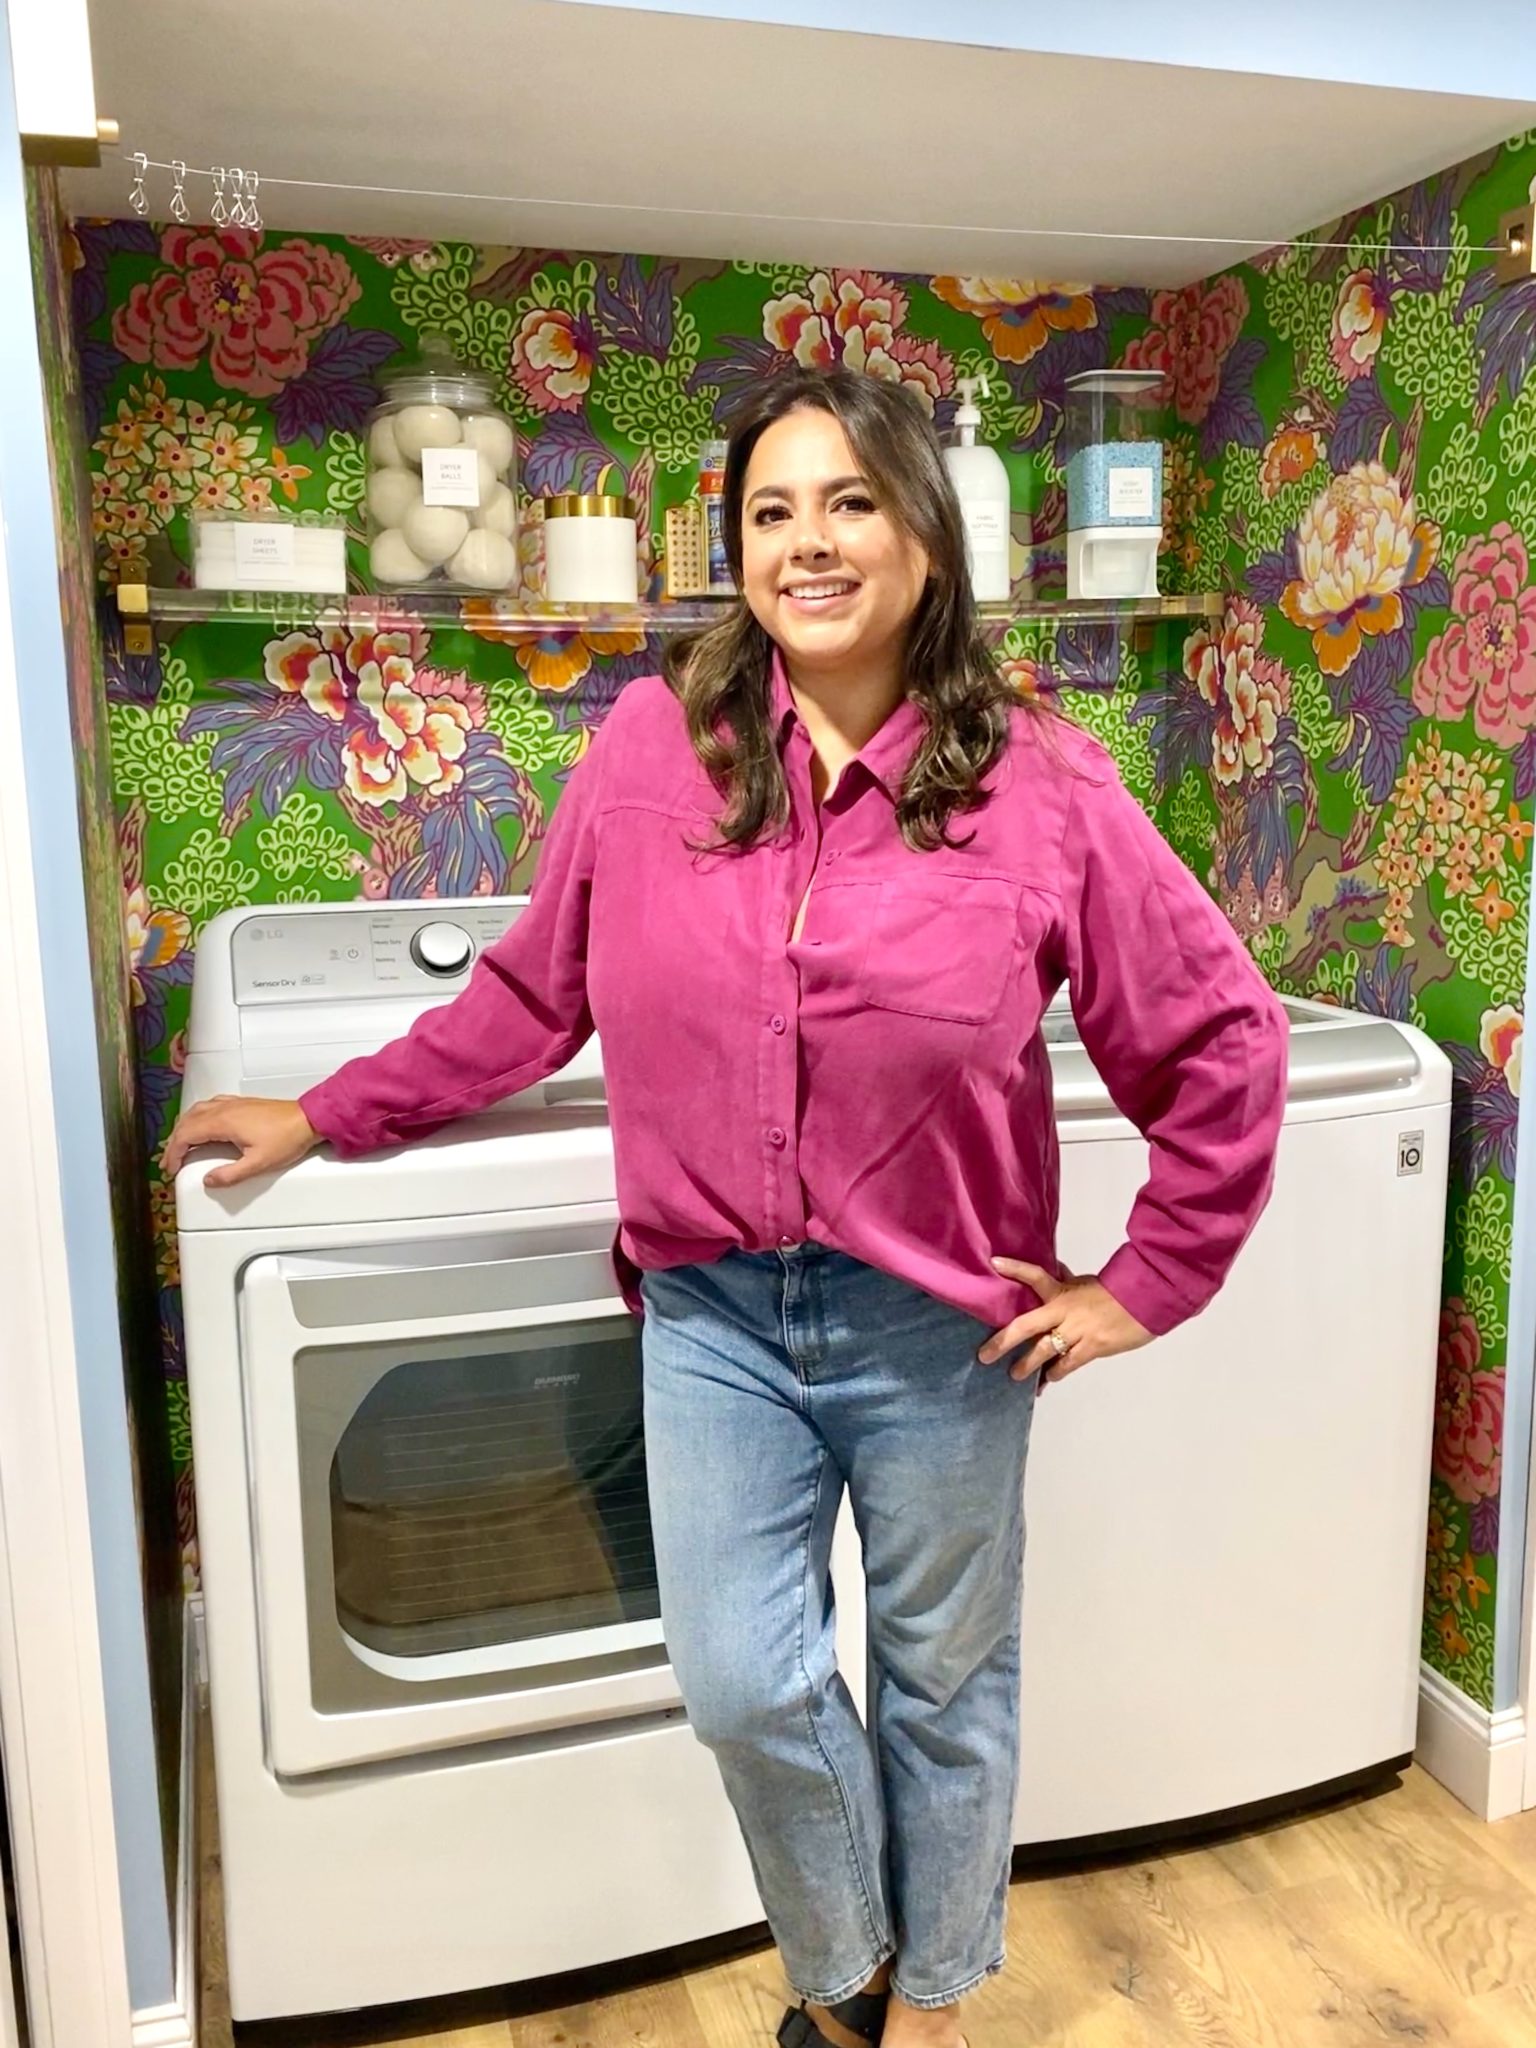
In our new home, the basement was completely unfinished. It was literally one of those dark spaces that you see in horror movies and are terrified of getting locked into. However, with the square footage in this house, I knew I needed to make the basement another workable and liveable floor of the house instead […]
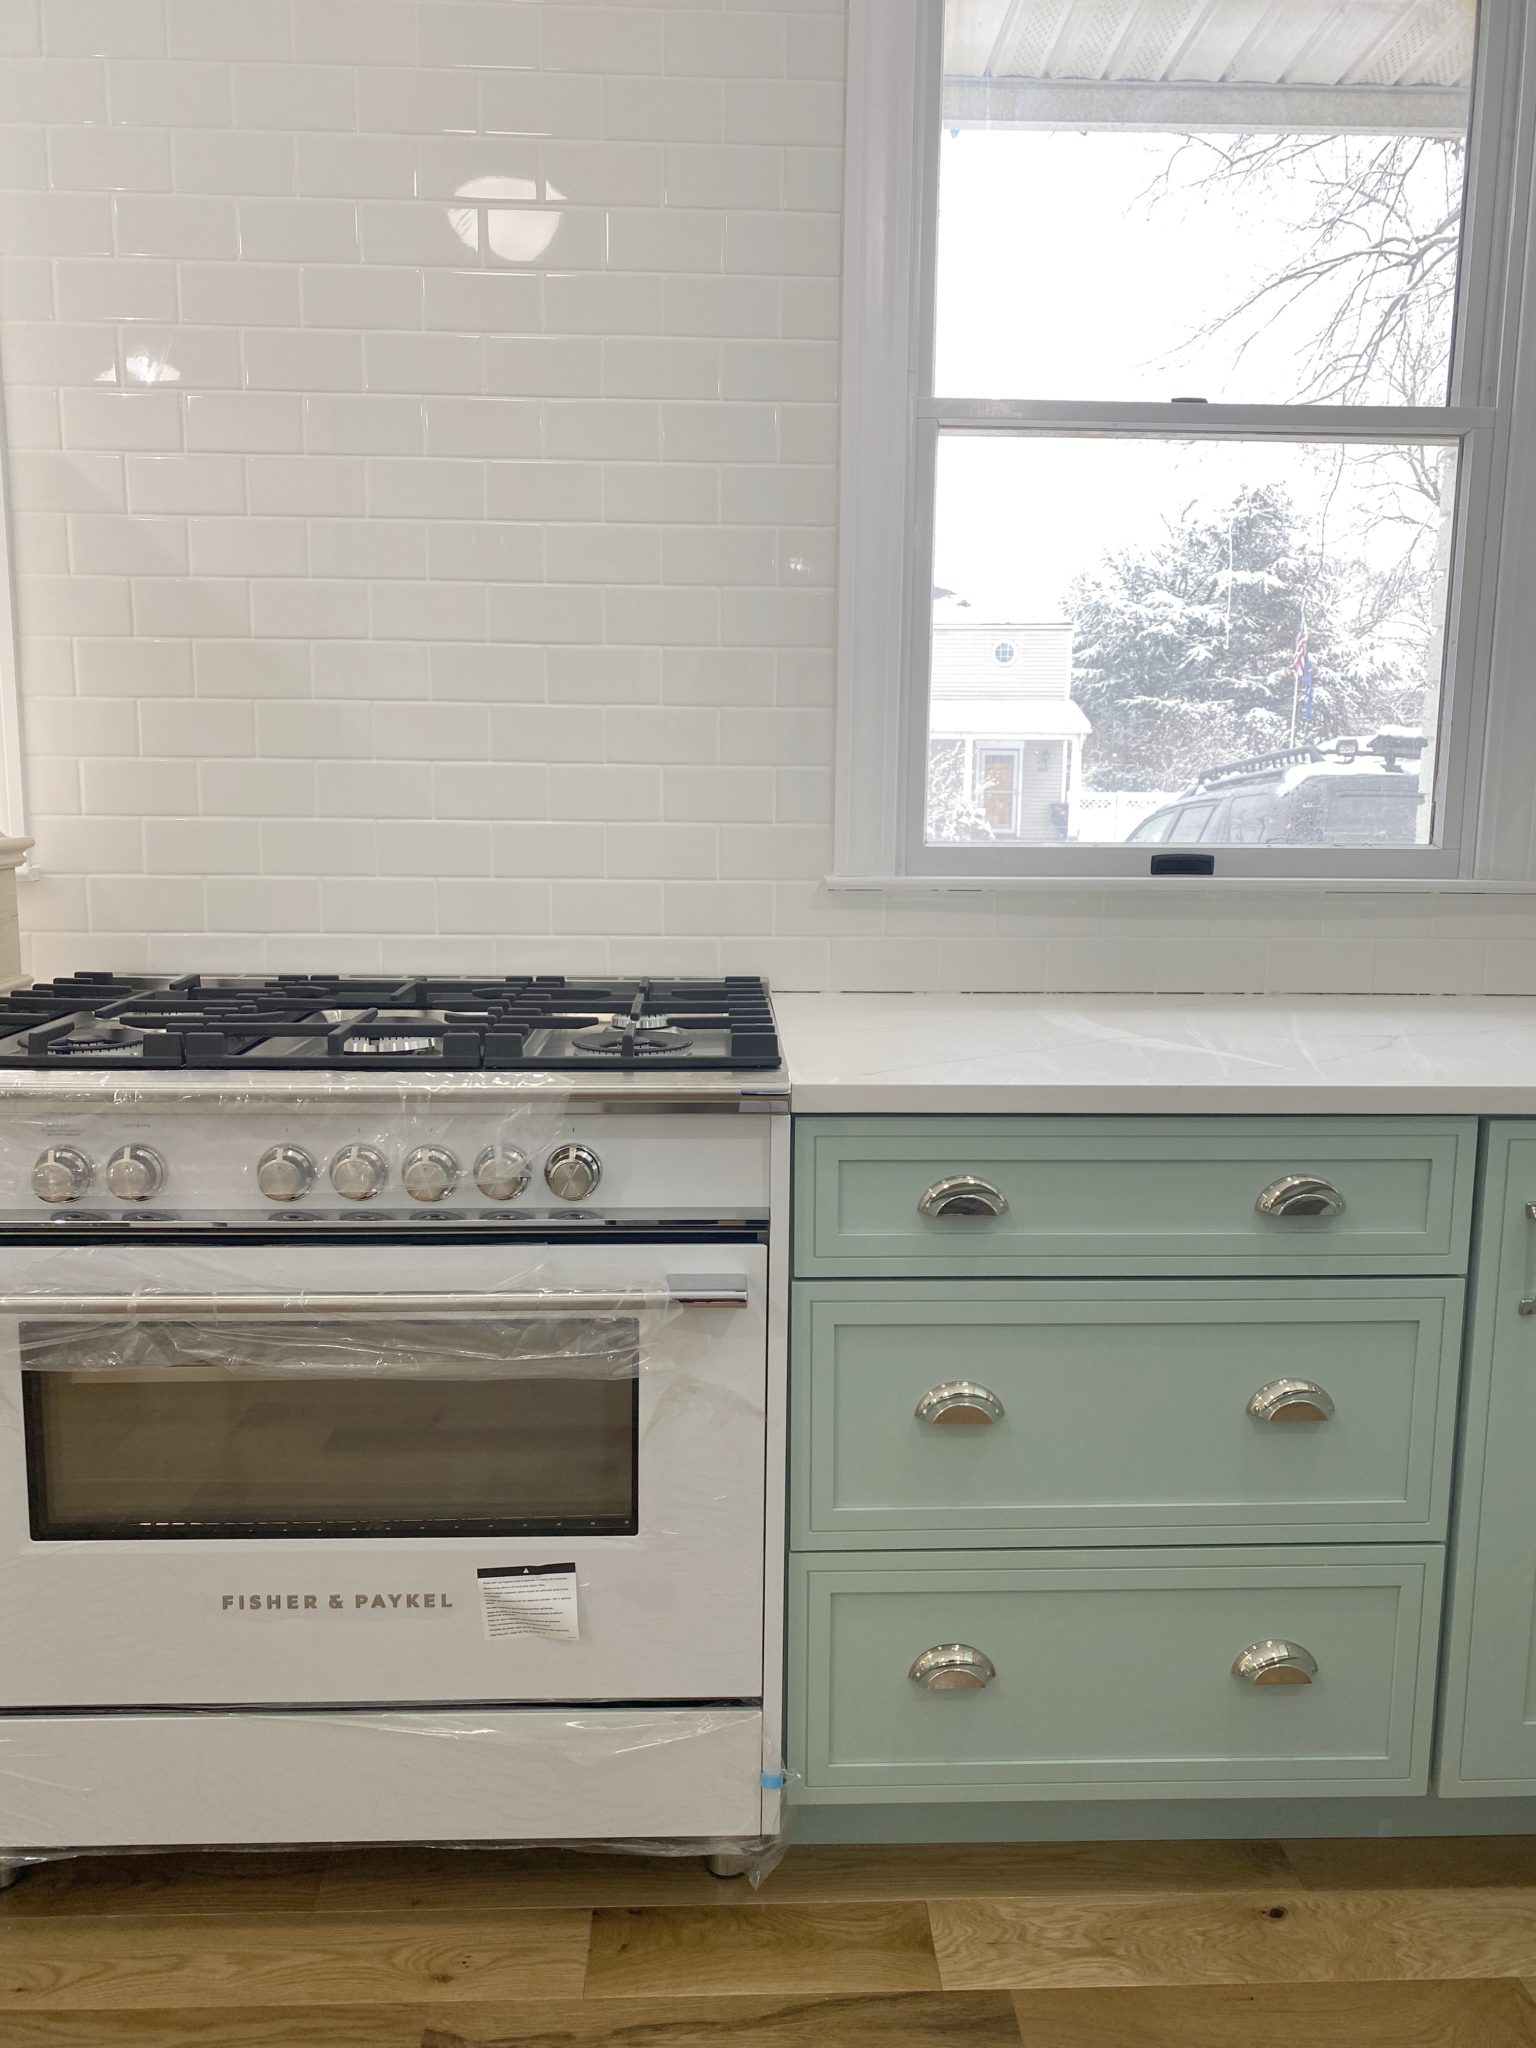
What to look for when it comes to picking out kitchen appliances: Leave room in your budget for appliances. When it comes to kitchen renovations everyone knows that the cabinetry and the labor of demoing and installing cabinetry is going to eat a lot of your budget. However, the second most expensive part of a […]
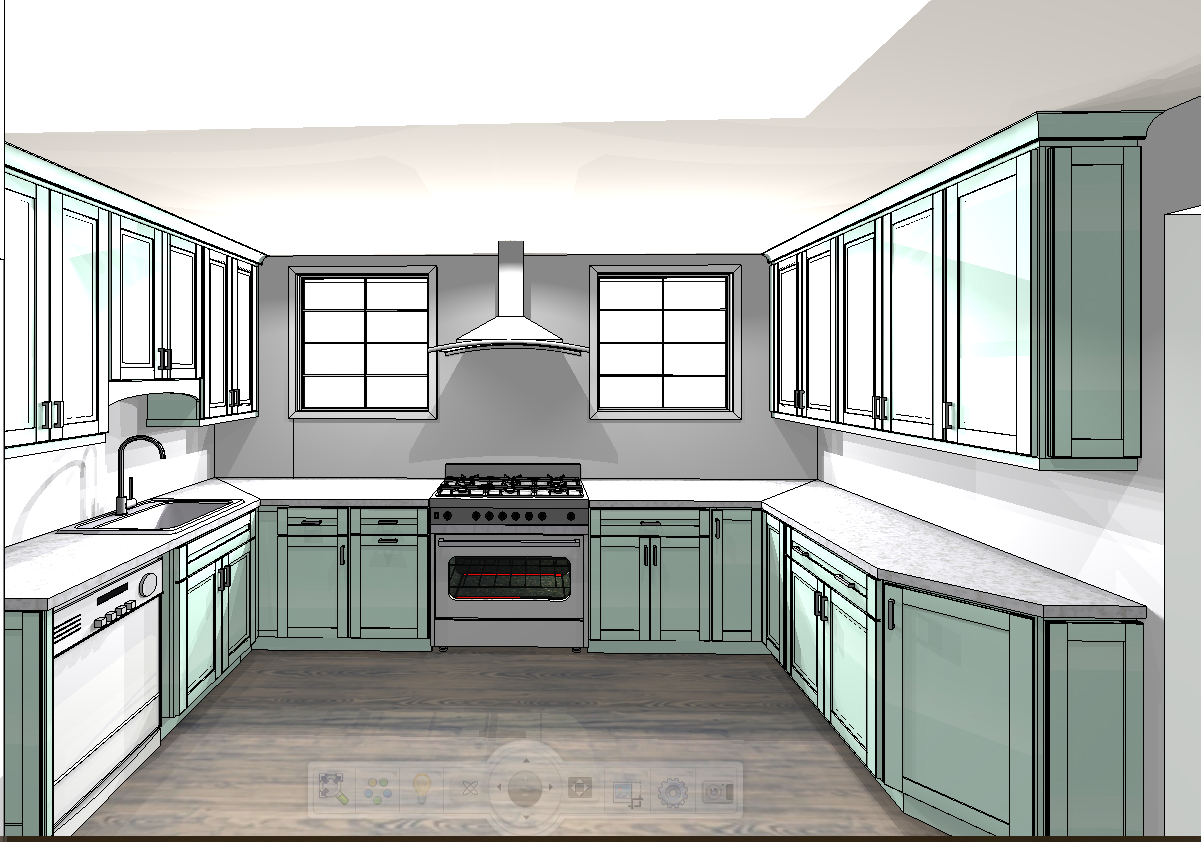
I don’t think I’m alone in thinking that designing a kitchen is an overwhelming undertaking. I’m an interior designer and even I find it stressful to iron out all of those details. So, when it comes time to design a kitchen I always like to partner with a kitchen designer to make sure I’m remembering […]



Love it!! I am sure your business will be booming!!
That's a great tutorial! And I'd heard about using drop cloths as curtains before, but wasn't too sure about how they'd look – but yours look great!!
It's so exciting that you're opening up your own business!! I wish you nothing but luck! I would love to do what you're doing, I'm just not 100% there yet…
Thanks for the how-to, I was looking for a budget friendly solution to covering my closet space. Now I have it!
That was a very good solution! Love that you are advertising for e clients too.
What a great job you did! It's nice that you can still pull back the curtains for some sunlight. Love it!
Great idea! I'm actually having the same challenge with our dining area. IKEA has a similar solution, and I think I'm heading over there asap to get my fix!! Thanks for giving me the much needed "kick in the a**" 😀
Have a great Tuesday!!
xoxo
What a great way to cover lots of windows- I love how they came out and think its a great fix!
Your office is almost there, how exciting for you!!!
Smart solution! A friend just asked for a solution to this very problem.
Those are great! Perfect!
Way to go!! Totally "chic on the cheap"! I love how it came out and how budget friendly it was! It makes such a difference when you cover up the ugly, doesn't it?
So wonderful and cleaver. Great job. Thank you so much for sharing! Wow that was a lot of work.
C- it looks great. And thanks for taking the time to post a tutorial!
I love my drop cloth ones in my bedroom.
Wow – can't believe those are drop cloths! What a great inexpensive solution.
This is fantastic! I love how well you explained the hardware. I'll be linking to this.
You are amazing! I wanted to suspend a wall of curtains behind our bed but I need to figure out a few more things before I do that. Your upholstery is beautiful too — love the print!
Kylie
xxx
You are SO resourceful!! Go girl! Looks awesome.
How clever – you make it look so easy!
VERY clever! Thanks for the directions as well. I hadn't heard about using drop cloths that way…looks great.
I love this idea! I've been trying to figure out a way to cover up back door, insulating it for the upcoming winter; but it needs to be cheap and thick. Using cables like this will allow for easy on and off as the seasons change. Thanks for instructions!
Great information and tutorial!
This turned out so lovely! And what a great tutorial 🙂 You are a gem!
looks awesome!!! love those business cards!!!!
xoxoxo
That is a GREAT fix for your window dilemma! I have lots of windows that need "real" treatments … I'd love to do Plantation Shutters throughout, but they are thousands of dollars. I might have to try the dropcloths!
I love this! And thank you for the tutorial.. this may be something we attempt in our bedroom actually!
I LOVE what you did in here. You know what your sofa looks like (and maybe you already know this) but Carrie's sofa in the Sex in the City movie.
Good luck with the biz. I'm getting up my courage to hopefully do something similar in Boston, we'll see.
The room looks great, we have a back enclosed porch that we are looking to add some privacy to that this idea might just work.
Great Blog!! Good luck with the business, I have a small design business as well, moving toward e-decorating to add more clients.
Thanks for the tutorial. Love how the room is coming along.
can we please have more pics of this room- the eye candy is just wonderful!
Great job.
Were you totally overwhelmed by all the fabric at the sewing machine?
Oh my goodness! It looks fantastic! I never would have thought to use dropcloths! 🙂 Thank you for a great tutorial!
Thank you for this tutorial (and for linking it in a recent post.) I watch the videos or the shows showing how to do it and they just go too fast.
I too have made curtains from drop cloths (for an outdoor gazebo) and LOVED them.
New follower and loving what I see!
This was really a snap to do! I think ironing the curtains took the longest… fortunately, I had a friend help with that.
I also had a couple of drywall issues… eh, it worked out. I'll send pix soon…
🙂
~Emily