
Pillow Talk: DIY steps
I’m not a seamstress by any means. I’m actually quite awful with the sewing machine. Every time I even try to use it/learn how use it something always happens. Last time the machine just died on me. Perhaps it could feel that I hate it so and just gave up on life.
So when it comes to my sewing projects for clients I reach out to my favorite seamstress and get perfection every time. Due to a time crunch and in the hopes of saving some money I decided to have my pillows made by someone local who always helps me out for FREE. Who is my local help? That would be Jon! We both took Home Ec in high school and for some reason he did brilliant and I had to go after school to finish my already crooked apron.
Well Jon decided that it wasn’t helping me to have him do all the sewing instead of me learning on my own. So he did the first one and the rest were all me!
In September I made a trip to Roberta Roller Rabbit and instead of purchasing pillows or yardage of fabric I bought napkins at $8 a piece.
I then ordered some white canvas fabric for the backs of my pillows and picked up pillow forms at JOANN’s at 50% off.
I’ve had all of those supplies sitting in the guest room since this Fall. Talk about procrastination. Last Saturday night I vowed to not go to bed until the pillows were made. I was up till 2:30am sewing, but I finished them.
Now originally I had thought I would put zippers on the pillow cases so that they could be removed and washed. Well when push came to shove that just seemed too hard. Luckily for me I found this tutorial to help me.
First step: Take your napkin and lay it fabric side up.
Second step: Take your white canvas fabric (Or what ever you are using for the backing) and cut 1 piece to be exactly half of the length of the pillow. Then cut another piece a couple of inches longer. No need for exact measurements just make sure it’s a little bit longer.
*See how my piece to the right extends past the napkin. That’s the extra length that we needed.
Third Step: Now since the back of the pillow is going to look like an envelope of some sort you are going to have two exposed edges so very quickly I sewed a straight stitch down each piece of white canvas.
Fourth Step: You will now have your napkin pattern side facing up and two pieces of white canvas each with a hemmed side.
The smaller of the white canvas pieces gets placed first directly on top of the napkin and then the larger white canvas piece gets placed on top of the that. With hem sides facing towards each other. Now you can pin everything together!
* This picture is with another napkin, but it just gives you a better idea of what the pillow should look like when you are pinning it.
Fifth Step: Once everything is pinned just run it through the sewing machine. So easy! Flip it inside out and you are done. Now you just need to stuff it with your pillow form!
Sixth Step: Once the pillow form is inserted the pillow still may need a little extra to fill it up. After all napkin sizes aren’t normally the exact size of pillow form so I used some left over quilting batting to wrap around the form.
Overall it was an REALLY EASY project and I was able to do it!
Granted it took me a while, because I did 5 pillows and had to do all the cutting, hemming, stitching and had a couple of breakdowns along the way, but it was totally worth it. Now I know exactly what I’m doing and looking forward to making many many more.
A big thanks to A Home in the Making for all the great tips and steps!
As if this post couldn’t get any longer I just need to add that I’m super excited that my guest room made it on to Design Sponge!
For some reason it’s not uploading for me on my computer, but I was able to see it on my iphone.
Related
Leave a Reply Cancel reply
get inspired with our own home tour
ON THE BLOG
My living room is one of the rooms that evolved drastically from when we first moved one. Originally I painted the walls chocolate brown and did accents of white, blue and orange. That lasted maybe 2 years.
Our dining room sat empty for months. Okay maybe it was empty for just a handful of weeks and then we couldn’t take it anymore and put in a folding table and plastic outdoor chairs, but in my mind that was still empty.
On the main floor of our house we have a Florida room. Being that it’s a Florida room it is a considered a 3 season room, because there is no heat in the room. The previous owners used it as an indoor patio with outdoor furniture and it looked like this when we moved in.
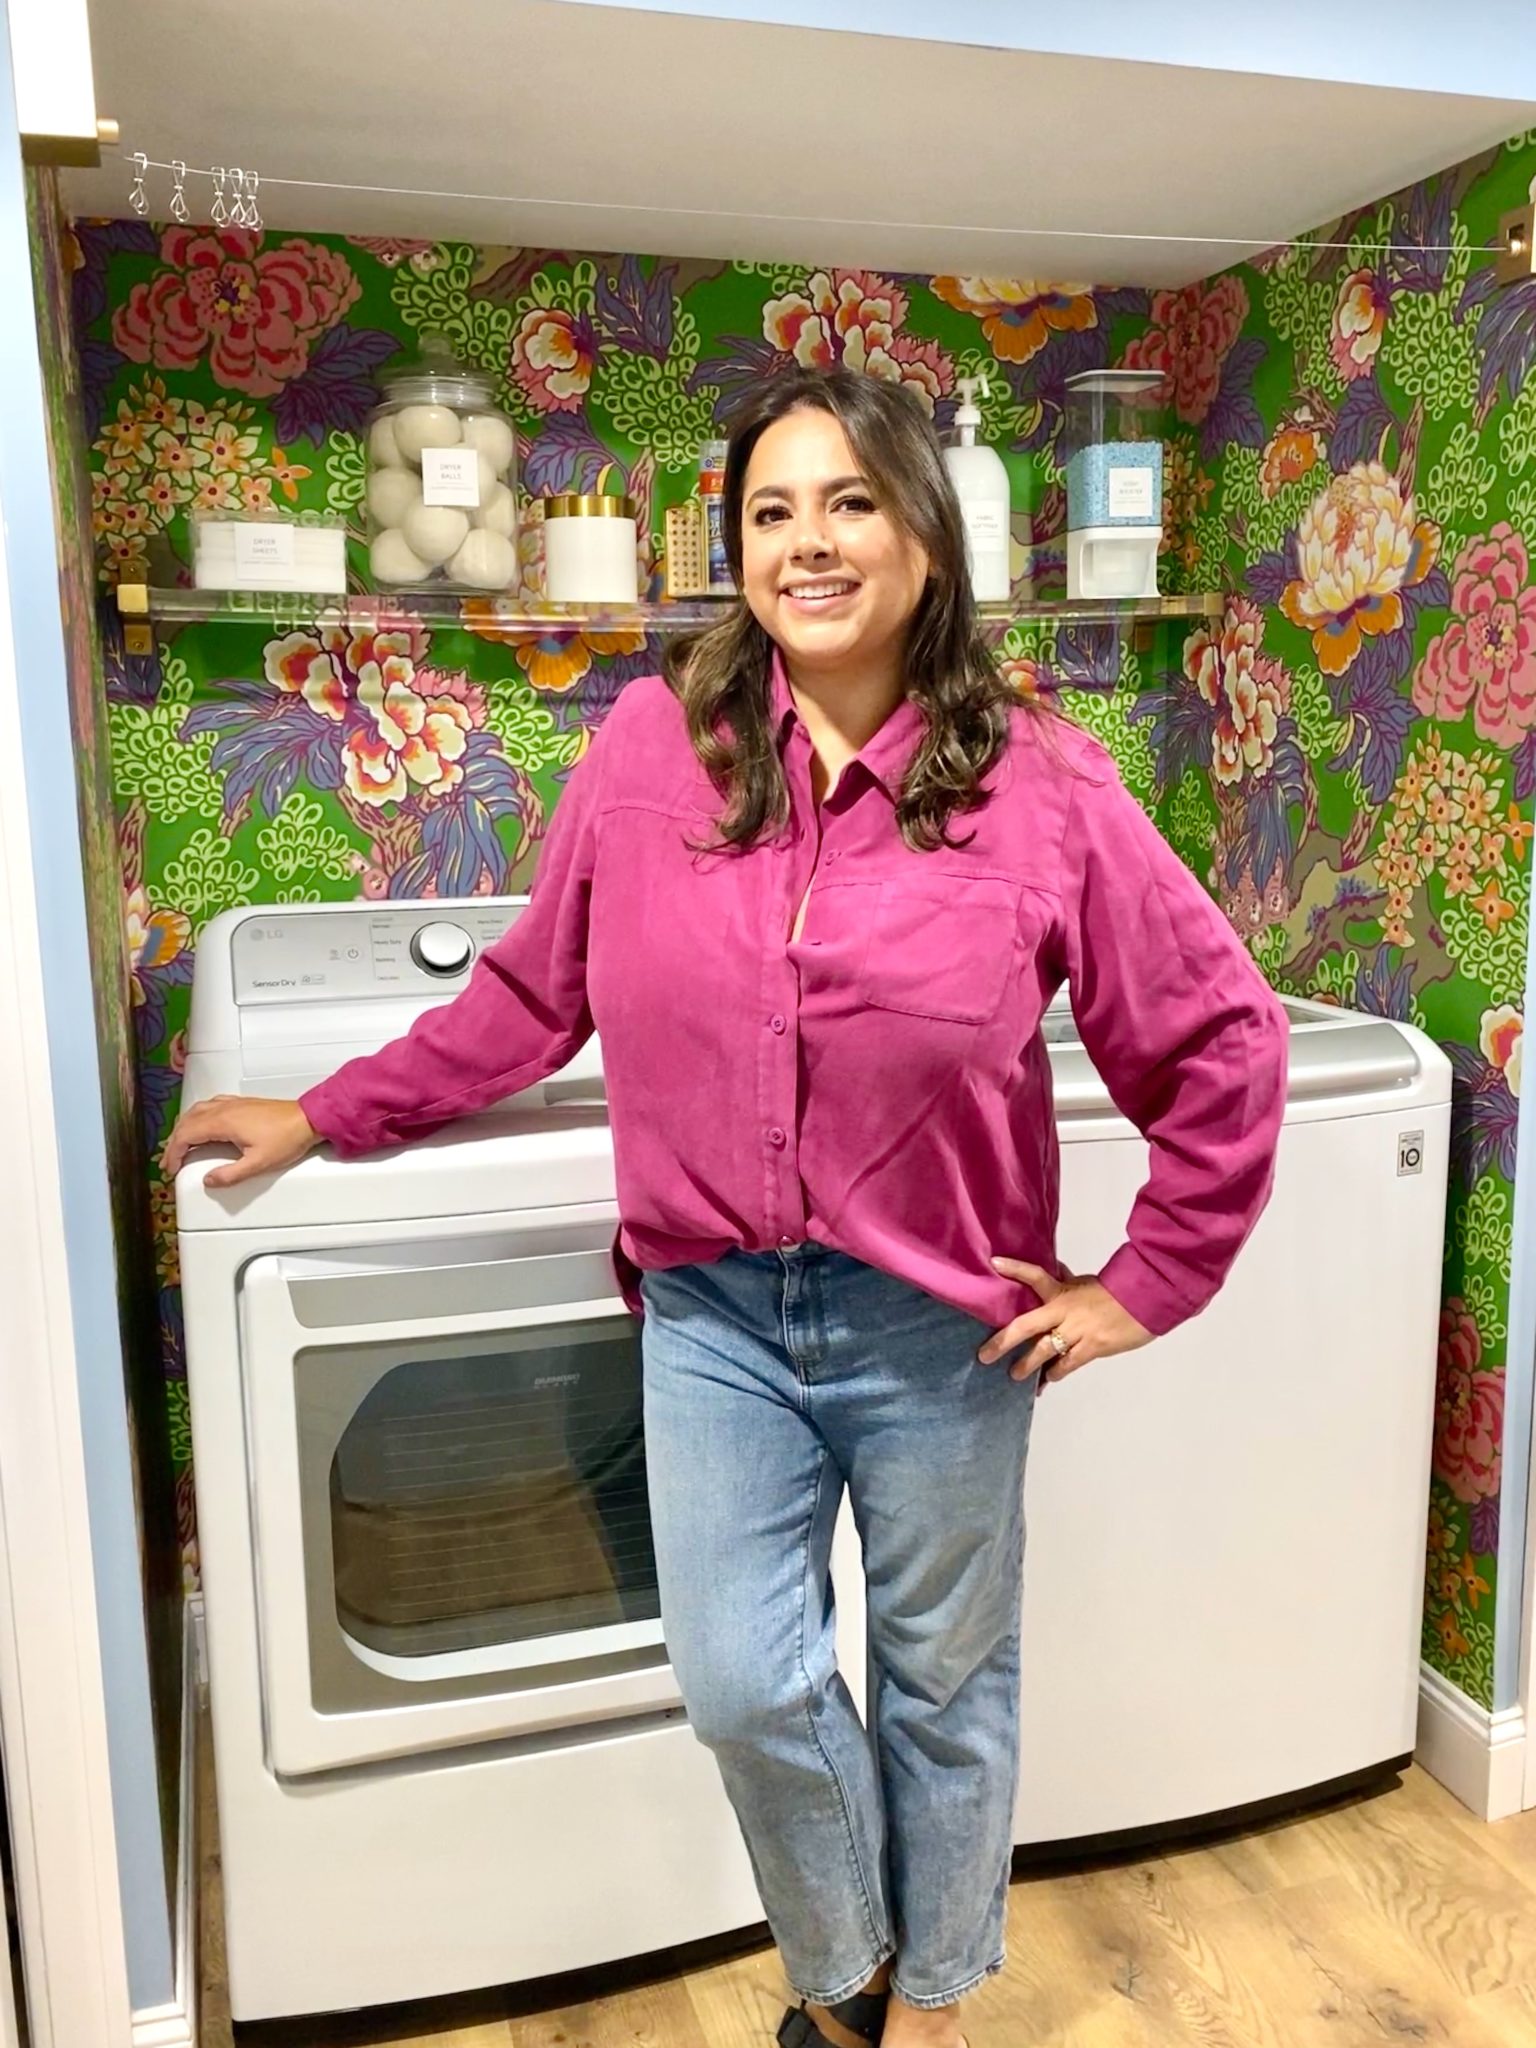
In our new home, the basement was completely unfinished. It was literally one of those dark spaces that you see in horror movies and are terrified of getting locked into. However, with the square footage in this house, I knew I needed to make the basement another workable and liveable floor of the house instead […]
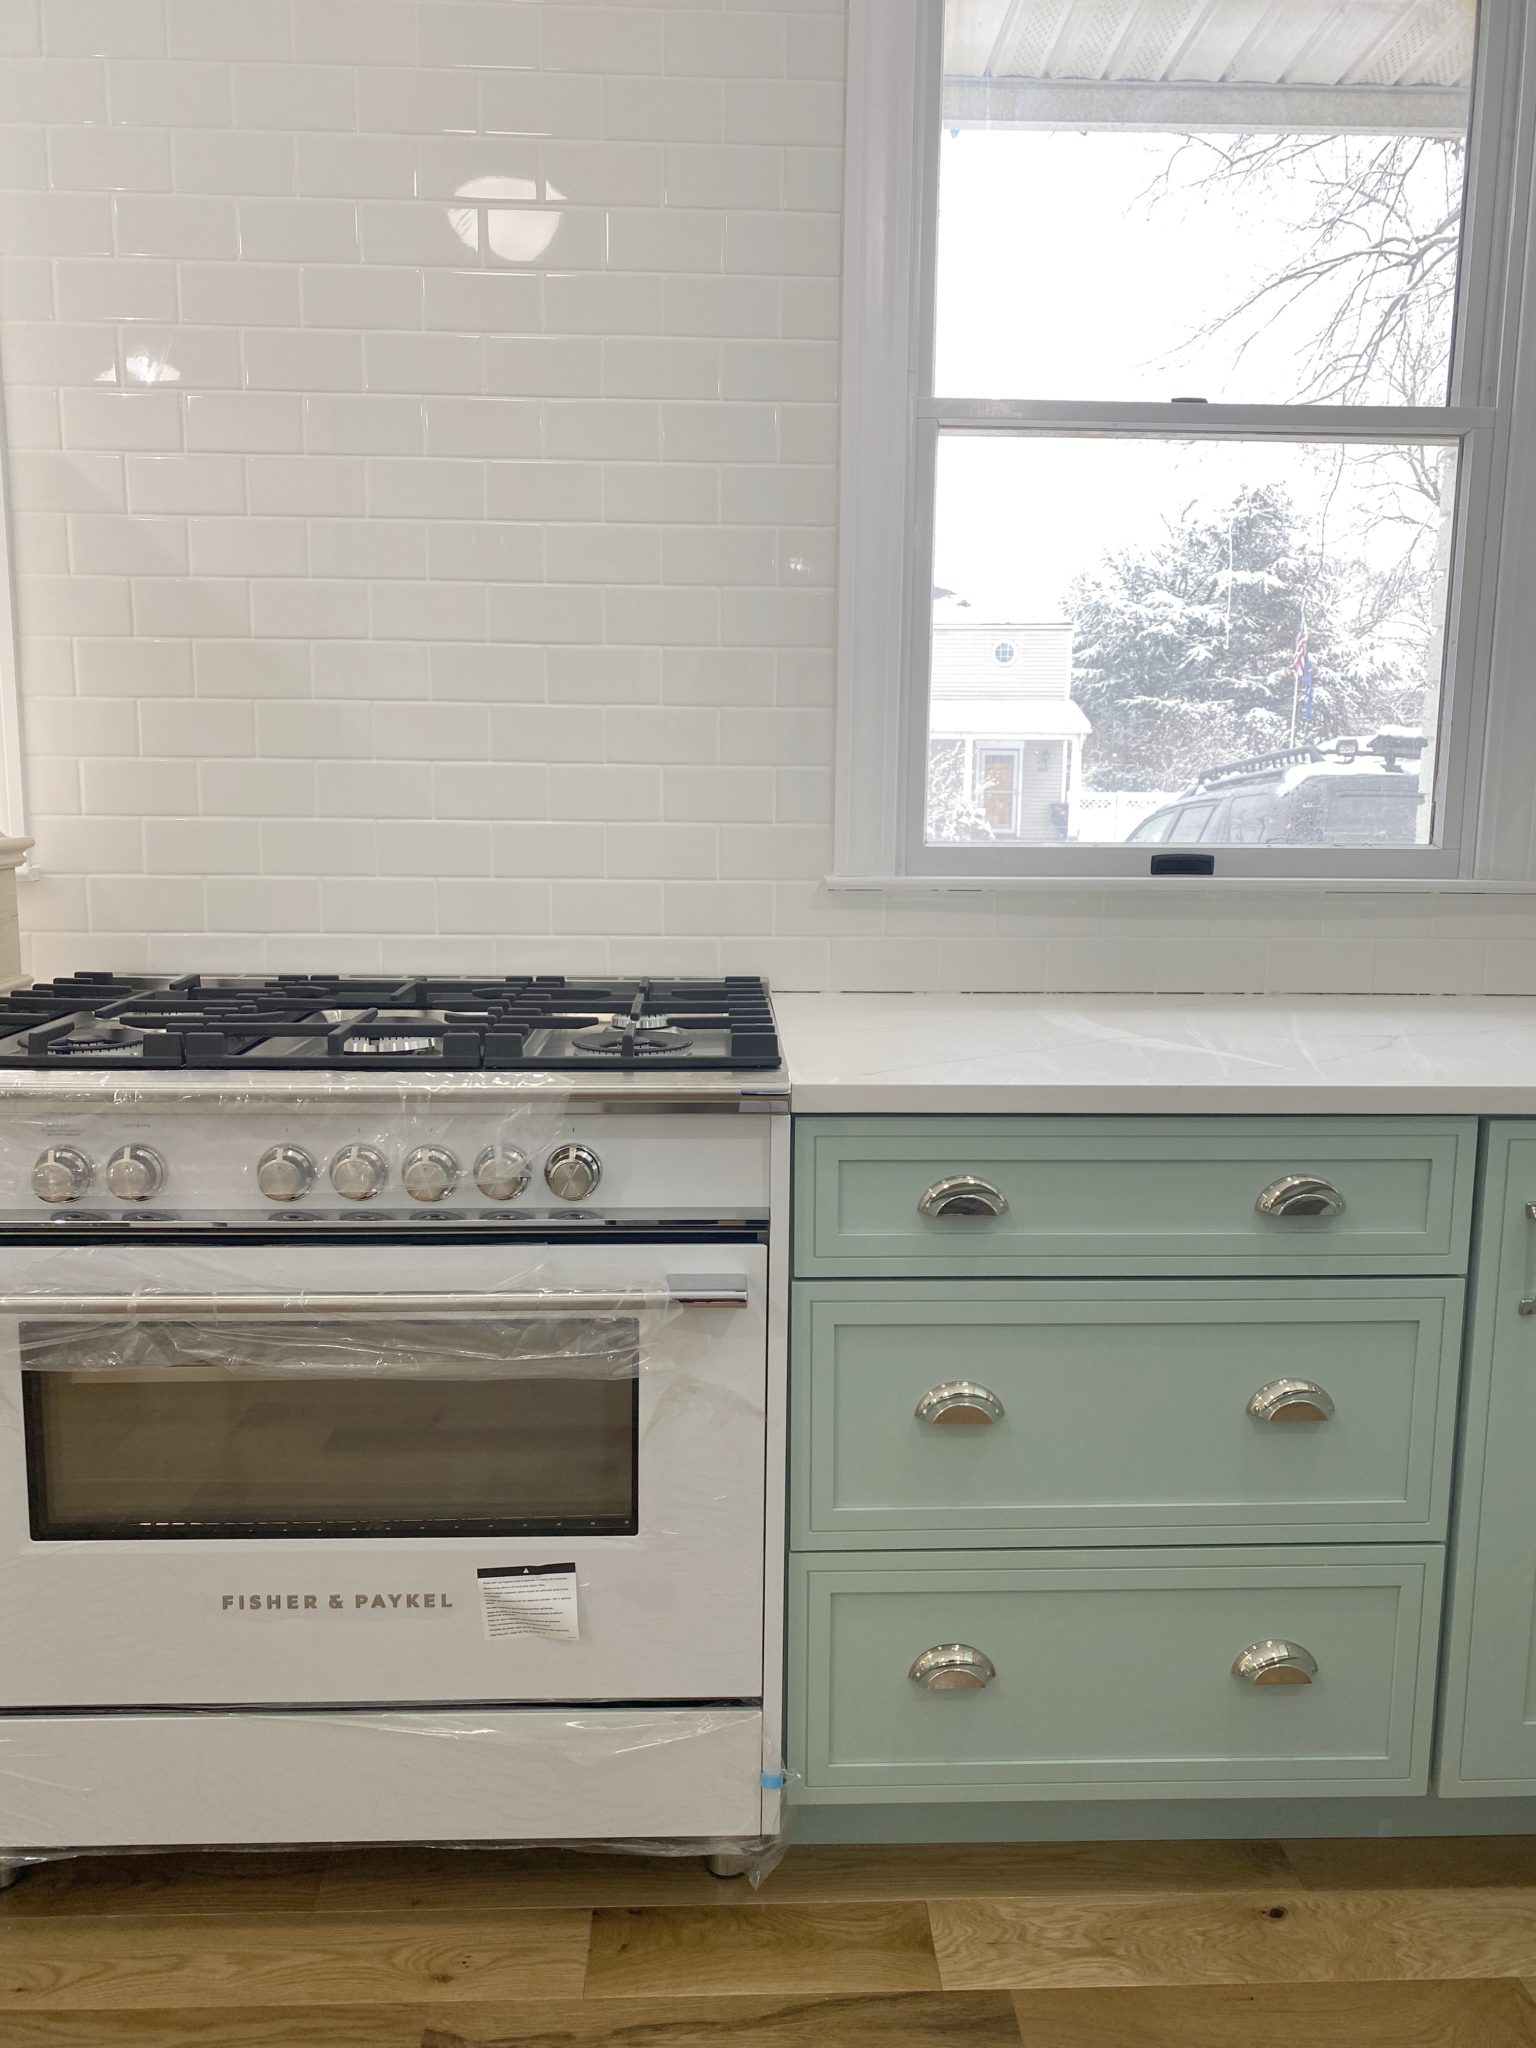
What to look for when it comes to picking out kitchen appliances: Leave room in your budget for appliances. When it comes to kitchen renovations everyone knows that the cabinetry and the labor of demoing and installing cabinetry is going to eat a lot of your budget. However, the second most expensive part of a […]
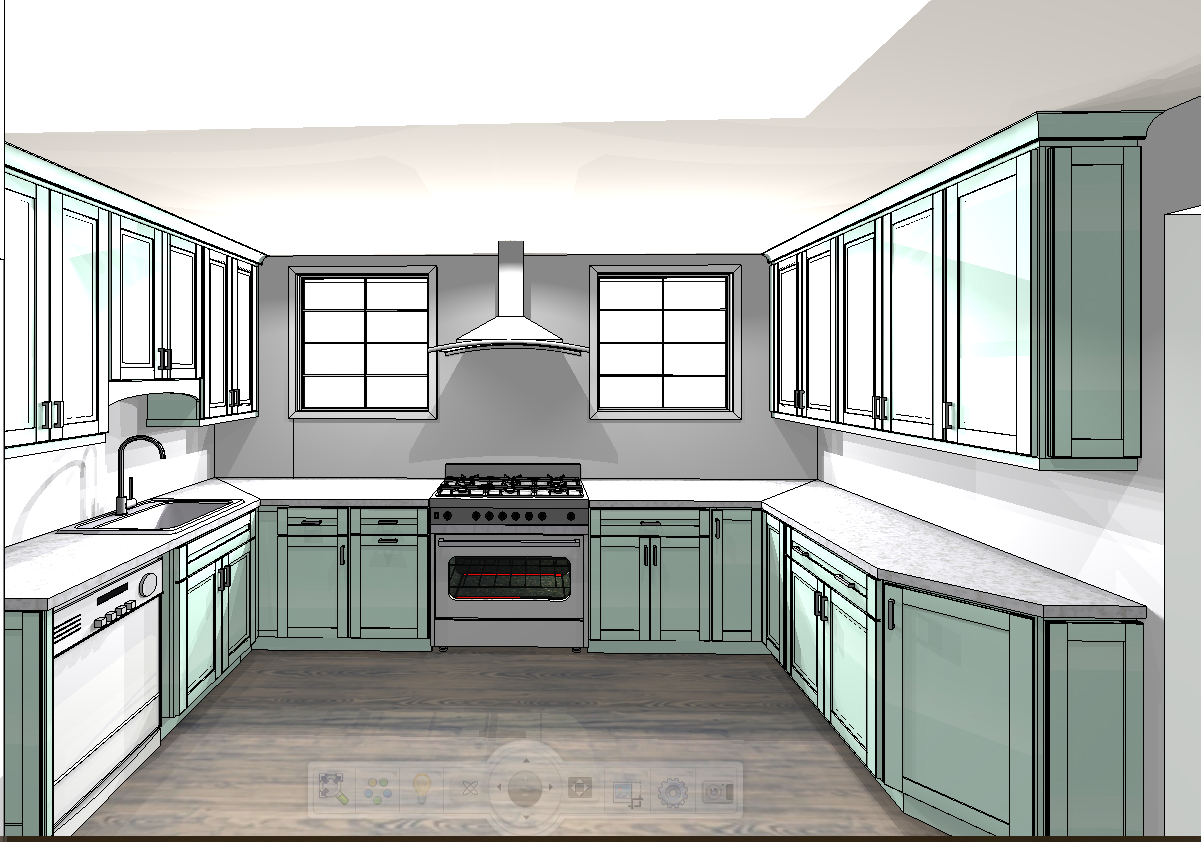
I don’t think I’m alone in thinking that designing a kitchen is an overwhelming undertaking. I’m an interior designer and even I find it stressful to iron out all of those details. So, when it comes time to design a kitchen I always like to partner with a kitchen designer to make sure I’m remembering […]



Amazing! I love how you used the RRR napkins. I am totally going to copy you when decorating my little sisters college room…Genious!
Ha, I JUST saw your space on D*S and hopped over here to see if you knew! Congrats! (Out of curiosity – did you submit your room, or did someone nominate you, or did D*S find you directly?)
That sounds complicated for me but they turned out really well!
Congrats on being featured!! Loving the pillow project!
The pillows look amazing – you did a great job!!
And congrats on being mentioned on Design Sponge – you deserve it, the room looks awesome!
Brilliant! I have some RRR napkins that I've been contemplating turning into pillows for my banquette and now you've inspired me to actually DO it.
Great idea! I hadn't thought of napkins. I have a bunch of pillow projects hanging out waiting for me to get my act together. Thanks for the inspiration!
FABULOUS!!! Love this post and it comes at a time when I want to try to sew my own. I have great fabric remnants…. I will be back to look again when I take out my machine.
look at you little miss sewing lady- I love that Jon told you he would not do anymore and that it was time you learn- what a cutie
They look great, I love the fabric you picked!
Oh my goodness — thank you for the mention!
You did an amazing job on those pillows!
They turned out great! Thanks for the step by step instructions. I'll hold on to this post in my email to refer back to later Thanks!
You are such an inspiration!! I'm so excited to try this myself. If only I had a sewing machine. In time I will.
I'm so glad you posted this! I just ordered some great fabric to make pillow covers, but have yet to take my sewing machine out of the box. I'm inspired now and will make a serious effort to sew them over the long weekend.
I don't consider having a project sitting around since fall procrastination. I have projects that have been sitting for years. The pillows are adorable and I love the idea of using napkins.
Fantastic job- you have inspired me to get my machine out! you made it look easy peasy…..KG
Could you just make me some pllllleassse?? So cute! Great job!
They look wonderful and i love the tutorial! i am a sewing fiend these days and the first thing i did when i got my car freed from the snow, was drive over to debois, but they weren't open.
ps. congrats on d*s!
That IS easy, thanks for sharing
These look amazing! I wish I had a sewing machine. I would make a ton of pillows in a lot of great fabrics.
It's good to know I'm not the only one who breaks down when I sew These are amazing! You did such a great job!
You did a great job! The pillows look fantastic.
Love those pillows, and congrats on the feature!
Great job ! I just made some out of some fancy hand towels that were on clearance at Home Goods for $1.00.
These are great! Talk about going above and beyond for a client. I found you through another blogroll and I'm so glad I did – I will certainly be back. BTW, I asked for a sewing machine for Christmas one year, my mom bought it and she has been the only one to ever use it!
Incredible job! LOVE the "fabric" you used ~ such vibrant colors! They really look great
I love these and you did a great tutorial! The one thing that I learned when I made some pillow covers like this is to leave an extra inch or two of overlap in the back in case your pillow is extra fluffy. My first pillow cover had a gaping back when I stuffed it because the overlap wasn't quite big enough for the fluff!
How clever. I love all fabrics you selected.
Just stumbled across your blog (mine is loveofinteriors) great tutorial- and I'm with you on the sewing dilemna! I have been on the hunt for pillow fabric that I can see and quickly buy (as opposed to order) and cheap too. So using napkins instead is a great idea. Oh- and your guest room is very fun!
I'm a big fan of making pillows out of napkins. So easy. Yours look fabulous!
Congrats on the D*S feature! Everything looks amazing…and this pillow idea, brilliant. I still can't get over the fact that your husband can sew…so jealous!
Very nice job with those pillows! I have a pile of cool fabric just waiting to be used……maybe I'll get to it this winter!