
Partial DIY Reclaimed Dining Table
A couple of months ago I started sourcing a reclaimed dining table for a client. One would think this would be an easy task since these days they seem to be everywhere, but I kept coming up empty handed. We needed something on the small size and didn’t want to spend a huge chunk of our budget since their current apartment is not their forever apt and we weren’t sure what they would need in a new space.
I searched through big box retailers, etsy shops, to the trade and even priced out having me DIY the building of the table myself. Every thing was coming up over budget.
I finally found a solution that helped fulfill our design and budget needs and it only need a little bit of DIY love.
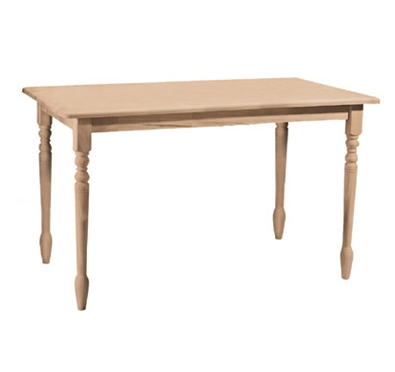
Enter our unfinished farmhouse table:
{$163.95}
* Note: I had originally searched many unfinished wood pieces websites, but for some reason their prices were still really high. When I started to search for unfinished pieces on furniture websites that carried mostly finished pieces and sets I found more budget friendly options.
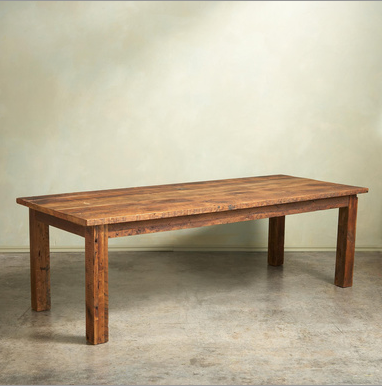
We then examined our inspiration pictures and settled on one that had our favorite color story:
{Longmont Table from Sundance Catalog retails for $1,495-$1,795}
Then we got to work. I found that there is a lot of information on reclaiming furniture if you are going about it with paint, but the information seems to dwindle when you simply want to do it with stain. So I read up on what I could and then took creative license on my own.
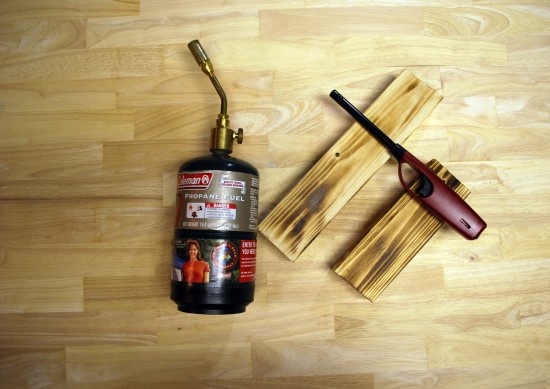
Here are some of the items we used to distress the table:
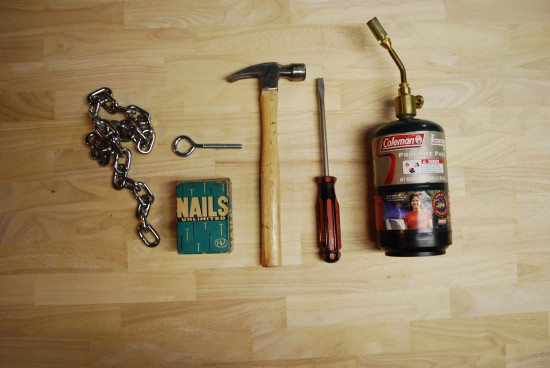
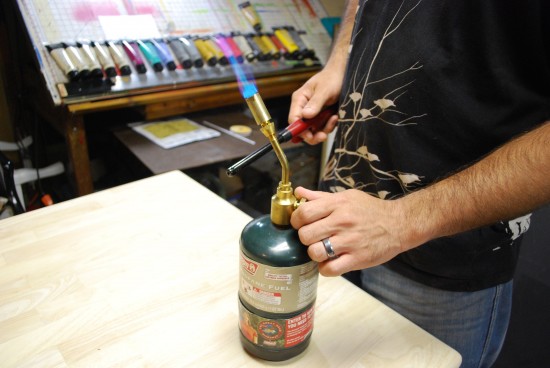
I must say the item that made the most impact was the propane torch. Before we went to town on the table we played around with scrap wood to see how dark we could get it.
After getting our confidence up with the scrap wood we were ready to work on the table:
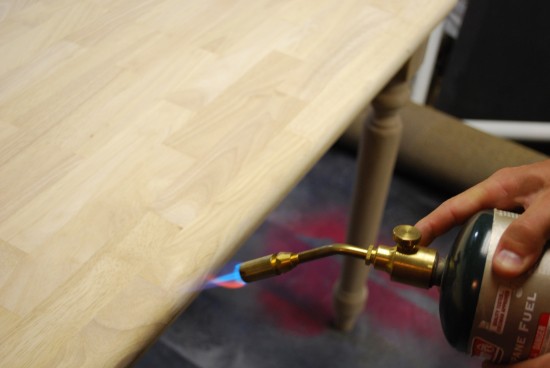
{The flame really goes out pretty far and fans out from the torch. So be careful if you are spraying with other people around. I may or may not be making this disclosure, because at one point either I almost set myself on fire or Jon. Whoops. }
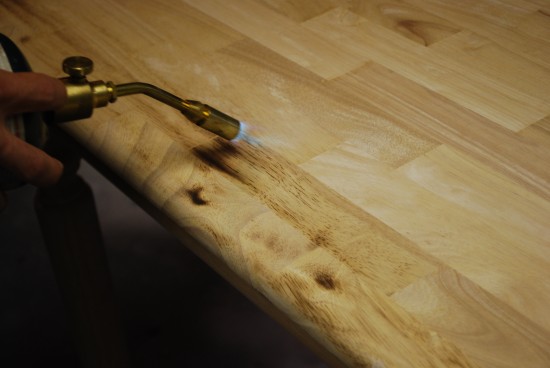
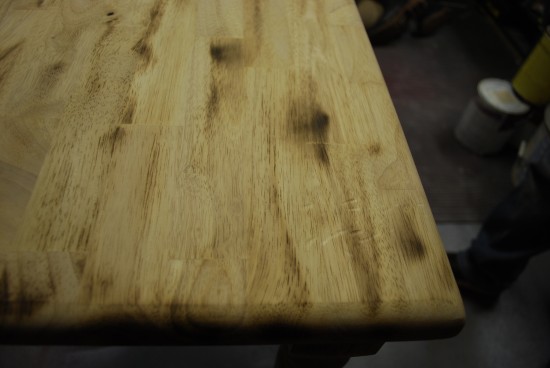
The technique for using the propane torch is pretty straight forward. You use the same technique that you use with spray painting. You need to go slow and steady continuous motion. If you stay in one spot for even a second too long you are going to get a much darker mark.
Some parts of the wood doesn’t take to the propane torch like other parts. Don’t get frustrated if it seems like a section won’t get darker it just need additional rounds with the torch.
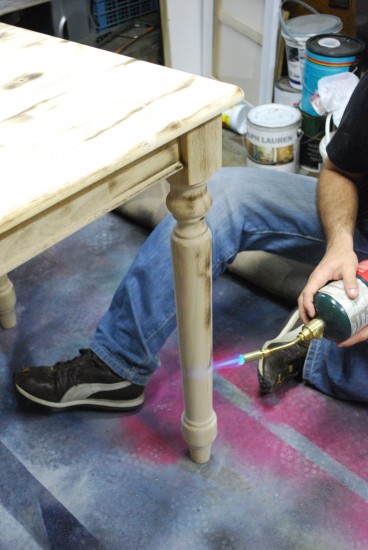
Don’t forget to give the legs a little action:
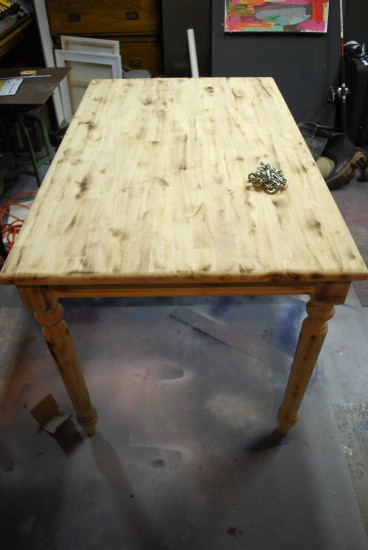
Here we are all finished up and ready for our next step:
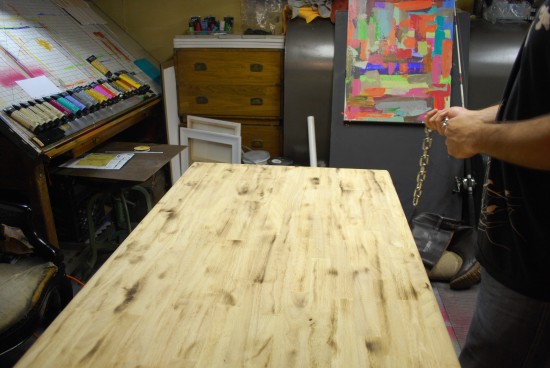
Now that the table has some added color dimension to the piece it’s time to add some texture to the piece. First step is using some chain to bang around the table:
You simply take a piece of chain and start banging.
You will start to see marks like this appear:
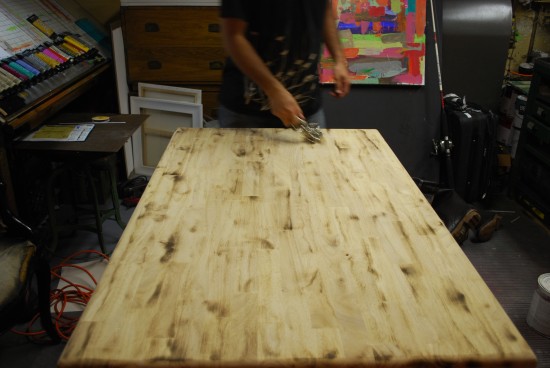
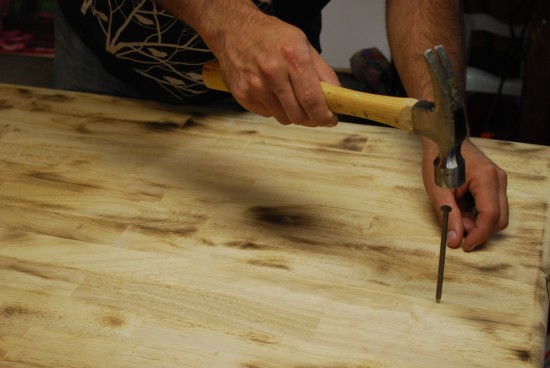
After that we went to town with the hammer. We used it to hammer in nail marks and simply just bang it around the table to make dents all throughout the table.
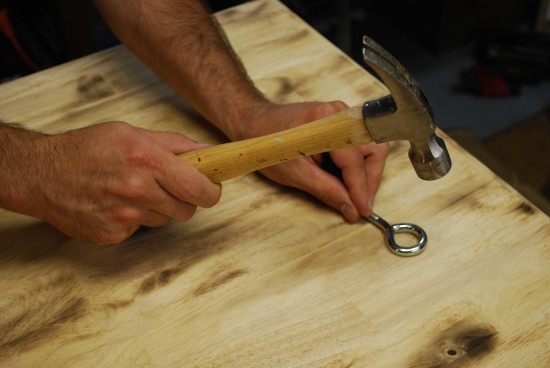
We then found an eye hook and used it to make some unique circular marks that we sprinkled throughout the table:
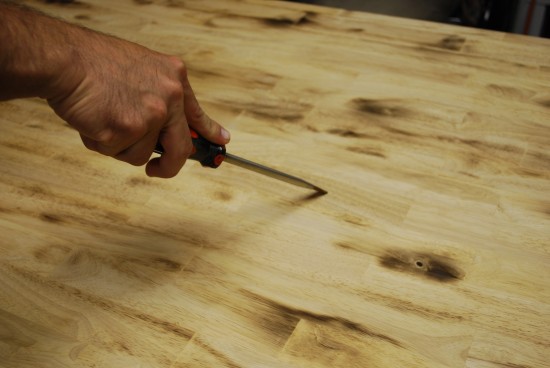
We also used a screwdriver to make some nicks and grooves on the table.
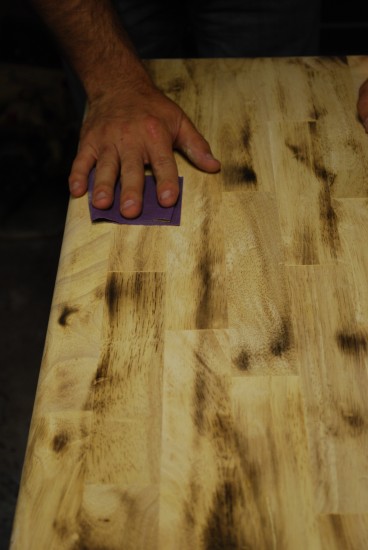
After the burning and all of the nicking that is done to the piece you will get some raised grain. You need to give the table a very light sanding job with 220 grit sandpaper.
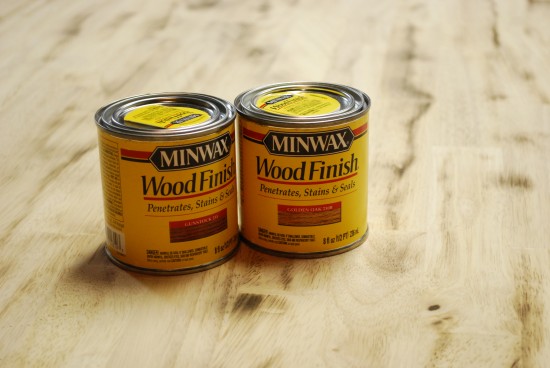
Now we are ready for stain. I couldn’t find the perfect stain color at Home Depot so I made purchased two:
{Gunstock & Golden Oak}
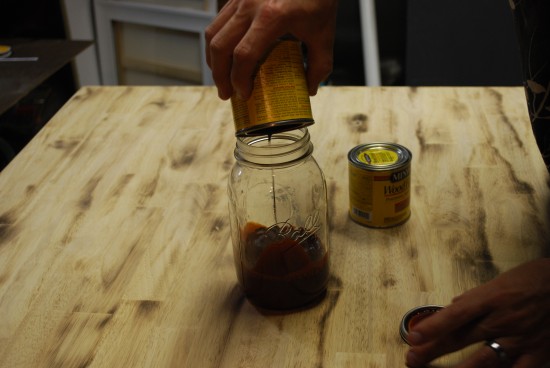
And mixed them together to get the perfect shade:
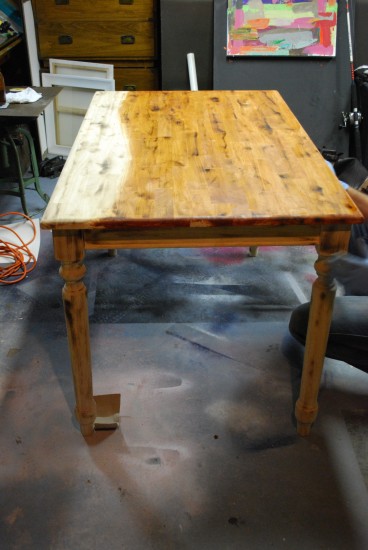
Applying it was super easy. We used a clean rag and just started applying and wiping it to get the perfect color:
Almost finished:
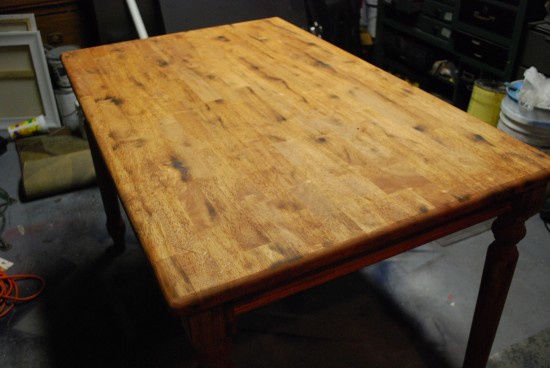
All done:
As you can seeing making the burn marks really made all of the difference. Now you can finish the table however you see fit. We wanted to keep the rustic/reclaimed look to it so going with a gloss wasn’t going to cut it. I searched high and low for a matte/flat protective finish and finally found one at my local craft store:
It is traditionally meant for art projects, but can be used on wood. We applied it quite easily to the piece and it left a nice protective film over the table. You need to be careful with a matte finish, because at times it may look opaque in certain sections. All you need to do is go over the piece with a wet cloth and the opaque look will go away.
I will update with additional pictures once the dining room is all wrapped up.
Related
Leave a Reply Cancel reply
get inspired with our own home tour
ON THE BLOG
My living room is one of the rooms that evolved drastically from when we first moved one. Originally I painted the walls chocolate brown and did accents of white, blue and orange. That lasted maybe 2 years.
Our dining room sat empty for months. Okay maybe it was empty for just a handful of weeks and then we couldn’t take it anymore and put in a folding table and plastic outdoor chairs, but in my mind that was still empty.
On the main floor of our house we have a Florida room. Being that it’s a Florida room it is a considered a 3 season room, because there is no heat in the room. The previous owners used it as an indoor patio with outdoor furniture and it looked like this when we moved in.
In our new home, the basement was completely unfinished. It was literally one of those dark spaces that you see in horror movies and are terrified of getting locked into. However, with the square footage in this house, I knew I needed to make the basement another workable and liveable floor of the house instead […]
What to look for when it comes to picking out kitchen appliances: Leave room in your budget for appliances. When it comes to kitchen renovations everyone knows that the cabinetry and the labor of demoing and installing cabinetry is going to eat a lot of your budget. However, the second most expensive part of a […]
I don’t think I’m alone in thinking that designing a kitchen is an overwhelming undertaking. I’m an interior designer and even I find it stressful to iron out all of those details. So, when it comes time to design a kitchen I always like to partner with a kitchen designer to make sure I’m remembering […]




What an amazing transformation and such a great tutorial!!
Job well done!! It really does look like even I could do this!
xoxo
Karena
Art by Karena
I have an amazing Giveaway from the Artisans at Novica. You will love it!
oh, wow. that table looks great. I would never have thought to look for unfinished tables.
I must say, your “distress kit” is pretty intimidating. I’d hate to be caught trespassing on your yard. lol.
I thought the same thing Heidi. It looked like a torture room down there when we were prepping.
I did this to a thrifted table that I made two toned with the top remaining wood which I distressed. It was the BEST stress reliever hitting the mess out of that table top. Love what you did with the torch!
as usual you are a fountain of information for the DIY minded!
Great project! Really enjoyed the tutorial.
Looks gorgeous!!! Thanks for sharing!
you two are amazing
What an awesome idea! I had no idea it was that easy!
It looks amazing! The torch idea is brilliant
Wow! I’m really impressed! The table looks great. Can’t wait to see it in the finished dining room! xoxo
You two are incredible…it looks amazing! And you always give the best tutorials. Now stop playing torture in the basement and get thee to the post office!
I would have never thought to use a torch – how creative! the table looks wonderful… can’t wait to see the dining room.
Wow- I am so impressed. I wish I had a shop so I could diy my own table! I would have never thought of he blow torch but its brilliant!
Wow!!! This is gorgeous! I would have been so scared to try to burn the table, but your pictures make it look pretty easy.
Your table looks great, you all did a great job!
Wow, what a great re-do! Love all the knicks and burns!
Megan
Fantastic job!
Wow! This looks fabulous! Thanks for the mini tutorial on the propane torch!
May I ask where you found the table? I’ve been shopping around for an unfinished table just like this one for several months, and like you said, everything seems like it’s a bit over budget.
Oops! ::facepalm:: Thanks for reminding me you posted the link