
DIY: Cheap High-Hat to Pendant Conversion
Since I had lots of little projects that I needed help on this past weekend I thought it was only fair that Jon got to have a little fun as well. So Saturday morning he went off fishing and came home with dinner!
While Jon was doing that I stayed home and did some prep work on our little projects.
When Jon returned the first project up was adding some pendant lights above our kitchen sink.
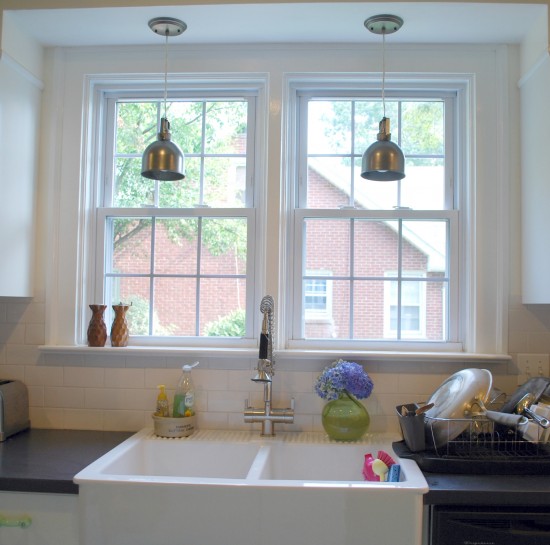
Here is our before:
Nothing wrong with it, but since the whole kitchen is lighted with high-hats I wanted to have a little bit of fun with lighting and the easiest place to get my fix was above the sink. Like I mentioned in last weeks post I didn’t like any of the options in the recessed lighting & pendant combo kits at my local home improvement stores and a simple recessed lighting converter kit without the pendant still came in at $40 and I wanted something a bit more budget friendly.
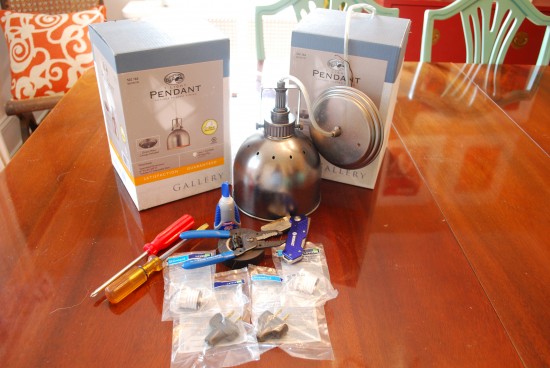
Here is what you will need to get the look for less:
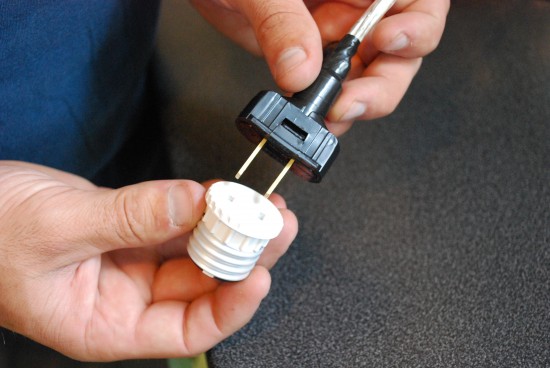
The crucial pieces to my less than $5 converter solution are these:
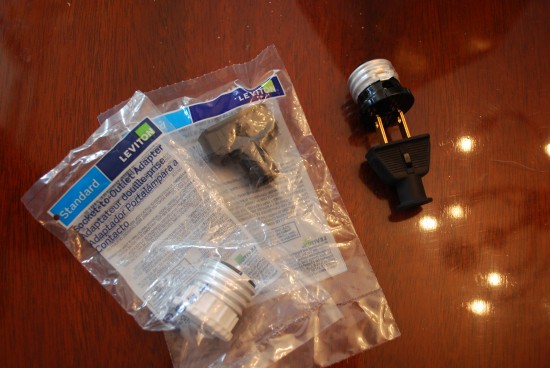
Socket to Outlet Converter
Non grounding plug
Here is how it works.
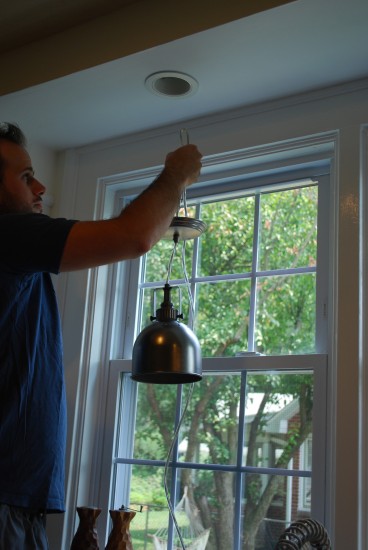
Step 1: Figure out the perfect spot for your lighting and measure length.
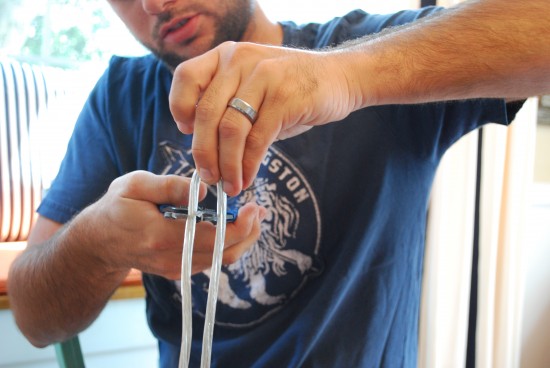
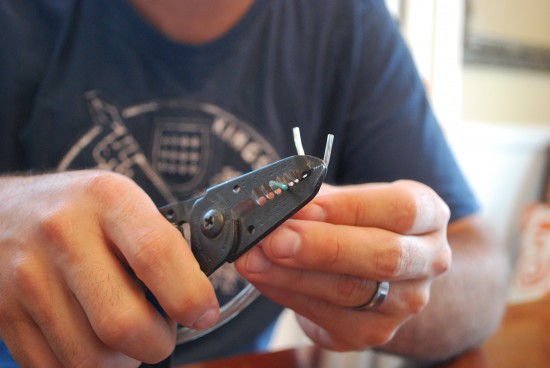
Step 2: Add an additional inch to your measurement and then cut wire with a wire stripper:
Step 3: Use a razor to slice open the tubing the wires are encased in:
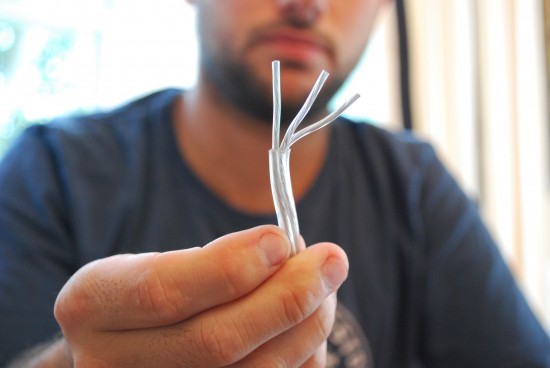
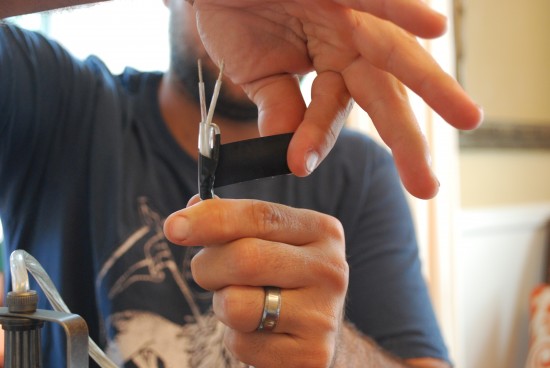
{When you check out the wires some pendants will have 2 and some will have 3. Ours came with 3 which meant our green wire was a grounding wire. Because we didn’t have a grounding outlet we disregarded the green wire.}
Step 4: Take your wire stripper and strip your wires:
Once the two wires are exposed we took the grounding wire that was unnecessary for our project and wrapped it against the tube casing with electrical tape:
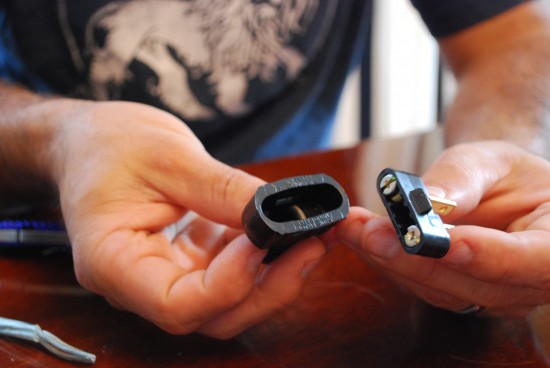
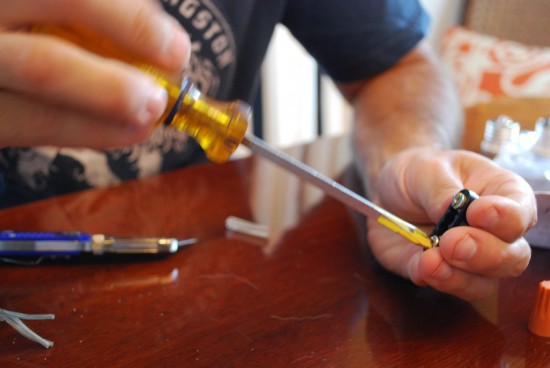
Step 5: Take your non grounding plug and pry it open:
Place bottom piece through wires:
Take the opposite end of plug and loosen screws:
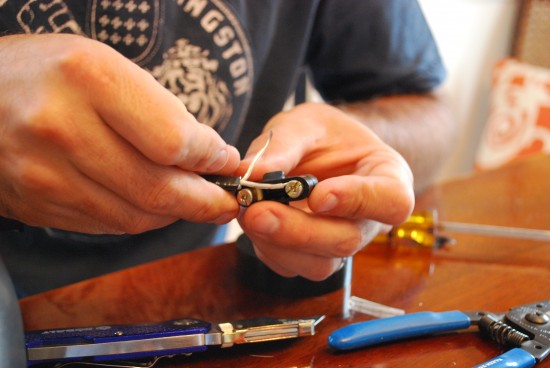
Take your wires and thread them around screws:
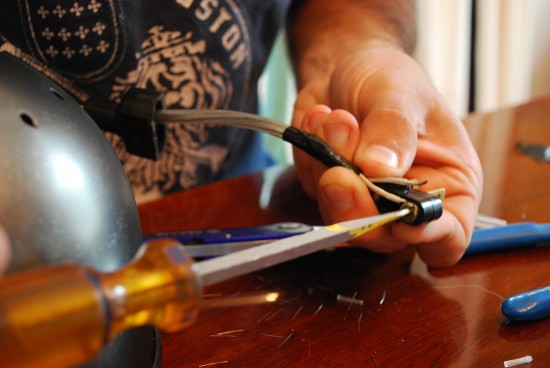
One wire behind each screw and then tighten:
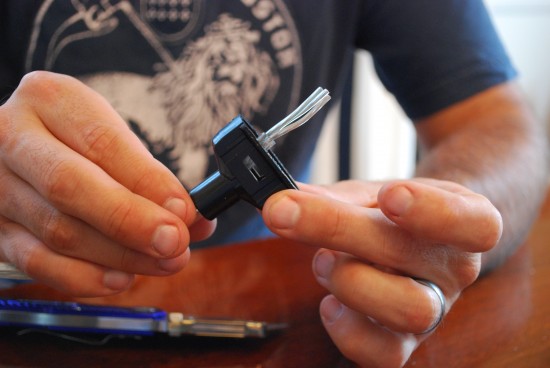
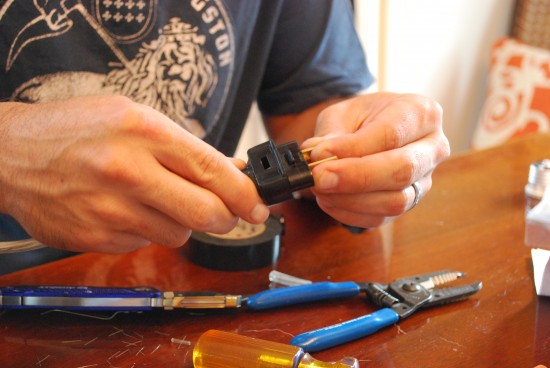
Then connect bottom piece of plug to the top piece:
Voila you have now added a plug to your pendant light:
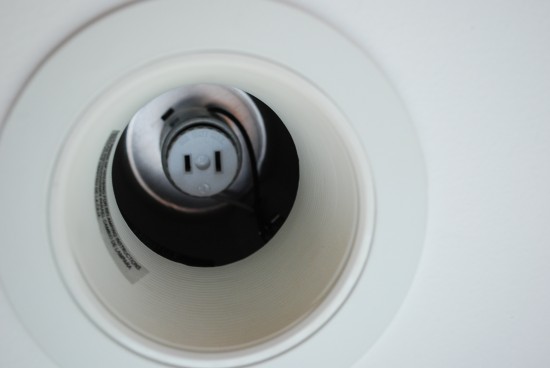
Step 6: Convert your high-hat to a pendant light. You now have a plug on your hanging pendant that fits perfectly into socket to outlet converter.
You simply screw in your socket to light converter in the high hat as if it was a light bulb:
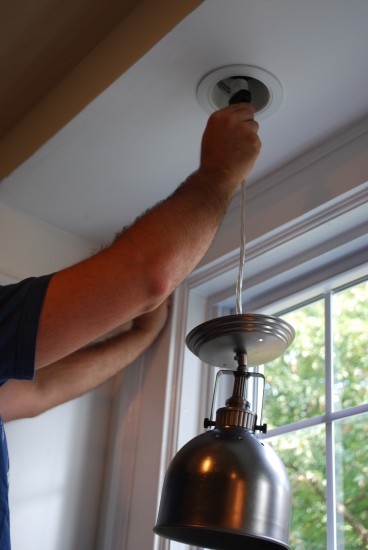
Then take your pendant light with it’s new plug and plug it in!
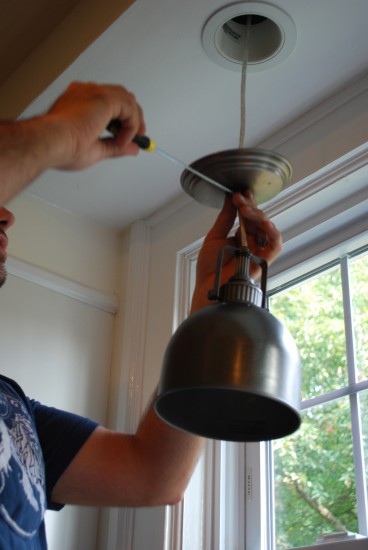
You will then take the top piece of the pendant light and slide it up so that it covers the high hat opening and use the screw it has to tighten it into place:
All finished:
Super happy with outcome and love that it was budget friendly. Each pendant came in at $25 and the pieces to convert my high hat into a pendant friendly feature was $3.50 per pendant.
*FYI: We are not electricians so please recreate this at your own risk. We’ve never had a problem with this wiring set up, but each house is different so it’s to you if you decide to try it out.
Related
Leave a Reply Cancel reply
get inspired with our own home tour
ON THE BLOG
My living room is one of the rooms that evolved drastically from when we first moved one. Originally I painted the walls chocolate brown and did accents of white, blue and orange. That lasted maybe 2 years.
Our dining room sat empty for months. Okay maybe it was empty for just a handful of weeks and then we couldn’t take it anymore and put in a folding table and plastic outdoor chairs, but in my mind that was still empty.
On the main floor of our house we have a Florida room. Being that it’s a Florida room it is a considered a 3 season room, because there is no heat in the room. The previous owners used it as an indoor patio with outdoor furniture and it looked like this when we moved in.

In our new home, the basement was completely unfinished. It was literally one of those dark spaces that you see in horror movies and are terrified of getting locked into. However, with the square footage in this house, I knew I needed to make the basement another workable and liveable floor of the house instead […]
What to look for when it comes to picking out kitchen appliances: Leave room in your budget for appliances. When it comes to kitchen renovations everyone knows that the cabinetry and the labor of demoing and installing cabinetry is going to eat a lot of your budget. However, the second most expensive part of a […]
I don’t think I’m alone in thinking that designing a kitchen is an overwhelming undertaking. I’m an interior designer and even I find it stressful to iron out all of those details. So, when it comes time to design a kitchen I always like to partner with a kitchen designer to make sure I’m remembering […]




Looks great. Good work and so inexpensive. Love that!
Looks good! and SUPER cheap, who knew? I love the pendants! and the super large window and the farmhouse sink!
AND I like your little soap caddy too….I posted my kitchen sink a week or so back and I am having trouble making the area ‘pretty’
Great Tutorial and stylish solution.
Love the lights. How was the fish?
I wouldn’t have the first clue how to do this kind of thing- thanks for the great tutorial – they look fabulous!
I love your pendants!! They look so great above the sink.
Your husband is a keeper too. Did he do this project before or after cleaning the fish!!??
xoxo
Karena
Art by Karena
Such a great tutorial! Thanks!
looks awesome! I adore your mint green flooooors.
Just bookmarked this page for my husband this weekend! Thanks for the really clear and concise pictures and instructions!
The pendants look great and so cheap! I am dying to learn how to change lights myself as pretty much every one in my entire house needs to be changed (think mostly strip fluoros!) and I dread the cost of an electrician. I’m still abit scared to give it a go myself though.
This is really great. It helps to know a little bit about wiring as well. Such a great addition.
Rashon aka Mr. Goodwill Hunting
Looks great! Loved the tutorial, too.
No need to live with lighting you don’t love…and the “after” is great. Thanks for the very easy to follow tutorial (and helpful photos)!
wow, i am impressed! the new lighting looks great! and thanks for the step-by-step tutorial…i might have to try this in my house 🙂
Love it!! Its perfect!
What a brilliant solution to the problem. I’m so glad I stopped by!
These look great! We have a big window similar to yours in our house and I have been wondering what to do about it. This is definitely an option I will keep in mind!
Love the pendants, they look fabulous!
Looks good. I’m also looking for some pendants to go over our sink. I have one in mind from Restoration Hardware, same industrial look except this one is cheaper. Might consider it….
I really like those! They are the perfect amount of industrial for your kitchen!
What a great fix – I never you could do that with a recessed light! It looks great!!
This is really great! The pendants look great and appreciate the tutorial!
SO great; thanks so much!! A couple of years ago we used the all-in-one kit from Ballard with burlap shaded drums for our kitchen peninsula and I love them. (And I’m working on convincing my husband that we also need a little one for over the sinks!) BUT, I have been looking for an easier/less expensive solution for other people and this is fantastic! Thanks!!
I noticed that you have a double sink from IKEA in your kitchen. I have the same 🙂 I was wondering if you were able to find some kind of rack to put at the bottom of the sink in order to avoid scratches. If, so did you buy it online ? Where where where 🙂
What keeps the plugged in pendant from falling into the sink?
It’s capped. It has a steel cap that was part of the pendant kit. It has screws which screws into the lighting box.
I don’t see a cap. I see a hanging wire which is plugged inside the existing high hat. Whle the pendant kit has a round cover plate how does that plate secure to the existing fixture?
I LOVE these and would love to put them up in my craft room. However I didn’t find in your post where to find these pendants… unless I missed it somewhere..?
They are from Home Depot. I couldn’t find them on their website.
Great photos and write up.
Did I miss a step though? Or ultimately is all the weight of the pendant lamp simply hanging on with the 2 prong plug-in that’s slipped into the socket converter??
Hi
This is a great tutorial, but at the end you said you screwed the cap up against the Hi Hat…what holds the cord from pulling out of the socket when hanging?
Thanks