
DIY: No Sew Skirted Ottoman
This most recent DIY project was super easy and quite the transformation. Typically Jon helps me a lot with the labor part of my DIY projects, but I was tackle this whole thing mostly by myself.
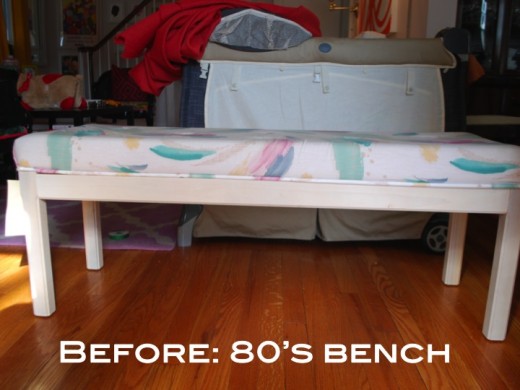
A couple of months ago I stumbled upon a cheesy 80’s tufted bench. I was so excited when I saw it at my local thrift store and even more excited that it was only $48!
It sat in my office for awhile due to my crazy schedule, but a couple of weeks ago we had some free time and I decided to tackle it and get a finished product over to my very understanding client aka Mom. My mom makes for the best client, because she lets me do what ever I wish. Only downside for her is that paying clients come first so Mom normally has to wait a bit.
Here are the easy steps for my completely no sew skirted ottoman. I was all about the stapler gun and fabric glue with this project.
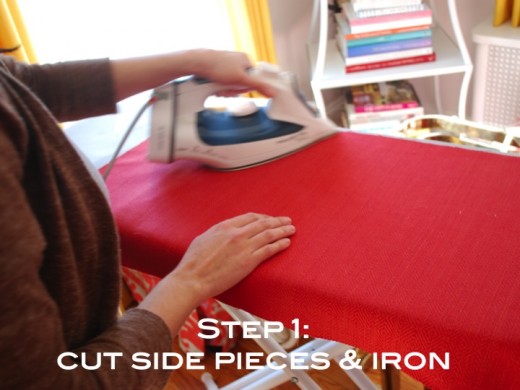
Step 1: I decided that I wanted to have a contrasting fabric on the liner pleats so I used two types of fabric. If you are tackling this yourself it’s up to you to decide if you want one or two fabric. I removed the cushion from the base and then measured all of the sides by getting the height and length. I then added an additional 2 inches to each measurement so that I had some room for hemming and for stapling the fabric to the top.
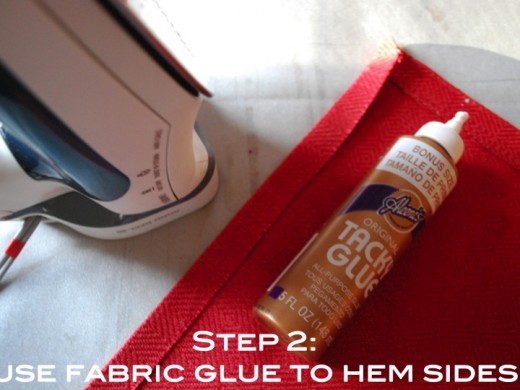
Step 2: Once my pieces were cut and ironed I got to work on hemming my sides so they wouldn’t fray. On the main side pieces (coral) I hemmed the two ends and bottom piece. On the inner pleat sections I used a canvas which wasn’t fraying so I simply hemmed the bottom. Since this was no sew I simply folded over the fabric and used fabric glue to make my faux hem. In order to have it set better I ironed over the hem.
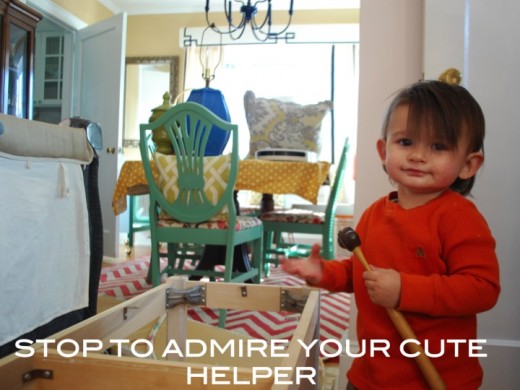
{Seriously, how cute is my assistant? He was loving this project and kept trying to use all of the fabric like a blanket.}
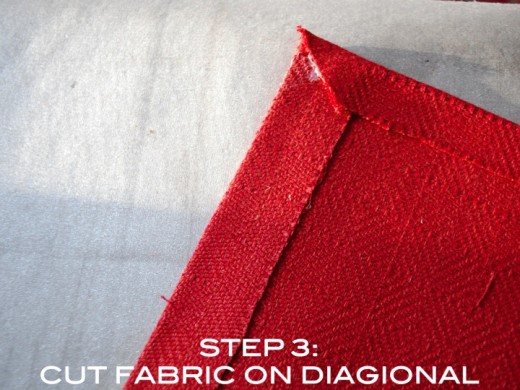
Step 3: In order to get crisp corners on your faux hemming job then cut the corner fabric on a diagonal. Small step, but makes a big difference.
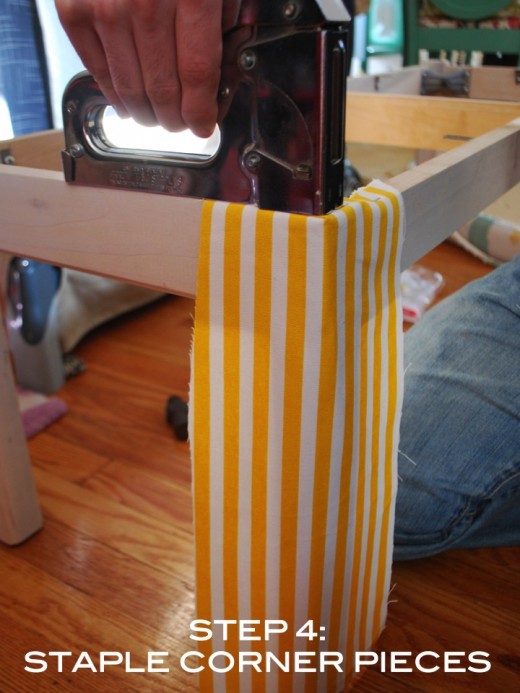
Step 4: Once your fabric pieces are hemmed you start building your skirt. It’s best to staple the corner (inner pleats) first. We did a contrasting fabric here so that’s where the stripes went.
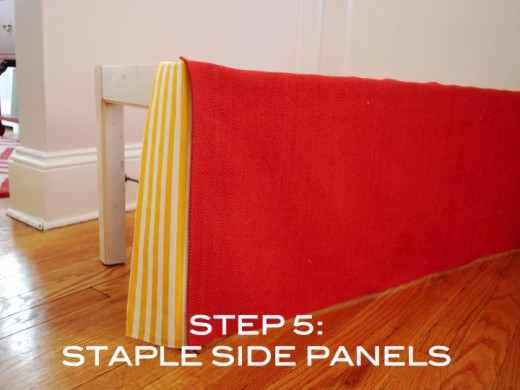
Step 5: Once the corners are done you can start stapling the side pieces. For us that was the coral pieces.
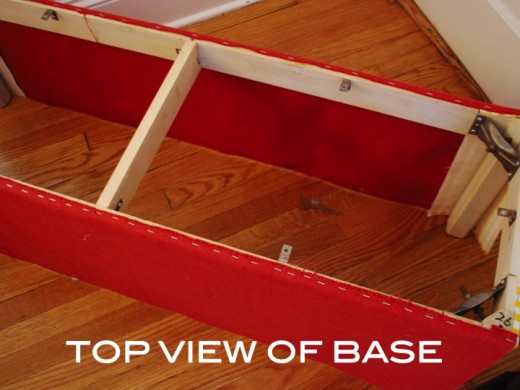
We made sure we stapled all of the fabric to the top of the wood base not the sides so that you couldn’t see any of the staples.
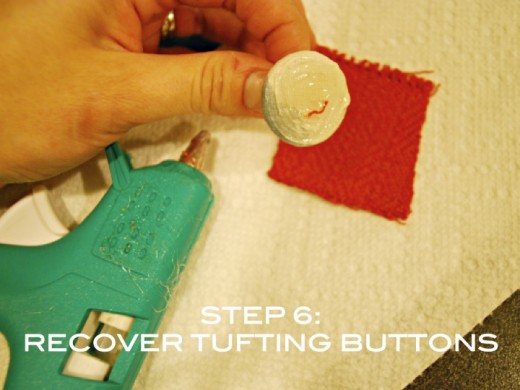
Step 6: Our 80’s bench was tufted, which was amazing, but also an additional step. Typically I purchase button kits at JoAnn’s and make the buttons. It’s always a pain so I decided to make things a bit easier on myself and just reuse the buttons I had already. I simply cut a small piece of fabric (large enough to cover the button and fold under) and then glued the button and applied fabric. It held perfectly and so much easier and faster.
At this point the skirted section was done and tufted buttons were recovered so all I needed to do was recover the cushion. I simply followed these steps for recovering the cushion and getting a crisp corner.
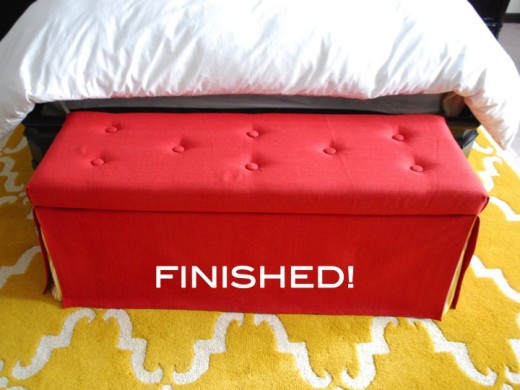
Peek at the contrasting inner pleat:
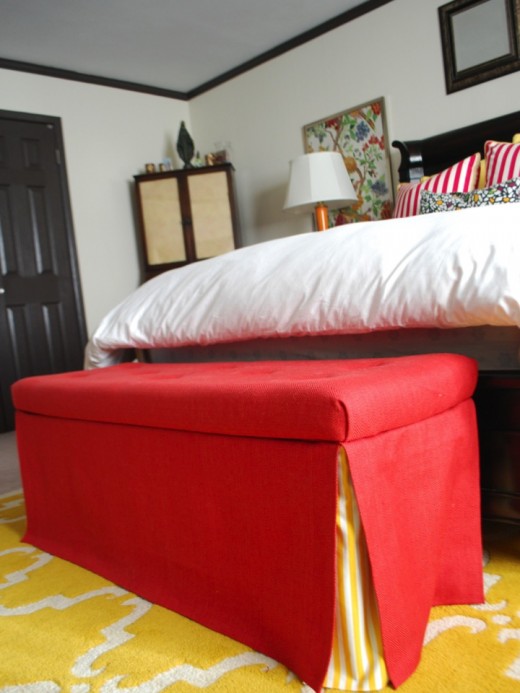
{ Sometimes even professionals forget about little details. I totally forgot the ottoman would be on a rug and didn’t account for that when I was cutting my fabric with measurements off of the bench on a wood floor. So, I have a slight puddle. }
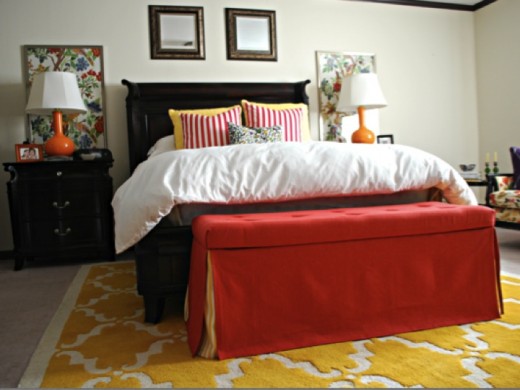
Peek into the almost finished master bedroom:
The perfect pop on the rug! Love the punch of coral. So, are you ready to tackle the next 80’s bench you stumble upon?
Related
Leave a Reply Cancel reply
get inspired with our own home tour
ON THE BLOG
My living room is one of the rooms that evolved drastically from when we first moved one. Originally I painted the walls chocolate brown and did accents of white, blue and orange. That lasted maybe 2 years.
Our dining room sat empty for months. Okay maybe it was empty for just a handful of weeks and then we couldn’t take it anymore and put in a folding table and plastic outdoor chairs, but in my mind that was still empty.
On the main floor of our house we have a Florida room. Being that it’s a Florida room it is a considered a 3 season room, because there is no heat in the room. The previous owners used it as an indoor patio with outdoor furniture and it looked like this when we moved in.
In our new home, the basement was completely unfinished. It was literally one of those dark spaces that you see in horror movies and are terrified of getting locked into. However, with the square footage in this house, I knew I needed to make the basement another workable and liveable floor of the house instead […]
What to look for when it comes to picking out kitchen appliances: Leave room in your budget for appliances. When it comes to kitchen renovations everyone knows that the cabinetry and the labor of demoing and installing cabinetry is going to eat a lot of your budget. However, the second most expensive part of a […]
I don’t think I’m alone in thinking that designing a kitchen is an overwhelming undertaking. I’m an interior designer and even I find it stressful to iron out all of those details. So, when it comes time to design a kitchen I always like to partner with a kitchen designer to make sure I’m remembering […]


Wow! Who would have thought the ’80’s could look so good?
Ah-ha! Perfect! This is literally the exact project I was just contemplating getting in to with my husbands hideous college coffee table that has somehow survived in our basement. Thanks!
Beautiful! I recently did a similar DIY using Target x-benches.
http://mainstreetchic.blogspot.com/2013/01/diy-x-bench-to-skirted-ottoman.html
I love how you did a contrasting fabric on the ends- its a great detail!
Xoxo, Emily
Ah just checked yours out too! Love the fabric you went with! Did you end up making a matching one?
I did! Like I said in my post, I’m a symmetry gal. Couldn’t have just one
Love love love your use of colors. And thanks for the great tutorial – I need a skirted round ottoman, and now I know it can be done!
I love your project! I have a bench a might try. Very inspiring! I really love the entire bedroom- fabulous!
Great project! Thanks for sharing. I love the contrast fabric – awesome touch.
Clever corners!
So nice!! And impressive. Women with babies who tackle and finish DIY’s make me want to punch myself….while I stare at my kitchen unfinished that I started months ago. Makes me excuses so invalid hhaha
Can you tell me how much fabric you needed to do this? And how much fabric you needed to do your skirted console table? Your site is great – I know this post is several years old, so not sure you’ll get this but had to try. Thanks so much!