
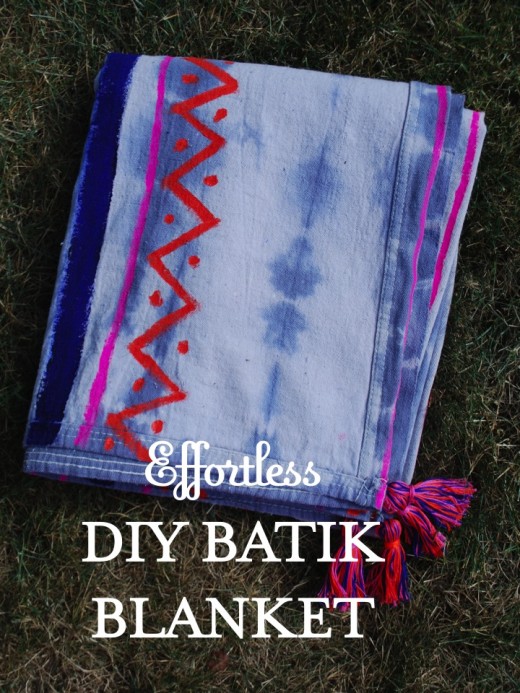
DIY Batik Picnic Blanket
Since I’m taking part in Poland Springs celebrate naturally campaign I decided that the perfect way to kick off this Friday would be to have a nice picnic lunch and celebrate the warm days we are still having in NY.
Of I can’t just have a picnic I decided I needed a chic new picnic blanket for such lunch and since I love a good DIY I decided to make one. I have loved the look of vintage batik fabric that graces the stunning pillows in Amber’s shoppe:
I love the color story of the light blue, indigo, pink and orange and thought I with a little crafting I could recreate something similar for a picnic blanket.
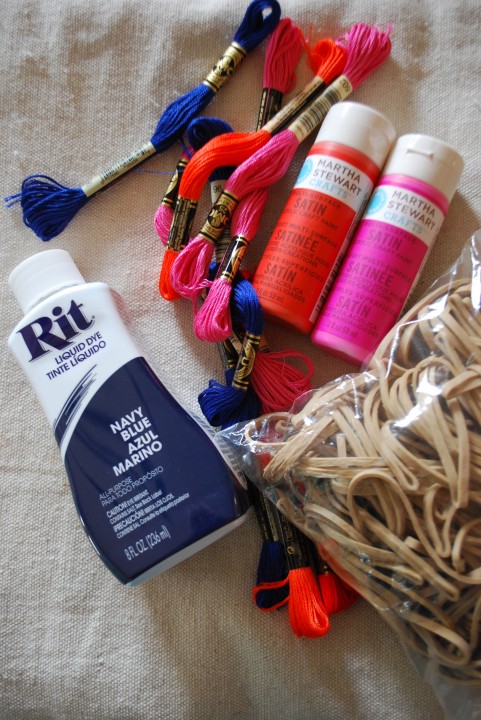
Here is what you will need:
-Painting Drop Cloth
-RIT DYE- I went with a Navy and you will need 3 bottles
-Rubber Bands
-Multi-Surface Craft Paint: I love the Martha Stewart one that can be used on fabric. I used Party Streamer (2 bottles), Geranium (1 bottle) and Indigo (2 bottles, not pictured)
-Embroidery Thread for tassels (I made multi-colored tassels and used 2 of each color)
There are numerous ways you can tie-dye a piece of fabric, but since I didn’t want a Grateful Dead look to my blanket I did this technique:
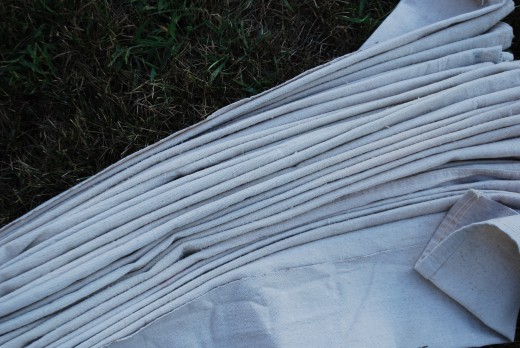
I took 3 inch sections and accordion folded the drop cloth:
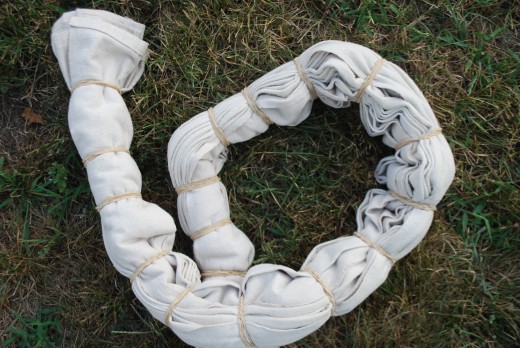
Once that was done I added rubber bands around every 3 inches to the entire length of the drop cloth:
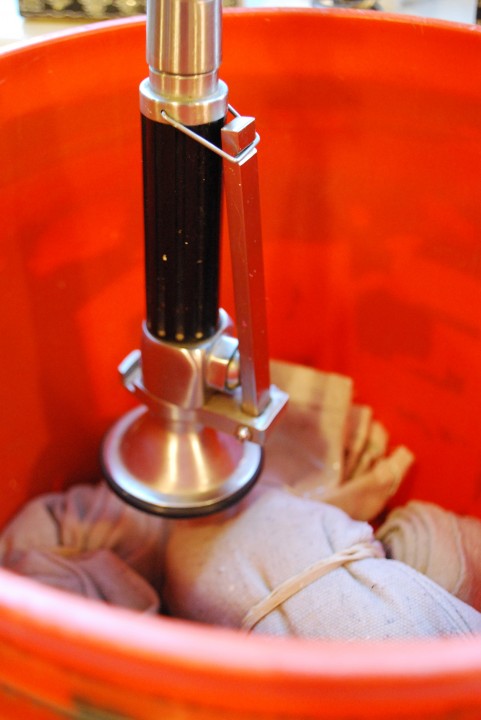
Now depending on the dye you purchase their may be a different way to dye your fabric, but with RIT I needed to wet the entire drop cloth before I added any hot water and dye.
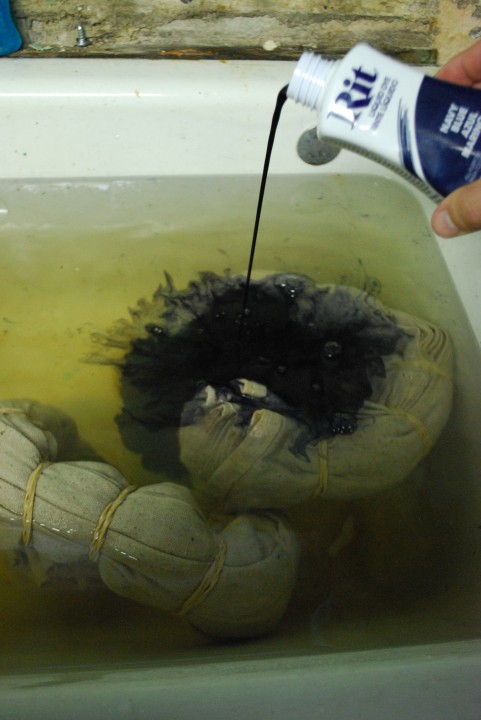
Then I added 5 gallons of hot water and the 3 bottles of RIT DYE:
Then I had to stir it for an hour:
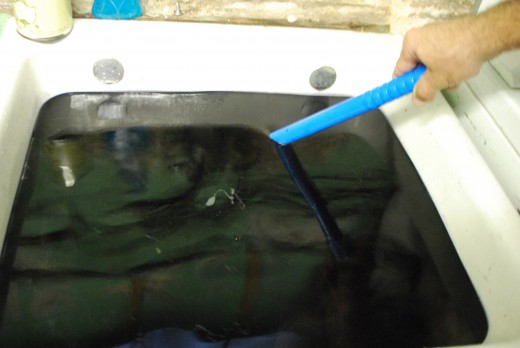
{To be honest I was suppose to stir for an hour, but Hudson woke up during his nap so in reality I was only able to do it for about 15 mins.}
Once it’s done you need to rinse the fabric till the water runs clear and then you run it in the wash with warm water and dry it in the dryer.
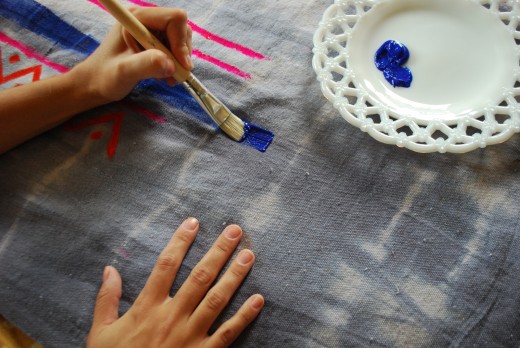
Now comes the fun yet long part. The beauty of the batik fabric is the different patterns in the pink, orange and indigo. I didn’t want to turn this into math problem and have to figure out exact spacing, etc that I simply free handed my pattern:
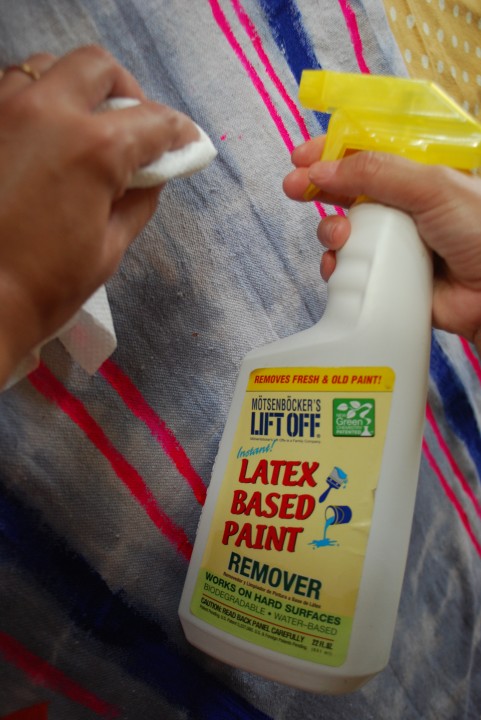
The drop cloth is on the large side so painting the pattern took me about 2 hours and Jon helped me. If you get any paint where you don’t want it to be don’t worry. I used Motsenbockers latex stain removerand it worked really well and didn’t damage the tie dye:
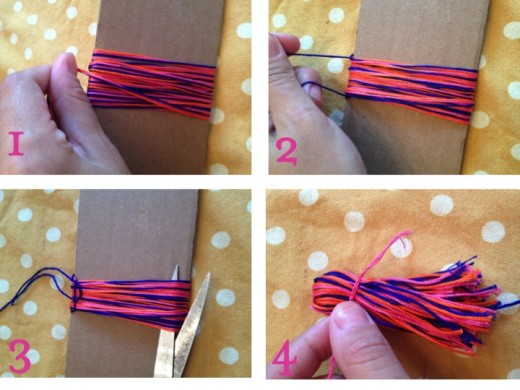
Of course I can’t leave well enough alone so I made some tassels for the corners of the blanket. Tassels were a super easy project:
Step 1: Cut a piece of cardboard and wind the thread to your desired thickness.
Step 2: Use a piece of thread to tie all of the threads together up top.
Step 3: Cut the threads on the opposite end of the tied section.
Step 4: Use a different color thread to bunch your tassel together. I tied a knot first and then wound it around the threads to my desired thickness. Once I had that I then tied it close to the original thread I used.
All done:
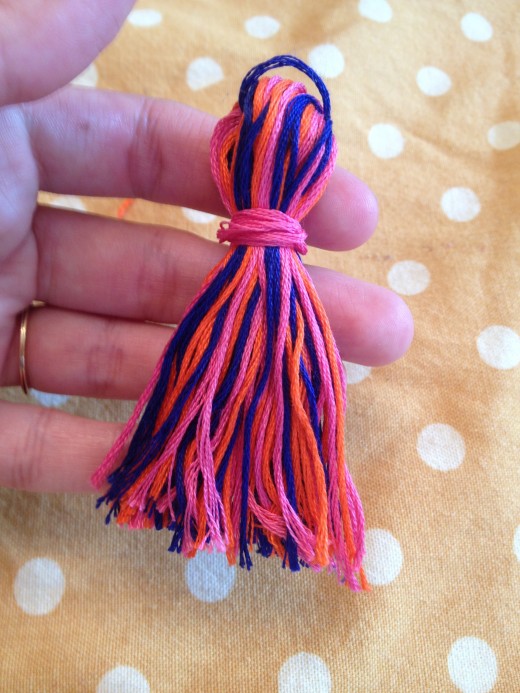
{You will then use the top blue thread to stitch your tassel to your desired fabric.}
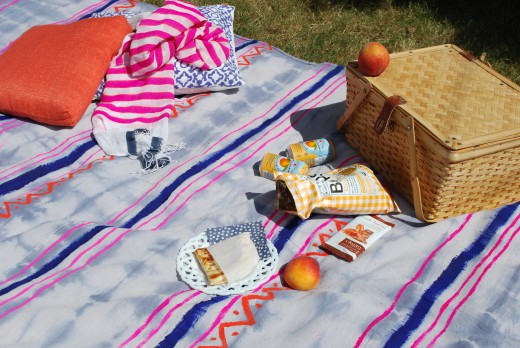
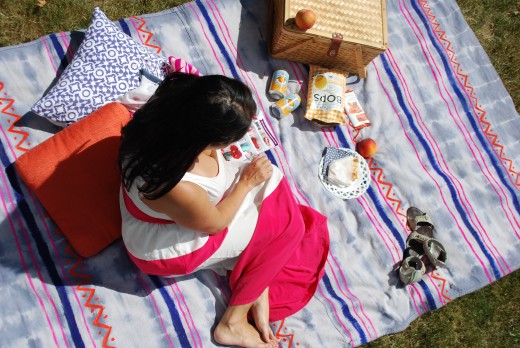
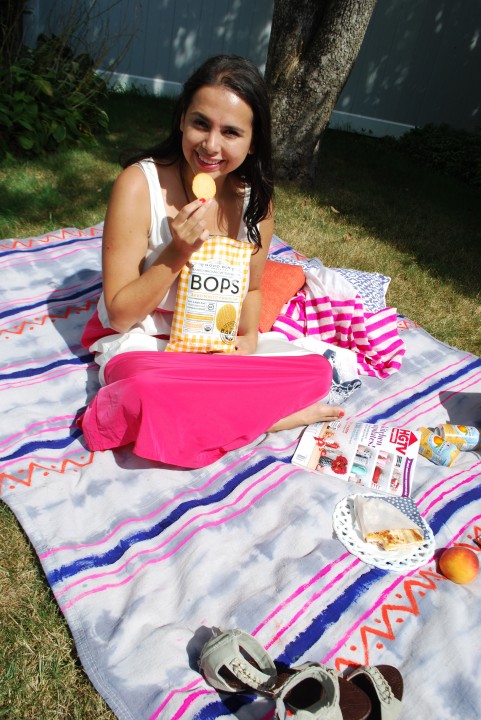
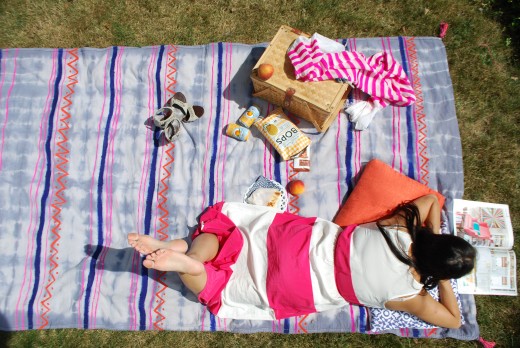
Since the tassels were the finishing touch I was then able to enjoy my lunch:
I even got to enjoy life’s greatest pleasure…reading a magazine without interruptions! Bliss!
If you enjoyed this post please head over here to see what everyone else is up to as part of this campaign and share how you celebrate naturally. I really appreciate you all supporting my sponsors.
Related
Leave a Reply Cancel reply
get inspired with our own home tour
ON THE BLOG
My living room is one of the rooms that evolved drastically from when we first moved one. Originally I painted the walls chocolate brown and did accents of white, blue and orange. That lasted maybe 2 years.
Our dining room sat empty for months. Okay maybe it was empty for just a handful of weeks and then we couldn’t take it anymore and put in a folding table and plastic outdoor chairs, but in my mind that was still empty.
On the main floor of our house we have a Florida room. Being that it’s a Florida room it is a considered a 3 season room, because there is no heat in the room. The previous owners used it as an indoor patio with outdoor furniture and it looked like this when we moved in.
In our new home, the basement was completely unfinished. It was literally one of those dark spaces that you see in horror movies and are terrified of getting locked into. However, with the square footage in this house, I knew I needed to make the basement another workable and liveable floor of the house instead […]
What to look for when it comes to picking out kitchen appliances: Leave room in your budget for appliances. When it comes to kitchen renovations everyone knows that the cabinetry and the labor of demoing and installing cabinetry is going to eat a lot of your budget. However, the second most expensive part of a […]
I don’t think I’m alone in thinking that designing a kitchen is an overwhelming undertaking. I’m an interior designer and even I find it stressful to iron out all of those details. So, when it comes time to design a kitchen I always like to partner with a kitchen designer to make sure I’m remembering […]



really cute, camila!
Thanks Kristen! So happy it got your seal of approval! You are such a rockstar with paint.
This came out AMAZING!! How cool is that blanket! I want one!!
Thanks! Mom wants one too!
Um, I freaking LOVE this! Seriously amazing project. I will definitely have to copy! Thanks for the inspiration, friend : )
Thanks Michelle! I love it and have gotten many requests from family members for blankets of their own.
This is seriously one of my favorite DIY’s EVER!!! Seriously!! Great job!!!
Oh thank you!
That blanket turned out great!! I really admire people that have the patience for such elaborate DIYs 🙂
Thanks love! The painting took longer than I initially thought, but it was therapeutic to just veg out and paint so it went by faster once I started.