DIY Vanity Tray
I don’t know about you, but I will never be one of those girls that can leave the house without her face on. Jon always tells me I look best that way, but he is my husband so he has to say such things. For me walking out the door with a little under eye concealer, blush and a swipe of mascara makes me ready to tackle the world.
Since having Hudson though I must admit that things have changed. In the beginning I spent so much time at home that most days were make-up free. Now though I’m back in the habit of putting on make-up, but Hudson thinks it’s a super fun activity and wants to join me. This means I’m constantly grabbing brushes, eye lash curlers, and bronzer away from him. I’m not going to lie sometimes he leaves the house with a bit of blush or eye shadow somewhere on his face.
In order to get things out of his way quicker I did a little DIY project and turned a thrift store tray into a chic vanity tray that can house all of my goodies and quickly be picked up and moved away from my friendly helper. This project literally took mins and cost less than $5!
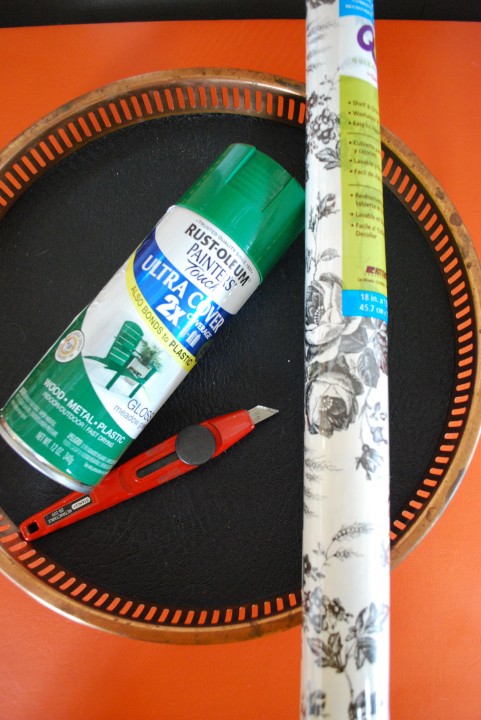
Here is what you will need:
-Tray of some sort. I picked up this copper and wood paneling tray at my local thrift store for $3.99.
-Spray paint that can be used on metal.
-X-acto knife
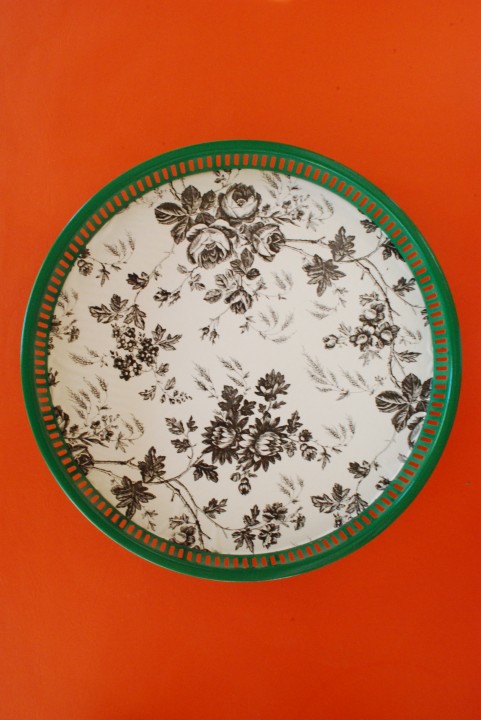
-Contact paper -this flower find was from the Dollar Tree!
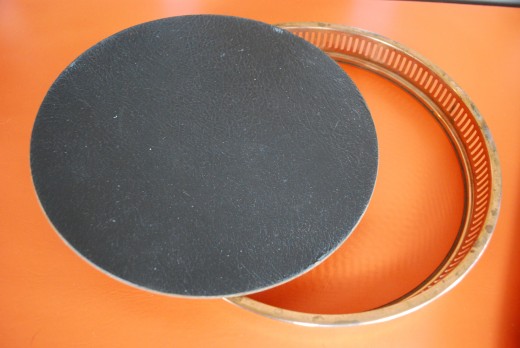
STEP 1: Spray paint copper base. The nice thing about this tray was that the base popped out, which made spray painting the copper ring so easy. If you have a standard tray don’t fret it’s just as easy. Since we will be cover the base of the tray with contact paper you don’t need to tape anything up when spraying.
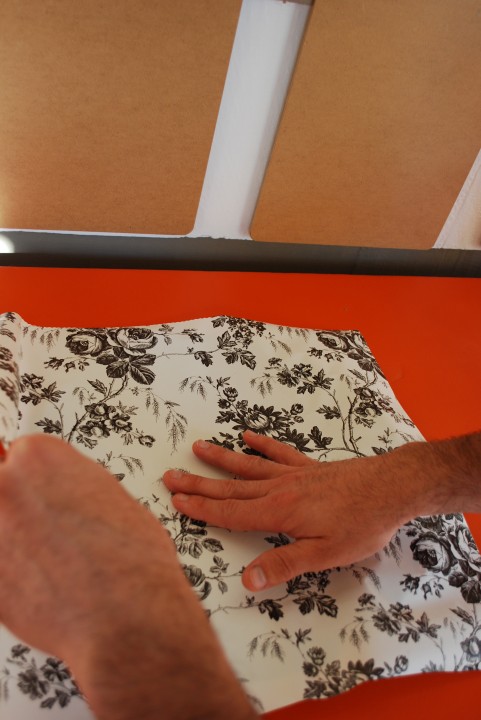
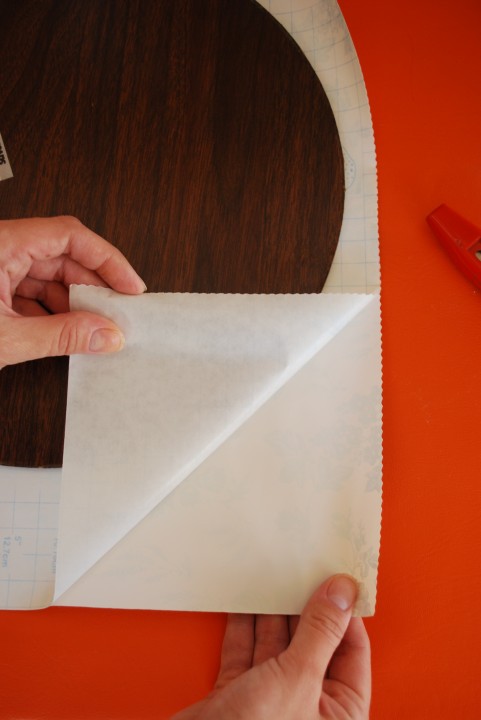
STEP 2: Cover base in contact paper.
Then simply smooth on the contact paper to the face of the base:
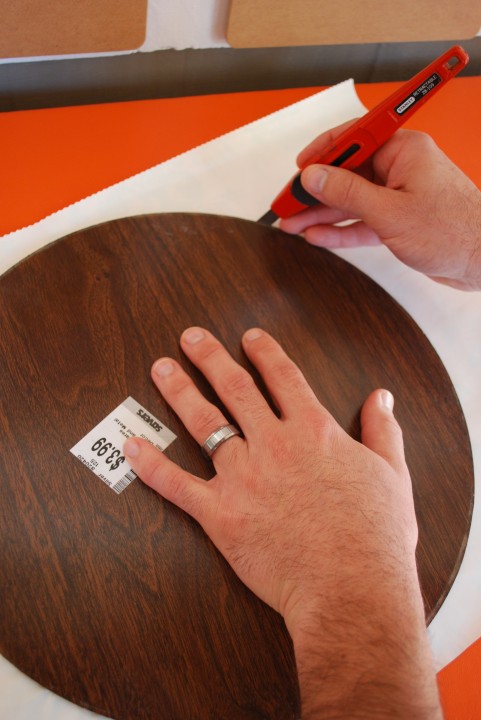
Once that is done flip the base over again and use your knife to trim the excess contact paper:
STEP 3: Pop your base back into place:
All done!
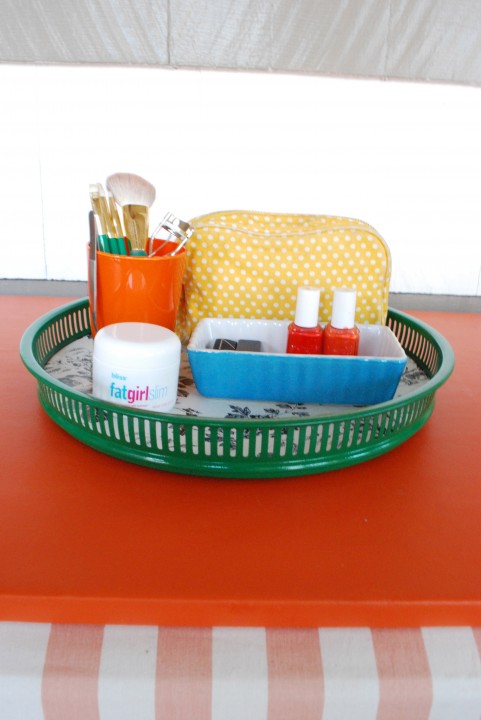
Now for the fun part! Adding all of your goodies. I have a huge stash of make up underneath my bathroom sink, but let’s face I never take any of it. So, for this tray I just stuck to items that get used on a daily bases.
I used containers I already had in the house like a little blue dish I picked up at a dollar store and my orange DIY glassy baby votive to hold all of my brushes.
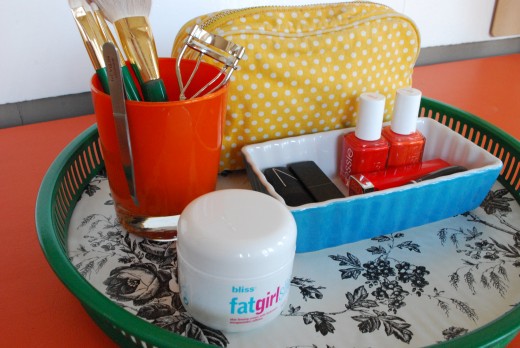
Close up: I left my make up supplies in my make up bag so that Hudson won’t be tempted seeing it out in the open, but it would still be within reach and easy to pop in my handbag on the way out the door. The newest piece on my tray is the Bliss fatgirlslim lotion that goes with my Bliss fatgirlslim lean machine.This little jar of lotion and machine(not in photo)claims to help get rid of cellulite. I’m not going to lie at 7 months pregnant I have been feeling a bit heavy and self-conscious of the warmer weather and what oh what I’m going to where. Luckily I tend to just mainly be all belly so I’m hoping to test out this machine and see how it works on my legs. I will be sure to report back to all of you so that we can all be ready for swimsuit season!
* A big thanks to Bliss for sponsoring this DIY project and providing me with a machine to test out.
Have you every used any Bliss products?
Related
Leave a Reply Cancel reply
get inspired with our own home tour
ON THE BLOG
My living room is one of the rooms that evolved drastically from when we first moved one. Originally I painted the walls chocolate brown and did accents of white, blue and orange. That lasted maybe 2 years.
Our dining room sat empty for months. Okay maybe it was empty for just a handful of weeks and then we couldn’t take it anymore and put in a folding table and plastic outdoor chairs, but in my mind that was still empty.
On the main floor of our house we have a Florida room. Being that it’s a Florida room it is a considered a 3 season room, because there is no heat in the room. The previous owners used it as an indoor patio with outdoor furniture and it looked like this when we moved in.
In our new home, the basement was completely unfinished. It was literally one of those dark spaces that you see in horror movies and are terrified of getting locked into. However, with the square footage in this house, I knew I needed to make the basement another workable and liveable floor of the house instead […]
What to look for when it comes to picking out kitchen appliances: Leave room in your budget for appliances. When it comes to kitchen renovations everyone knows that the cabinetry and the labor of demoing and installing cabinetry is going to eat a lot of your budget. However, the second most expensive part of a […]
I don’t think I’m alone in thinking that designing a kitchen is an overwhelming undertaking. I’m an interior designer and even I find it stressful to iron out all of those details. So, when it comes time to design a kitchen I always like to partner with a kitchen designer to make sure I’m remembering […]

That tray is too cute, love the color and paper you chose!
great project and I am anticipating your reporting on the MACHINE results.
Will do! I’m hoping it works! Fingers crossed!