
Before & After: Fireplace Hearth
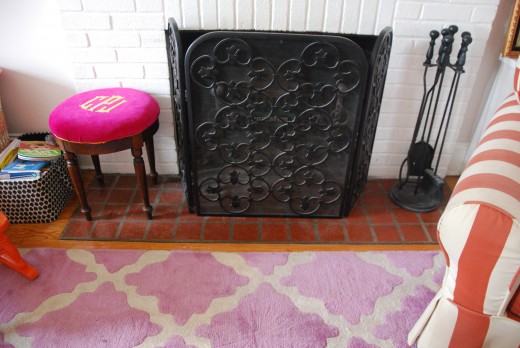
When we first moved into the house, one of the things I disliked immediately was the fireplace hearth tile.
It was a terracotta color with dark gray grout, and it was all scratched up due to a fire screen being moved around. Even though it was a red/orange shade it was somewhat neutral because it blended pretty well with our hardwood floors. This meant that the tiles stayed as is since we moved in.
When I got asked to be part of True Value DIY Squad I knew right away that one of the projects I needed to tackle was the tile!
Here is how we tackled it:
Step 1: Use a masonry chisel and hammer to chip out the old tile:
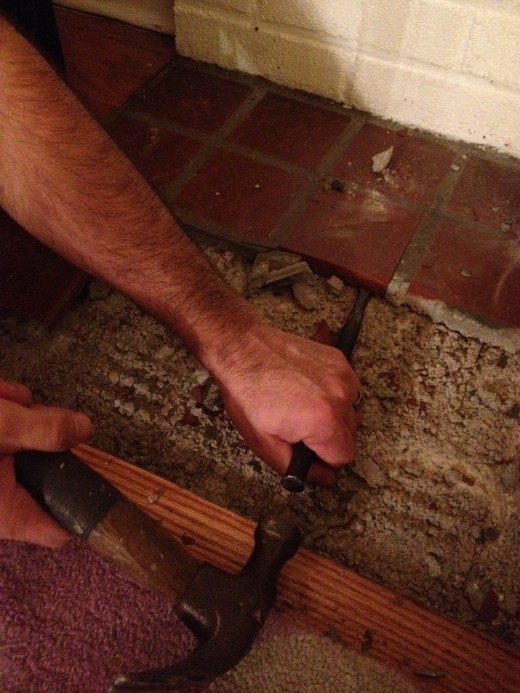
Step 2: We then used the chisel to knock down the high peeks in the cement under the tile to have a flat surface to lay our new tile that better compliments the room.
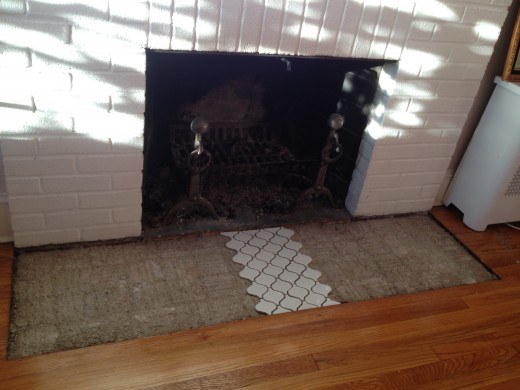
Step 3: In order to figure out where we needed to make our cuts we laid down our tile before we applied any of the thin set mortar.The best way to do this is start laying down your tile in the middle and then work your way out to the sides.
Step 4: Make cuts on tile. We used a tile wet saw and it worked really well.
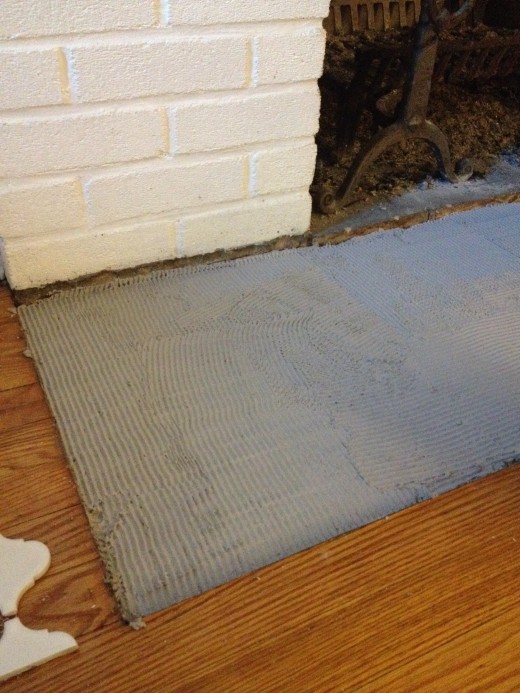
Step 5: Apply a layer of thin set mortar with a trowel.
Make sure you load up your trowel with mortar. You need to have a heavy hand with it.
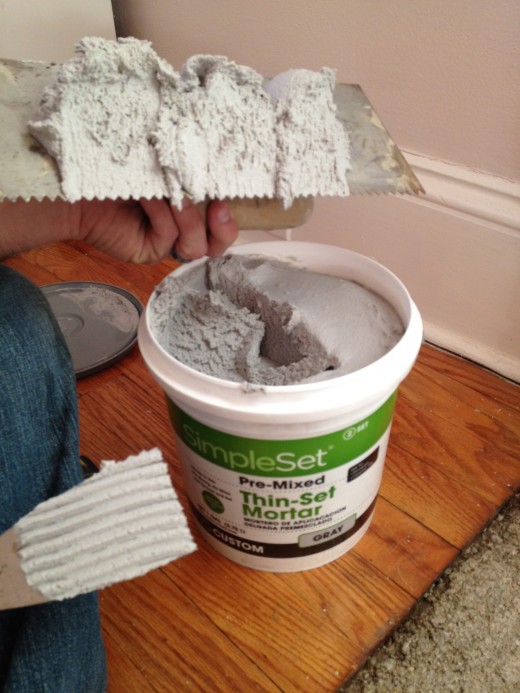
After you have applied it use the tooth side and even out the mortar.
Step 6: Now you are ready to lay your tile. Remember to start at the center and then work your way out to the ends. Let it dry overnight.
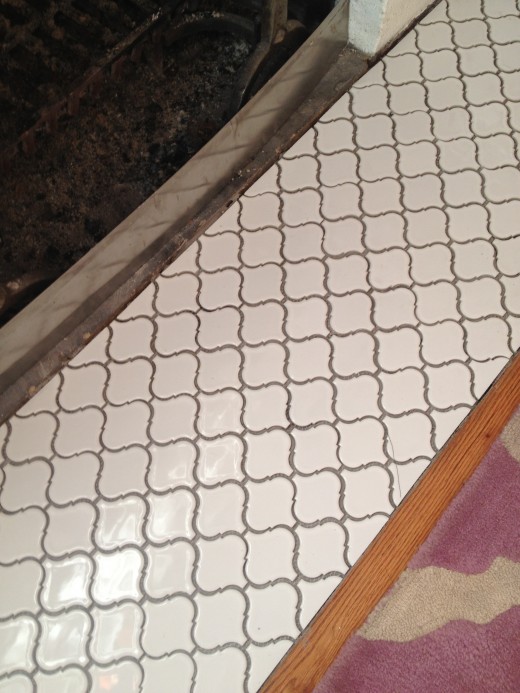
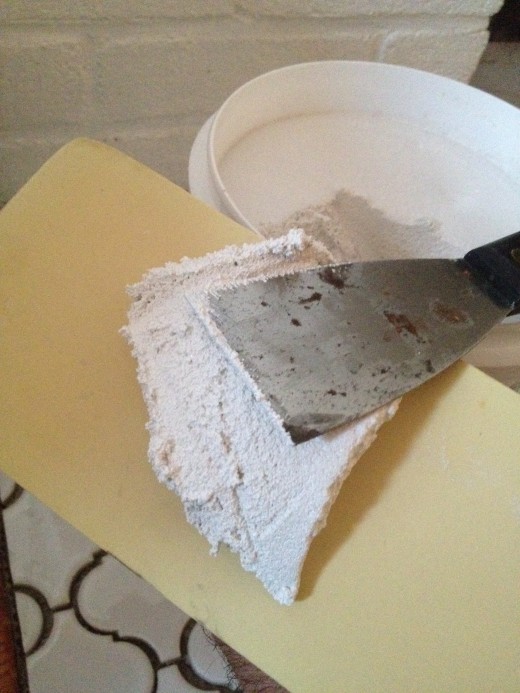
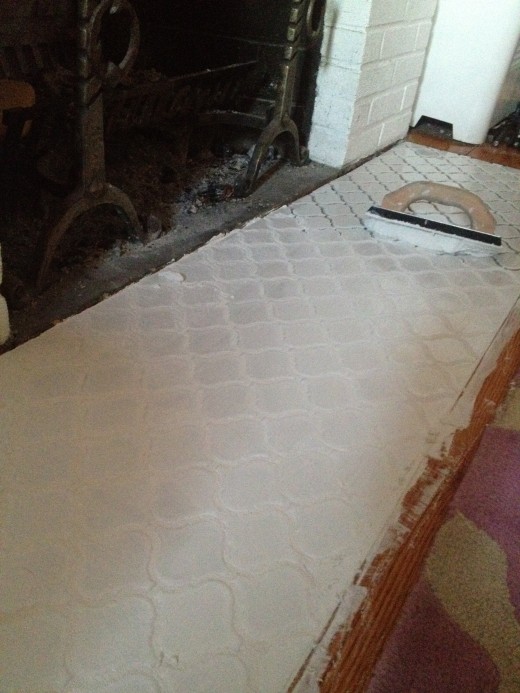
Step 7: Now it’s time to grout. We used bright white grout and a grout float to apply it.
Use your grout floater that has been loaded with grout to fill in all of the spacing between the tiles. Tackle the tiles from all different angles to make sure that your grout really gets into the teeny tiny spaces.
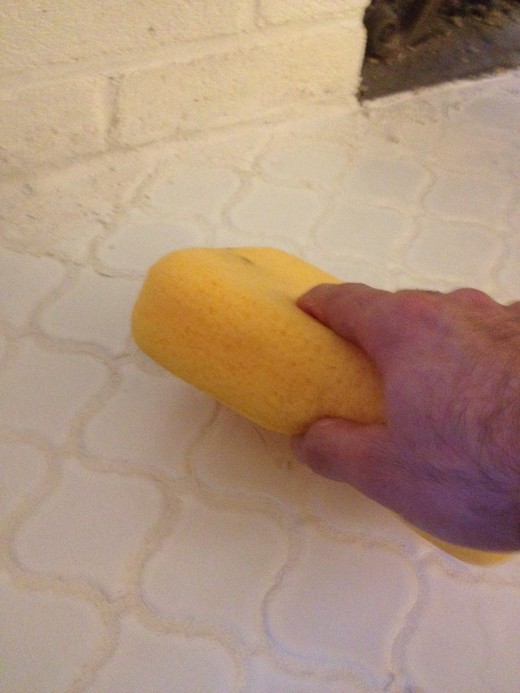
Once you are done, wipe away the excess grout with a grout sponge.
Let set/dry overnight.
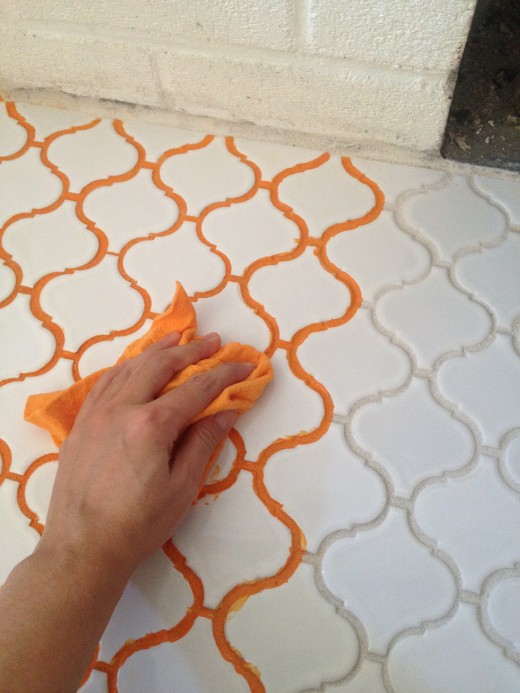
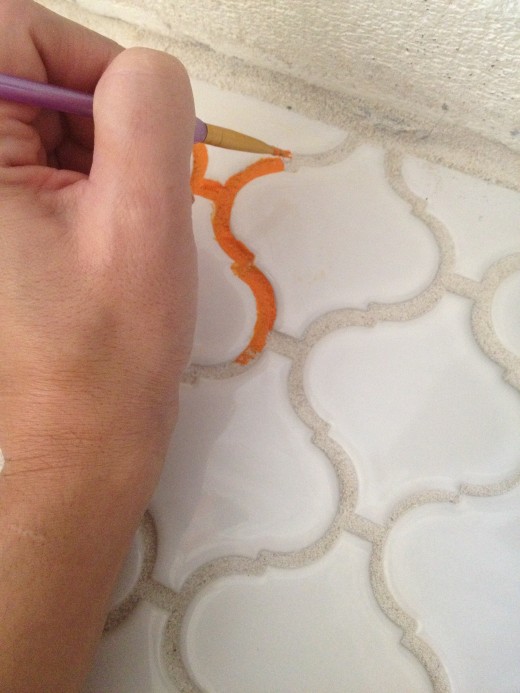
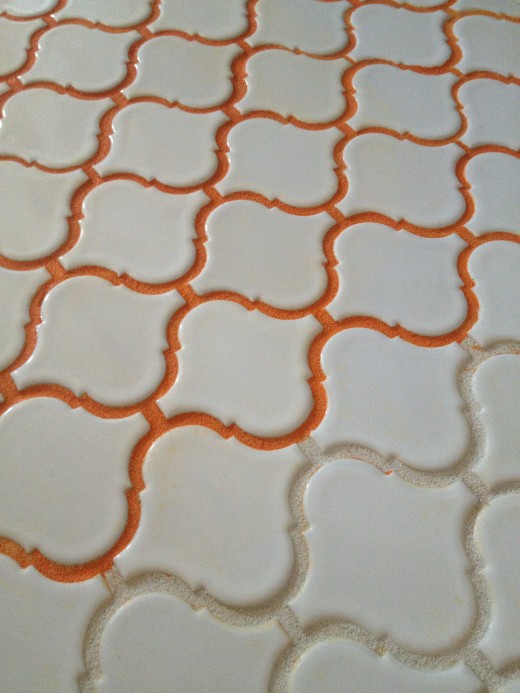
Now you could just be finished at this point, but I wanted to make it a little more Camila friendly and decided to make my grout pop by staining in orange! *More details on stain to follow.
Step 8: Apply the stain with a paint brush. You can also use a nozzle cap, but I found that to be really messy, because you don’t have a lot of control with the flow. Using a paintbrush was much easier.
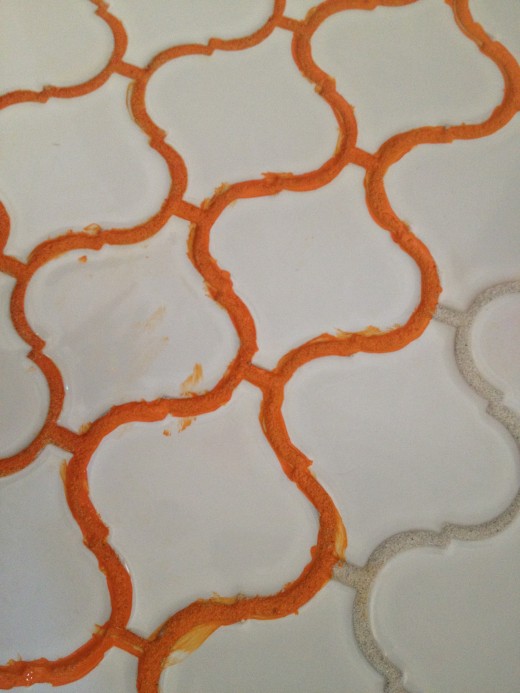
Now it’s still going to get a little messy, but it’s easy to remove the paint. A shammy cloth will wipe away all of the excess paint.
Wipe with a light hand so you don’t remove paint from the grout and just the tile:
It was time consuming, but a really easy DIY project and what an impact! I love it and if it’s ever an issue later on down the line when we sell the house I can just seal it white again to appeal to more buyers.
It took a weekend to tackle and I’m so happy we finally did it. I can’t believe it took us so long to do it when it was pretty budget friendly and was super easy on the DIY scale.
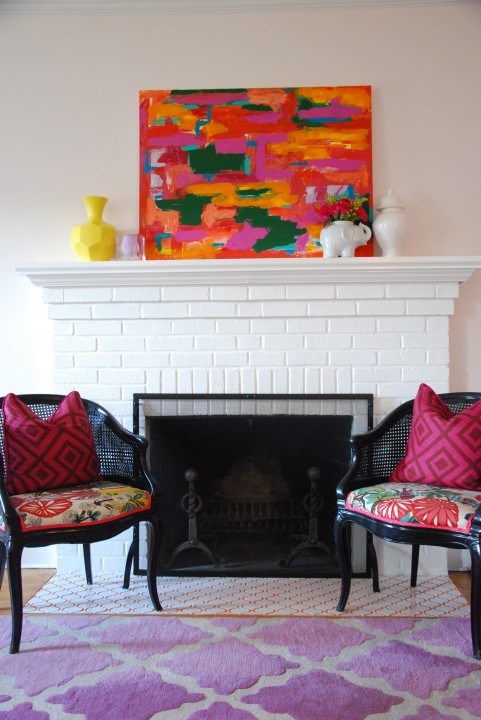
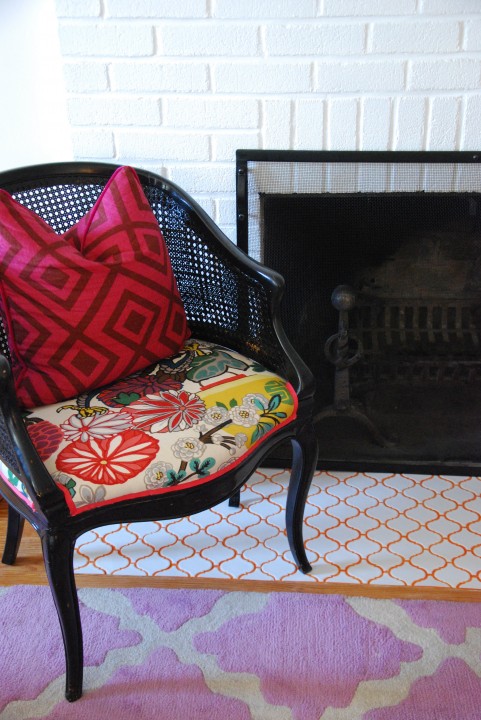
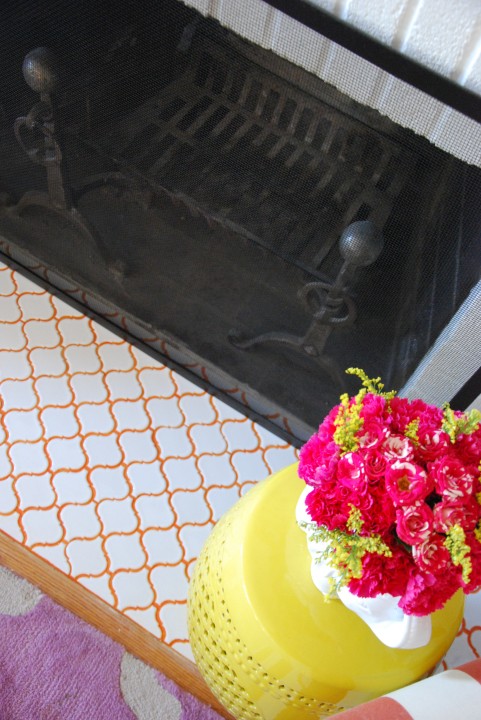
After:
We are really happy with how it turned and have gotten nothing but compliments for rocking the orange.
I was one of the bloggers selected by True Value to work on the DIY Squad. I have been compensated for my time commitment to the program as well as writing about my experience. I have also been compensated for the materials needed for my DIY project. However, my opinions are entirely my own and I have not been paid to publish positive comments.
Related
Leave a Reply Cancel reply
get inspired with our own home tour
ON THE BLOG
My living room is one of the rooms that evolved drastically from when we first moved one. Originally I painted the walls chocolate brown and did accents of white, blue and orange. That lasted maybe 2 years.
Our dining room sat empty for months. Okay maybe it was empty for just a handful of weeks and then we couldn’t take it anymore and put in a folding table and plastic outdoor chairs, but in my mind that was still empty.
On the main floor of our house we have a Florida room. Being that it’s a Florida room it is a considered a 3 season room, because there is no heat in the room. The previous owners used it as an indoor patio with outdoor furniture and it looked like this when we moved in.
In our new home, the basement was completely unfinished. It was literally one of those dark spaces that you see in horror movies and are terrified of getting locked into. However, with the square footage in this house, I knew I needed to make the basement another workable and liveable floor of the house instead […]
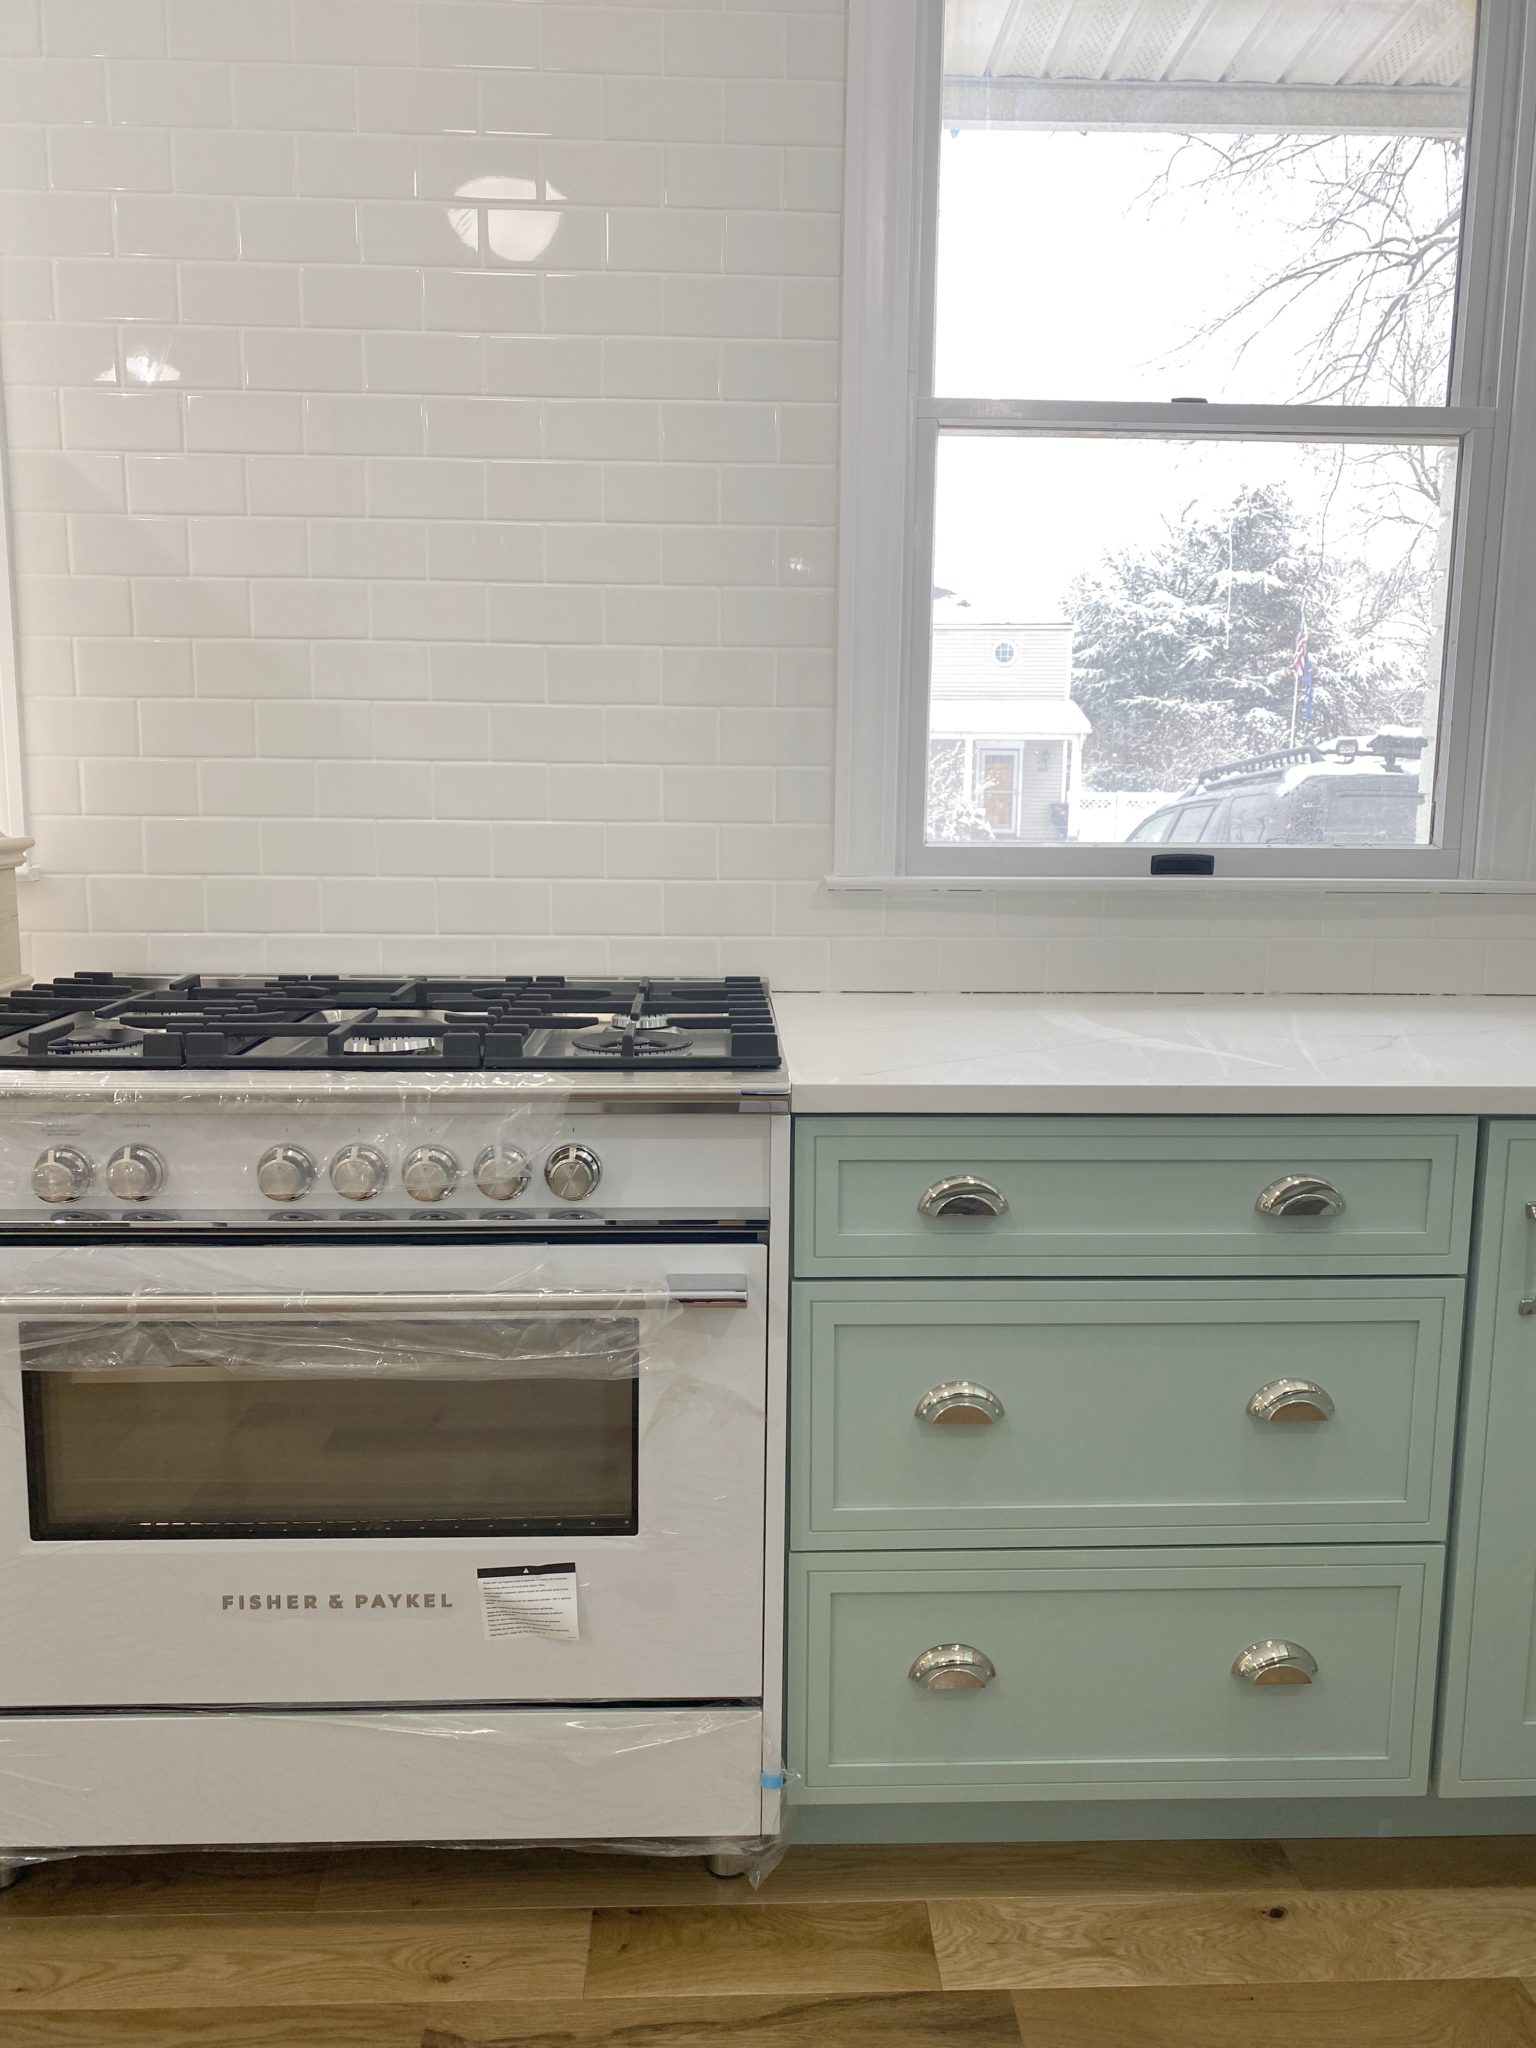
What to look for when it comes to picking out kitchen appliances: Leave room in your budget for appliances. When it comes to kitchen renovations everyone knows that the cabinetry and the labor of demoing and installing cabinetry is going to eat a lot of your budget. However, the second most expensive part of a […]
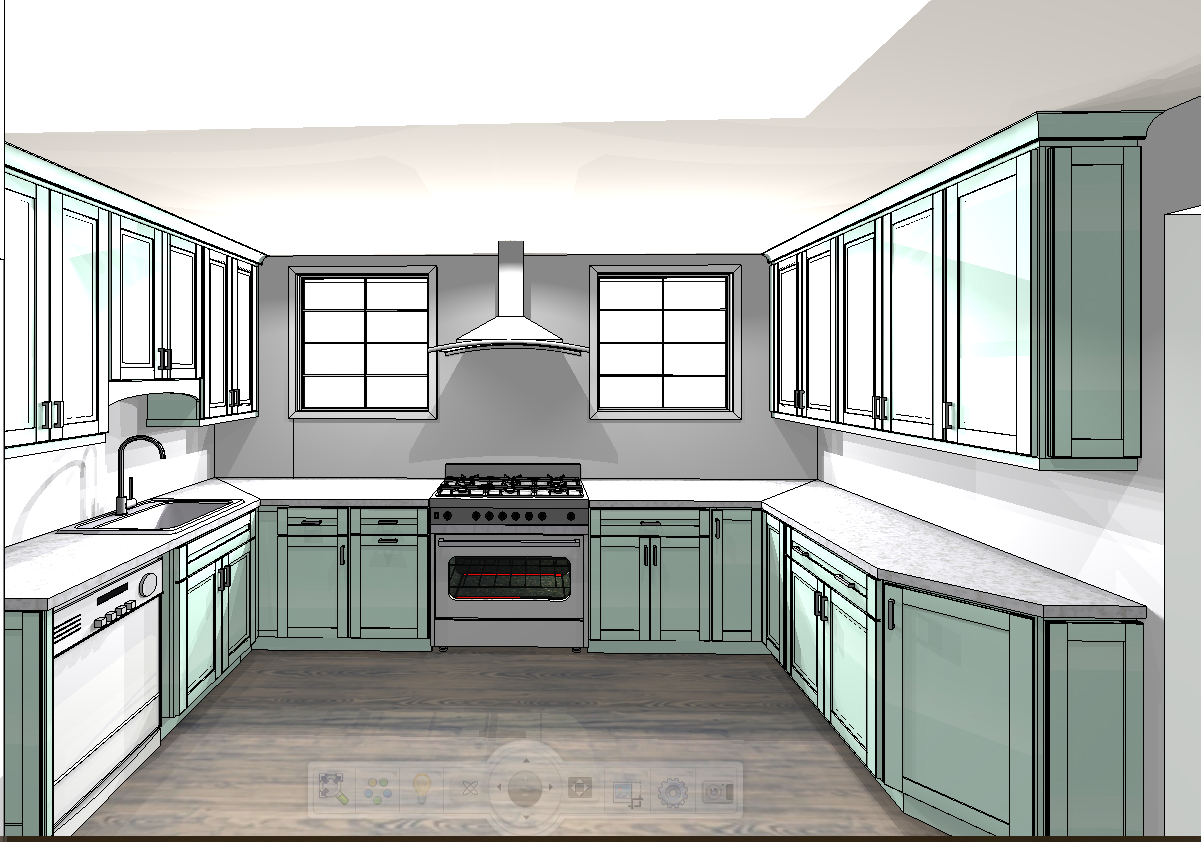
I don’t think I’m alone in thinking that designing a kitchen is an overwhelming undertaking. I’m an interior designer and even I find it stressful to iron out all of those details. So, when it comes time to design a kitchen I always like to partner with a kitchen designer to make sure I’m remembering […]


This is lovely. I tiled my fireplace hearth and surround with some warm colored tiles and I love it.
that looks awesome, i love how you go for such bold color.
b
WOWWWW I am so in awe of you and your eye. What a creative idea! And I love how it turned out!