
ORC: Guest Room Week 2
Last week I decided to join the latest edition of One Room Challenge created by Linda from Calling it Home and fix up my parents now guest room previously my youngest sisters room.
I had been promising my mom that I would do it for months now and it was a surprise to her that I was finally doing it. She reads my blog so I never even got a chance to tell her in person before hand. Ha ha! Surprise! My mom is the best client, because she really gives me complete design control which is great, because I don’t really have a design plan yet!
I’ve just been going through things I have already picked up for that “maybe” client. You know when you see a good deal and you can’t pass it up. I do that a lot with fabric and home accessories so I nice stock pile of goodies I can pick through. With those items in mind I’m going with a mint, navy blue, and pink color story.
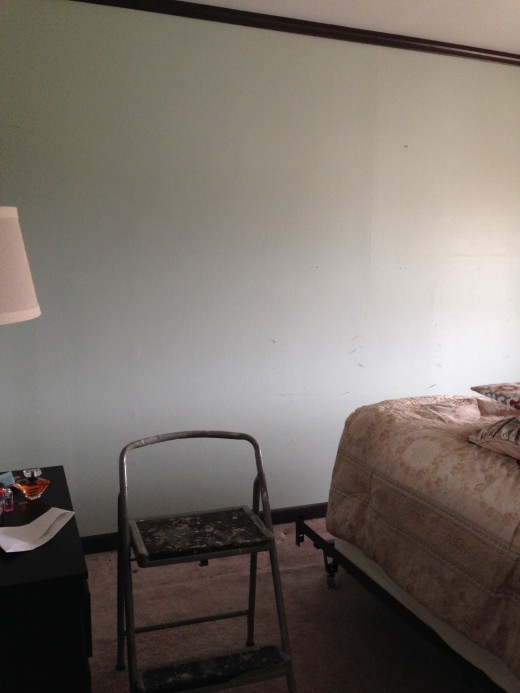
This week I decided to tackle a little painting job. The paint job in the room was still looking good and it was a pretty shade of blue/green that I picked out years ago. I wanted to add a dose of prep to the space so striping one wall seemed fitting.
Before:
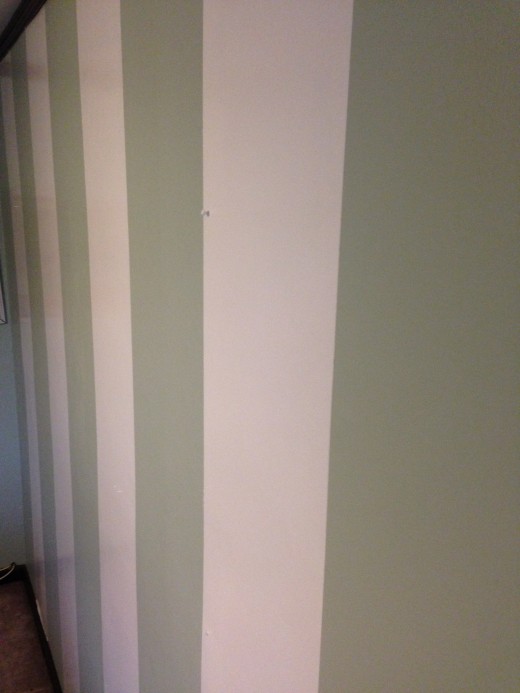
I wanted vertical stripes which meant a bit more taping, but I think it was worth it. It took me one afternoon to tackle and it completed changed the space.
Here is how I tackled it:
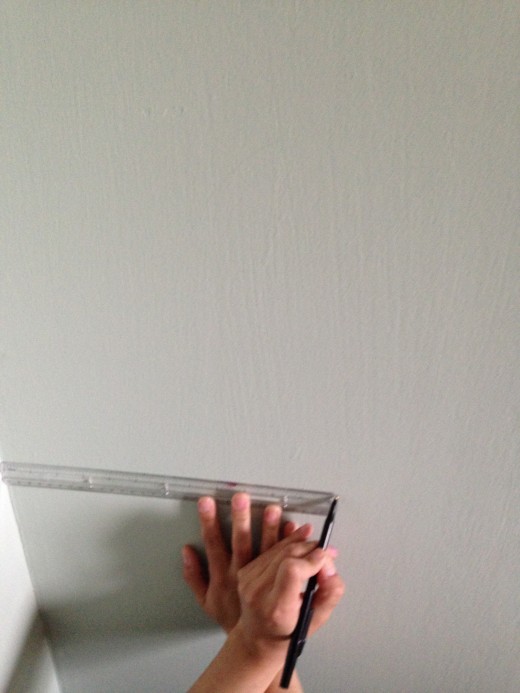
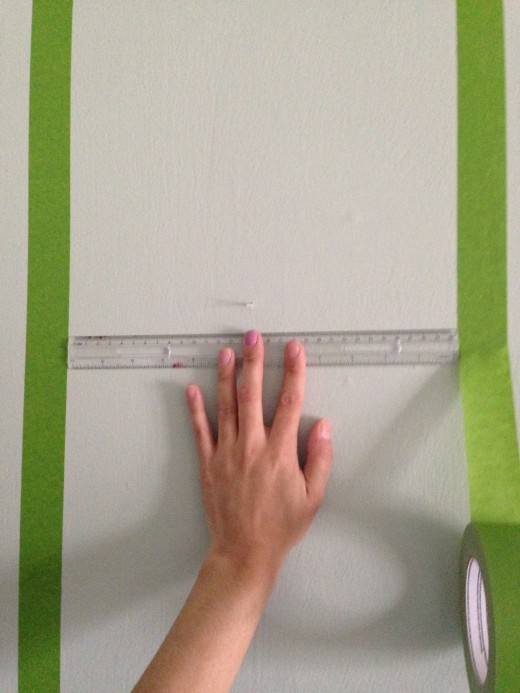
Step 1: For my size wall I needed to have two different sizes for the stripes to fill the space. This meant I would have 12″ white stripes and 13″ of the existing paint stripes. This worked out perfectly because I was able to use a 12″ ruler and 1″ painter tape to make my stripes.
I started on one end of the wall and made little marks at 12″ to know where I would be placing my tape.
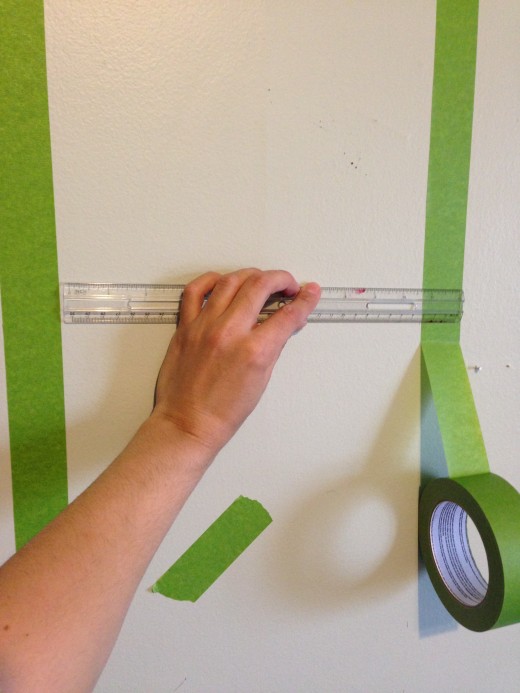
Step 2: Once my first line of tape was up I started to work on stripe #2. Stripe #2 was going to be painted so I needed to place my ruler after the frog tape.
Step 3: For my 13″ stripes that were remaining blue I needed to start measuring at the end end of the frog tape and have my second piece of tape go inward towards the 13″ section.
*If you are doing the same size stripes then the concept is the same. For the no paint stripes you need to make sure your two strips of frog tape are accounted as part of the no paint section so the frog tape goes inwards and part of the stripe. For the painted stripe you need your frogtape to go on the outsides of the stripes so the main painting area is the correct measurement. Basically don’t forget that your frogtape is part of your non painted stripe when laying out your stripes.
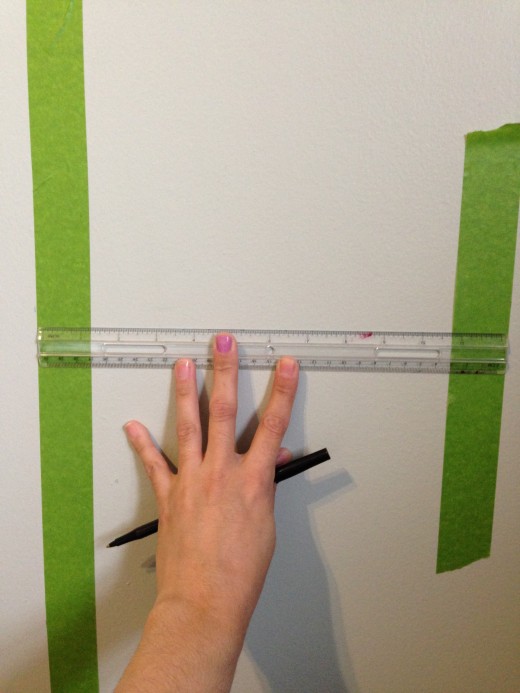 {Example of 12″ non painted stripe}
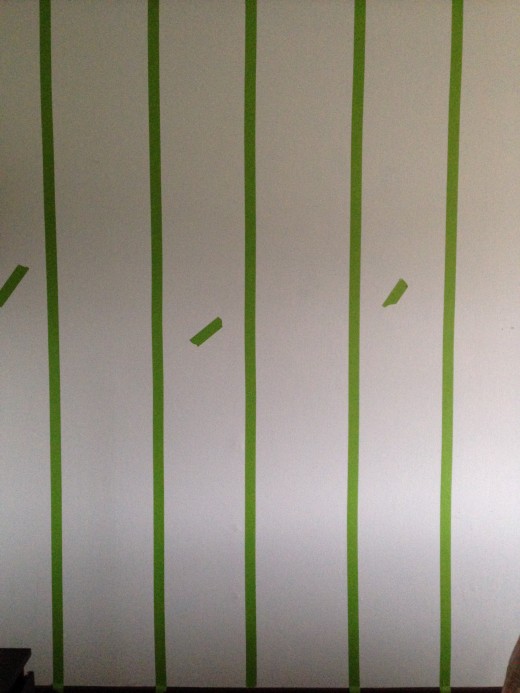
Step 4: I made sure to mark all of my no paint sections so that I wouldn’t get overzealous and make a mistake.
Step 5: Make sure to smooth down all of your tape so that your paint doesn’t bleed.
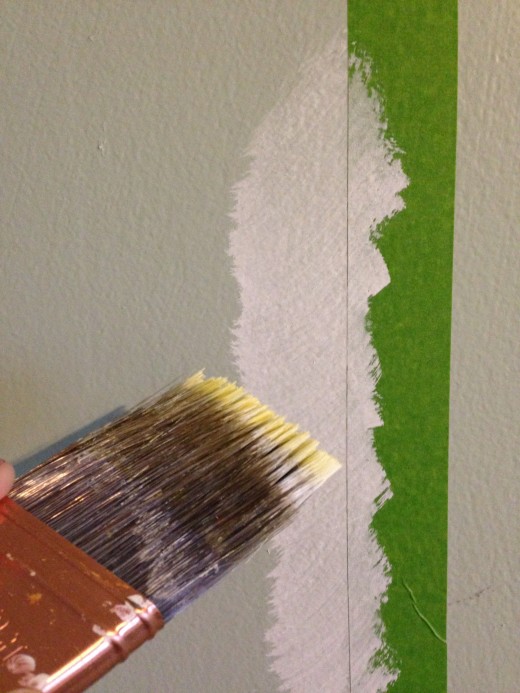
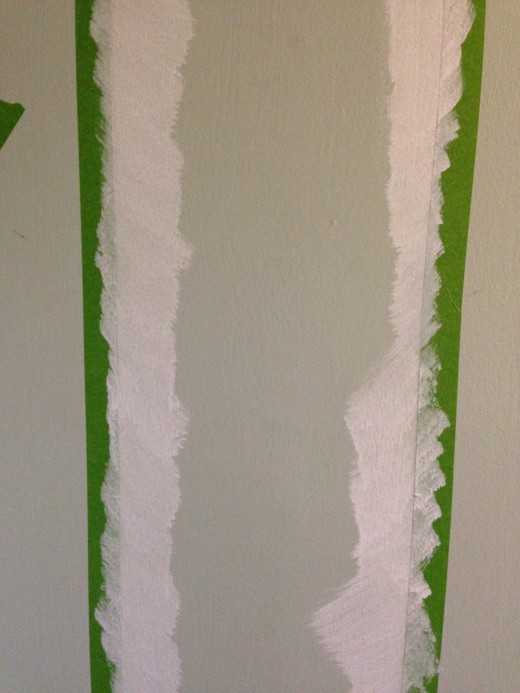
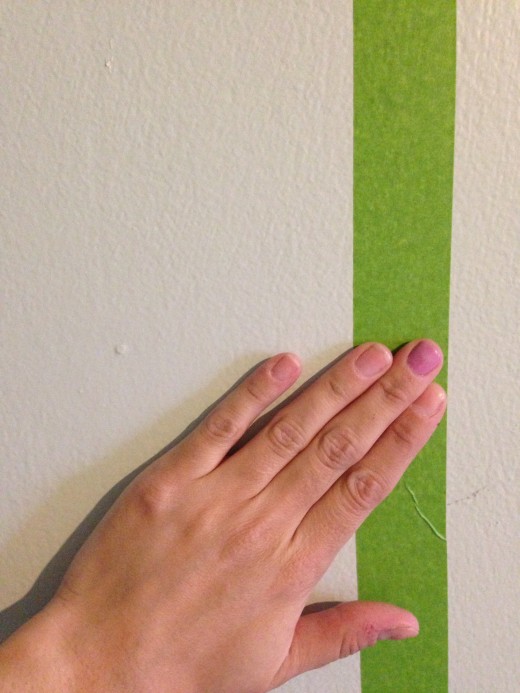 Step 6: Take a paint brush and lighting coat the sides of the frog tape to seal the tape.
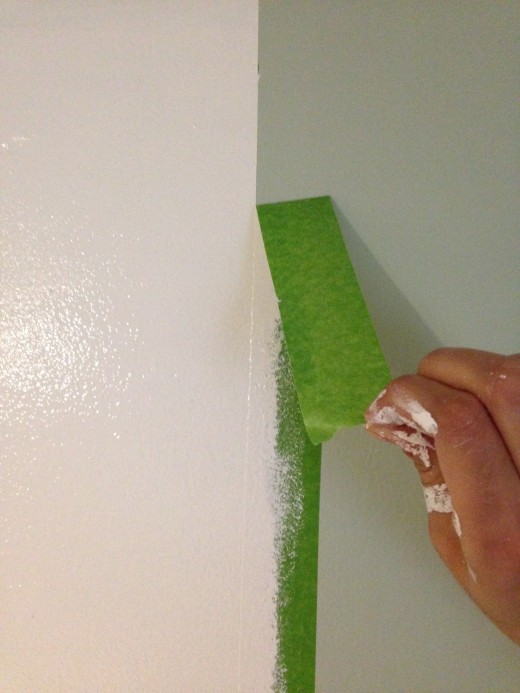
Step 7: Roll away and give each stripe 2 coats. With the second coat still wet remove your tape and you will get a nice crisp line.
All done!
What are you up to for week 2? Check out the other linking participants here.
Related
Leave a Reply Cancel reply
get inspired with our own home tour
ON THE BLOG
My living room is one of the rooms that evolved drastically from when we first moved one. Originally I painted the walls chocolate brown and did accents of white, blue and orange. That lasted maybe 2 years.
Our dining room sat empty for months. Okay maybe it was empty for just a handful of weeks and then we couldn’t take it anymore and put in a folding table and plastic outdoor chairs, but in my mind that was still empty.
On the main floor of our house we have a Florida room. Being that it’s a Florida room it is a considered a 3 season room, because there is no heat in the room. The previous owners used it as an indoor patio with outdoor furniture and it looked like this when we moved in.
In our new home, the basement was completely unfinished. It was literally one of those dark spaces that you see in horror movies and are terrified of getting locked into. However, with the square footage in this house, I knew I needed to make the basement another workable and liveable floor of the house instead […]
What to look for when it comes to picking out kitchen appliances: Leave room in your budget for appliances. When it comes to kitchen renovations everyone knows that the cabinetry and the labor of demoing and installing cabinetry is going to eat a lot of your budget. However, the second most expensive part of a […]
I don’t think I’m alone in thinking that designing a kitchen is an overwhelming undertaking. I’m an interior designer and even I find it stressful to iron out all of those details. So, when it comes time to design a kitchen I always like to partner with a kitchen designer to make sure I’m remembering […]


I love to paint stripes, too. They add that certain something to a room!!
Marcie