Natural Make Up Tutorial for Everyday
I’m one of those people that does my make up every single day. It’s part of my routine and it makes me feel better and ready to tackle the day when I have my face all done up. Now that doesn’t mean I go full on party make up whenever I leave the house. I have a pretty standard make up routine for a natural look that takes me around 10 mins to do. I love playing around with make up so, I’m constantly testing out drug store brands to see what I love and what is just a waste. I’m happy to report that the majority of the make up products in this tutorial can be found at your drug store. Only two products are Ulta only finds!
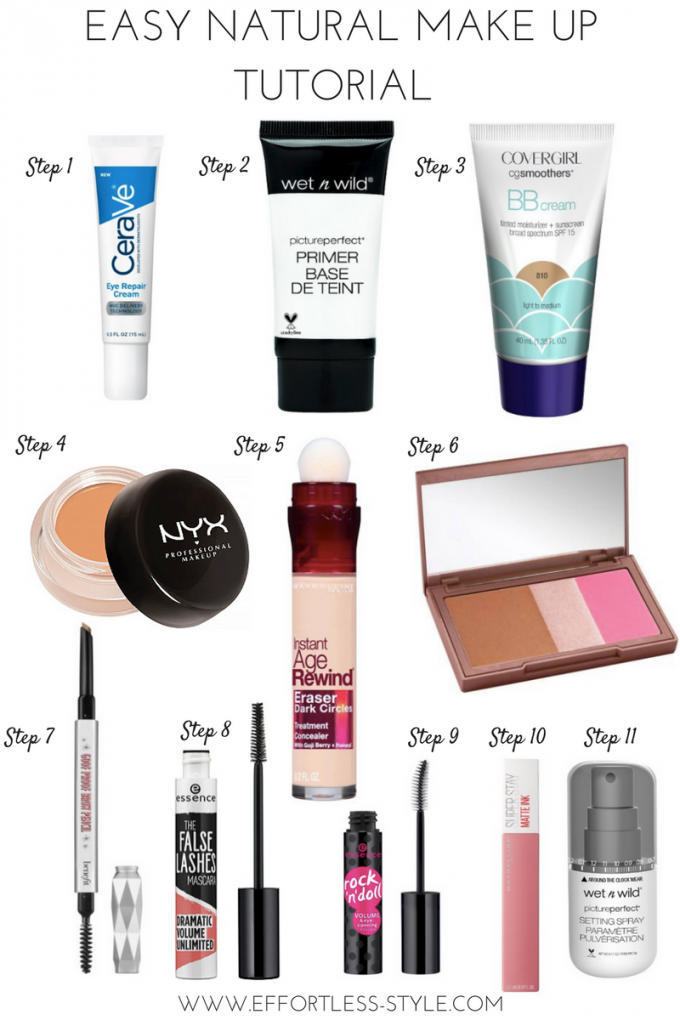
Here is what you are going to need to tackle the natural make up tutorial and the order in which I apply them.
Step 1: I have been applying Cera Ve Eye Repair cream for a couple of months now and I must say I’m actually seeing a difference. I tend to get really bad dark circles under my eyes even when I have had plenty of sleep. I didn’t realize how much of a difference it had made until I saw my before photo for this post!
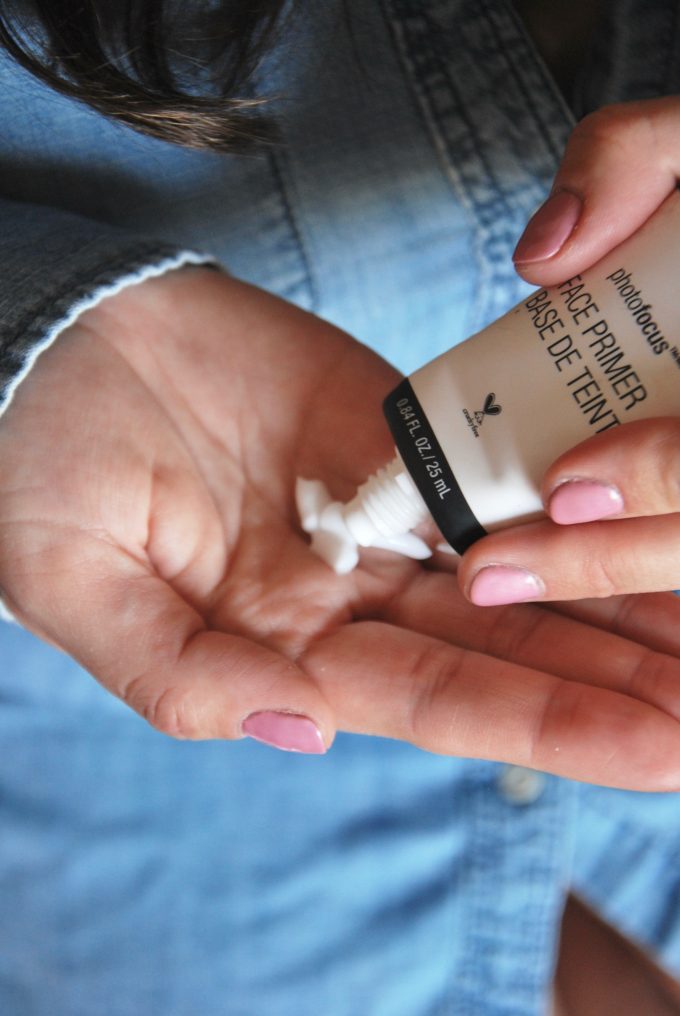
Step 2: Now I was having a hard time getting my make up to stay put. I would literally feel like it had all disappeared two hours after applying it. So, I started to use a make up primer and it has been a game changer. I picked up Wet ‘n Wild because I wanted something budget friendly while I tested it out and it has been a dream. No need to purchase something more expensive. I put it on after my eye cream.
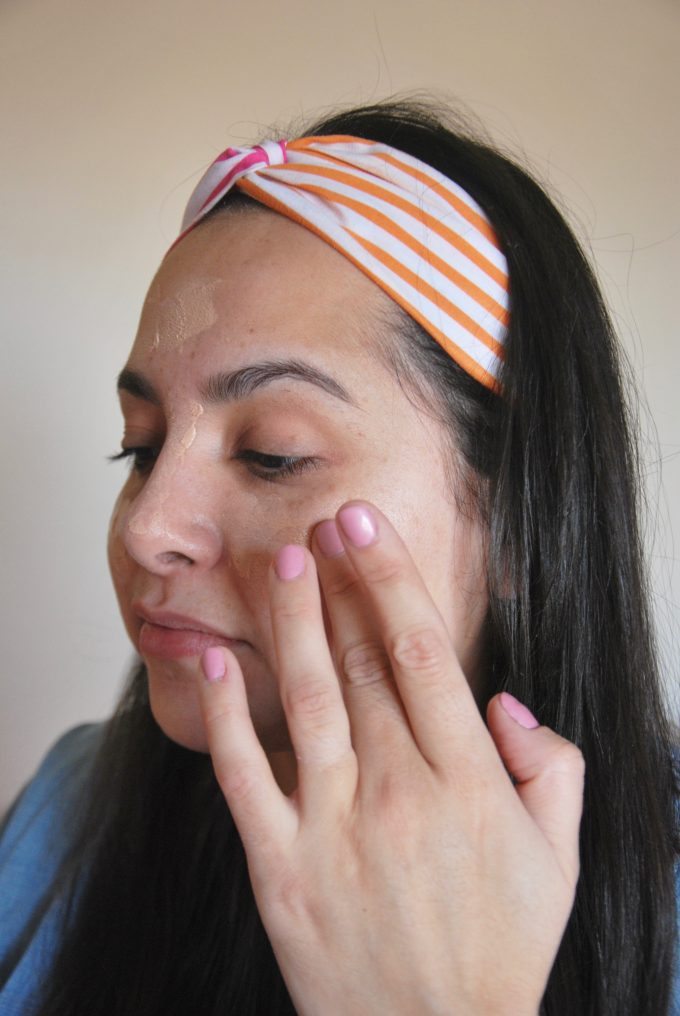
Step 3: Once the primer dries, which takes a couple of seconds I apply my favorite foundation. I’m not a fan of traditional foundation. It’s way too heavy for me. I have a couple of freckles on my face and I like to see them shine thru but also like to even out my house. This Cover Girl BB Cream has SPF 15 and gives me nice coverage. I have been using it for years.
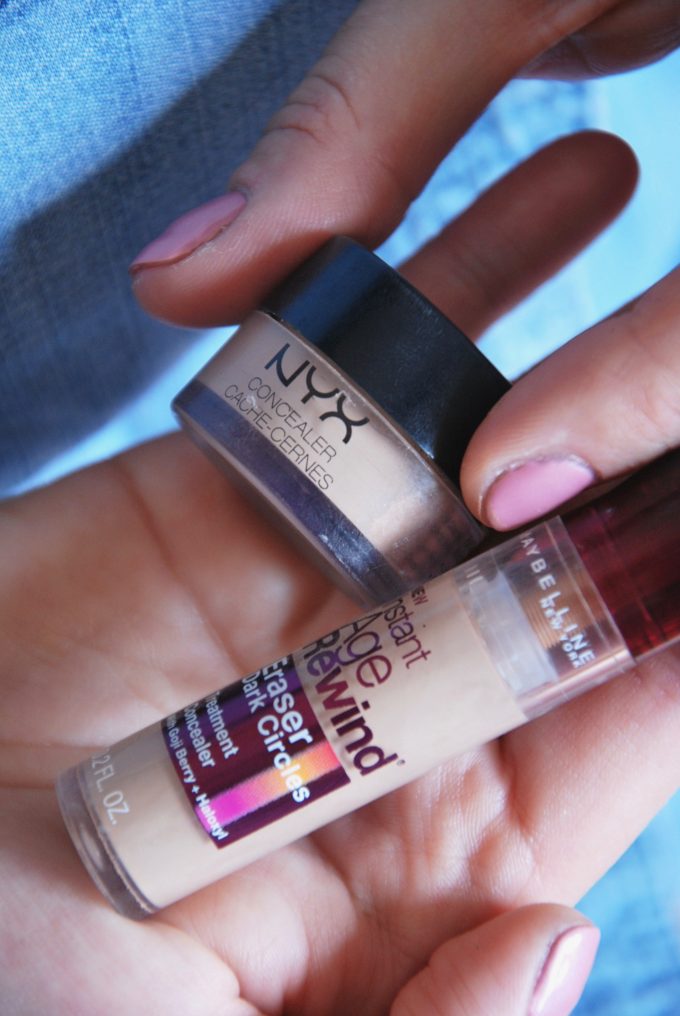
Step 4 and 5: Concealer aka my best friend. Due to my dark circles I think I have tested out every concealer out there! I’m really picky when it comes to a good concealer. I need great coverage, but it can’t be heavy and cause creasing. Some people recommend to just one concealer but I get the best coverage when I layer two lightly.
I apply the NYX Dark circle concealer first. It’s a perfect drugstore copy cat of Benefit’s Boi-ing concealer. I love both, but the NYX is only $5 and available at Target so, I tend to grab it more.
Once I apply if I feel like I can still see my dark circles I add a little bit of Maybelline Instant Age rewind concealer and treatment. Don’t get me started on having to buy something that says Age rewind when I still feel like I’m 16. Haha. Sometimes I layer both like I did for this blog post other days I use one or the other.
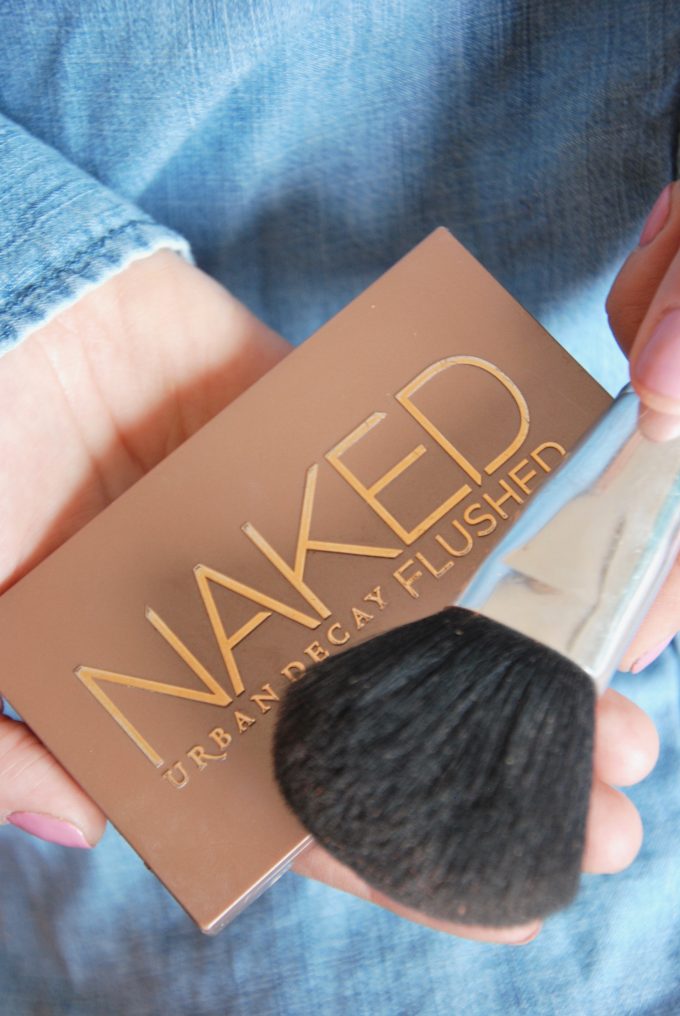
Step 6: Hands down Urban Decay makes the best blush/bronzer and I have never steered away from them. The current color palette I’m using is Streak and I have been loving it. I usually brush the bronzer on my entire face. Nothing crazy just get it on my cheeks, nose, forehead and then apply a little blush on my cheeks. The compact includes a highlighter that has a little shimmer, which you can use under the apples of your cheeks, but for an everyday natural look I don’t use it.
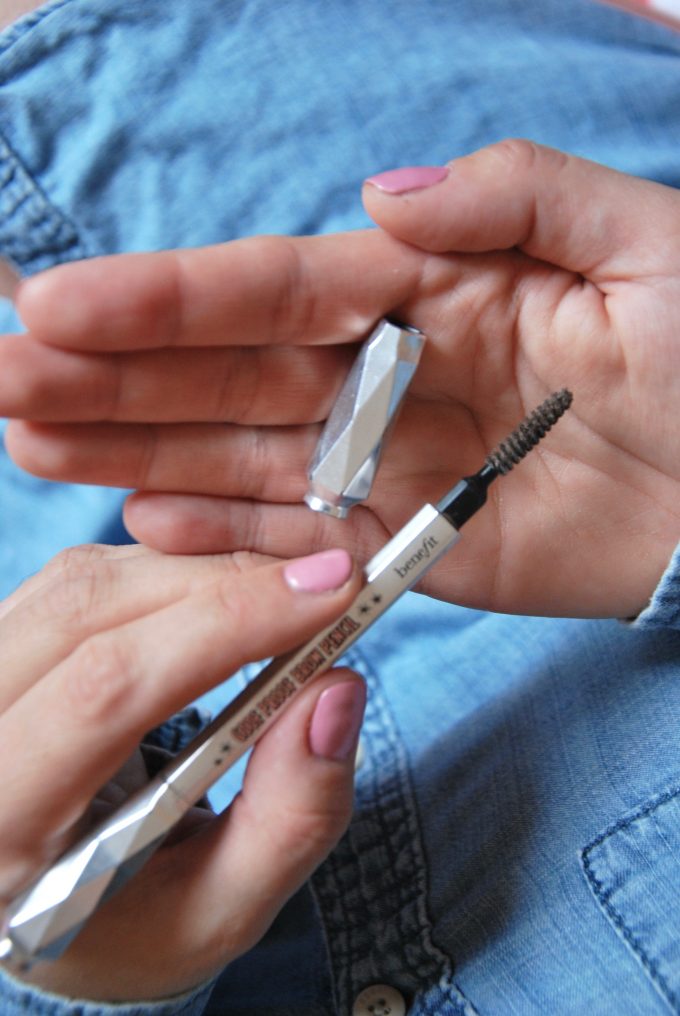
Step 7: Eyebrows! I’m a loyal client of the Benefit brow bar. If you have not been I highly recommend that you make an appointment. They are simply the best when it comes to eyebrows and once you start going you will never stray. Yes, it’s a bit more than getting them done at your local nail salon, but I don’t find Benefit to be a budget breaker at $21 plus tip. I go once a month sometimes twice if I have a special occasion. I love my current shape and it keep it looking fab with Benefit’s Goof Proof Brow Pencil Easy Shape and fill pencil. It’s my favorite tool. One side has a gel pencil that you can use to fill in any sparse places in your brows. Just use small strokes until you get your desired coverage. Then use the spoolie brush to blend it in!
Step 8 + 9: I love big lashes! Sadly after two pregnancies my lashes are not what they use to be! I’ve tried growing serums, but haven’t had much luck and extensions drove me nuts! I constantly wanted to pull them out. So, I’m a big fan of finding mascaras that help make my lashes look longer. My current obsession is mascara by Essence. The pricing is crazy! They are around $5 and the combo I’m using now is The False Lashes, which is honestly amazing on it’s own, but when I want them to use a bit thicker I go layer on Rock ‘n’ Doll.
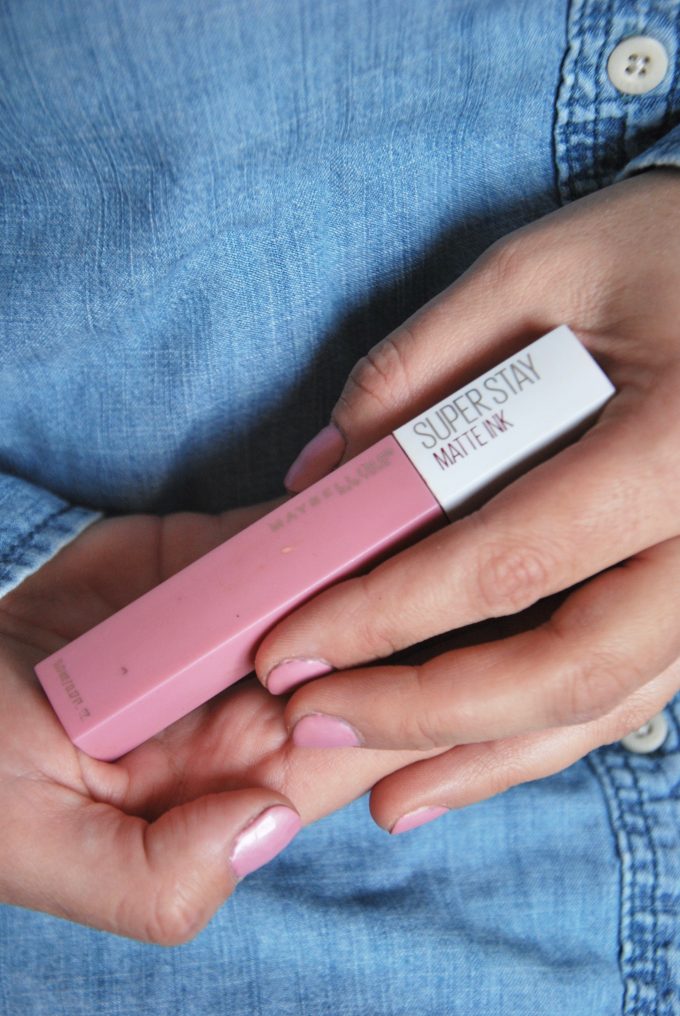
Step 10: I LOVE this lip stick/gloss. It stays on all day and the colors are amazing! I tried Lipsense a couple of months ago and I hated it. The smell was horrible. It felt like I was applying car paint to my lips. No, thanks. This lip stick/gloss has amazing coverage and lasts thru everything. You can apply balm or a clear gloss on top of it if you like, but it’s not needed.
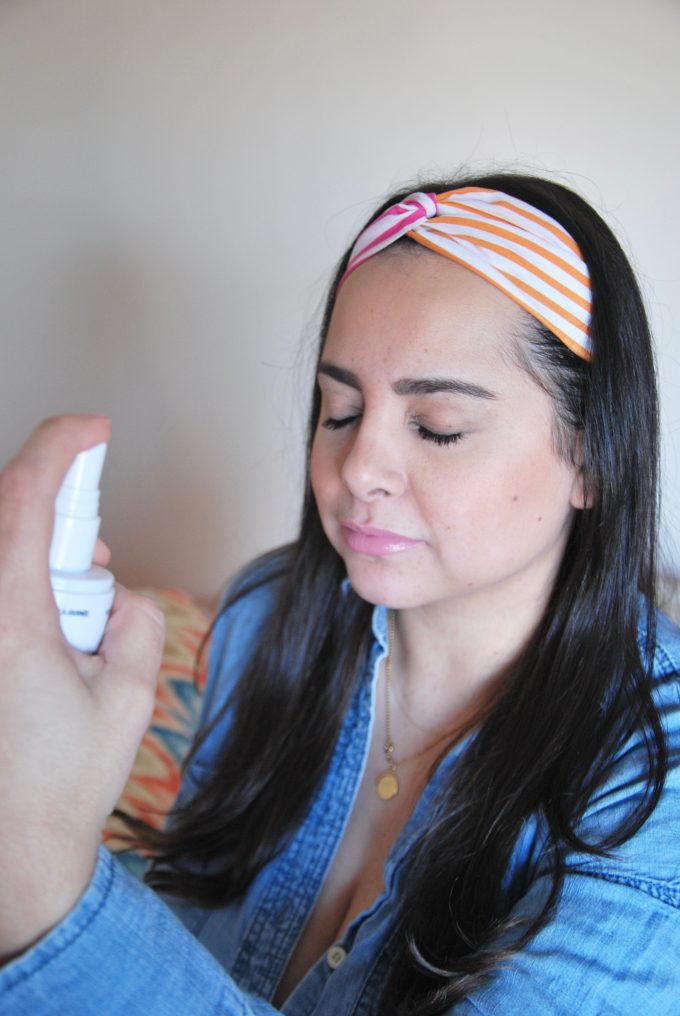
Step 11: Now typically I would be done here, but like I mentioned above I was having issues with my make up lasting all day. Adding primer in the beginning really helped and pairing it with a finishing spray like this one from Wet n Wild has made my make up stay put all day!!!!!
When you are done applying make up simply spritz your face. It’s going to make your face wet and dewy, but it dries really quickly and then it’s all set.
Now that might seem like a lot of steps, but it takes me 10 mins or so to do it.
Here is the after shot!
Also not make up related, but beauty related is the new repair balm I have been using on my hair. This winter has made my hair super dry and this balm has made my hair super glossy and my spilt ends have disappeared. Can’t stop talking about it!
Do you wear make up on a daily basis? There is always quite the debate about what people do on instagram stories. I let it all out on instagram stories so you will see in my before photo state or worse quite a bit, but then you also get to see me made up as well.
Shop this post:
Related
Leave a Reply Cancel reply
get inspired with our own home tour
ON THE BLOG
My living room is one of the rooms that evolved drastically from when we first moved one. Originally I painted the walls chocolate brown and did accents of white, blue and orange. That lasted maybe 2 years.
Our dining room sat empty for months. Okay maybe it was empty for just a handful of weeks and then we couldn’t take it anymore and put in a folding table and plastic outdoor chairs, but in my mind that was still empty.
On the main floor of our house we have a Florida room. Being that it’s a Florida room it is a considered a 3 season room, because there is no heat in the room. The previous owners used it as an indoor patio with outdoor furniture and it looked like this when we moved in.
In our new home, the basement was completely unfinished. It was literally one of those dark spaces that you see in horror movies and are terrified of getting locked into. However, with the square footage in this house, I knew I needed to make the basement another workable and liveable floor of the house instead […]
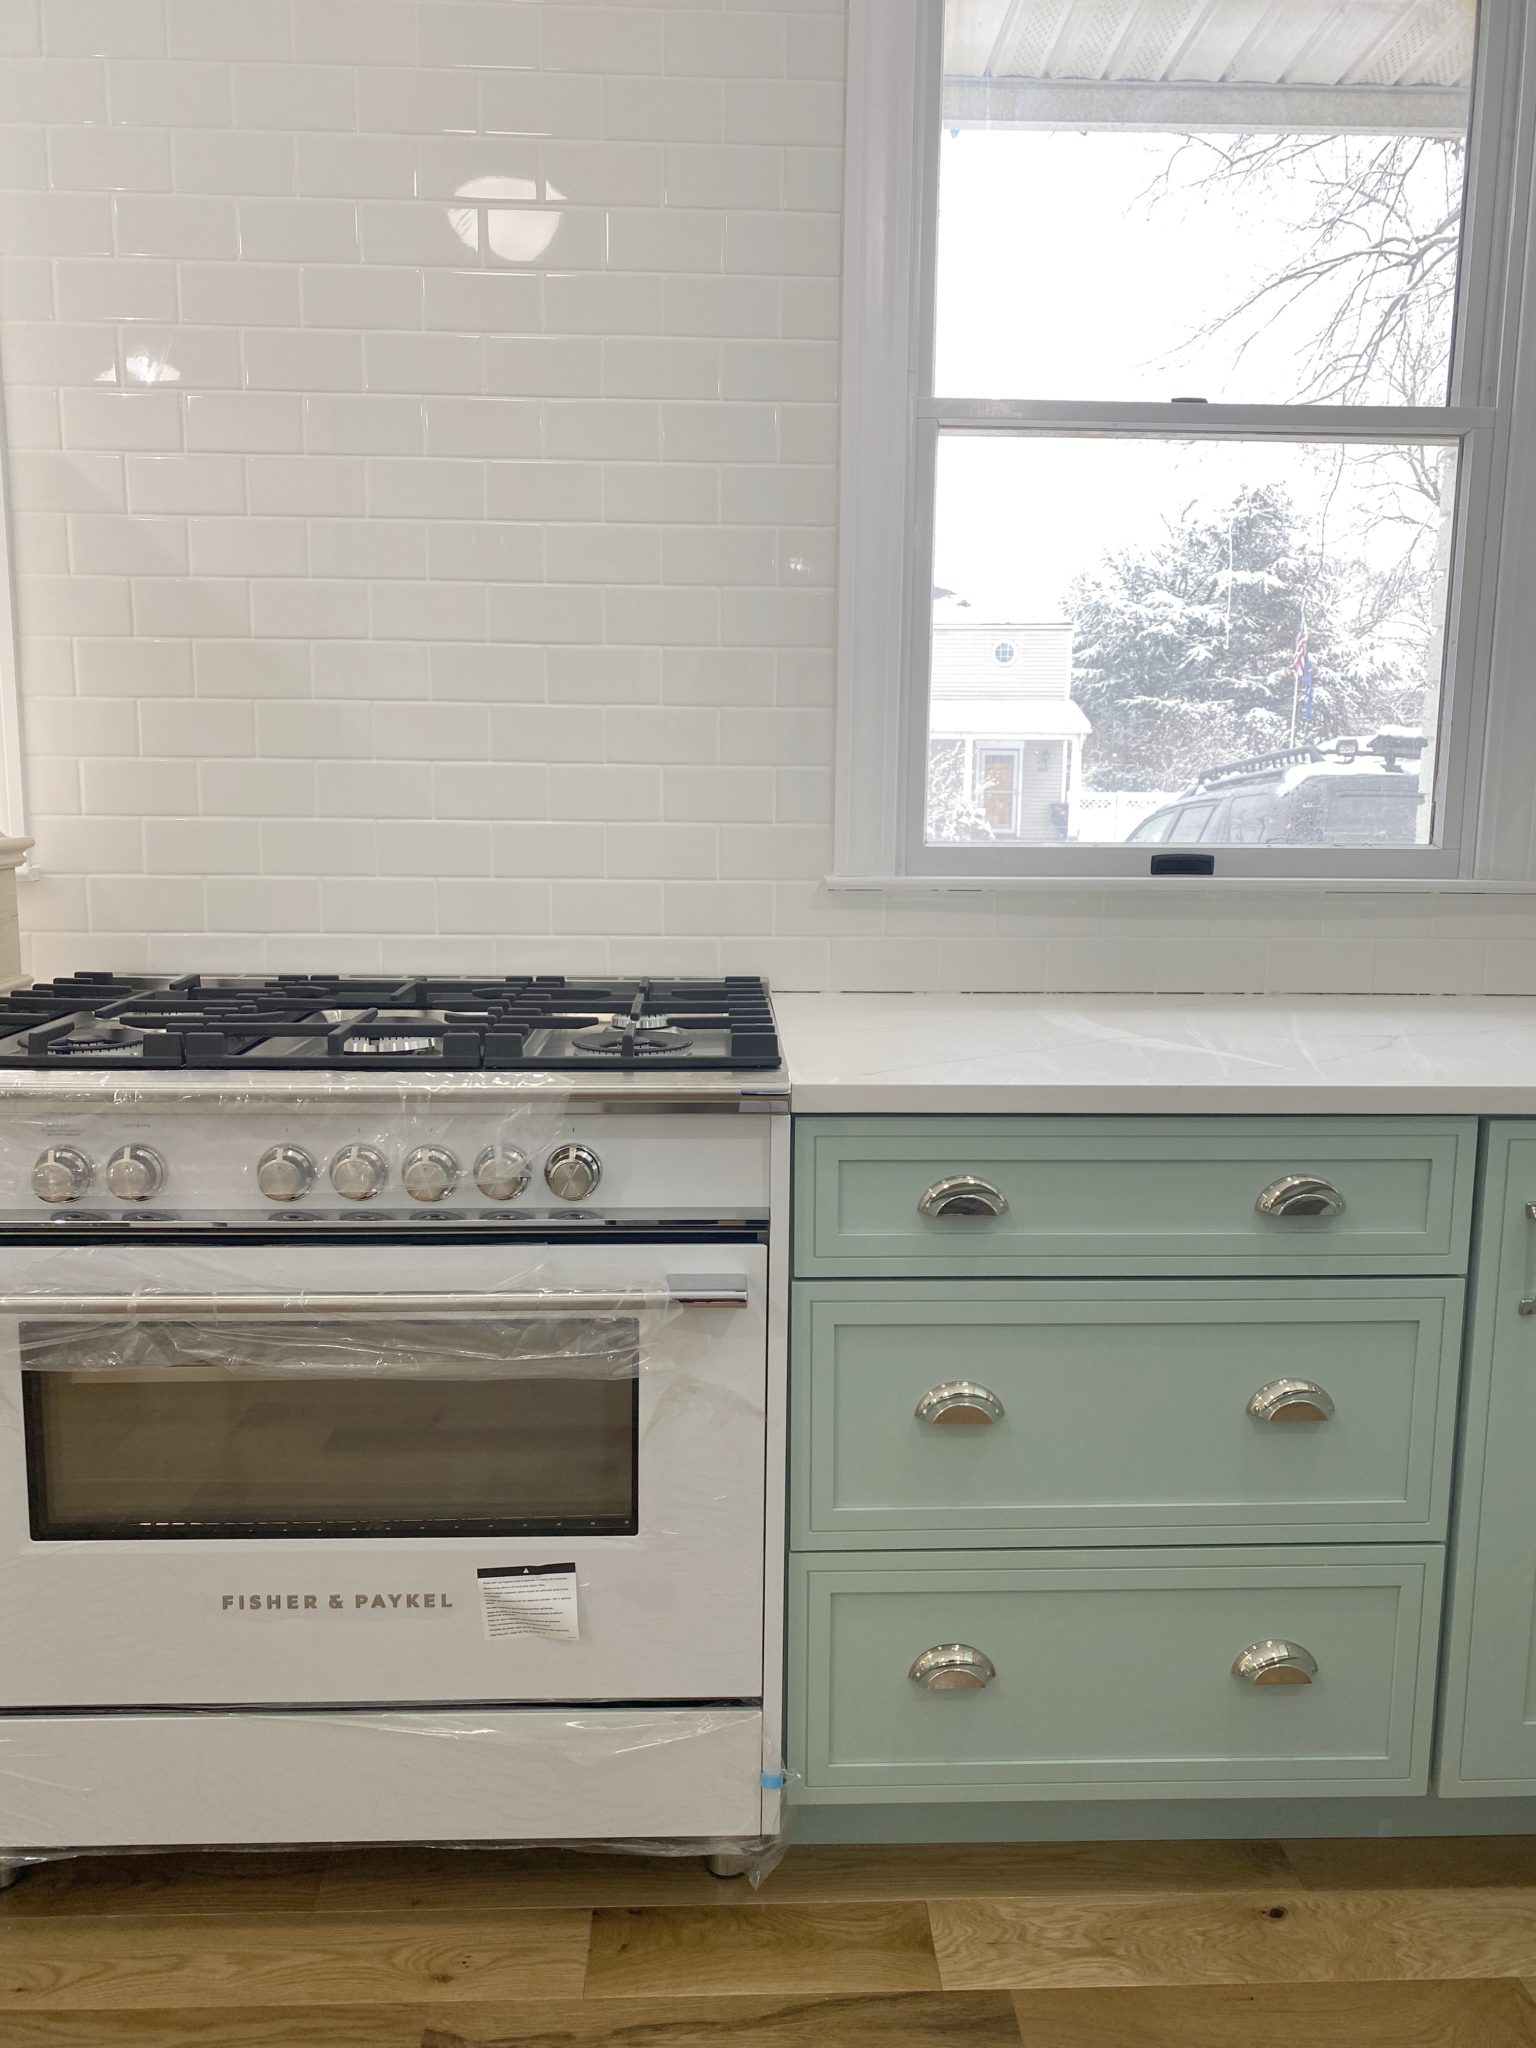
What to look for when it comes to picking out kitchen appliances: Leave room in your budget for appliances. When it comes to kitchen renovations everyone knows that the cabinetry and the labor of demoing and installing cabinetry is going to eat a lot of your budget. However, the second most expensive part of a […]
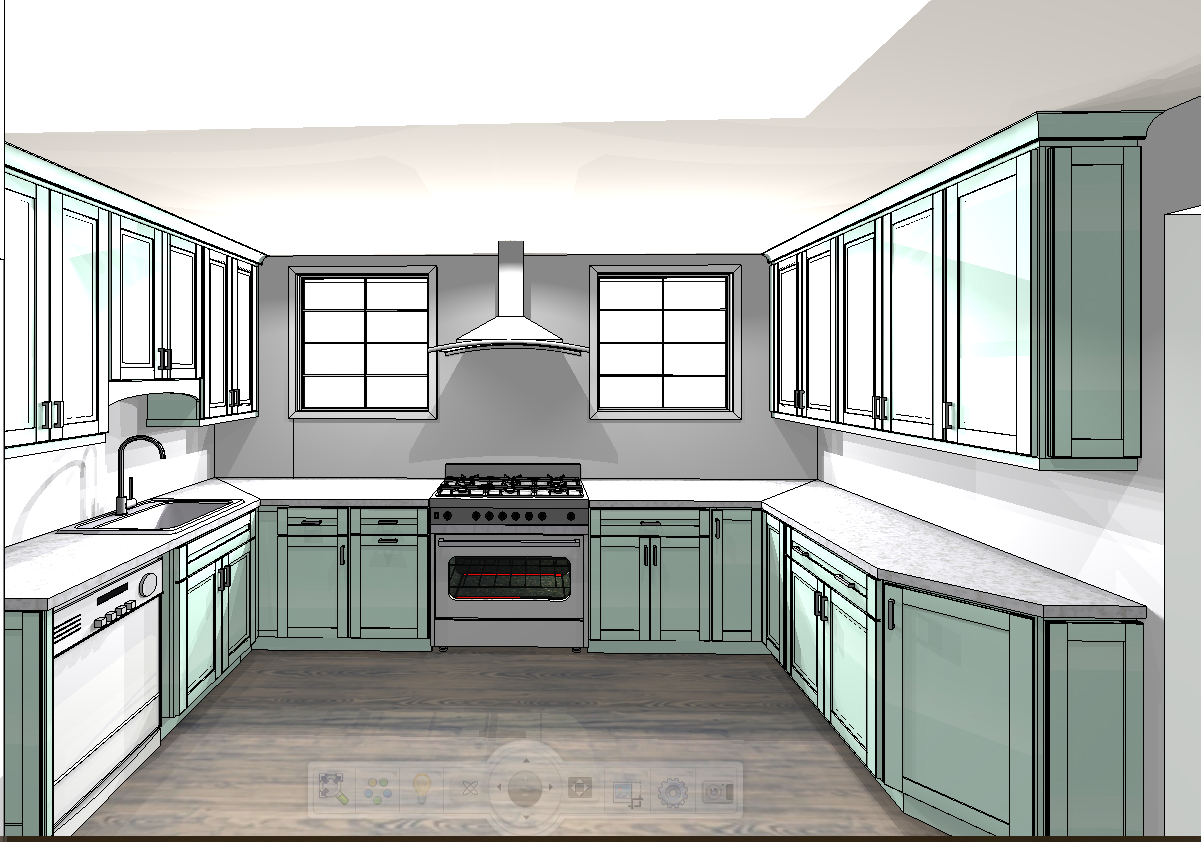
I don’t think I’m alone in thinking that designing a kitchen is an overwhelming undertaking. I’m an interior designer and even I find it stressful to iron out all of those details. So, when it comes time to design a kitchen I always like to partner with a kitchen designer to make sure I’m remembering […]
