
Closet Turned Kitchenette Reveal!
Last week I shared the before photos and game plan for turning this closet into a kitchenette. It was such a simple project that could be done a week! I love turning closest into something other than a closet! In our old house, the closet in our nursery was turned into a changing station. With kids especially you don’t have a ton of needs for hanging clothes. Especially for boys. I’m all about shelves and drawers instead. For this project, my studio space already had a pretty large walk-in closet that Jon installed wrap around shelves in. This additional closet was calling for a makeover and I was happy to oblige!
Closet Turned Kitchenette Reveal
the before
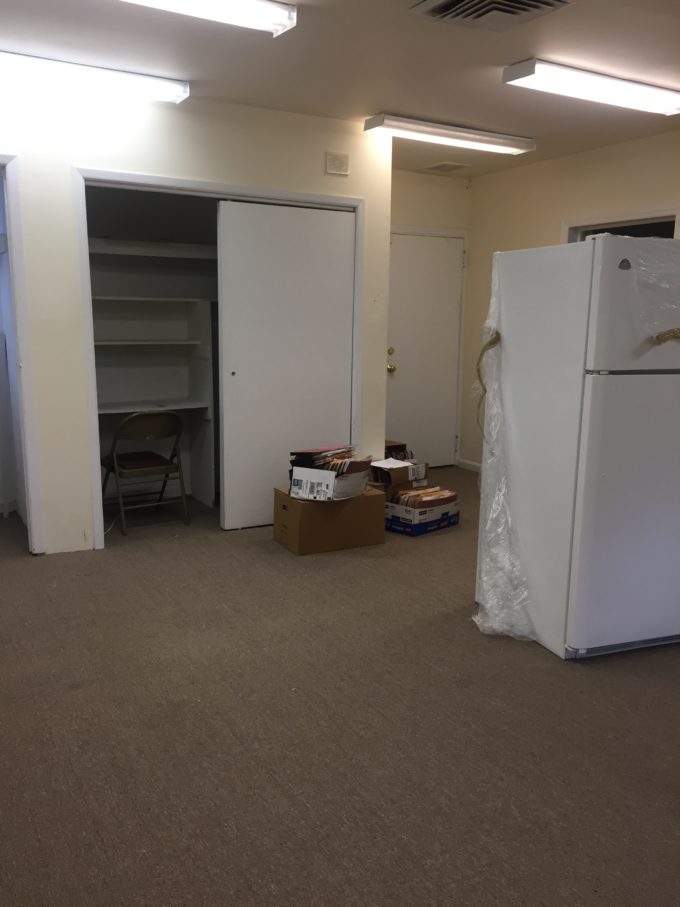
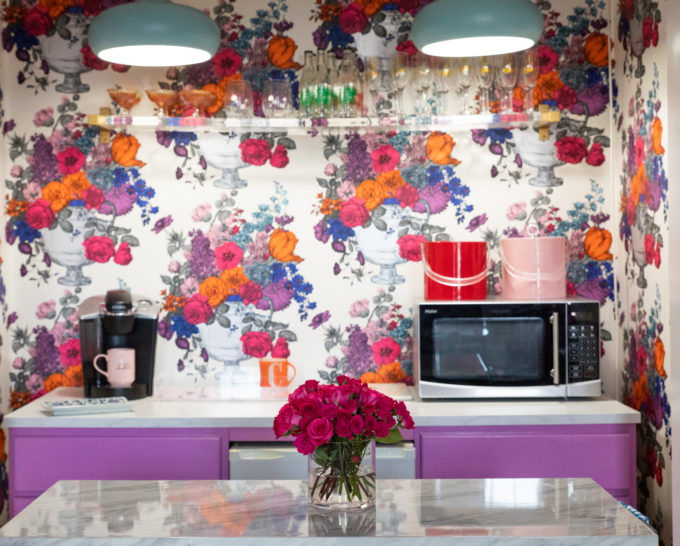
the after
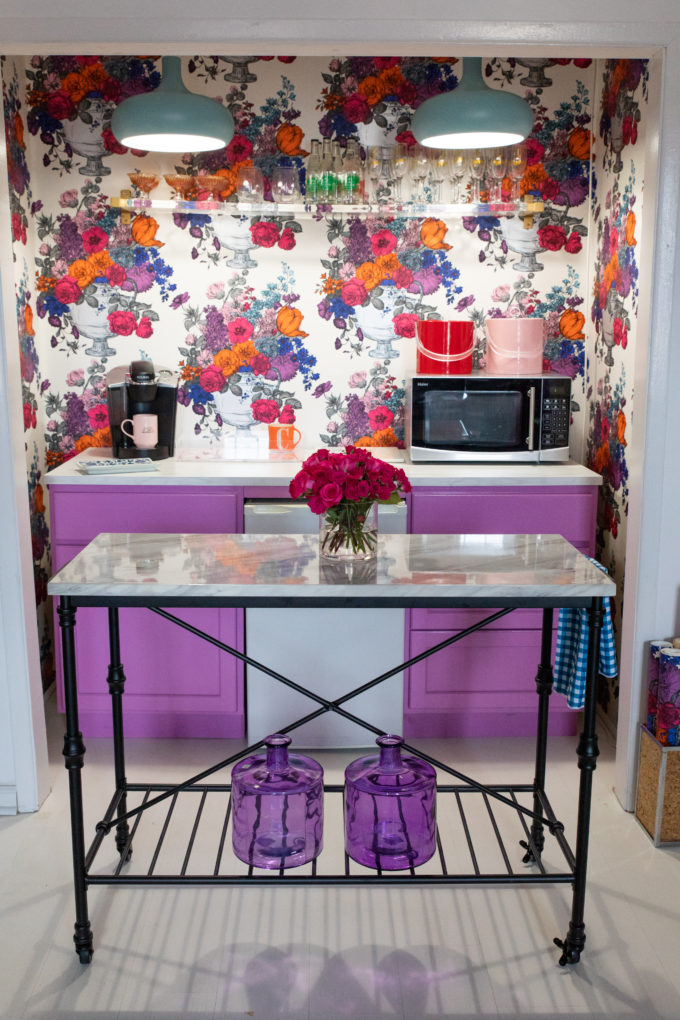
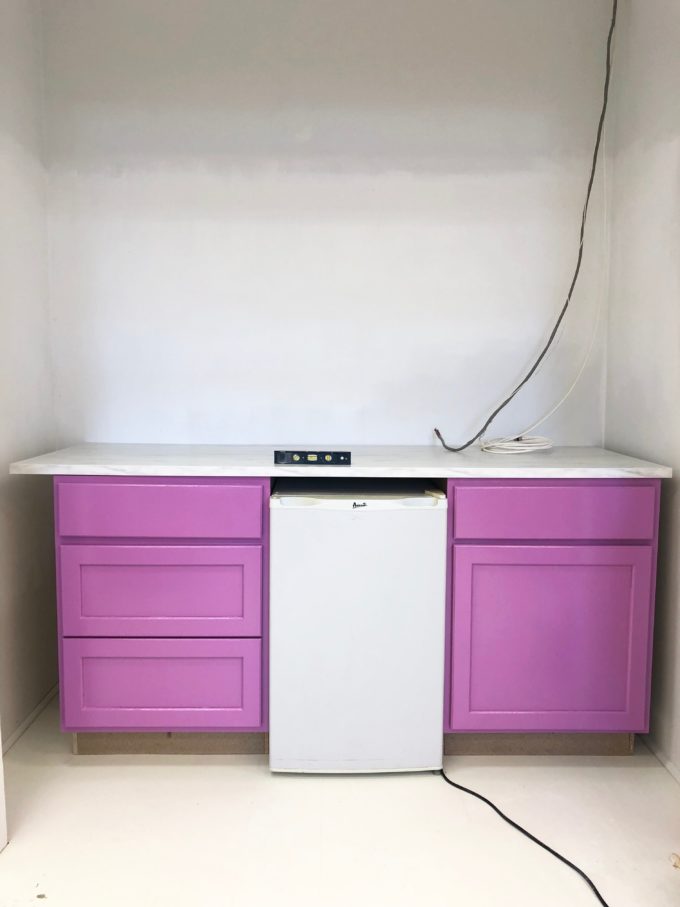
Bravo!!!! It is such a transformation and I fell in love with it immediately. Now let’s break it down. We purchased unfinished kitchen base cabinets and got to work finishing them up with some paint.
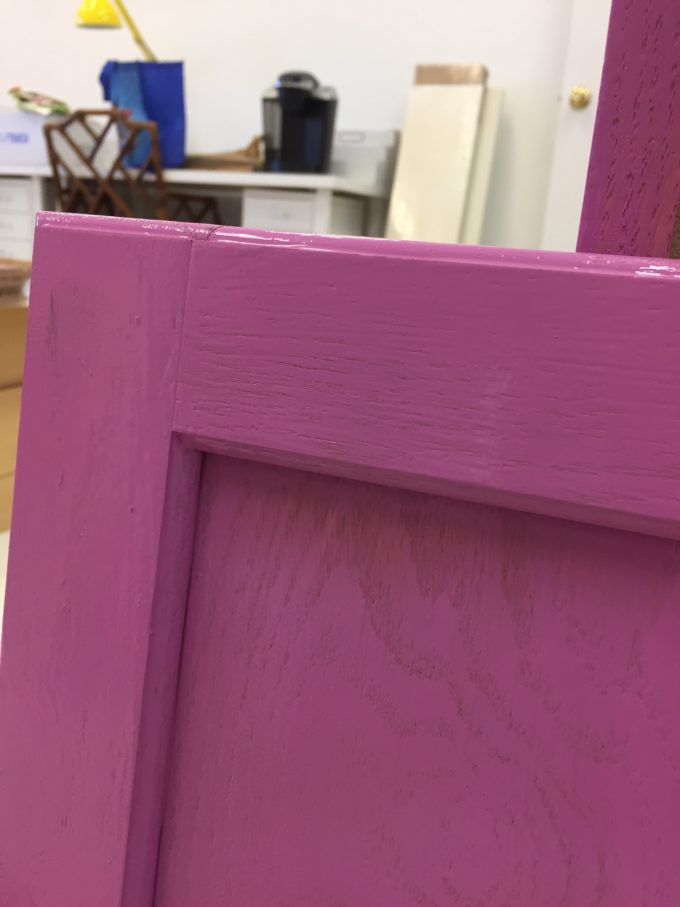
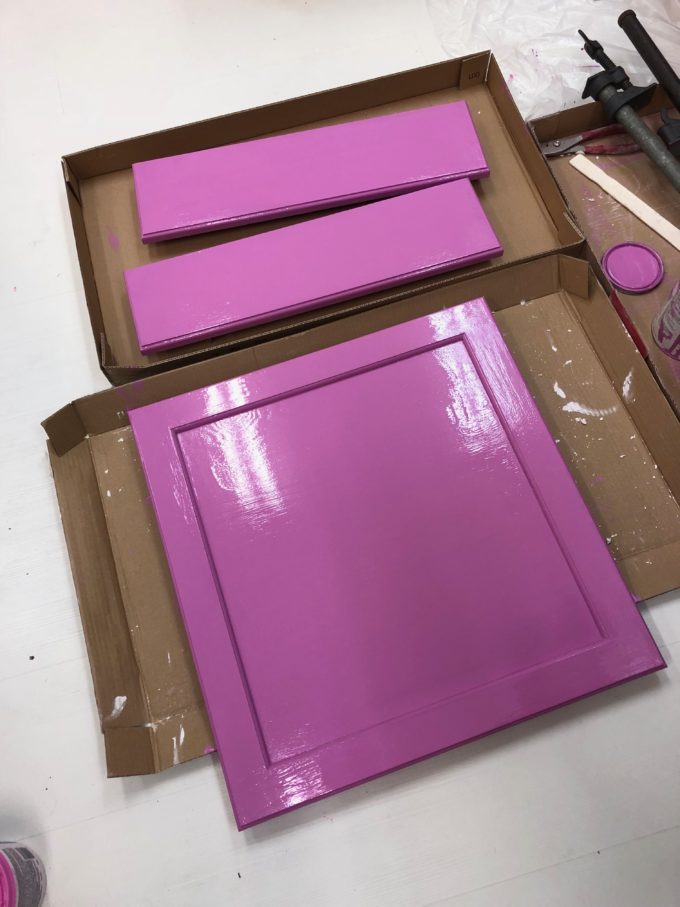
The cabinets come built, but it’s best to remove the doors when painting. It just gives you a much nicer finish and helps prevent paint drips. We did one coat of paint and realized that the texture and coloring of the real wood was showing through the paint. Now we could have just painted an additional coat and called it a day, but I wanted a high gloss finish without any of that texture. What was a girl to do?
After 1st coat of paint:
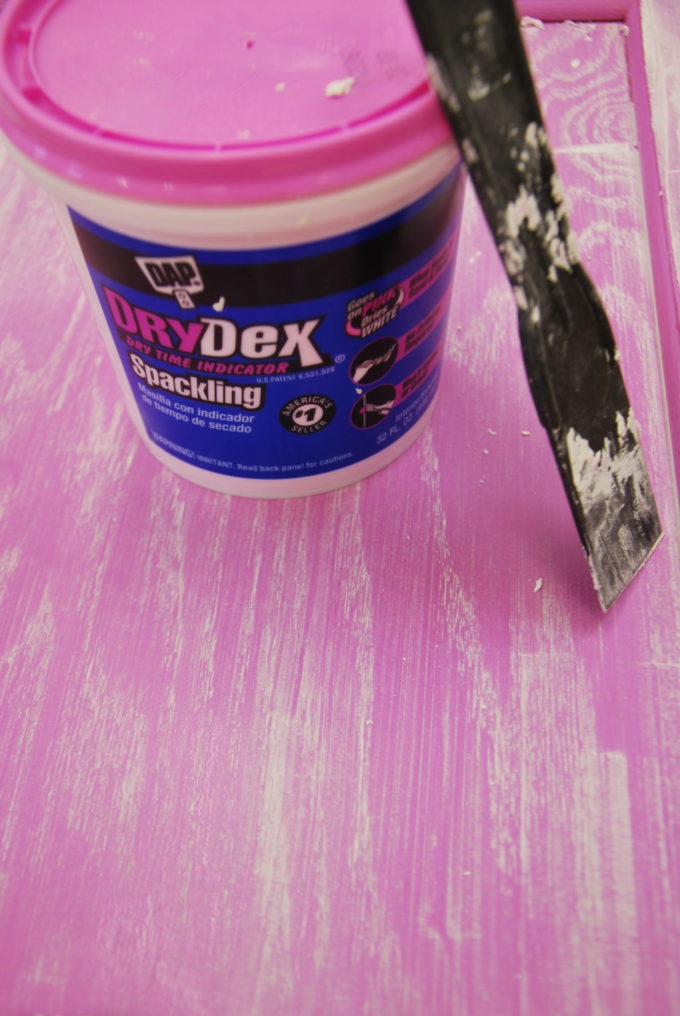
The secret trick for getting an even surface for painting unfinished cabinets: Spackle! You need to apply a light layer of spackle to almost skim coat your cabinets and then do a light sand before applying your next layer of paint.
Look at that shine!
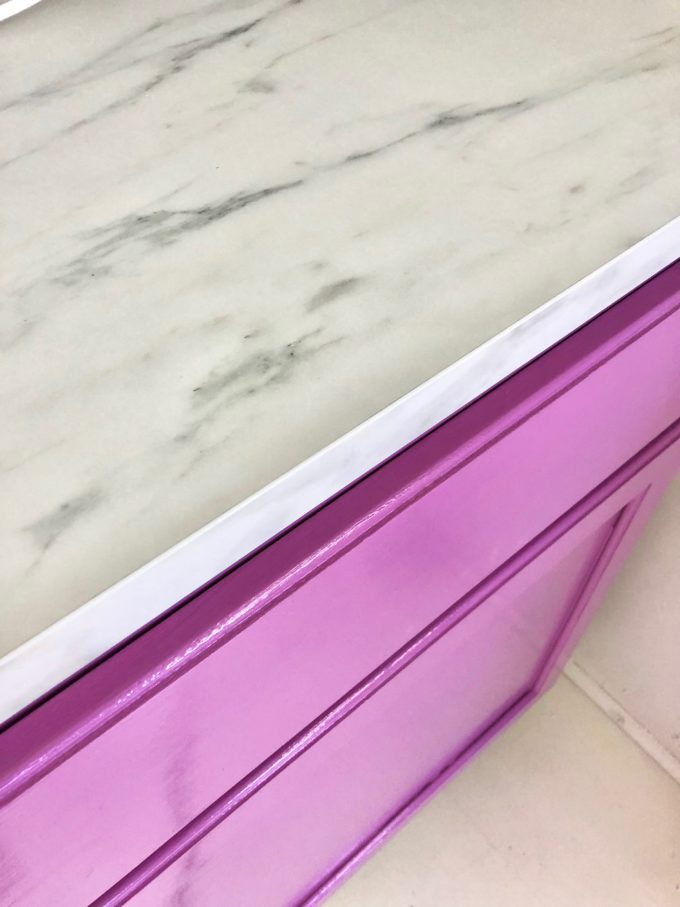
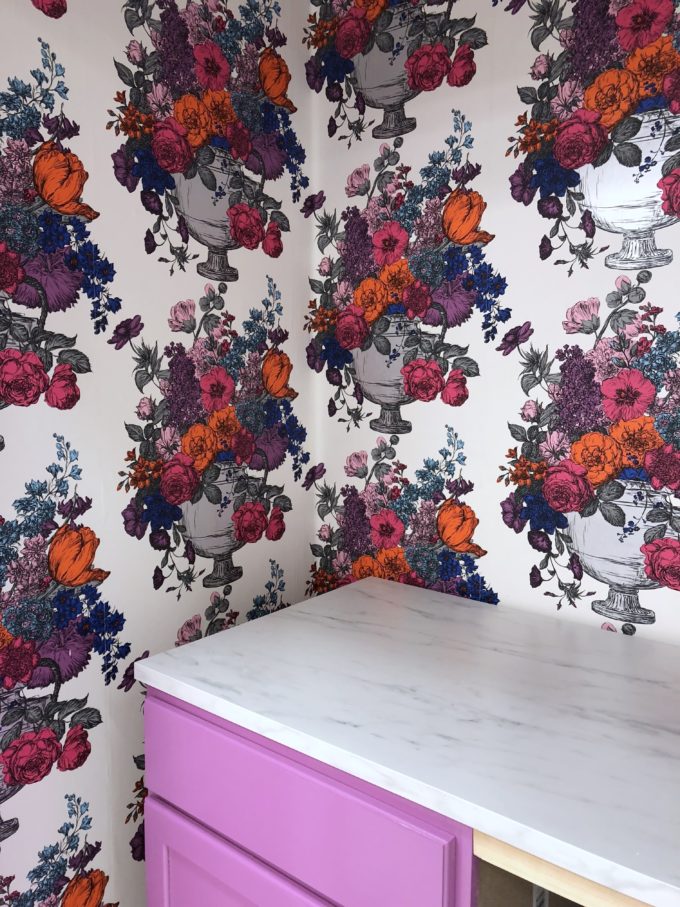
Once everything was dry we were able to put the doors back on. We still needed to paint the footboard and then add a small piece of trim above the mini-fridge. We went to IKEA and picked up a marble effect laminate countertop. It was inexpensive and gave me the look I wanted. Just a couple screws from the bottom and you are in business!
Close up of laminate:
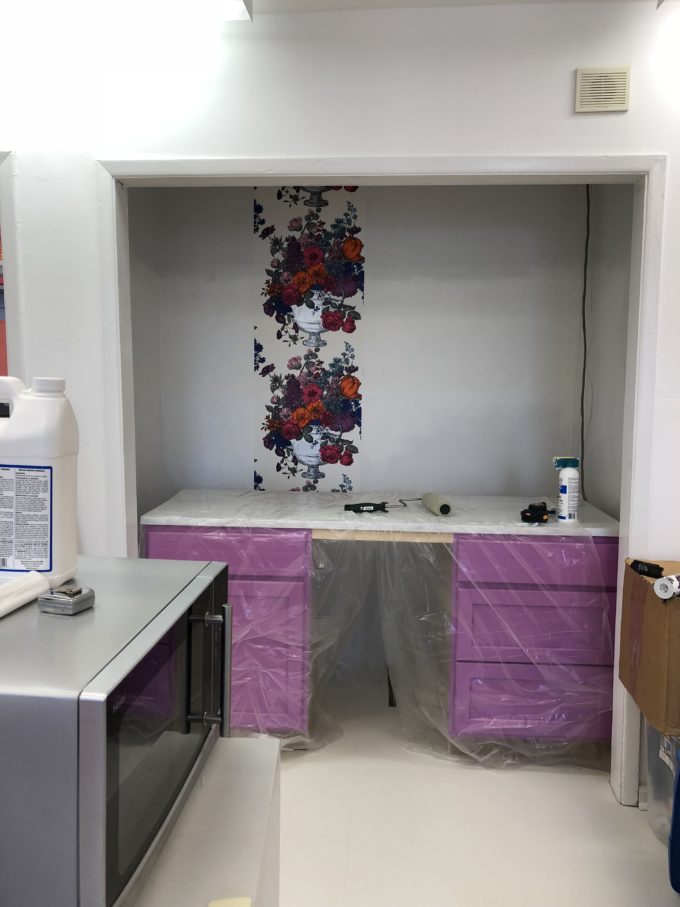
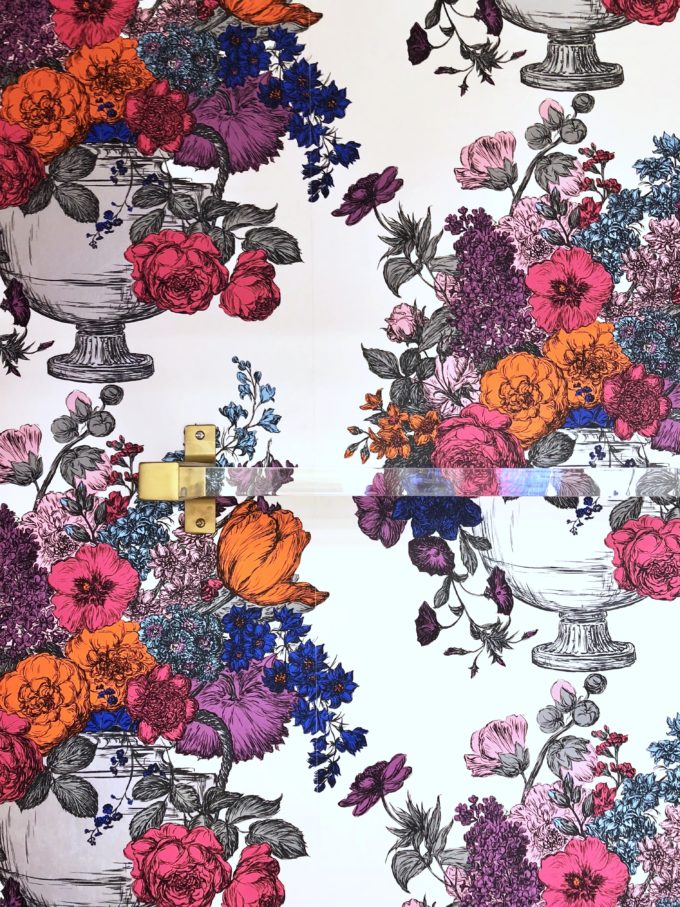
Next up was the most exciting part for me! The wallpaper!!!!!! Ah!!!!! Scream with it! It’s intense, happy, pretty, etc! It has it all! Is it a little extra? Yes! But I’m a more is more kinda girl!
We added a lucite shelf with brass ends to the wall. This was a simple DIY project. I ordered 1″ thick acrylic/lucite in the length we needed. Make sure to get the edges polished so it’s nice and clear. Then for the brackets, I picked these up from Ikea and sprayed them warm gold/brass.
That is how we got here! After we finished it I felt like it needed a bit of lighting so Jon helped me make something come together without having to get any new ceiling electrical boxes. Stay tuned for that post. It has way too many photo/instructions to add to this post.
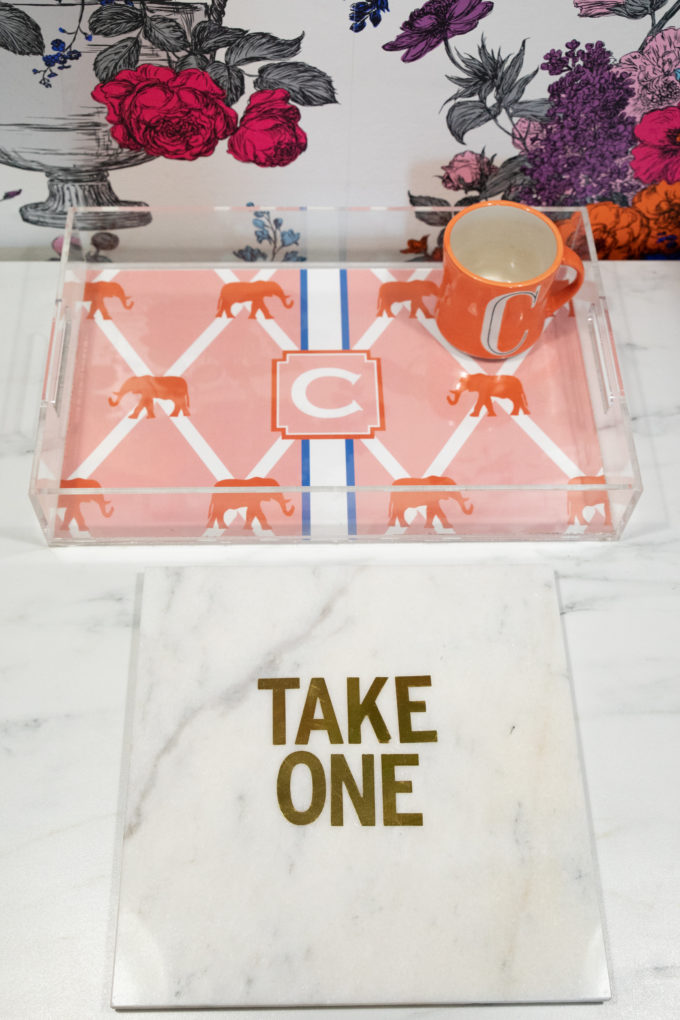
The kitchenette is set up with a mini-fridge, microwave, keurig, and snacks! It also has some fun serving trays like this easy DIY Take One marble tray. I added a rolling
kitchen island for more countertop. I have used it for client presentations, a work space for craft videos and lunch!
Jeweled Interiors | Effortless Style Blog | Bellybaila | Casa Watkins Living | Cassie Bustamante| Holland Avenue Home
6c277a49163a5c64a7b041d3466589128318a76e98343369d1
Related
Leave a Reply Cancel reply
get inspired with our own home tour
ON THE BLOG
My living room is one of the rooms that evolved drastically from when we first moved one. Originally I painted the walls chocolate brown and did accents of white, blue and orange. That lasted maybe 2 years.
Our dining room sat empty for months. Okay maybe it was empty for just a handful of weeks and then we couldn’t take it anymore and put in a folding table and plastic outdoor chairs, but in my mind that was still empty.
On the main floor of our house we have a Florida room. Being that it’s a Florida room it is a considered a 3 season room, because there is no heat in the room. The previous owners used it as an indoor patio with outdoor furniture and it looked like this when we moved in.
In our new home, the basement was completely unfinished. It was literally one of those dark spaces that you see in horror movies and are terrified of getting locked into. However, with the square footage in this house, I knew I needed to make the basement another workable and liveable floor of the house instead […]
What to look for when it comes to picking out kitchen appliances: Leave room in your budget for appliances. When it comes to kitchen renovations everyone knows that the cabinetry and the labor of demoing and installing cabinetry is going to eat a lot of your budget. However, the second most expensive part of a […]
I don’t think I’m alone in thinking that designing a kitchen is an overwhelming undertaking. I’m an interior designer and even I find it stressful to iron out all of those details. So, when it comes time to design a kitchen I always like to partner with a kitchen designer to make sure I’m remembering […]




oh what a fun little nook! i love that wallpaper so much!!
Oh my goodness!!!! You totally nailed this! I’m not sure that I would have thought of that but it looks incredible!!!!! I adore the wallpaper too!!!!
Aren’t you the most clever gal ever?! This is just gorgeous! I never would have thought to turn a closet into a kitchenette, but it’s sheer genius! Saving this idea for possible future use! I also LOVE the colors and wallpaper you used!
Wow!! What a nice brighter and welcoming kitchenette…I’d was hang out a bit !! The lucite shelving is perfect!!