The Best Place To Order A Shed
I never thought I would be writing so passionately about where to find the best place to order a shed, but here we are all. When we first moved into our house it was a complete gut job. The first two years were spent renovating the inside of it, but this past summer we were able to give the outside of the house some love. Number one on our wish list was getting a new shed. We needed more storage and our backyard had a corner just asking for one. As avid DIYers, we looked into building one ourselves, but with two very busy boys and jobs, we simply didn’t have the time to tackle it ourselves. Making that decision led me to search for someone or a company where we could get a shed that was up to our high standards. We did the rounds of the local home improvement stores, Facebook marketplace, and local shops and nothing was very exciting or well crafted. So, I continued searching and landed on my needle in the haystack, Sheds Unlimited!
Sheds Unlimited is the best place to order a shed and here are the reasons why:
-
-
-
-
- They are not a one-hit wonder. They have been in the business since 1988 and pride themselves on their trade and making customers happy.
- Their website is very user-friendly and has all of the details you would ever need to make a decision on what shed to purchase. Do you want to know if you need a permit in your state for your shed? They have you covered. Want some design inspiration? They have countless customer sheds you can see in a variety of styles!
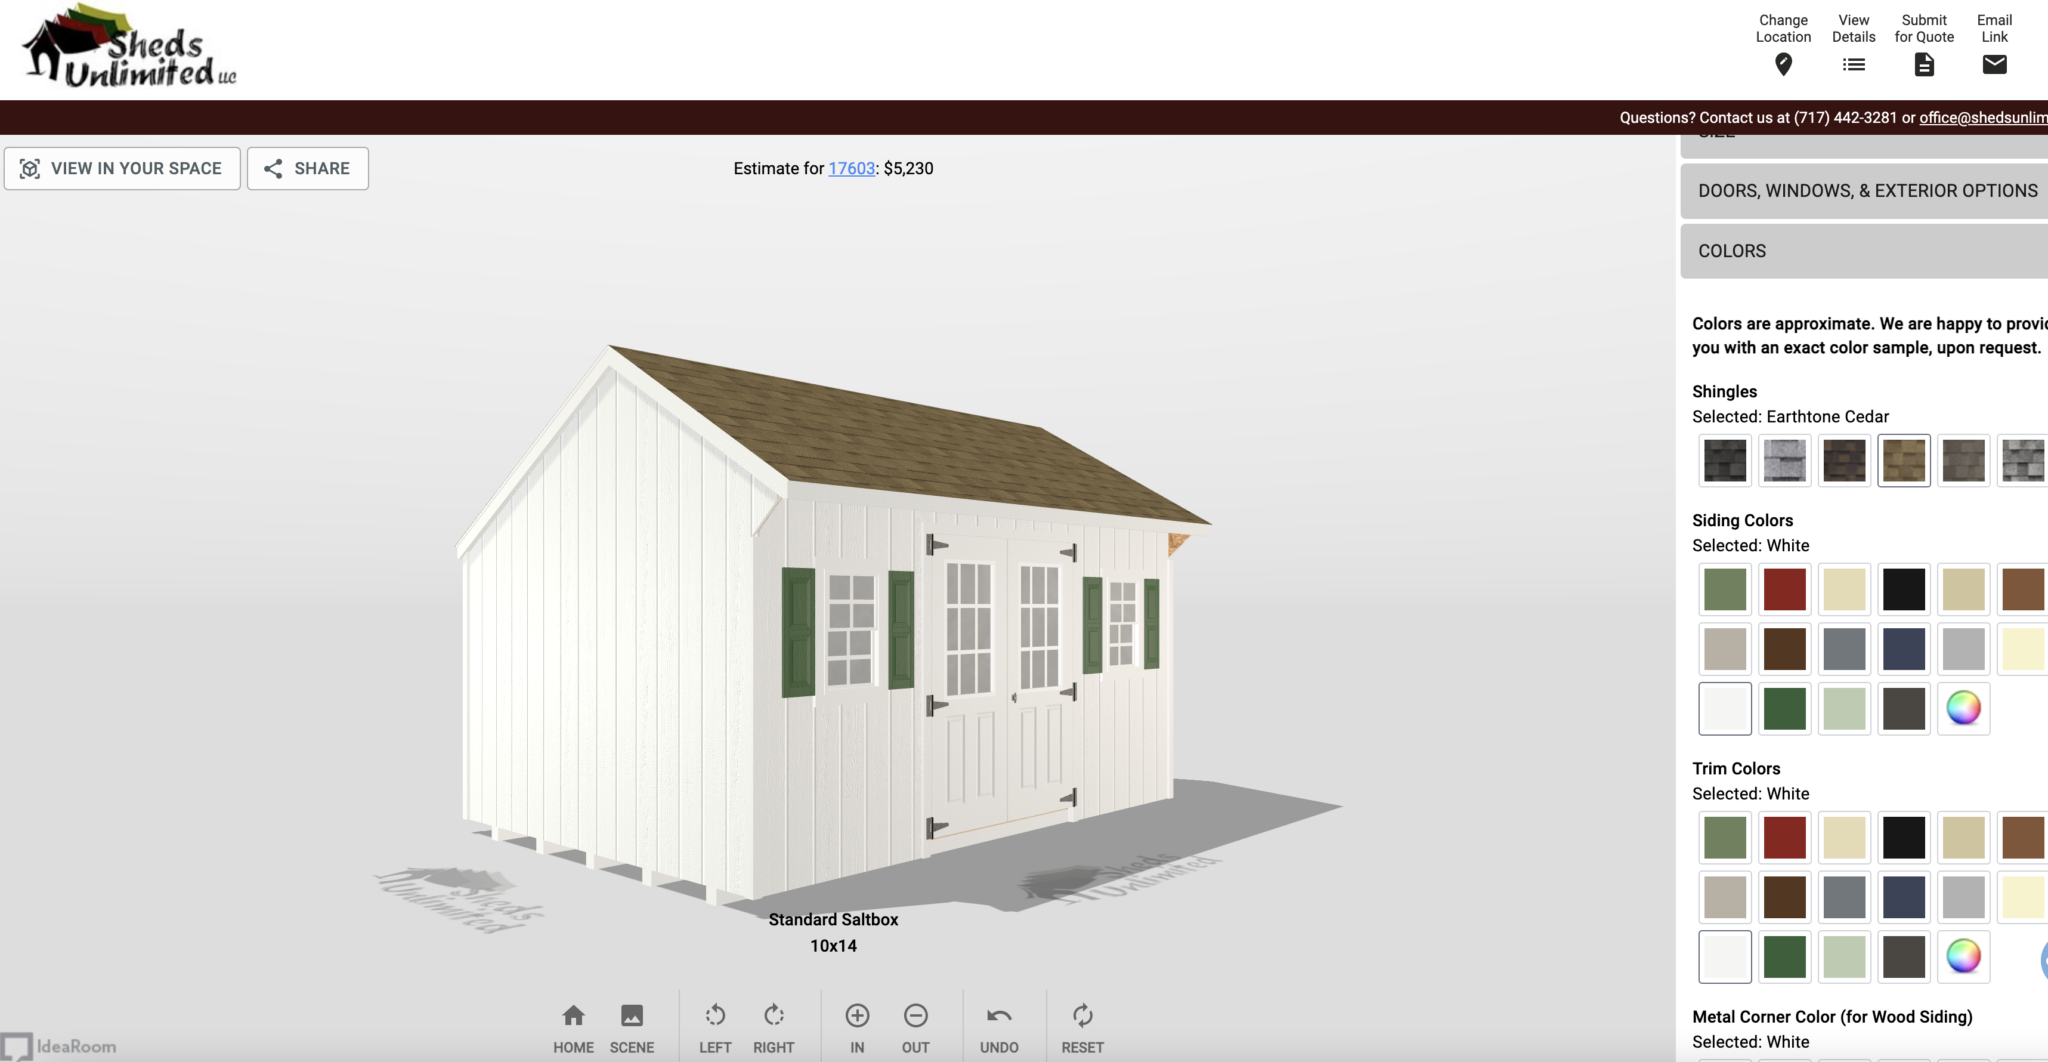
- 3D SHED BUILDER : They have 10 different styles of sheds that you can play around with. In the 3D shed builder, you input the size of the shed you want and then you can build it digitally. You can pick out every single detail like the outside siding, window sizes, and amounts, door sizes and amounts, paint colors for everything, roof shingles, and inside you can add flooring, shelving, etc. I loved doing this! I could price out a variety of different variations and see what it looked like in various color combinations.
- A proper foundation is key! Depending on the size of your shed you can either have Sheds Unlimited install a gravel base foundation on the same day of the installation. If you have a larger shed you will need a concrete foundation and they will offer you referrals on that.
- They offer financing!
-
-
-
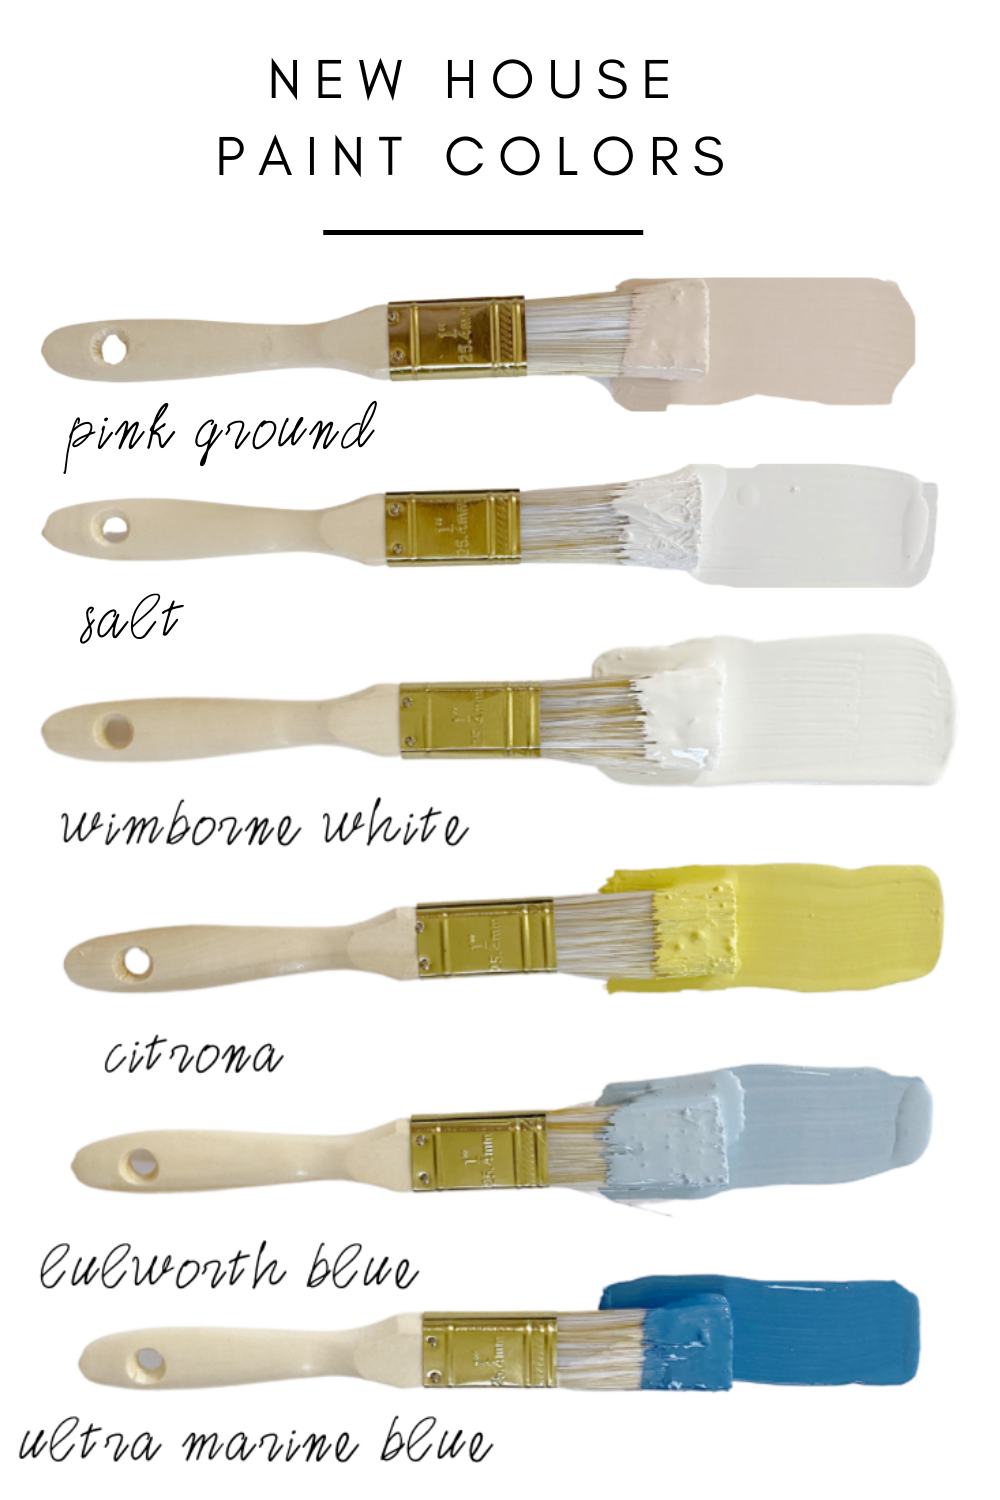
After all of my research, I felt comfortable going with Sheds Unlimited and I immediately started playing around and designing different shed options. They have a variety of styles, but my New England loving heart fell in love with the classic saltbox style. It was very classic looking and I was super excited to go with custom colors and make it look like the front of our house!
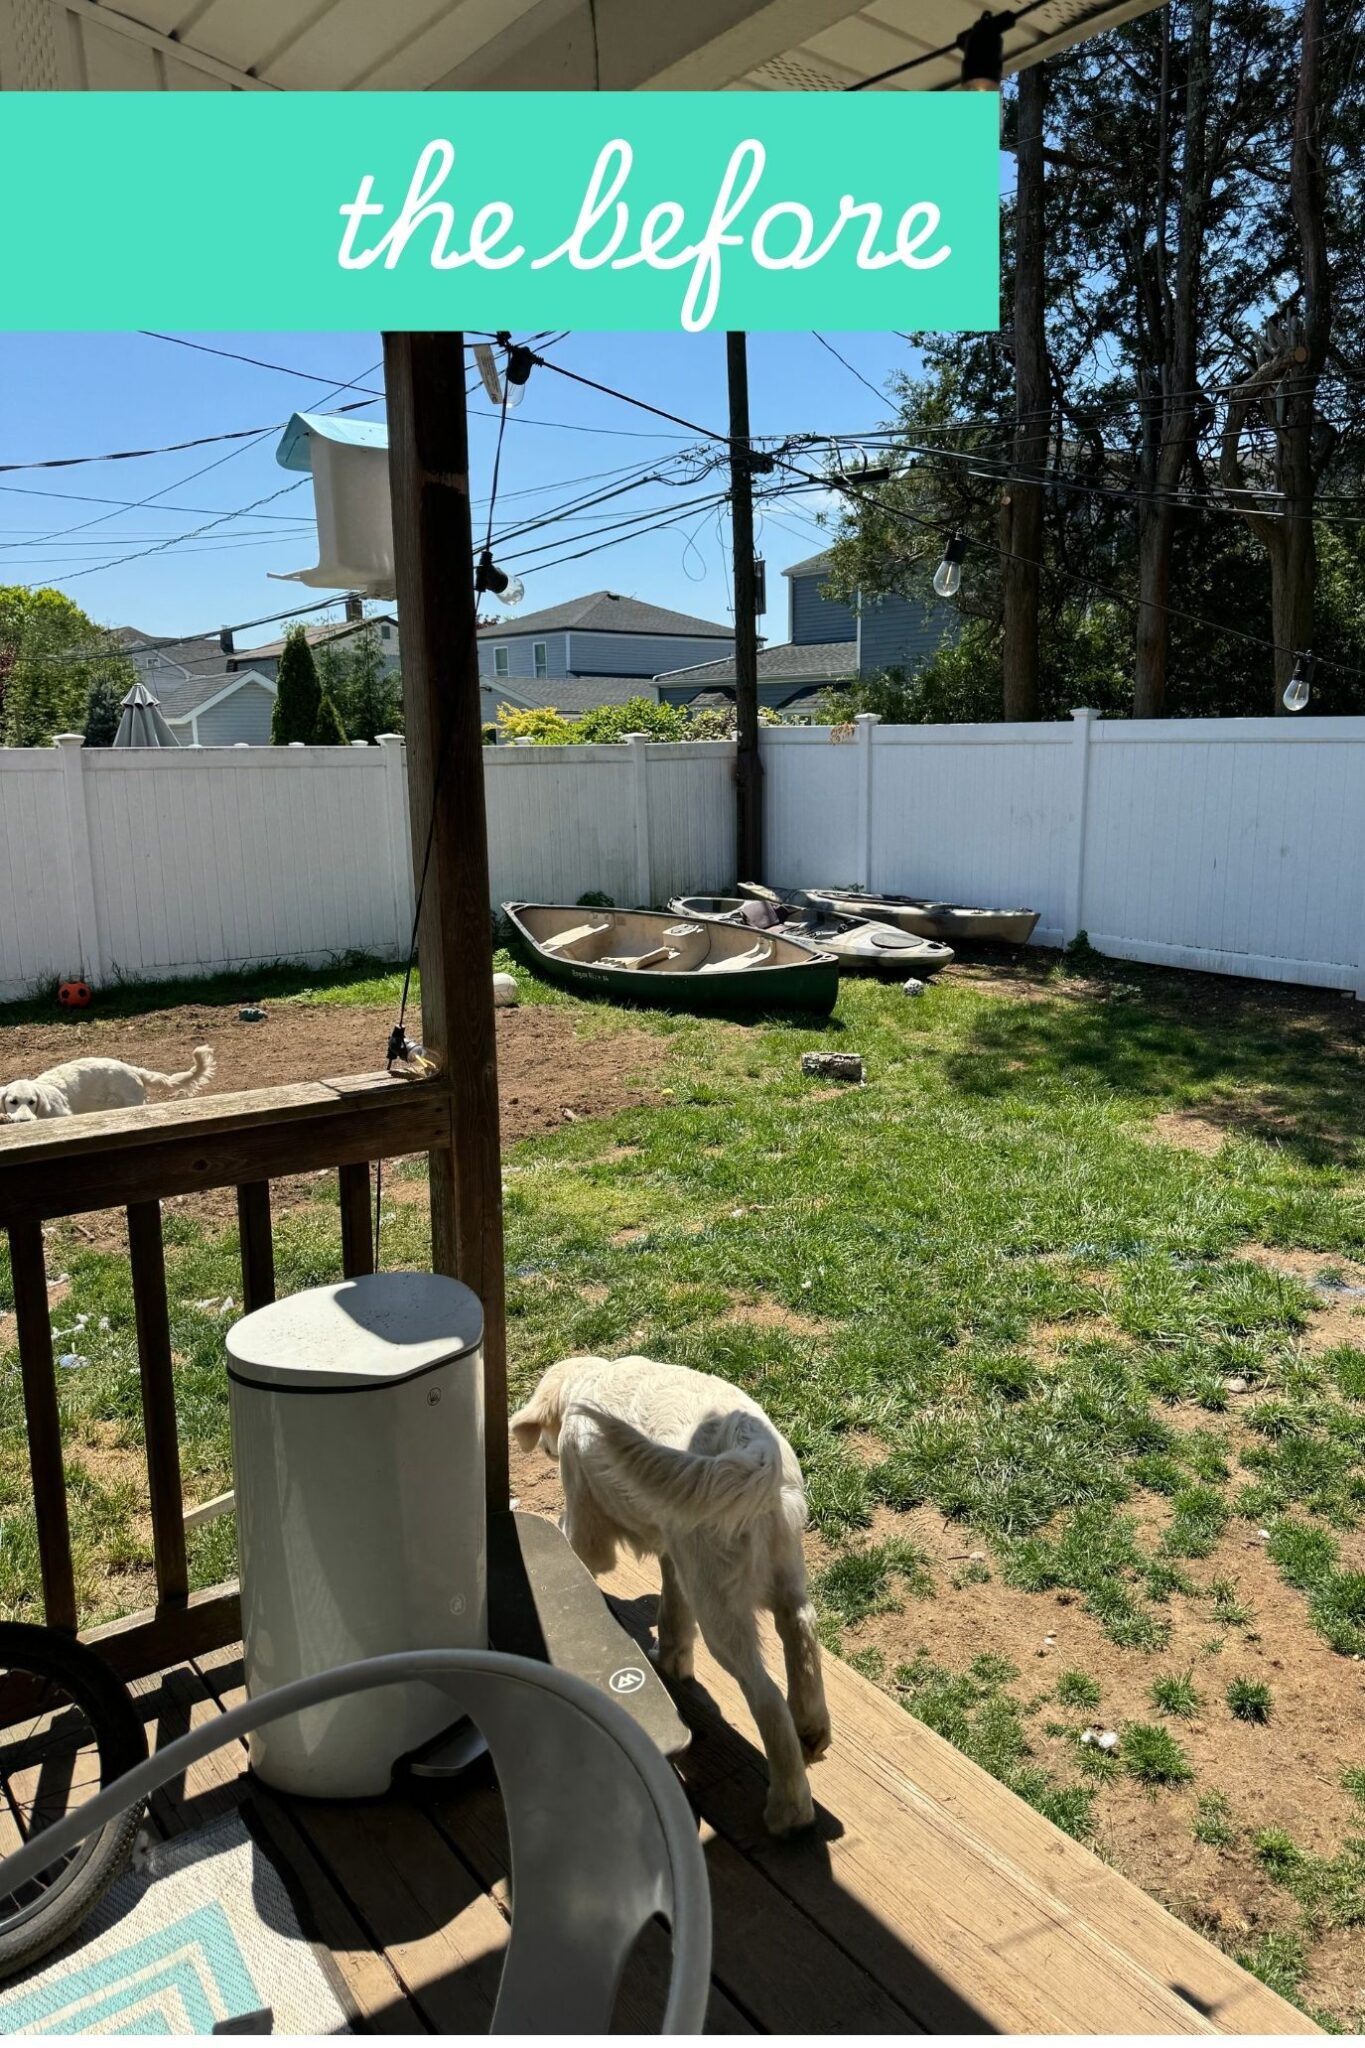
Once you design your shed a sales representative will contact you and make sure you have input everything you want inside and out of the shed. Here is our scary before photo. We have a nice sized backyard, but it was very neglected. With 4 dogs it was very hard to keep it perfect. So along with the shed addition we also added a paver patio, refaced our existing deck and added turf!
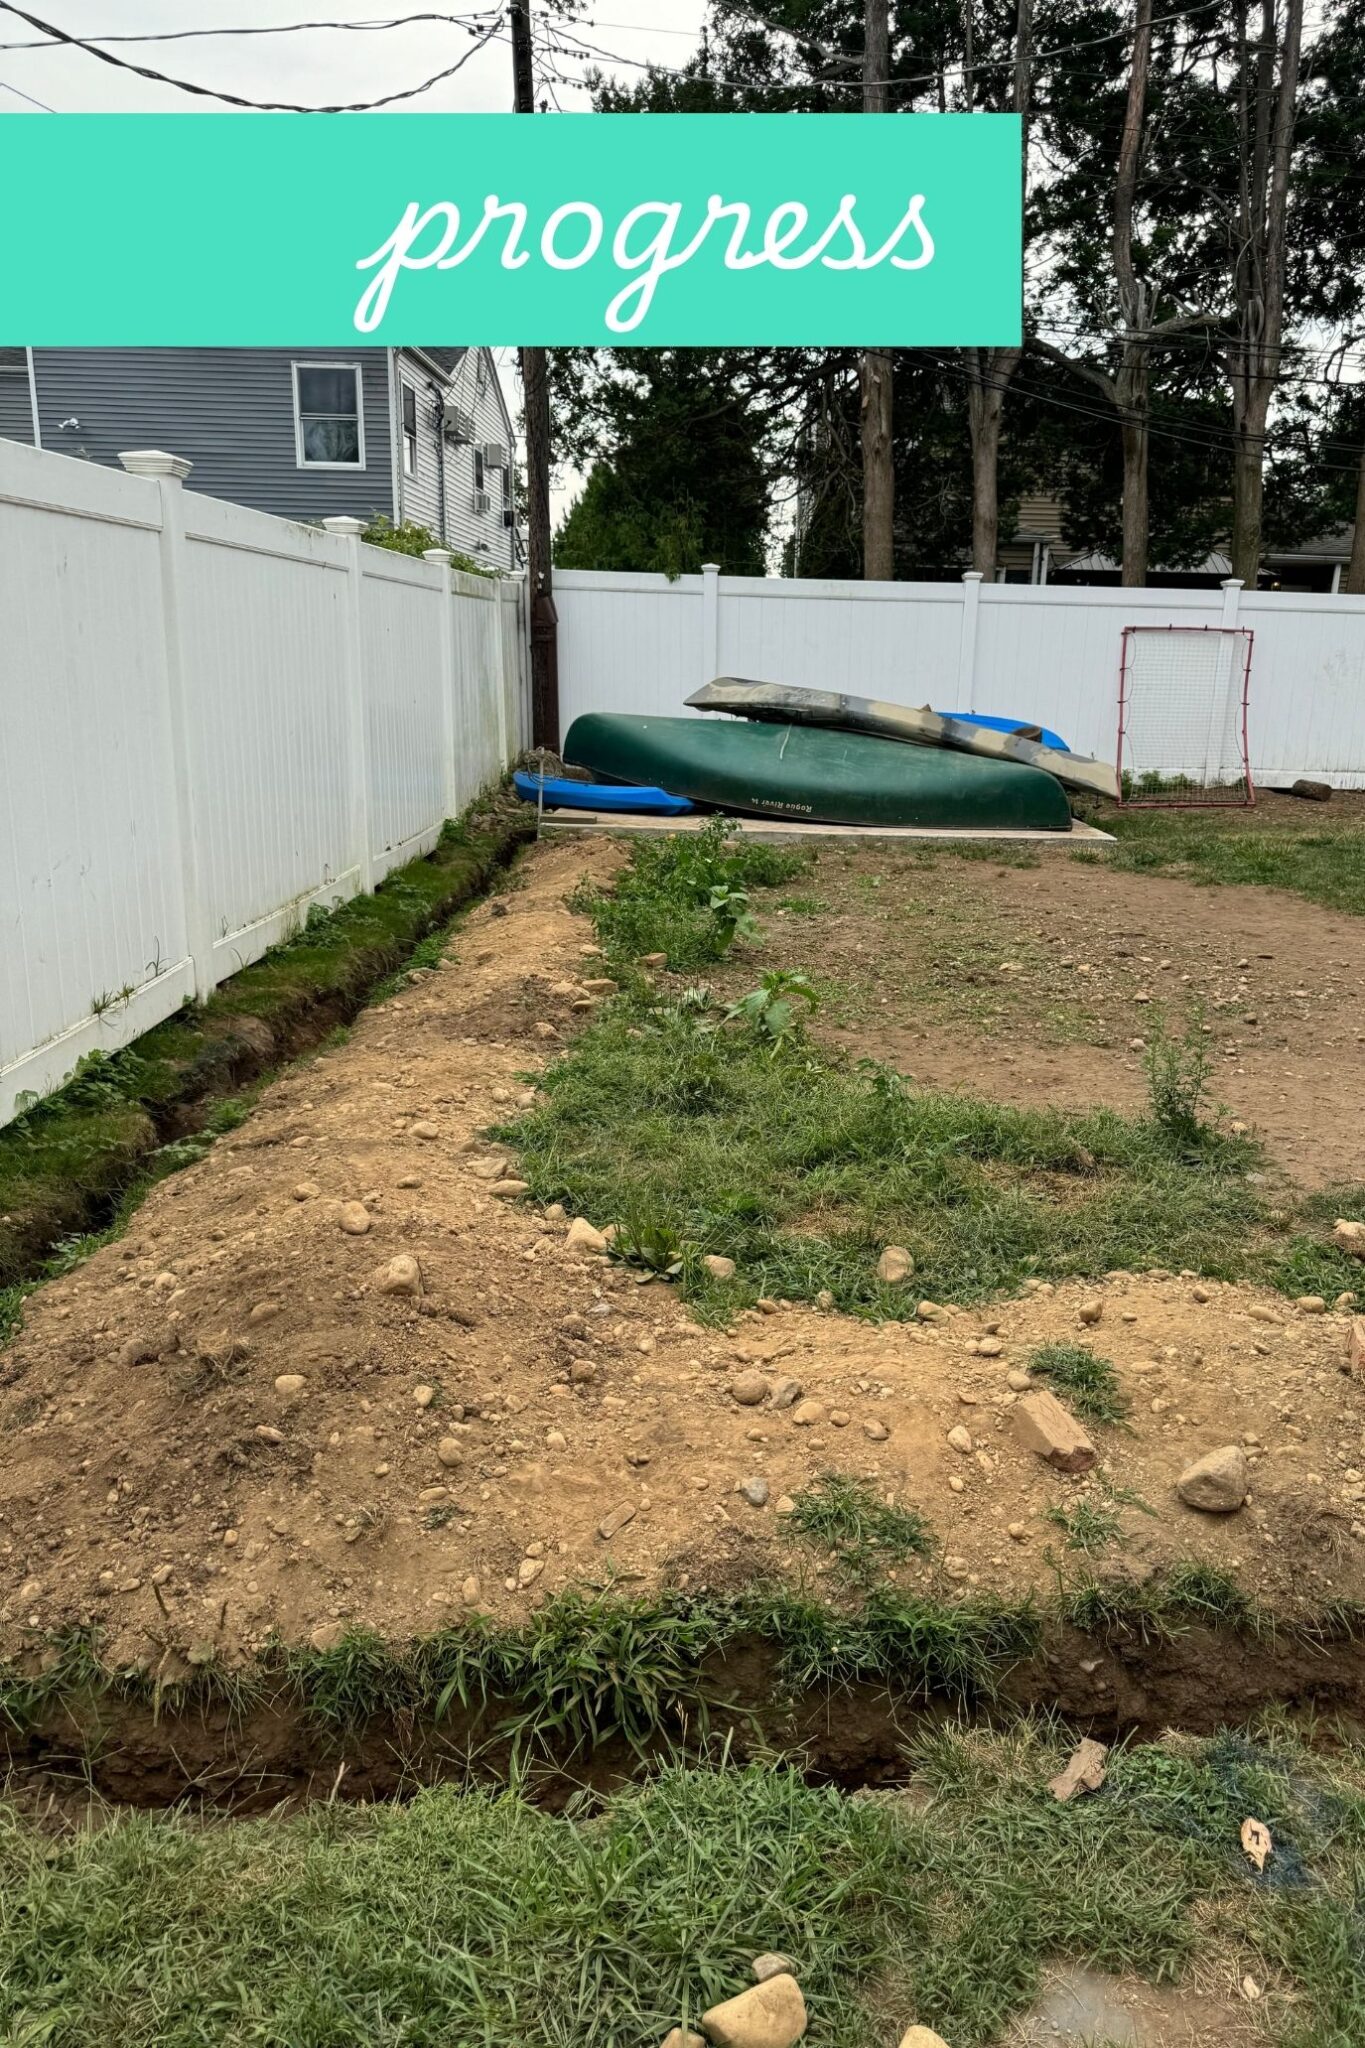
I originally wanted the shed for yard tool storage, but when I realized the size I could get, it started sounding more like an extra room, not a shed! So, we reworked some plans and kept a smaller shed we already had and used it for tool storage and now this shed was going to become my art studio! Cue the confetti! This meant that we would need electricity! So, Jon had a trench dug up while they were prepping for the turf to get electricity to the shed!
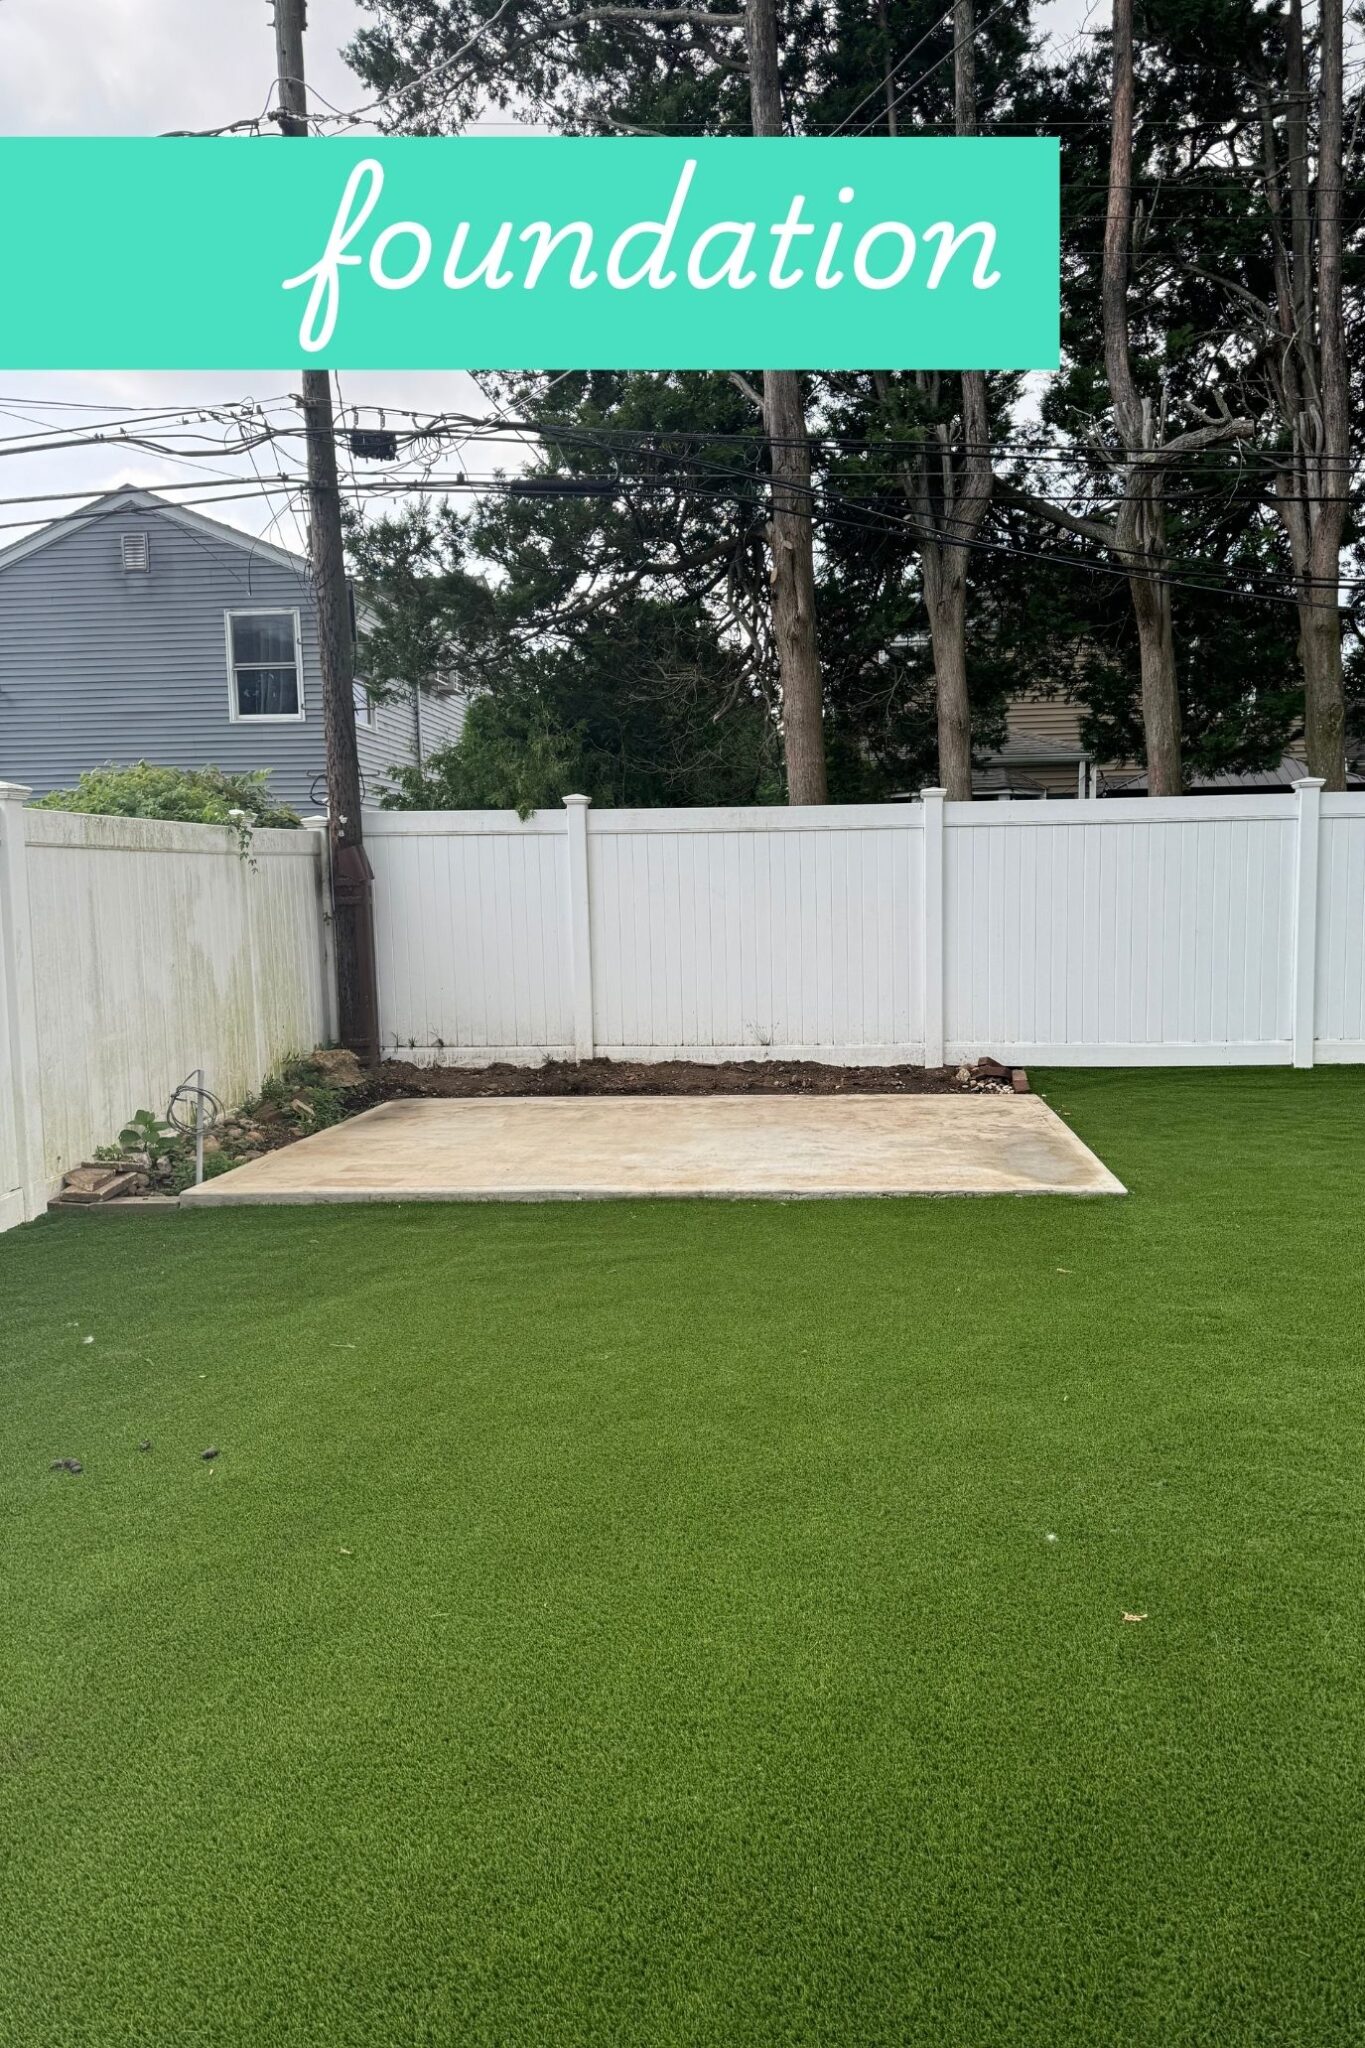
Like they say it needs to get worse before it gets better. Once the electricity was run we were then able to get the foundation done and install the turf as well. For the foundation you may need a gravel base or a concrete base it all depends on the size of your shed. If it’s a gravel based foundation then Sheds Unlimited can do it during the shed installation. We did a 10’x 14′ shed which is the largest size you can get in NY without a permit. At this size we needed a concrete base. I hired someone to do it and then sent photos of it finished to Sheds Unlimited to confirm that there was a foundation on site ready to go!
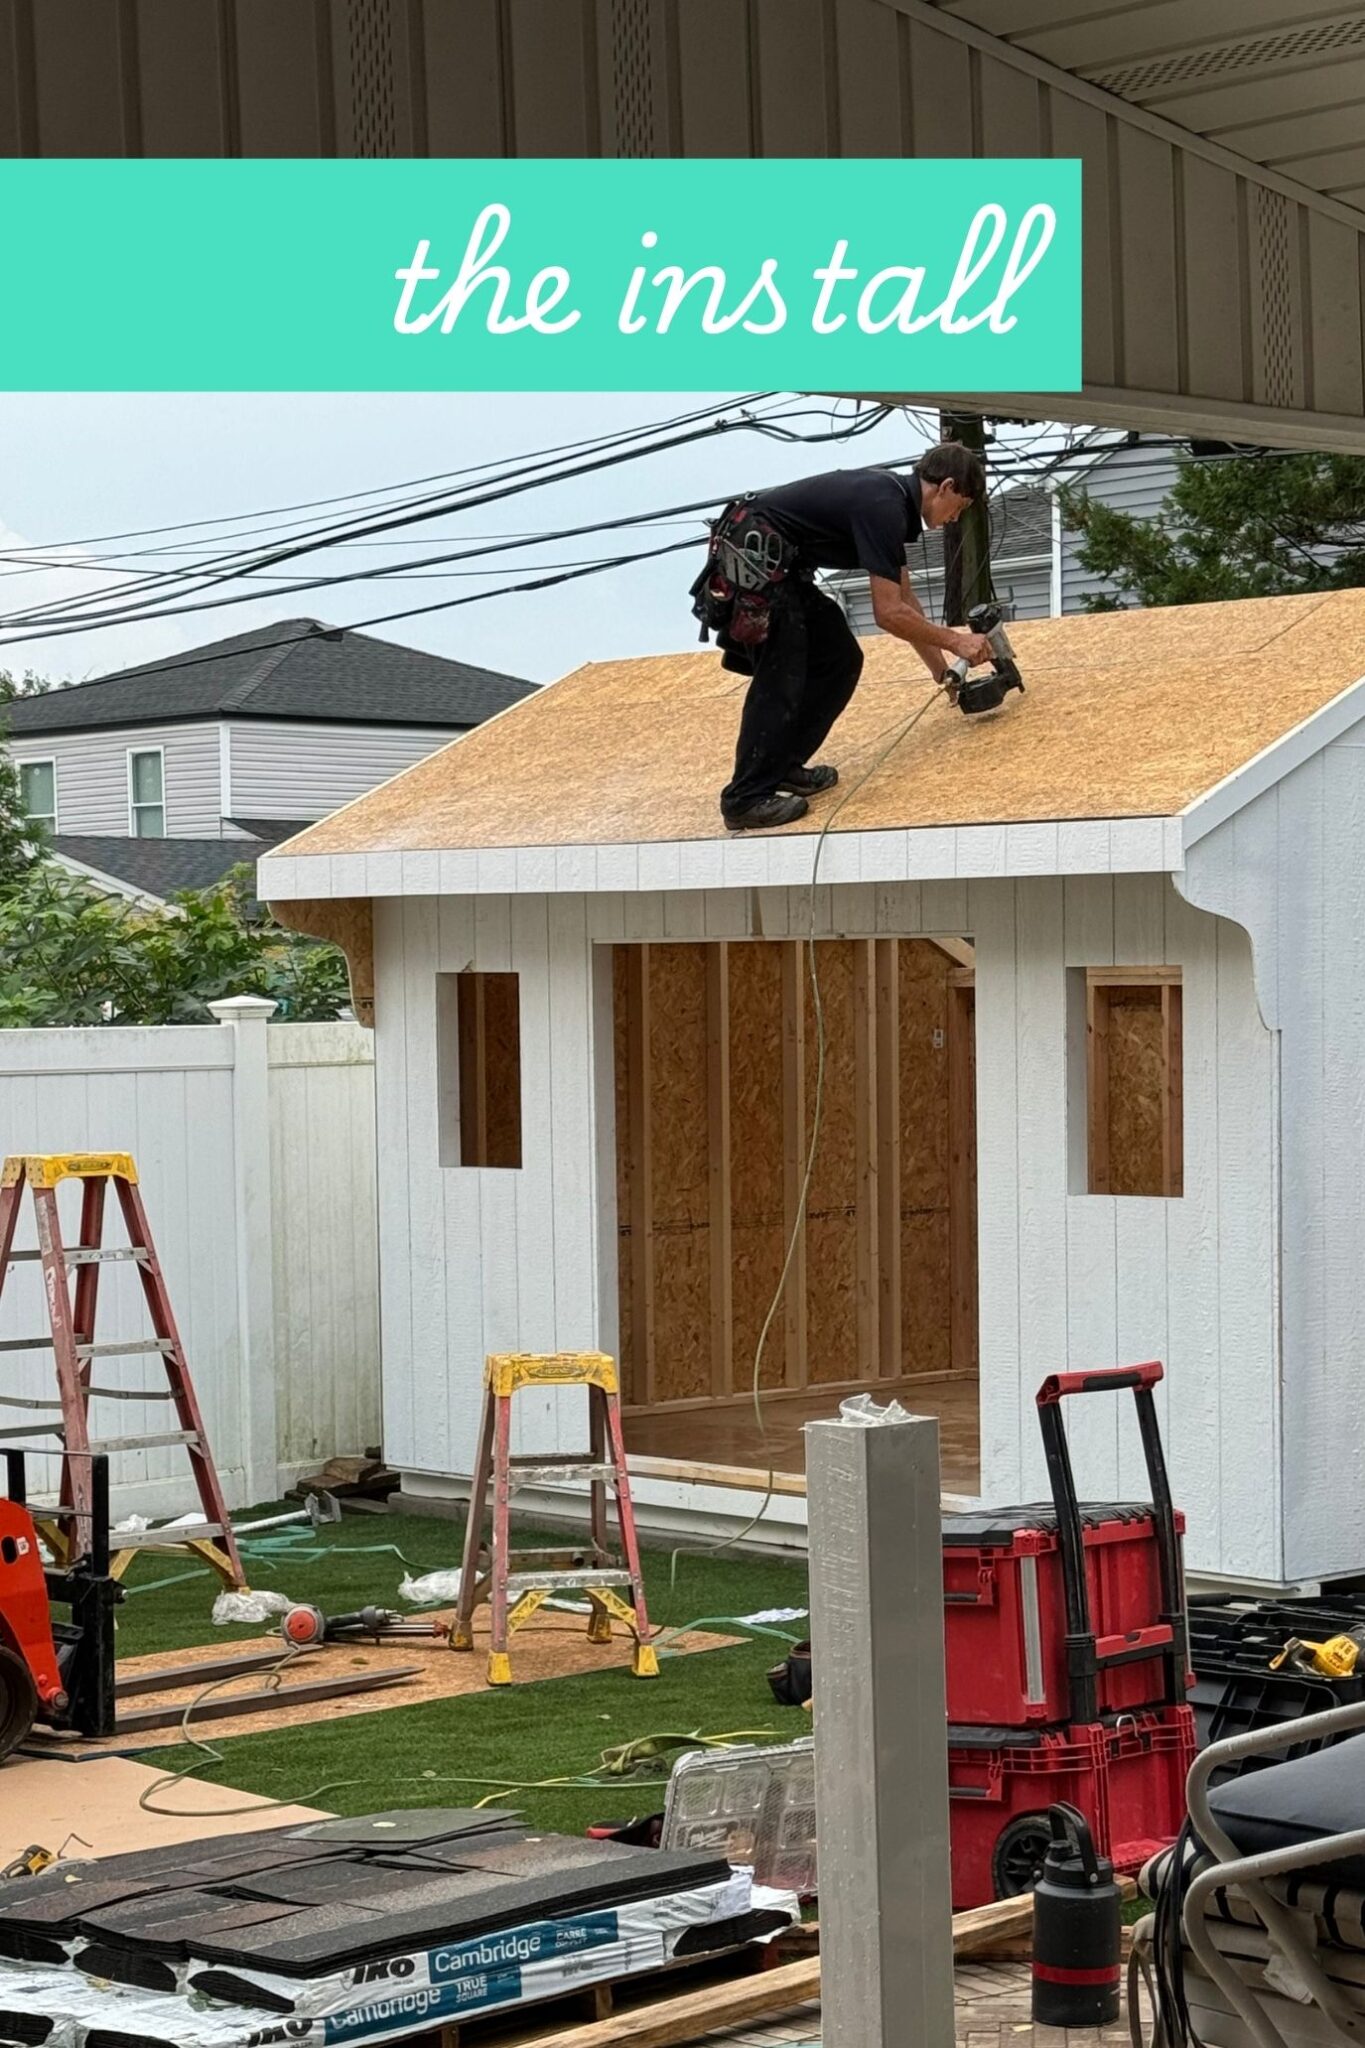
A couple of weeks later we were ready for our install! If you have a large enough opening to your backyard they can install the shed fully built. At the size we did we did not have enough clearance to have it arrive fully built. The installers arrived ready to go on a crazy rainy day! The rain was non-stop but it did not bother them at all! All of the pieces came painted in my custom colors and with the base ready to go they got to work installing!
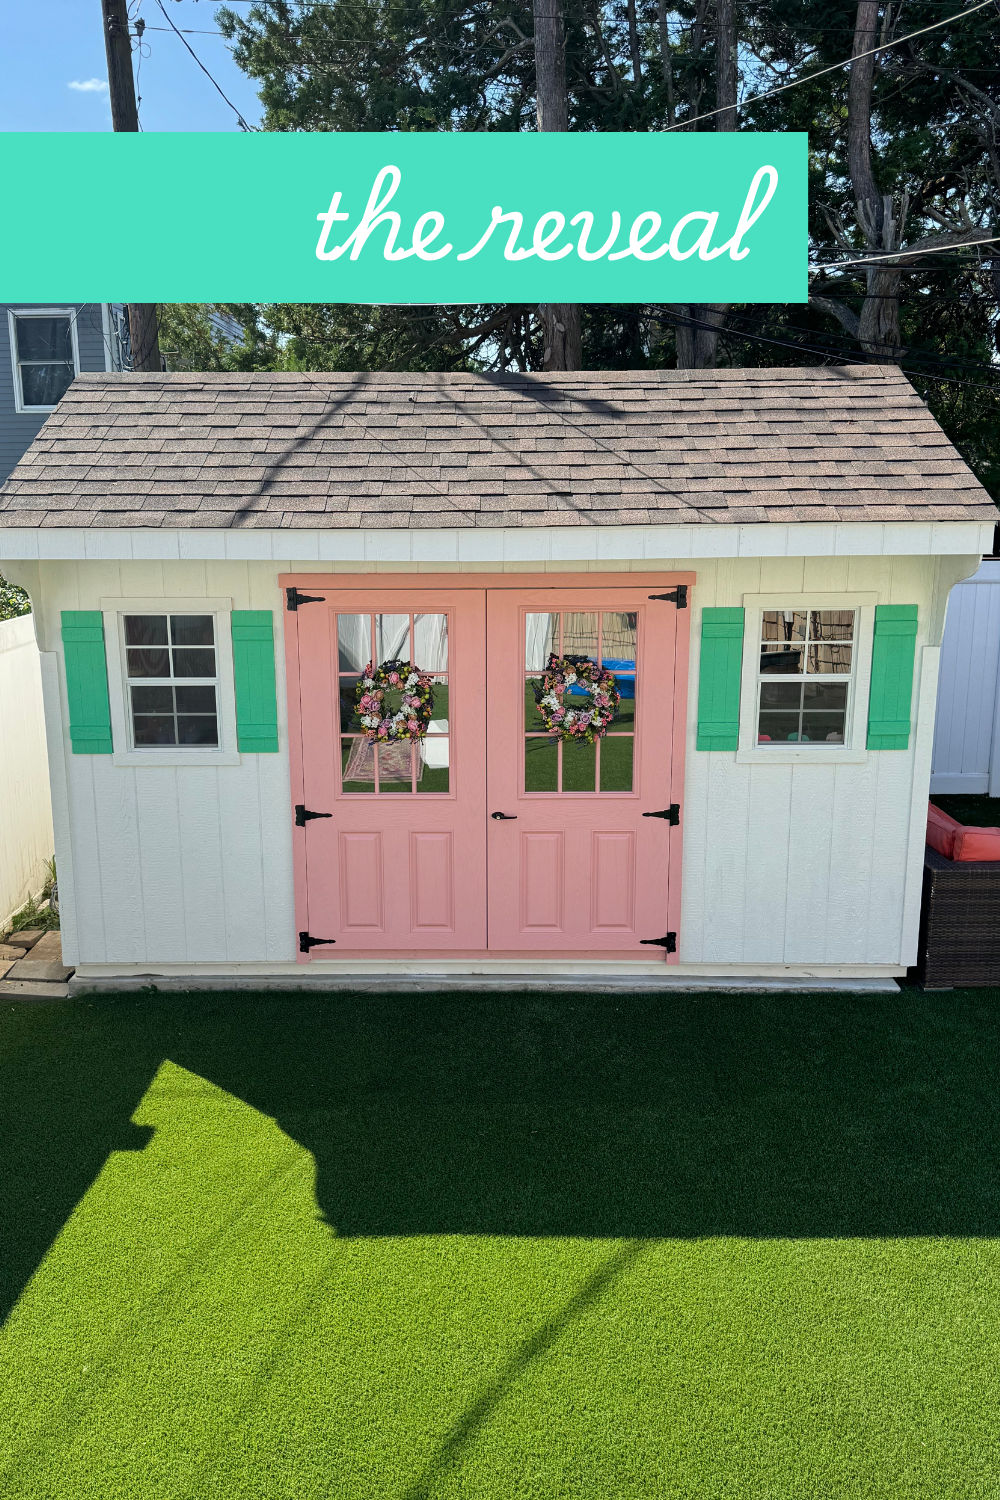
They worked away for a couple of hours and then left me with a cleaned up yard and a beautiful shed!
Is it not perfection! My parents have already asked me to make it a bedroom and make it a grandparent pad for them! I would love to get it fully converted in a room, but for now we have made sure we had electrical running to it, we added laminate flooring and painted it! Eventually I would love to insulated it and finish the walls and also add a combo HVAC unit. However with what we have tackled we have been able to use it as a studio space!
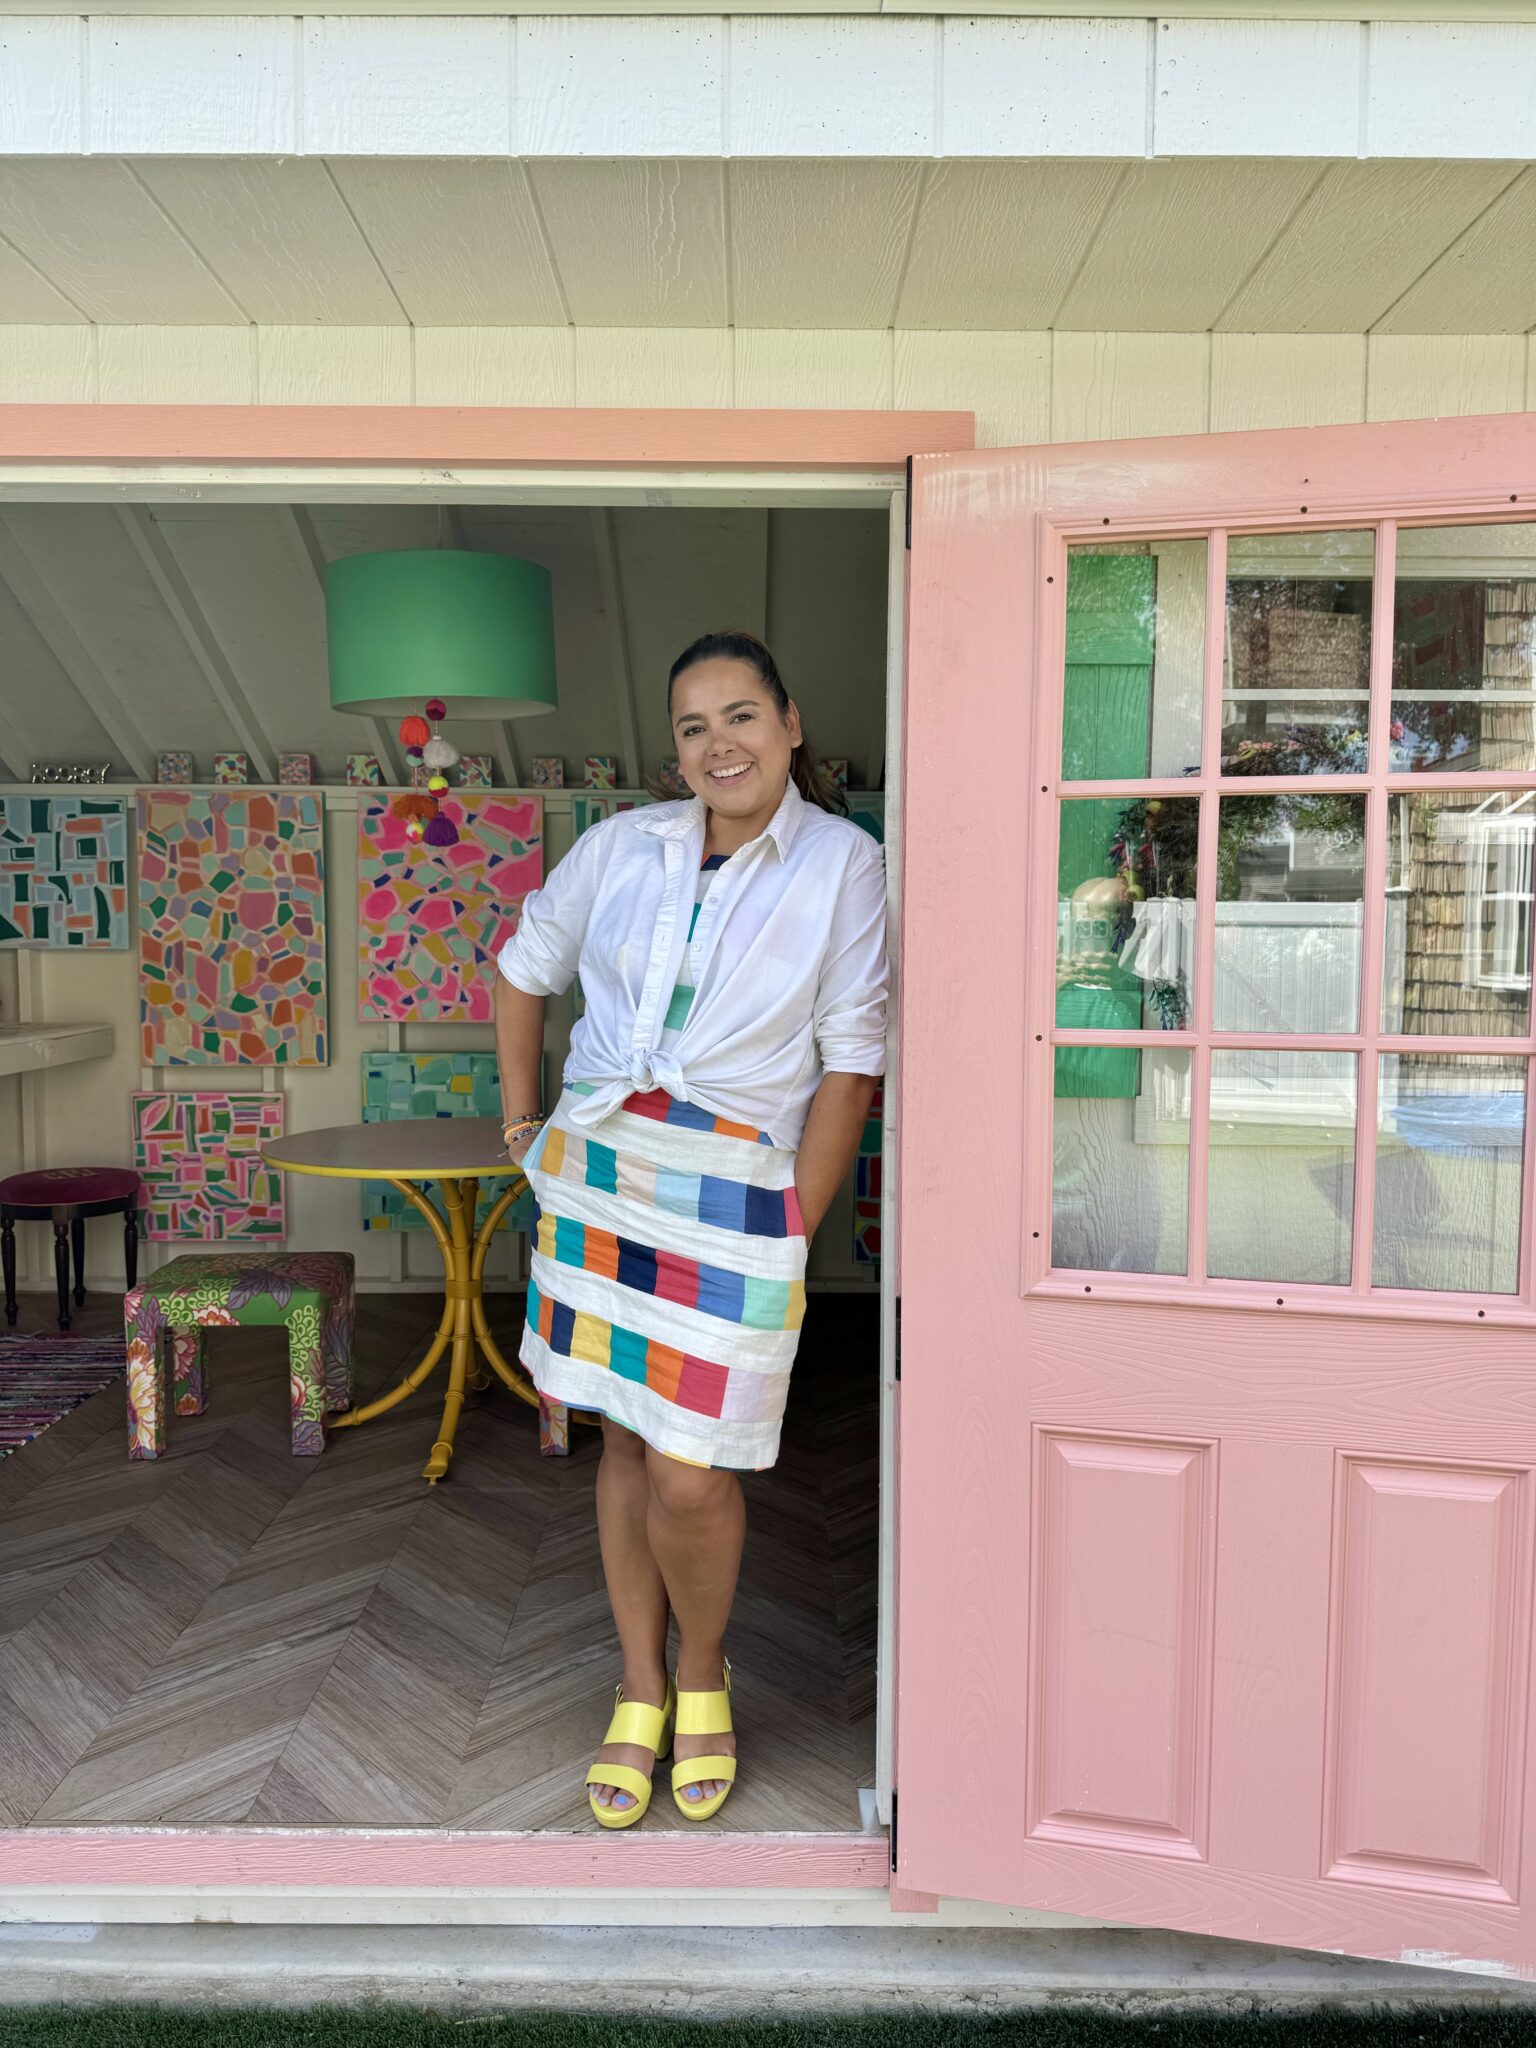
Here is what the shed looks like after it was installed:
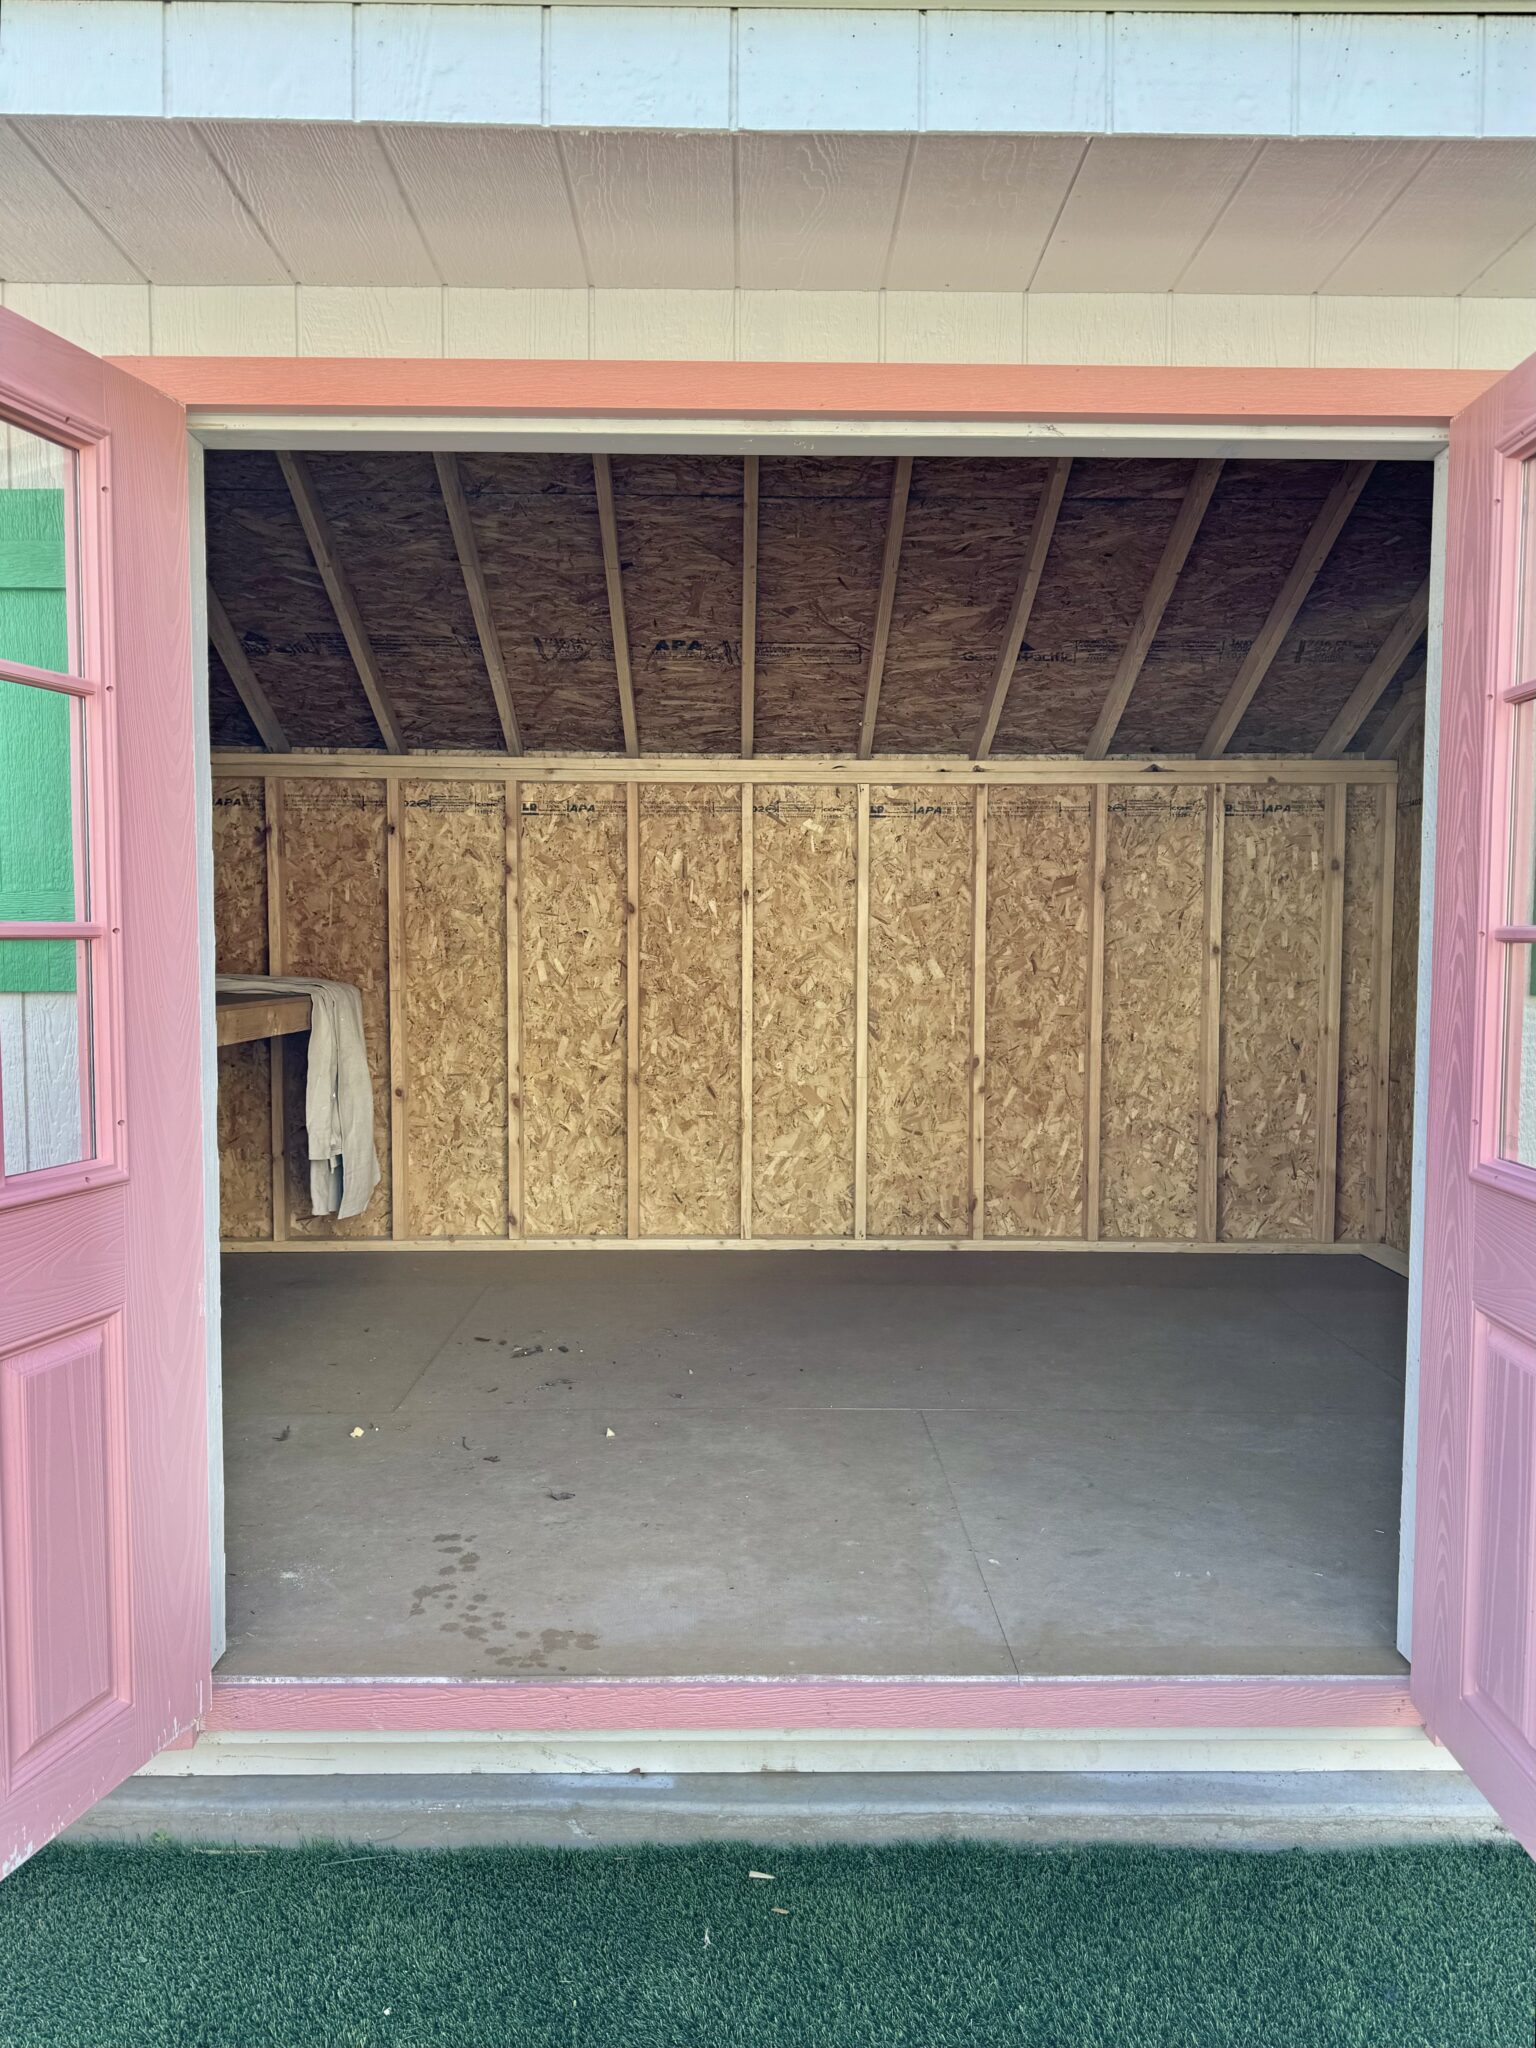
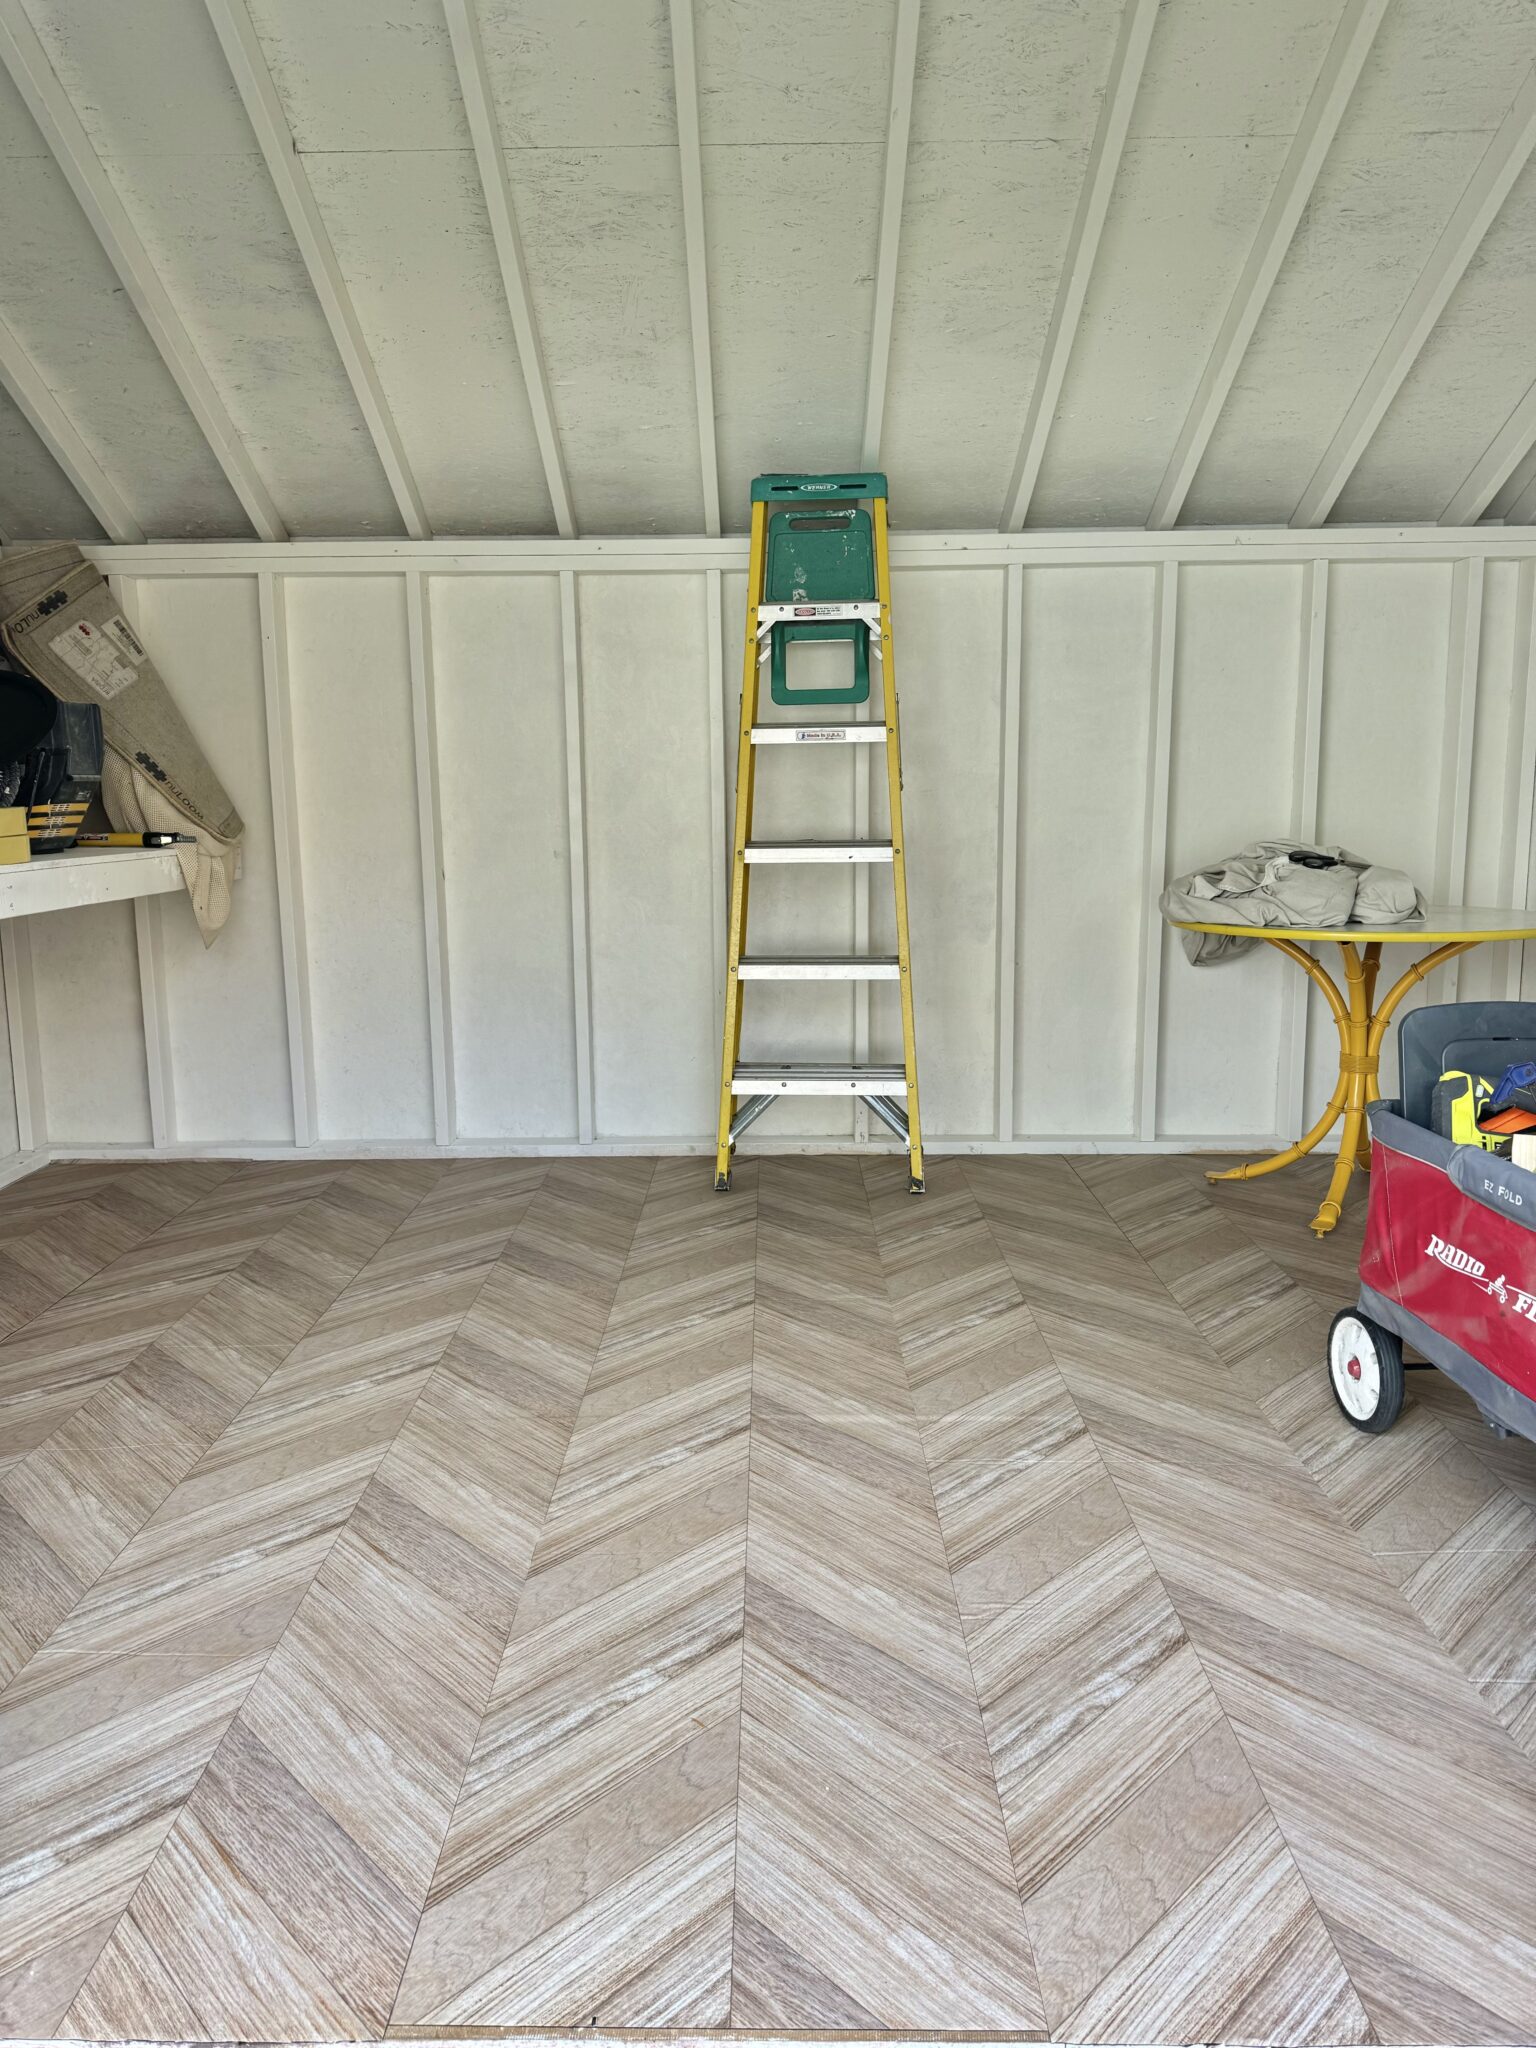
We painted the interior white and then added laminate flooring:
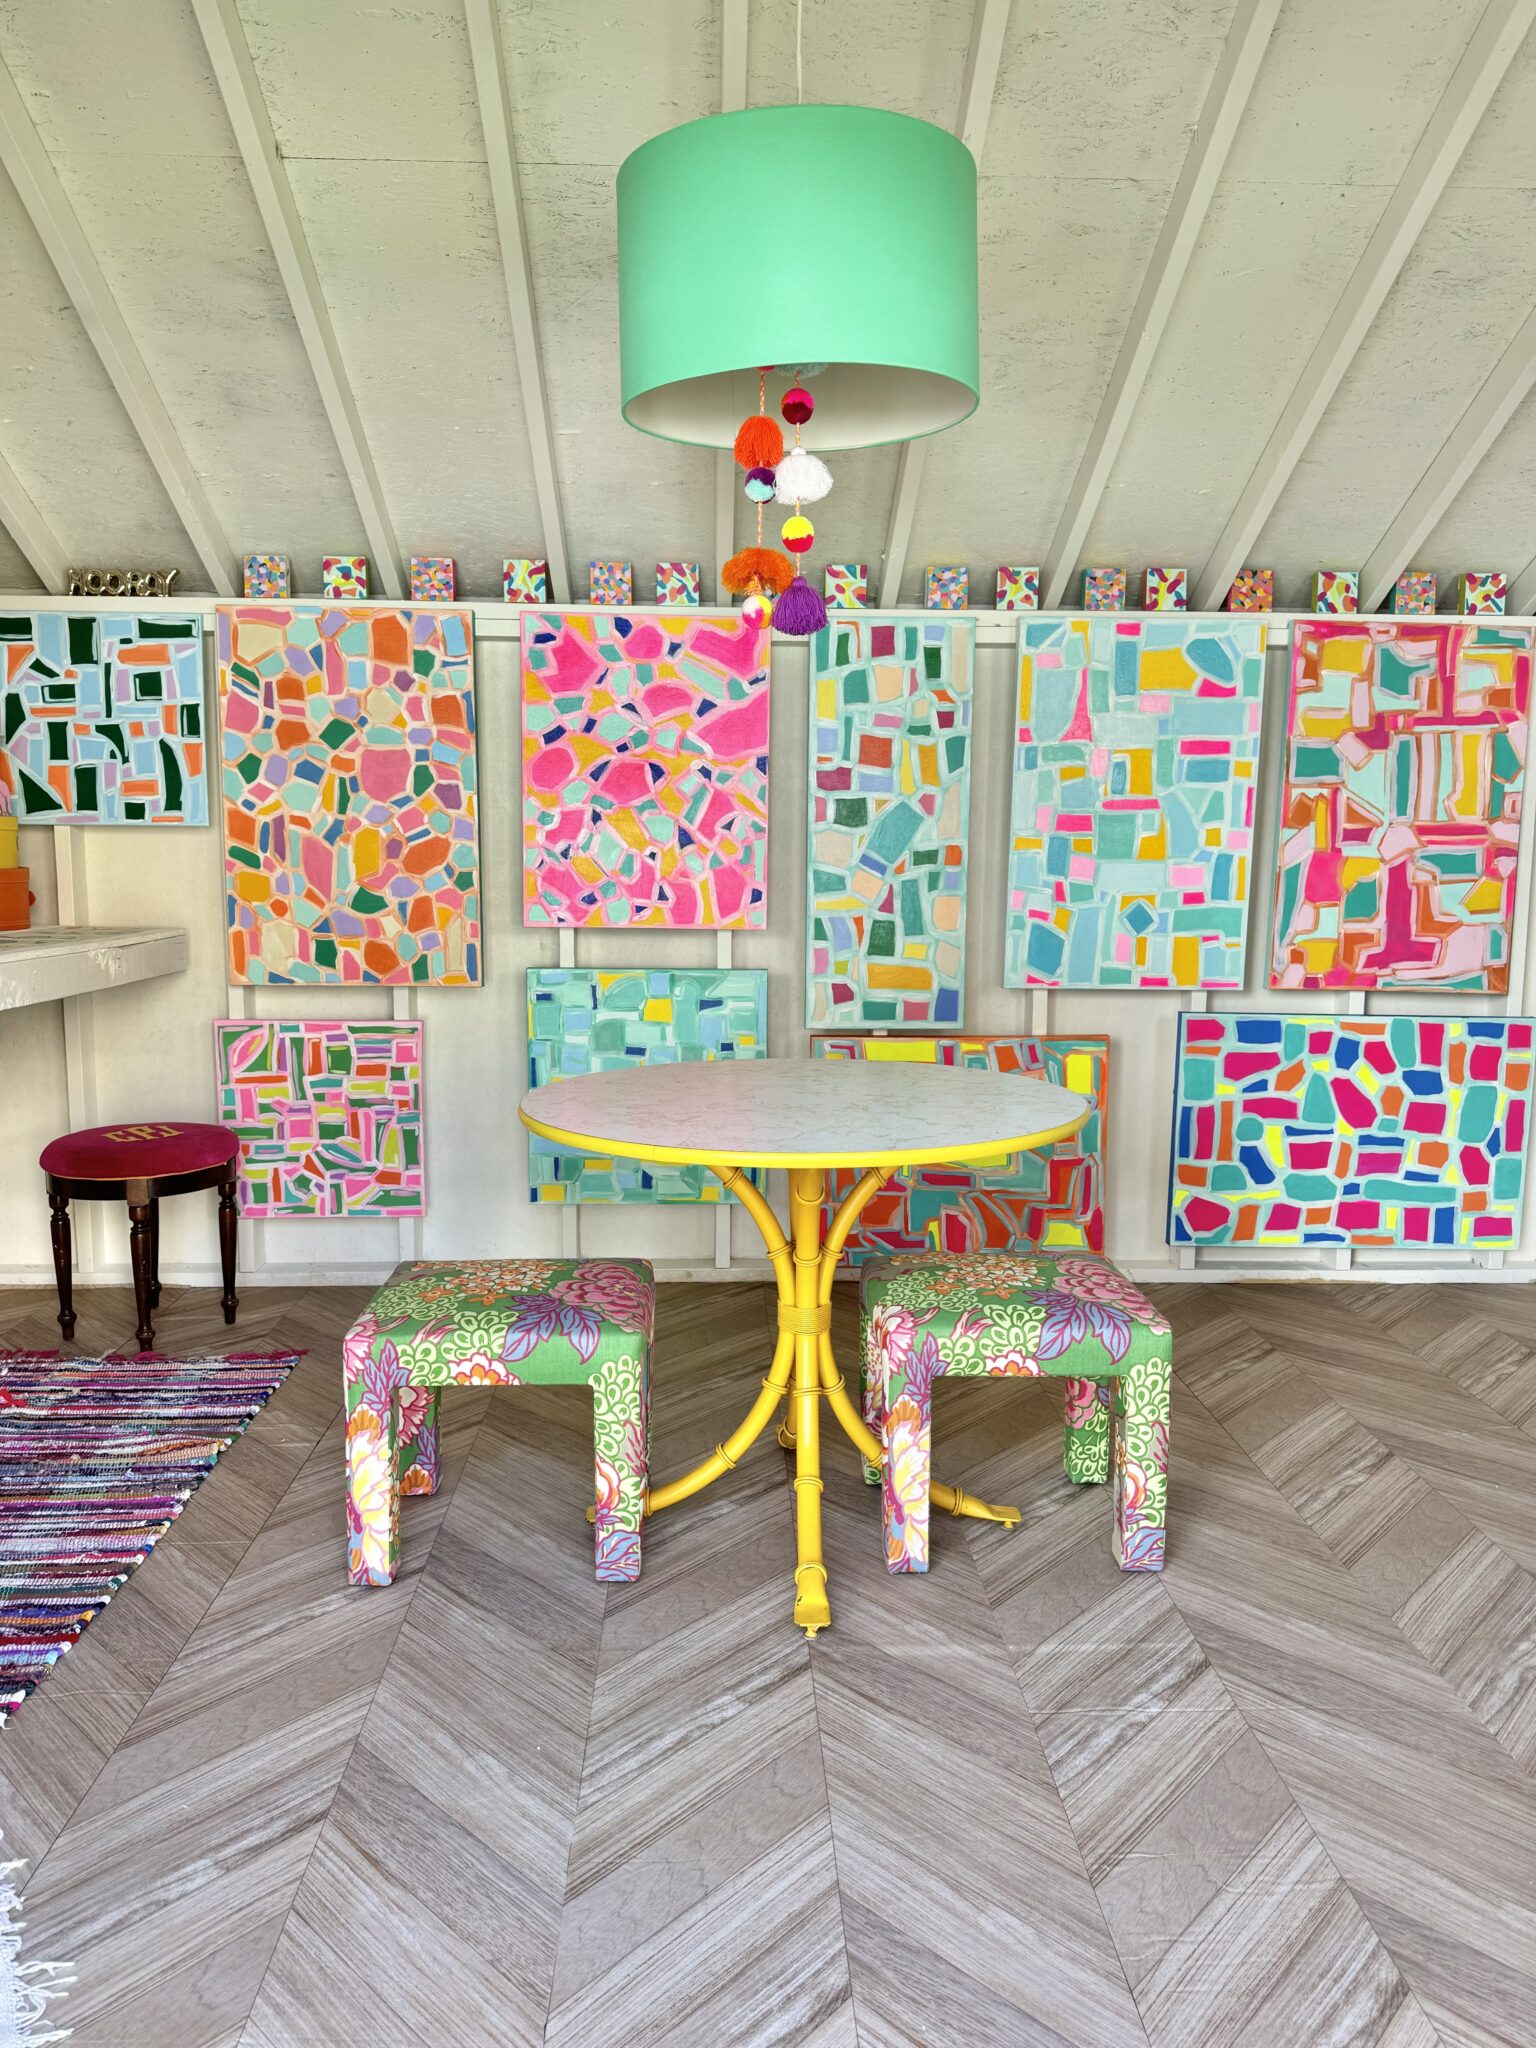
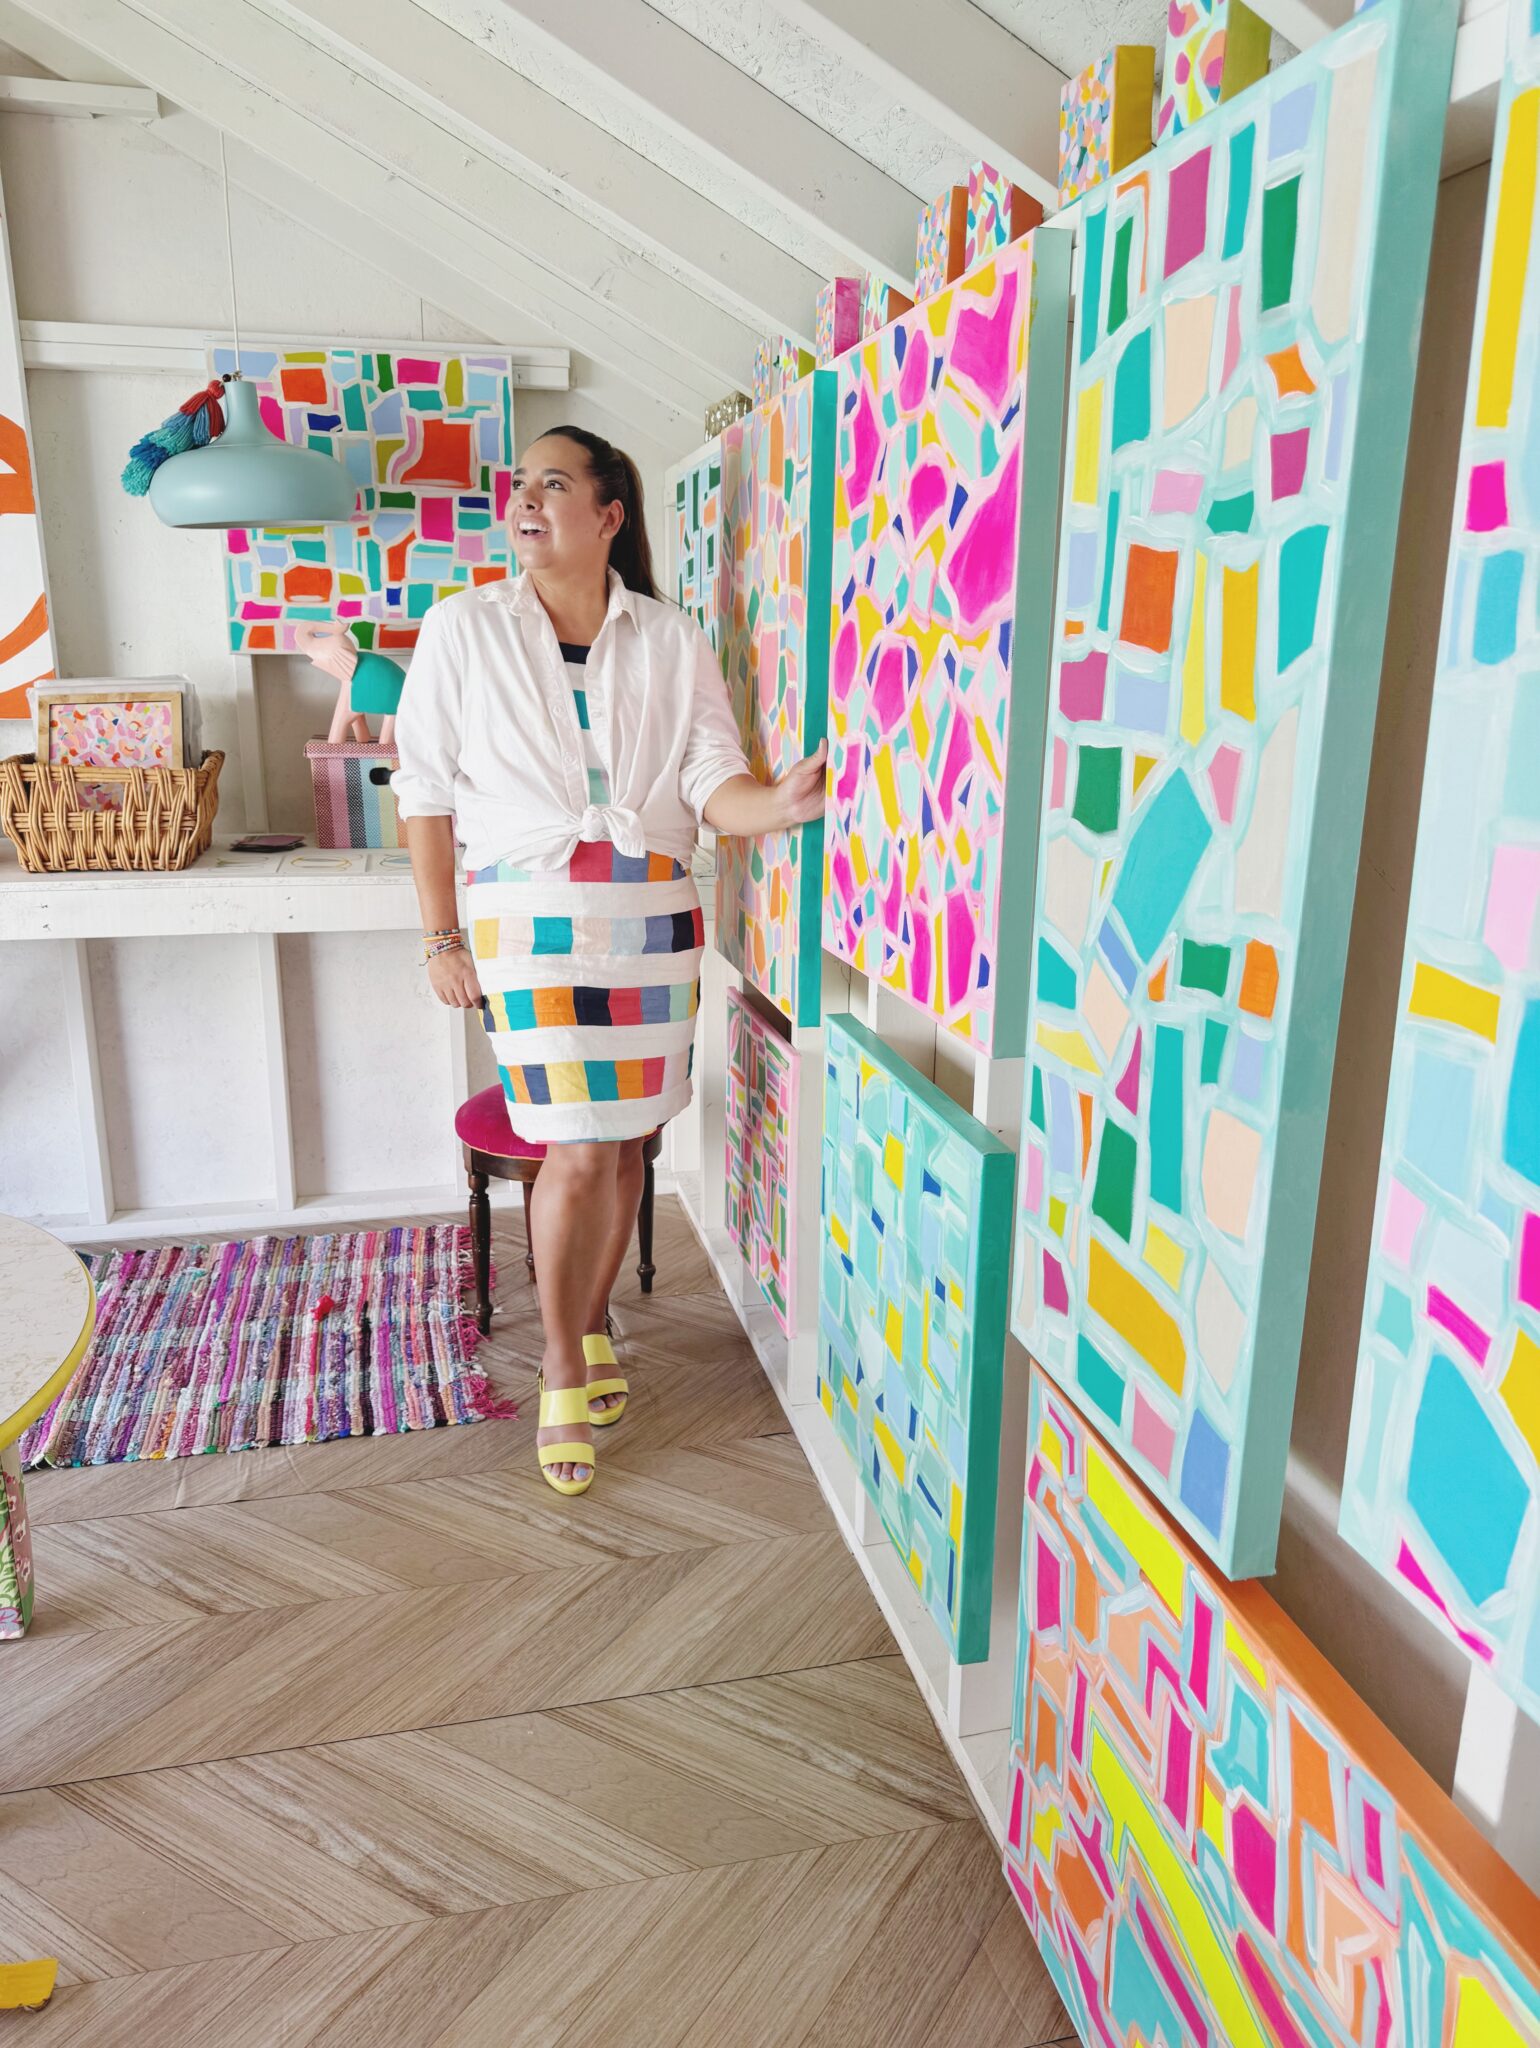
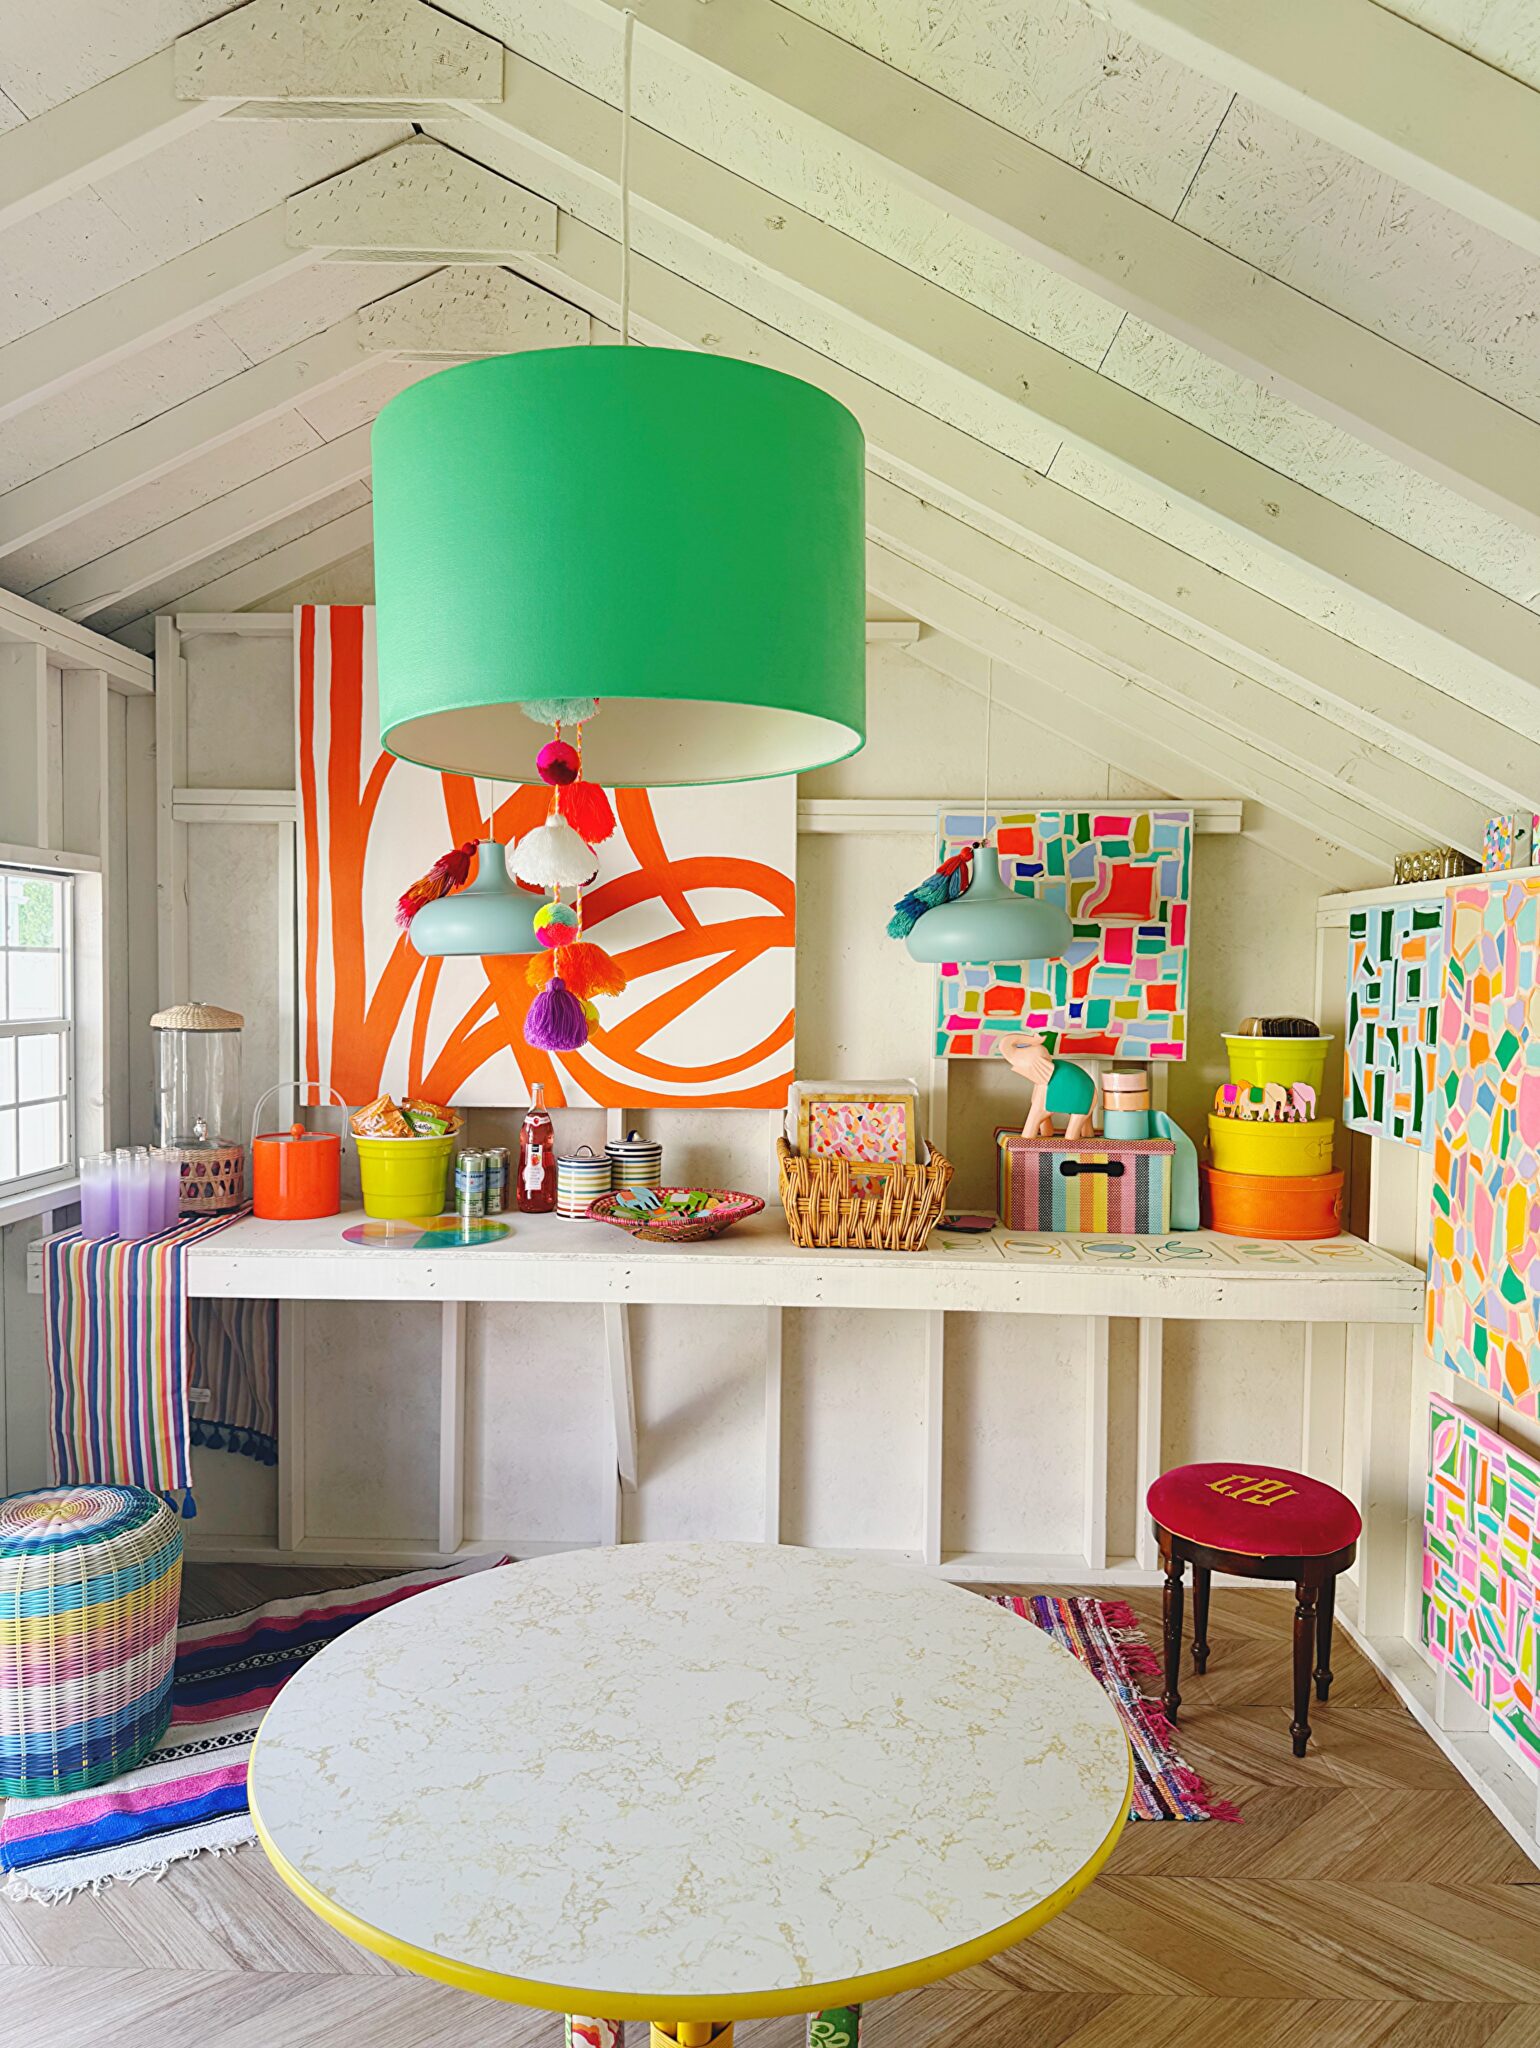
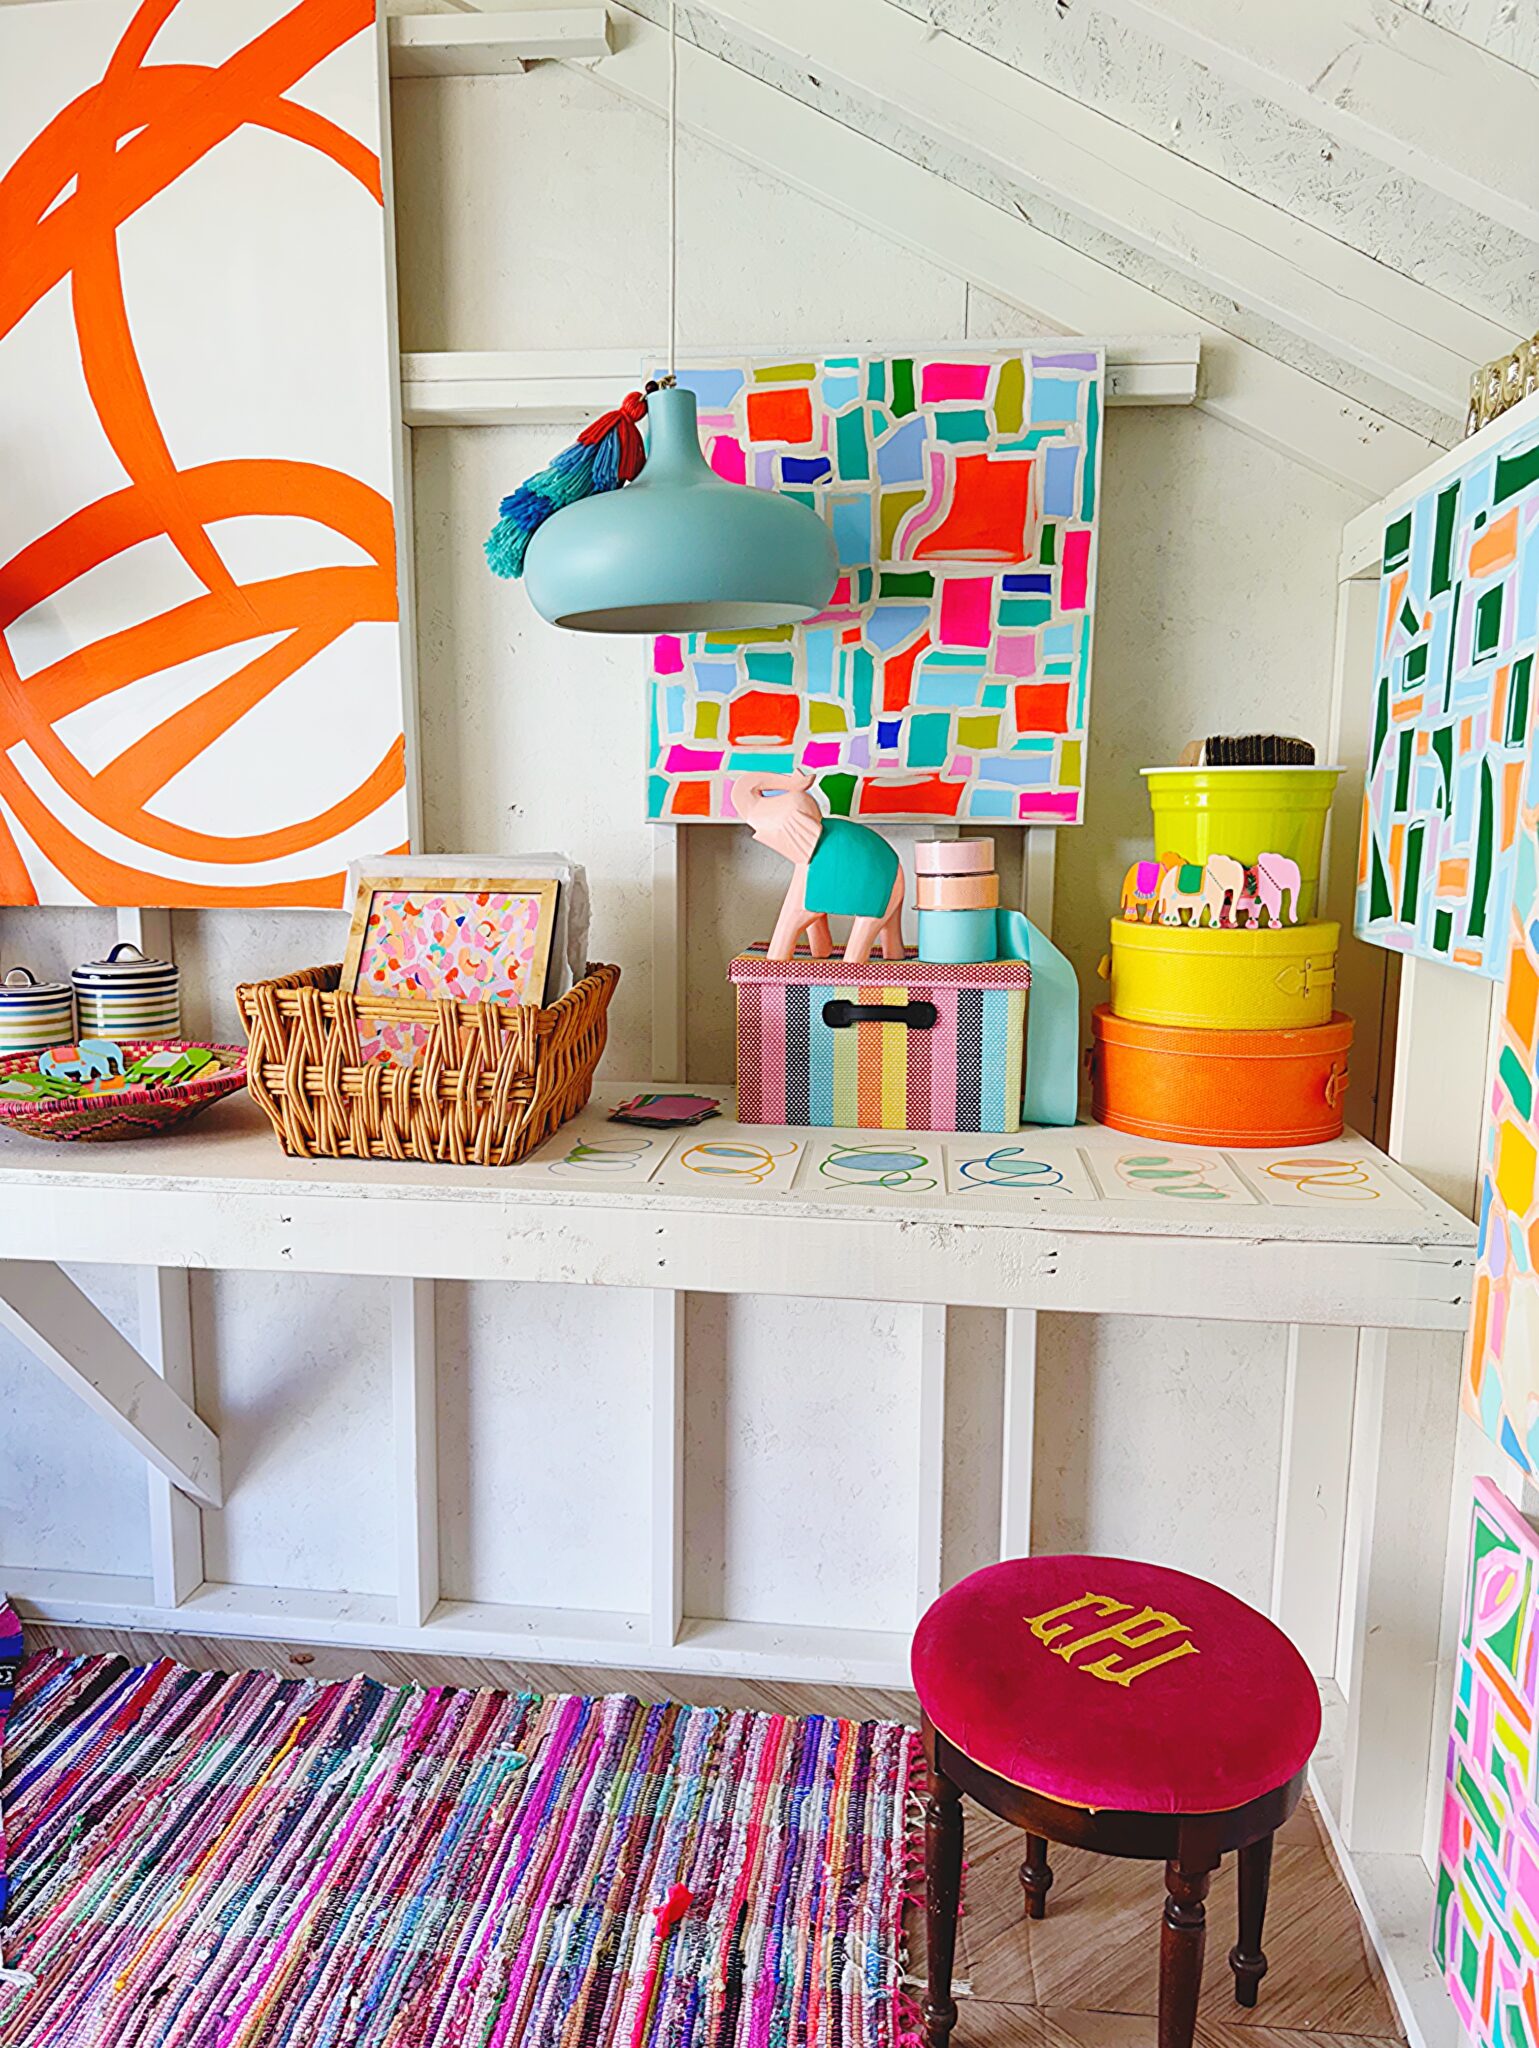
Then we got to do the fun stuff and add all of my artwork and supplies for painting!!!!
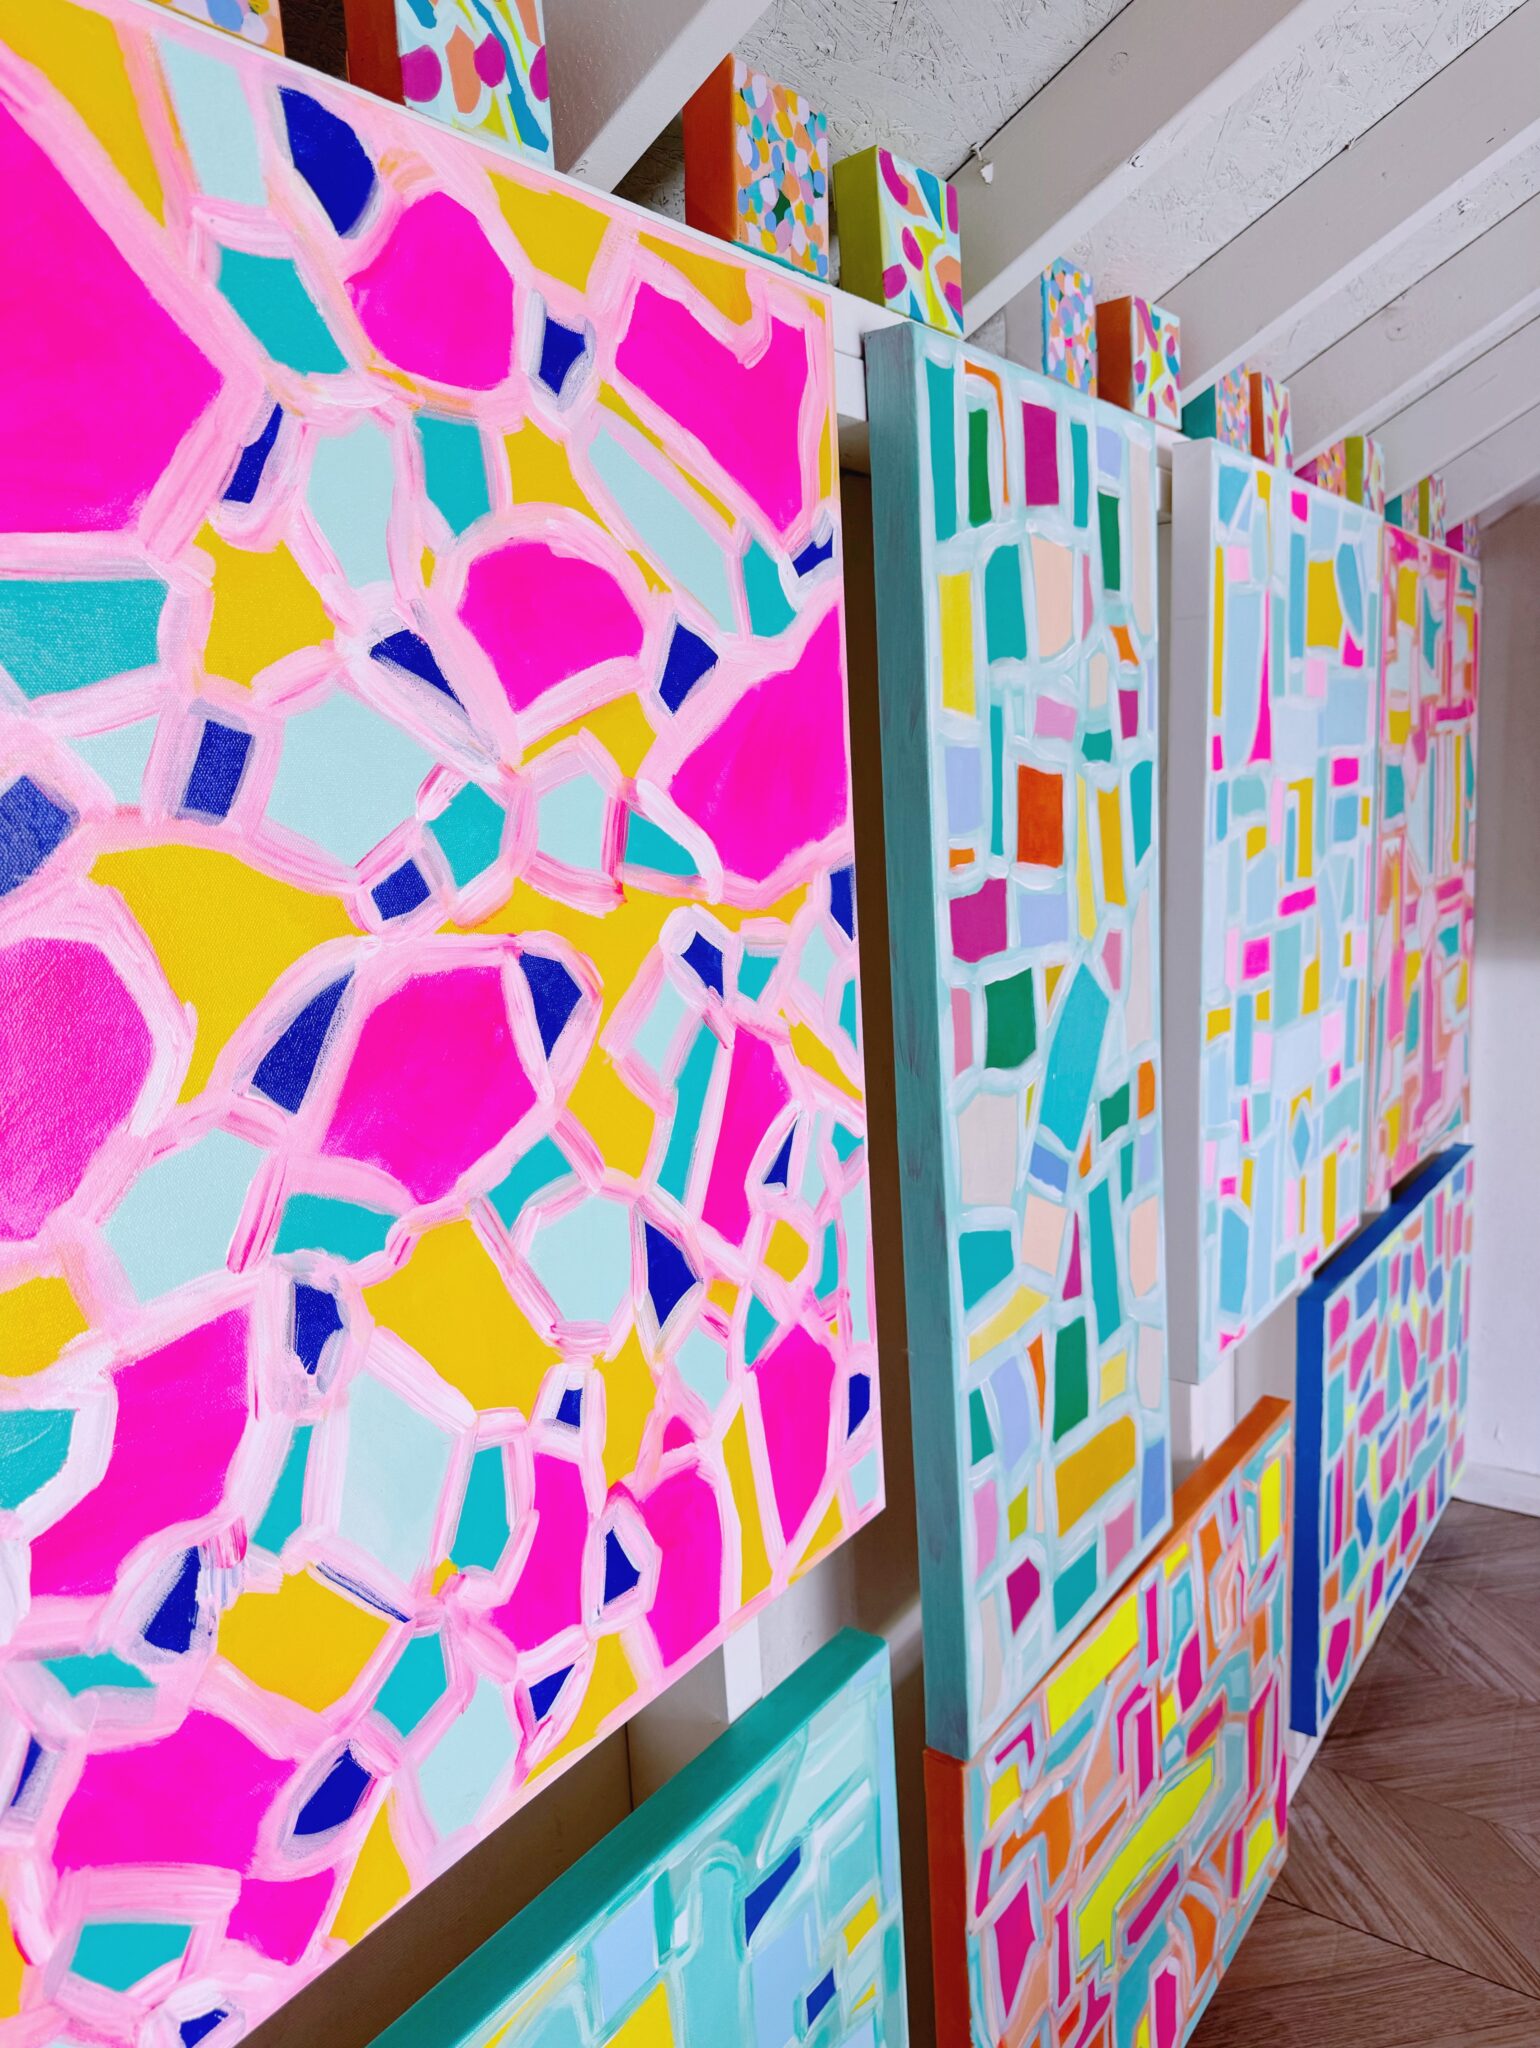
I picked white for the paint color inside so that my artwork would be able to pop in the space. I was able to fill the walls with my finished pieces that in the process of being varished and then shipped out. I used the top ledge for my mini pieces that work nicely in bookcases. I was also able to add a little seating area in case my boys decide to come in and work on their homework while I paint.
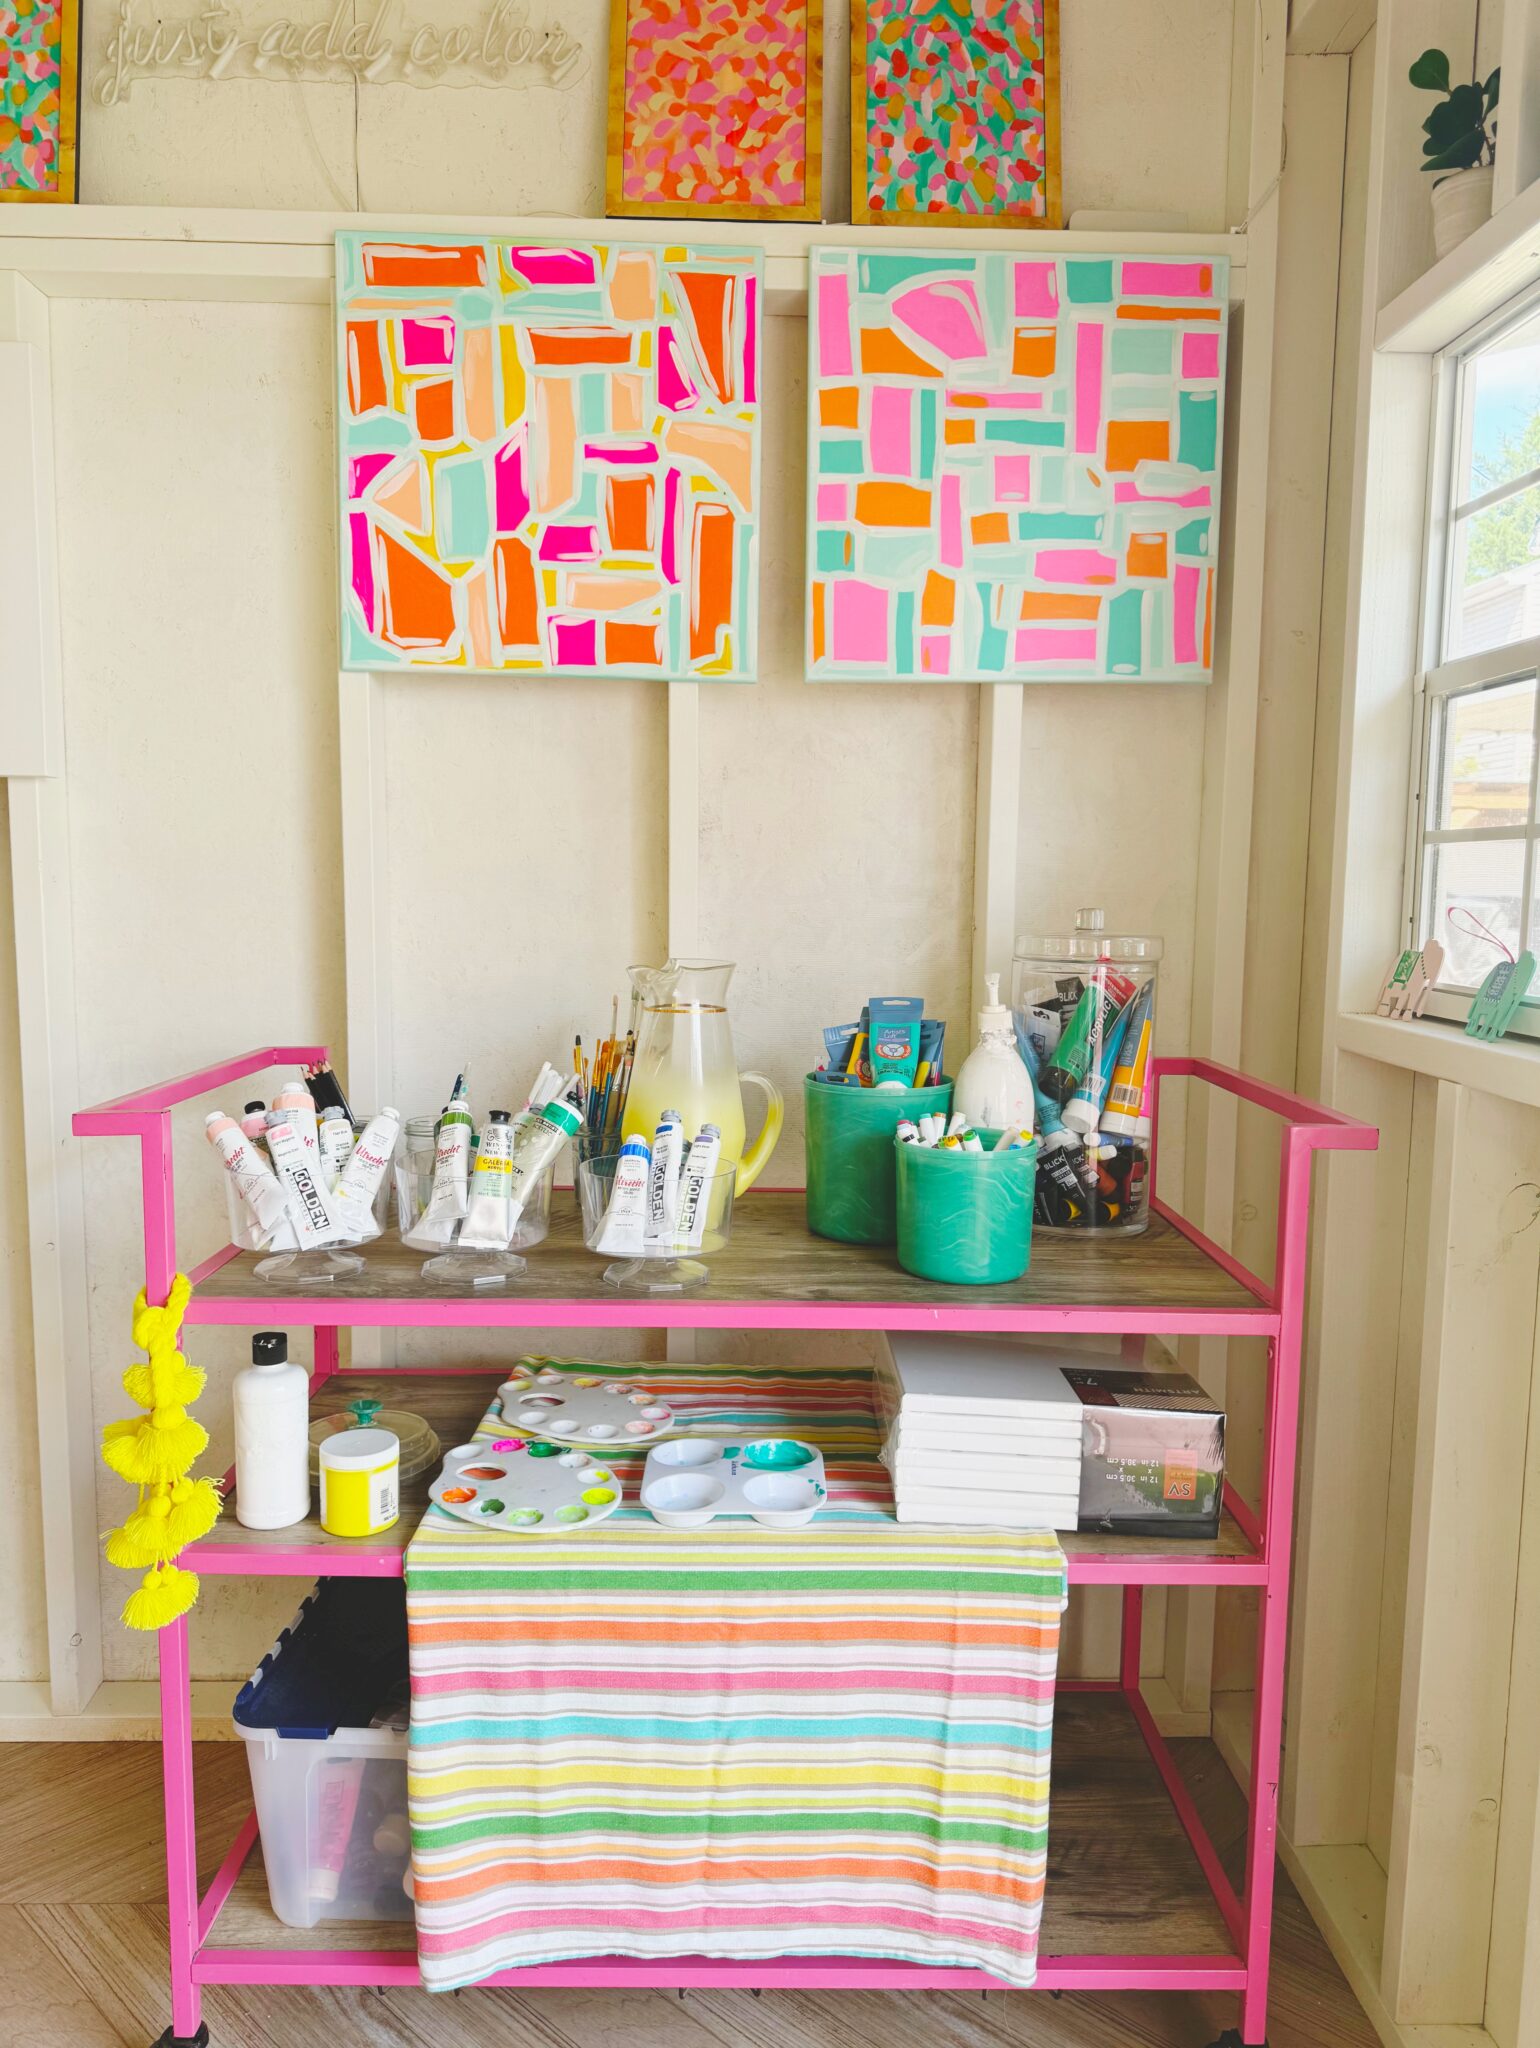
When you walk into the right of the shed I placed a rolling cart with all of my paint supplies. It can moved around if I need to free up space. On this section of wall I also have works of art that I’m currently painting.
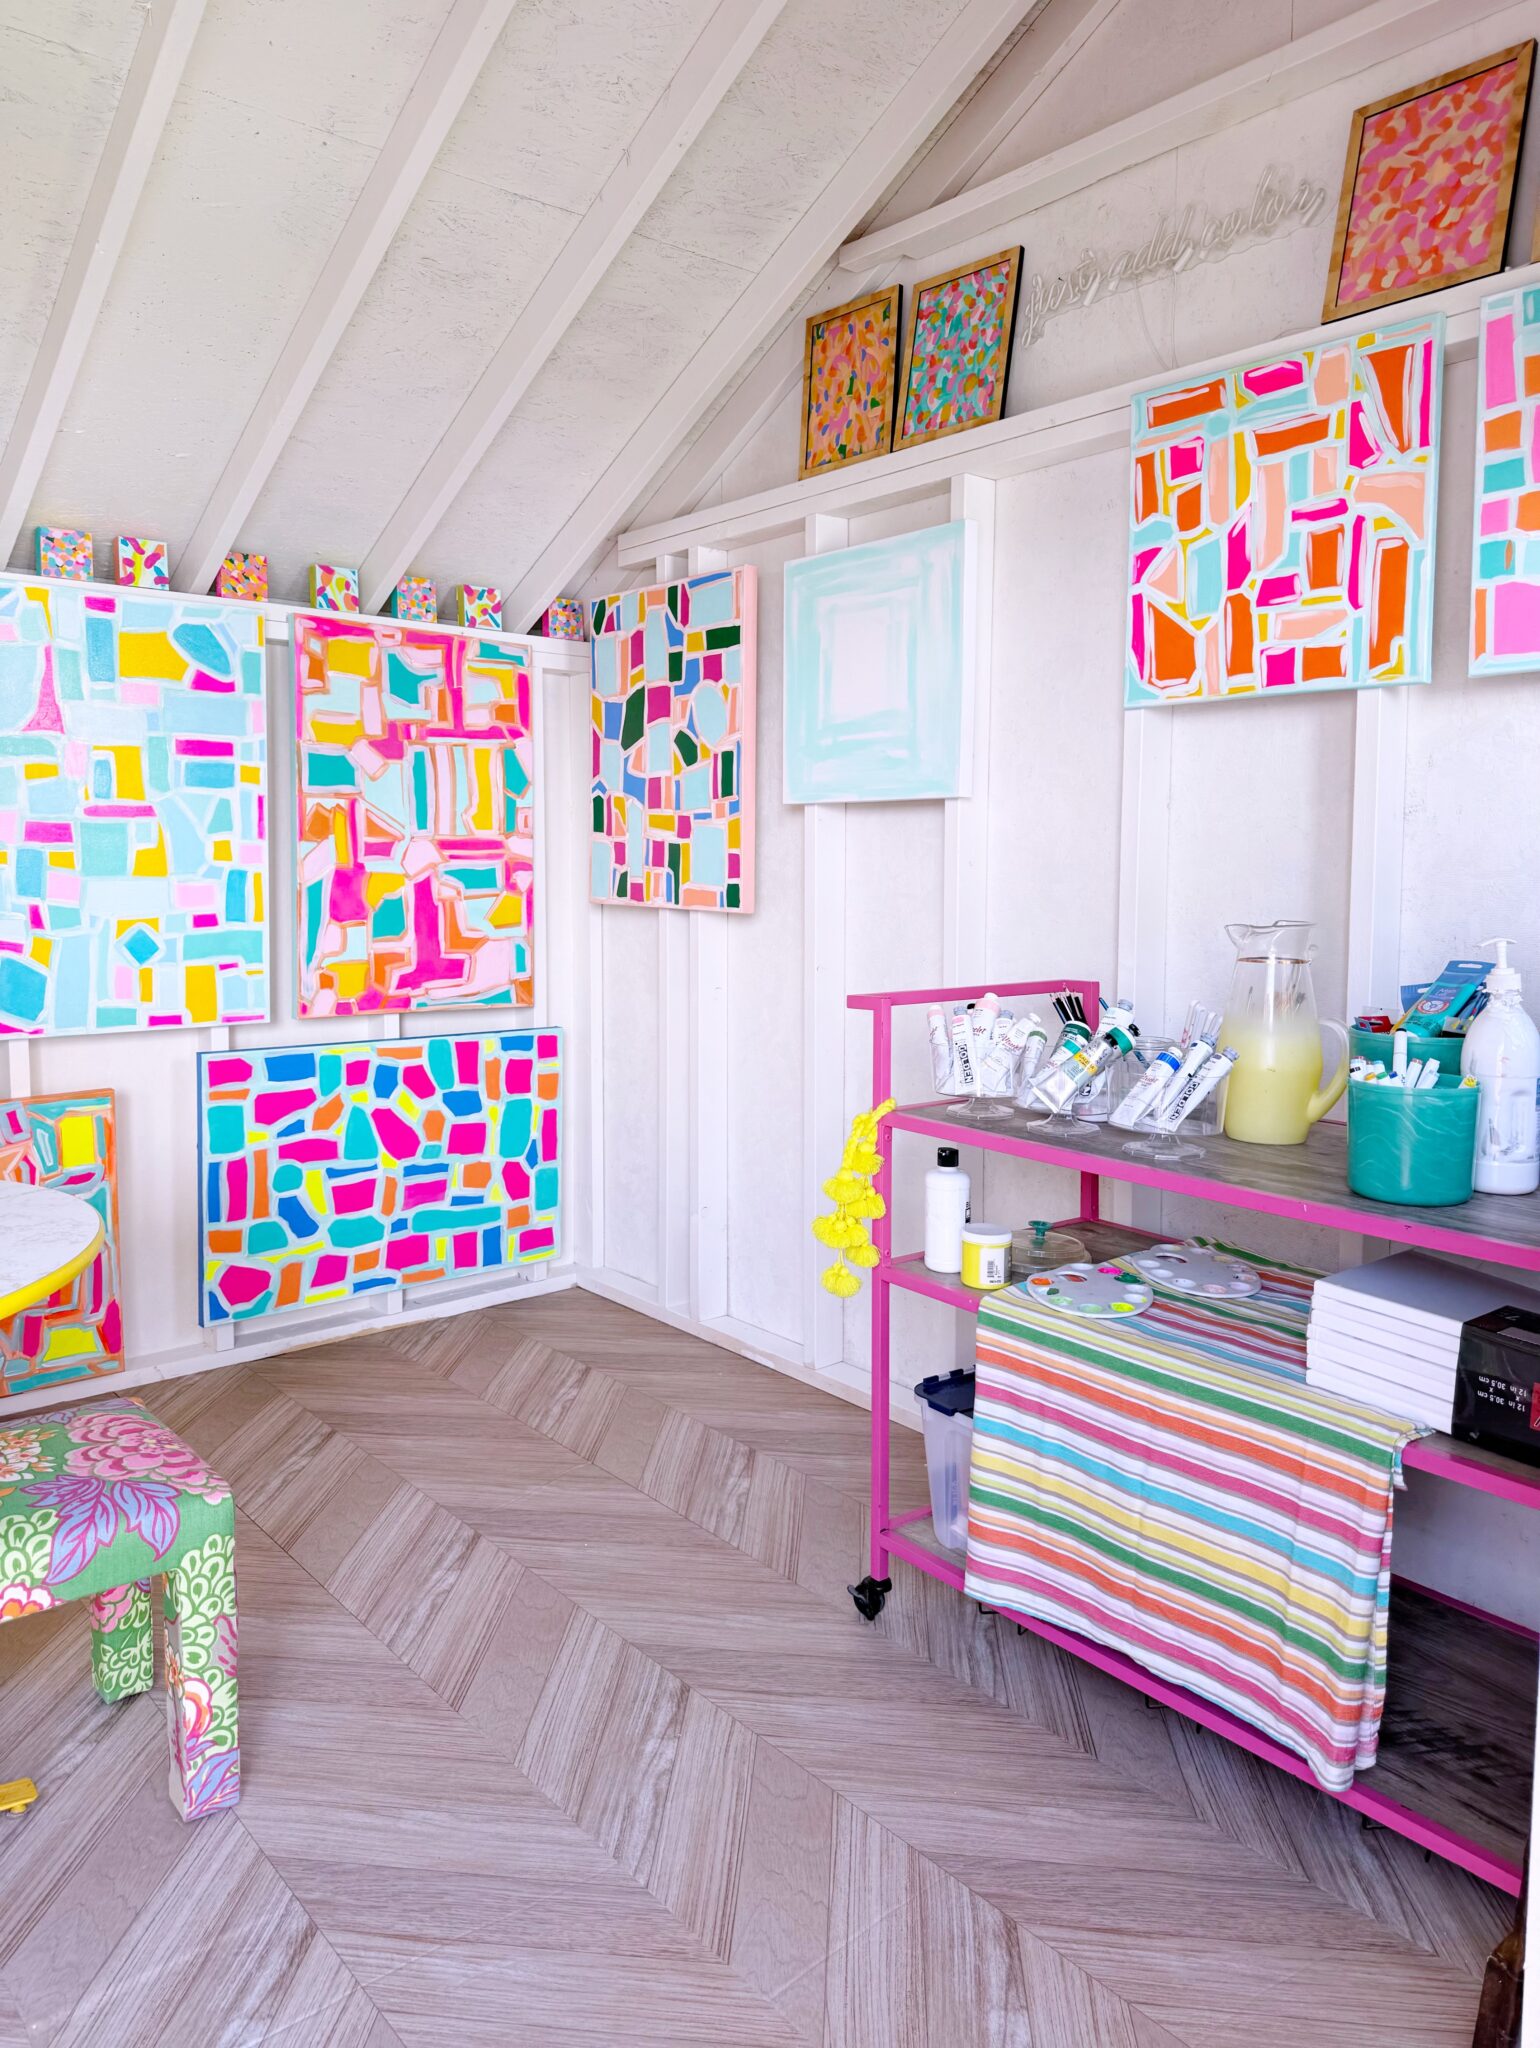
All of my paints, paintbrushes, and canvases ready for paint! I even added my, “Just Add Color” neon sign above!
All of babies! I recently got back into painting and it has been really healing. I tend to get a bit of anxiety and it really helps me clear my head and get all of this happiness out on canvas to bring others joy!
I’m so proud of all of them!
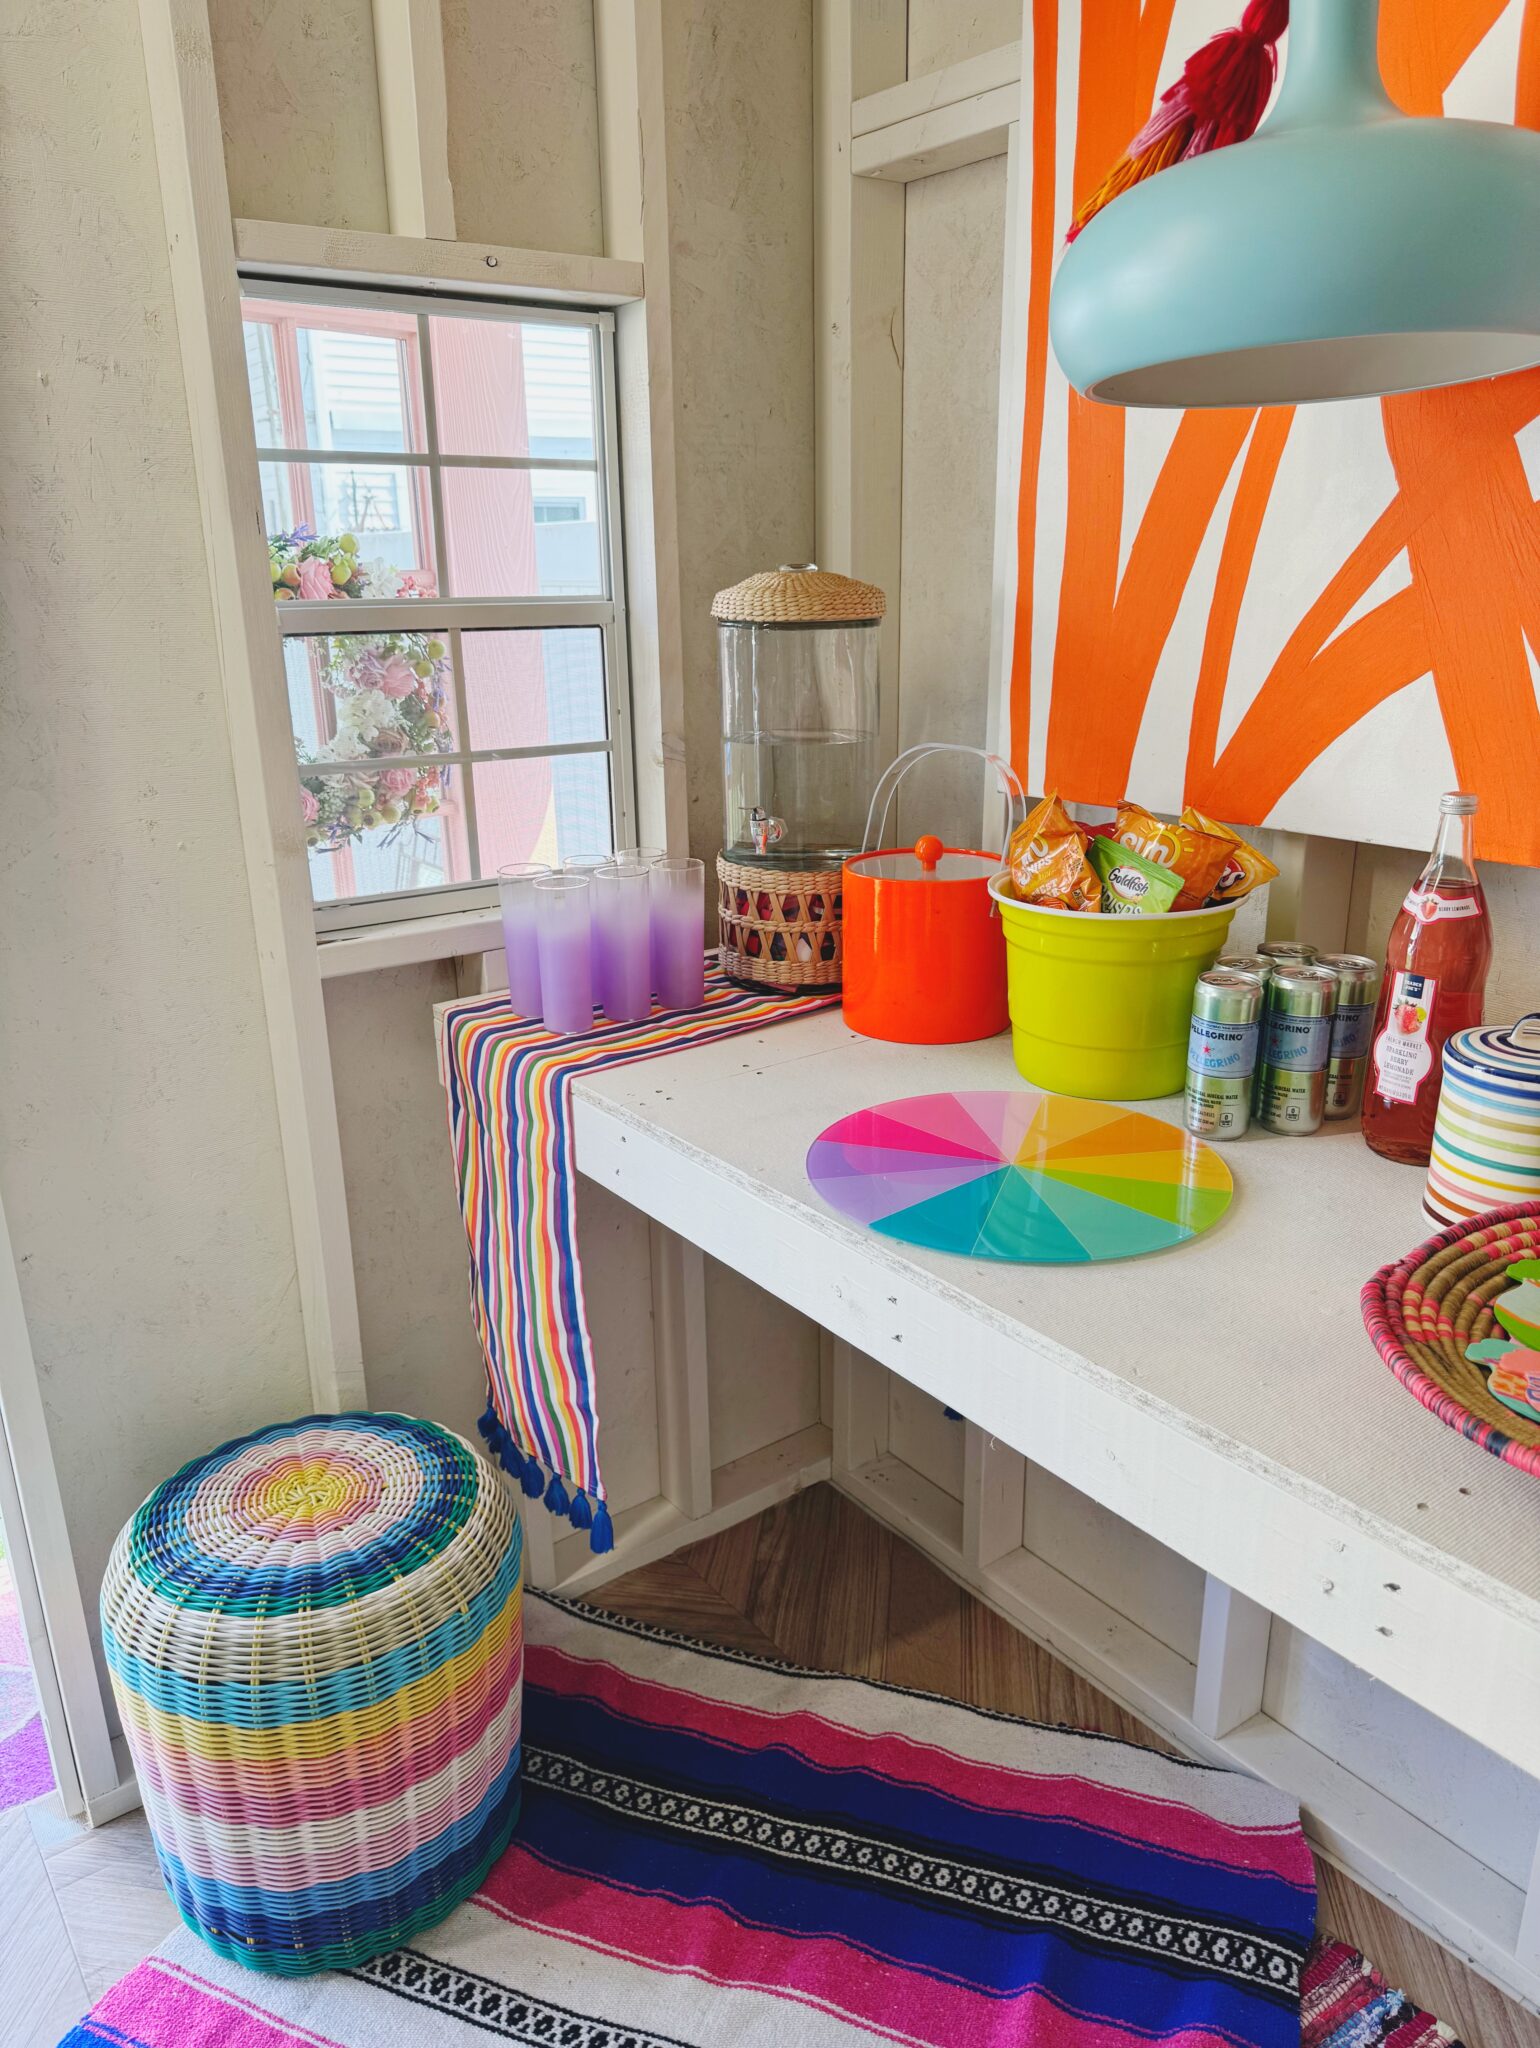
On the workbench side, I put my packing supplies and some snacks! Underneath the workbench, I left it empty to fill it with bubble wrap and large boxes for shipping.
Thank you so much for checking out my new art studio! I’m always one to think outside the box and with my shed from Sheds Unlimited deserved a better life than storing our outdoor supplies. I had so much fun picking out every detail inside and out. However if you want something quicker where all the decisions have already been figured out then check out their deals section for ready to go options!
Related
Leave a Reply Cancel reply
get inspired with our own home tour
ON THE BLOG
My living room is one of the rooms that evolved drastically from when we first moved one. Originally I painted the walls chocolate brown and did accents of white, blue and orange. That lasted maybe 2 years.
Our dining room sat empty for months. Okay maybe it was empty for just a handful of weeks and then we couldn’t take it anymore and put in a folding table and plastic outdoor chairs, but in my mind that was still empty.
On the main floor of our house we have a Florida room. Being that it’s a Florida room it is a considered a 3 season room, because there is no heat in the room. The previous owners used it as an indoor patio with outdoor furniture and it looked like this when we moved in.
In our new home, the basement was completely unfinished. It was literally one of those dark spaces that you see in horror movies and are terrified of getting locked into. However, with the square footage in this house, I knew I needed to make the basement another workable and liveable floor of the house instead […]
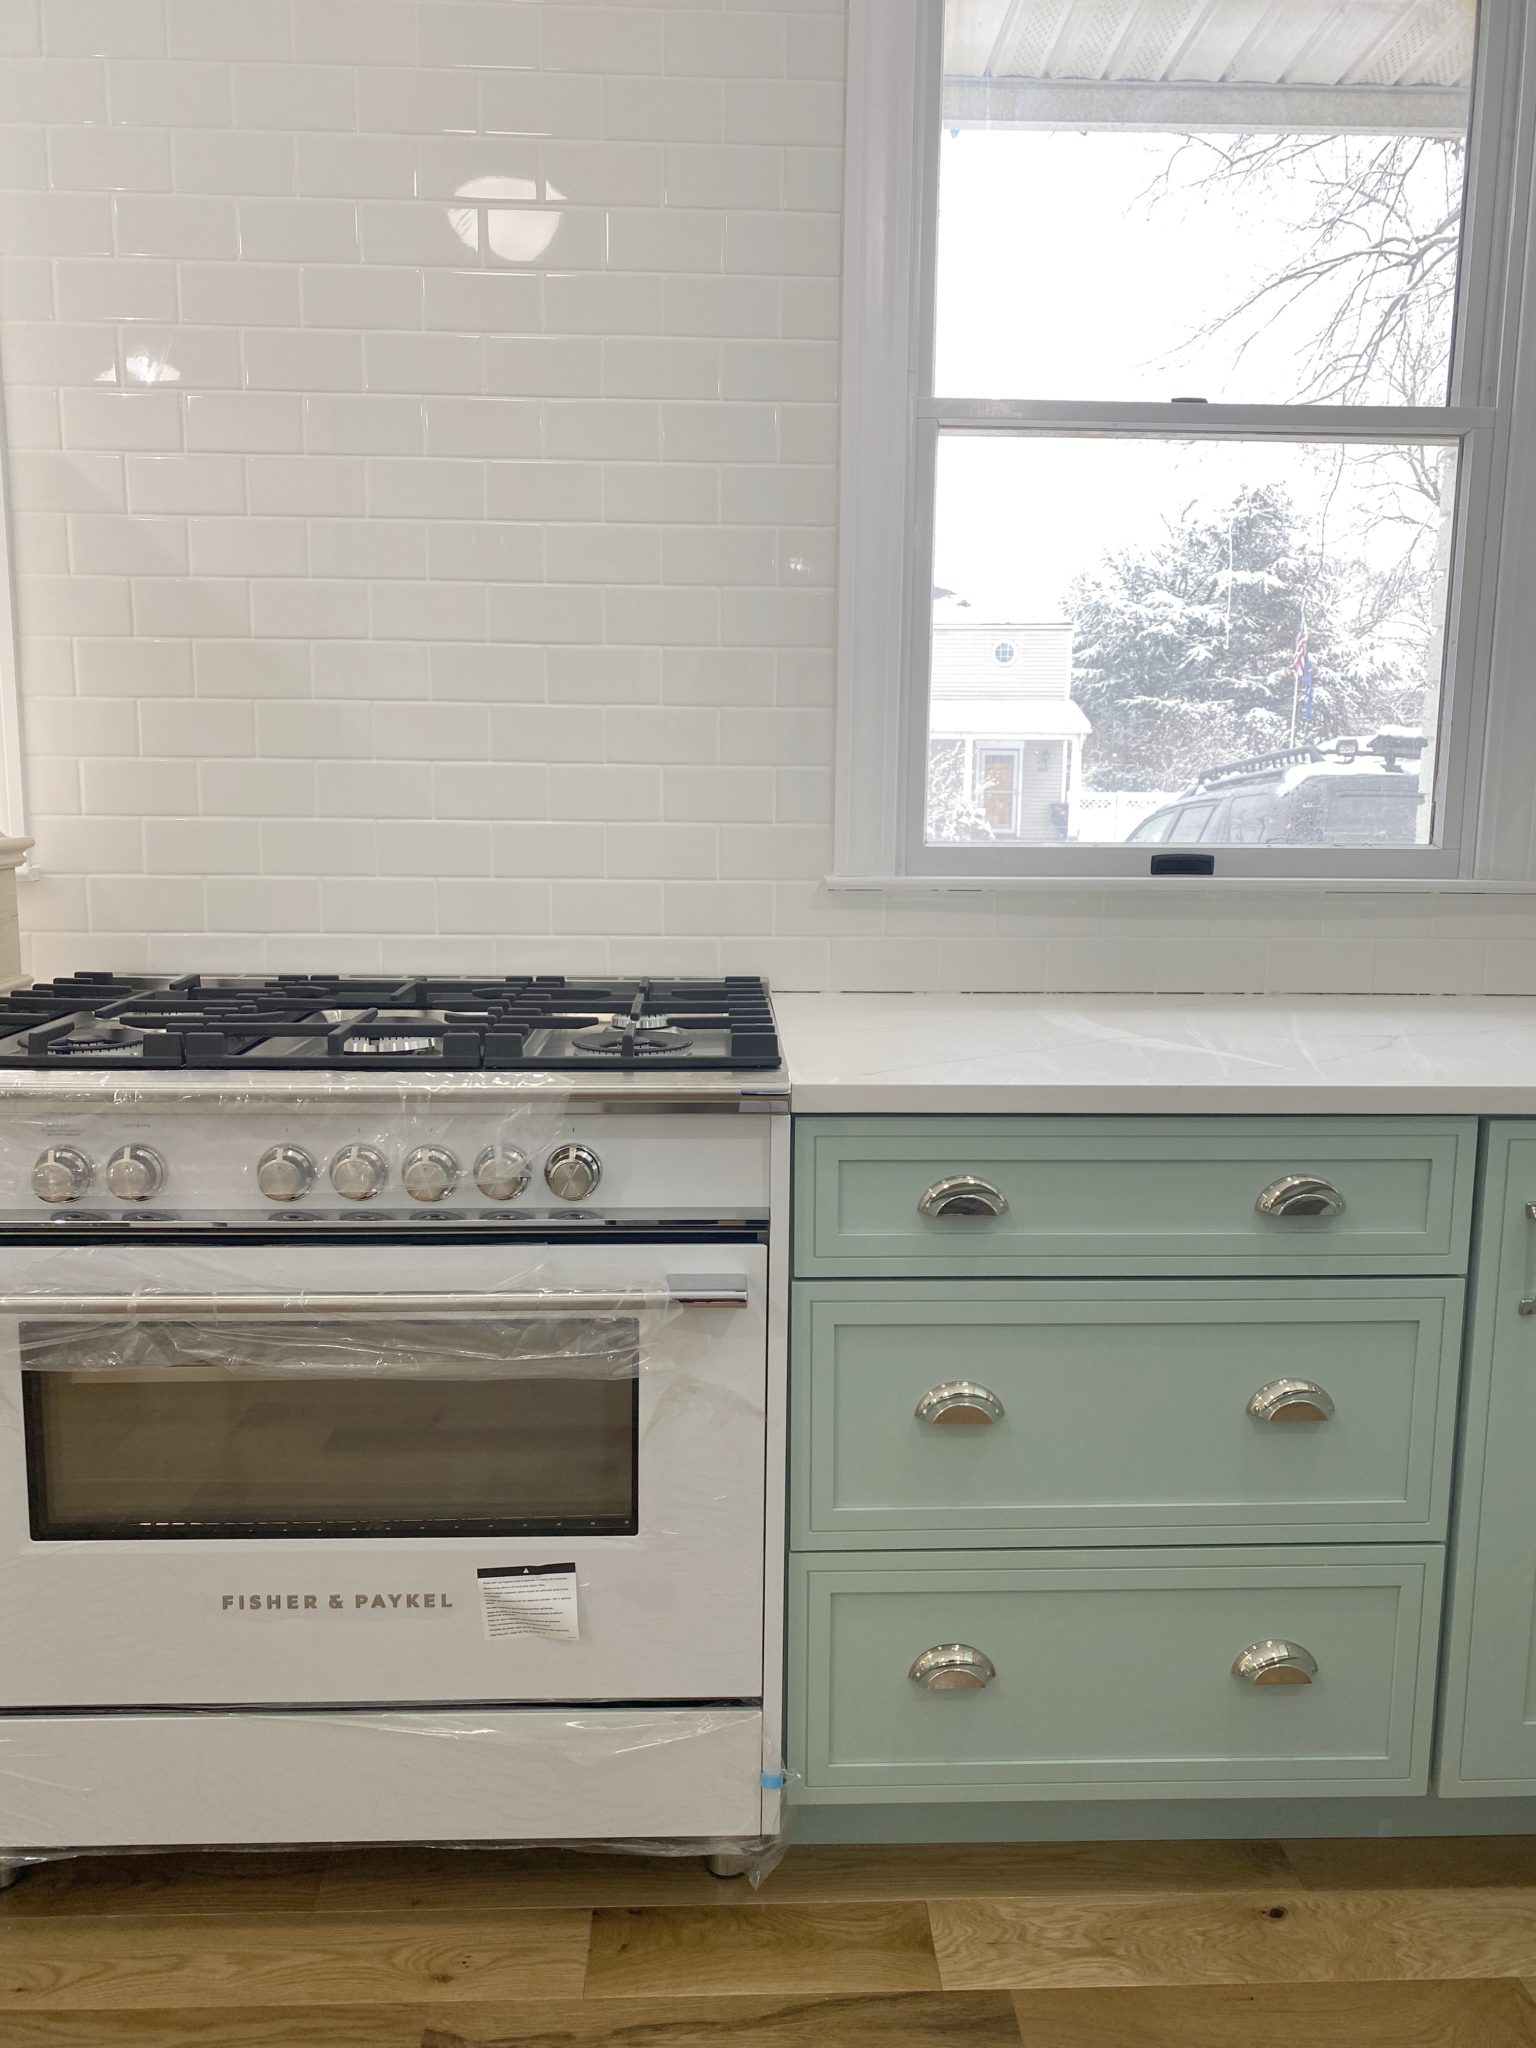
What to look for when it comes to picking out kitchen appliances: Leave room in your budget for appliances. When it comes to kitchen renovations everyone knows that the cabinetry and the labor of demoing and installing cabinetry is going to eat a lot of your budget. However, the second most expensive part of a […]
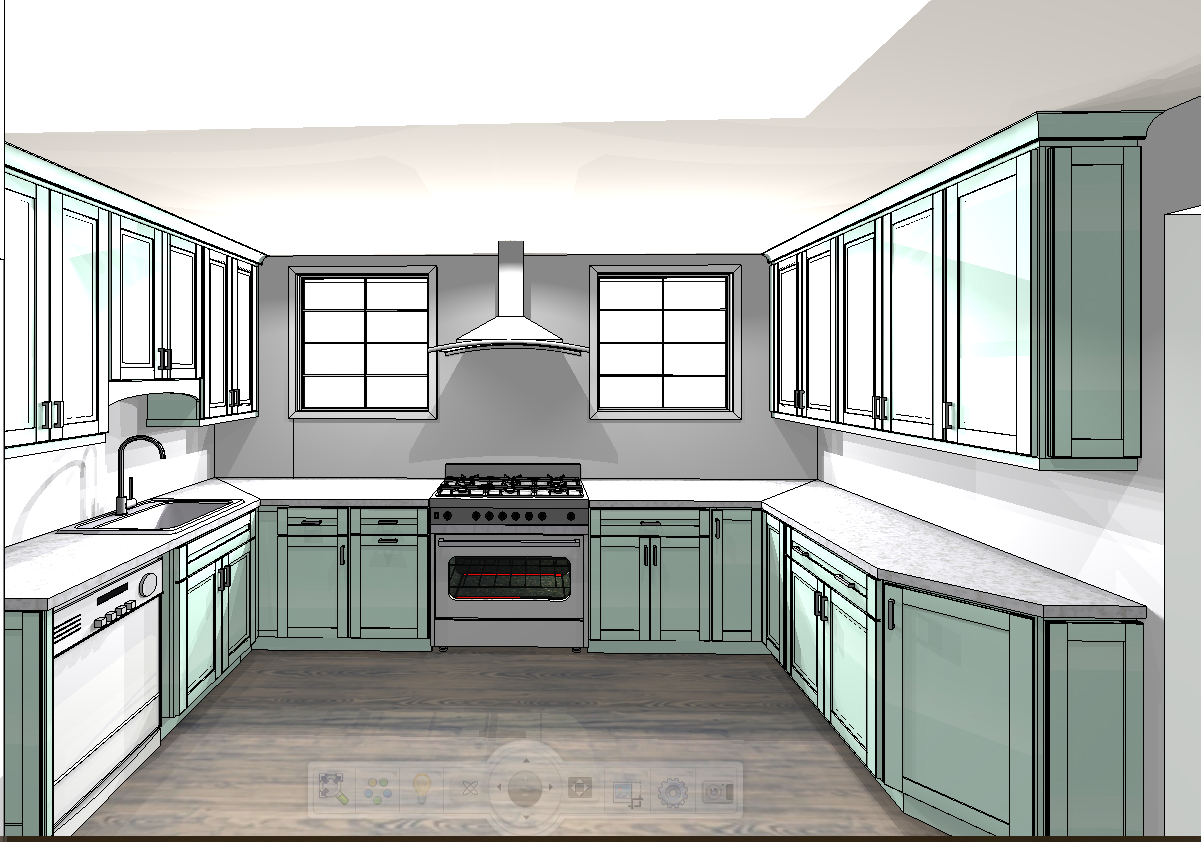
I don’t think I’m alone in thinking that designing a kitchen is an overwhelming undertaking. I’m an interior designer and even I find it stressful to iron out all of those details. So, when it comes time to design a kitchen I always like to partner with a kitchen designer to make sure I’m remembering […]
