
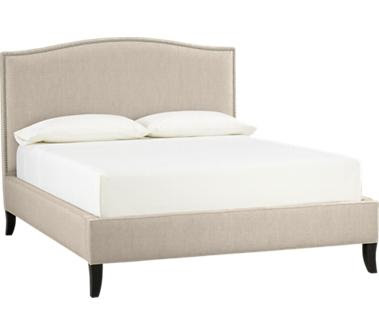
DIY: Colette Upholstered Bed!
So after a little begging and pleading Jon decided that making it was a great option! 🙂
It took two weekends to finish. One weekend to purchase wood, cut pieces and then assemble. Then life got in the way and we lived without the bed upholstered for two weekends and then this past Saturday we finished it.
For this project you will need the following supplies from Home Depot:
*This is for a Queen sized bed.
The headboard is made out of MDF and with the help of a grid you can get the perfect curve. Jon made 6″ x 6″ grid boxes in order to check our curve. The grid is also helpful if you want to tuft your headboard.
First we used paper to create one half of the curve. This is done free hand so you can make it as extreme as you like.
Once you are happy with your curve cut it out with a razor blade. You have just created your template:
Next trace curve with help of template on one half:
Then flip your template over to the other side and trace your template.
Make sure that the distance from the bottom of the template to the top of the mdf is equal on both sides.
To double check the curve with the help of the grid you can measure the points where the curve crosses the grid. This measurement should be equal on both sides.
And slowly cut along the curve:
You may get some rough edges so take out your belt sander and smooth them away.
Now that all of your pieces are cut it’s time to put it all together.
Add liquid nails to the edges of the pieces you just created:
Now get your 1″x 10″ x 61 1/2″ boards (These are your head and foot boards) and nail them to your side pieces.
To make sure that your frame is square measure from one corner to the opposite corner and then do the same of the remaining two corners. You will be making an X. If your measurements are identical you are good to go.
Flip your frame upside down and nail one of your 1″x 4″x 60″into the frame to support the head of the bed and then take your additional 1″x 4″ x 60″ board and nail into the foot.
In order to support your weight you must screw U shaped piece from the head and the foot of the bed. Now you must flip it on it’s side and screw your center support into your lowersupports:
We re-used the cross-rails from our original bed, but if needed here is where you would use your 14- 1″x3″x60″ boards. Lay them evenly across the entire length of the bed and secure them with nails.
Voila bed frame and headboard are finished. This took us one weekend, but not the entire two days. While there are a lot of steps it was a pretty easy project.
Go around and wrap and staple:
For the base of the bed we purchased two twin sized mattress pads ($9 a pad) and cut them in half length wise. They don’t go completely around so there will be some seams, but under fabric it is not noticeable at all.
Now you need to do the same with the fabric. We purchased 6 yards of neutral linen. We got it at a steal for $4 a yard!
For the base you simply wrap and staple as well You do need to pay a little bit of attention to the corners. We wrapped completely down the side board and around 6″ past the foot board on both sides.
To mount the headboard to the base we used books/magazines to prop it up to the height we wanted and measured to make sure it was equal on both sides.
Use the tape measure to also make sure when you are screwing into place you are going into the base and not your mattress! 🙂
For main support we used a 3″ nut and bolt to secure the headboard on the corners of the frame:
We put our bolts 8″ up from the bottom and 2″ in from the side:
This is what the bolt looks like inside the bed frame:
This is how it will look from the back of the headboard:
Once your sides are bolted into place you can use 1 5/8″ dry wall screws in the center of of the headboard for additional security. Again place all screws below 8″ so that you do not hit your mattress.
Covering the bed in foam and fabric took between 4-5 hours.
Now who is going to follow suit and DIY?
Estimated Cost:
$200 for wood, hardware and legs
$45 for foam
$25 for fabric
Total: $270 vs $1,599.99
Estimate Labor:
12-15 hrs. We split it up into 2 weekends, but it could be finished in one weekend.
***Writing this blog post took longer. It’s now almost 2 am and we are finally able to enjoy our bed and get some rest.
Related
Happy Birthday Hubby!In "about me"
Sweet dreams and a GREAT BUY!In "great buy"
Lusting after Laura AshleyIn "fabric"
Leave a Reply Cancel reply
get inspired with our own home tour
ON THE BLOG
My living room is one of the rooms that evolved drastically from when we first moved one. Originally I painted the walls chocolate brown and did accents of white, blue and orange. That lasted maybe 2 years.
Our dining room sat empty for months. Okay maybe it was empty for just a handful of weeks and then we couldn’t take it anymore and put in a folding table and plastic outdoor chairs, but in my mind that was still empty.
On the main floor of our house we have a Florida room. Being that it’s a Florida room it is a considered a 3 season room, because there is no heat in the room. The previous owners used it as an indoor patio with outdoor furniture and it looked like this when we moved in.
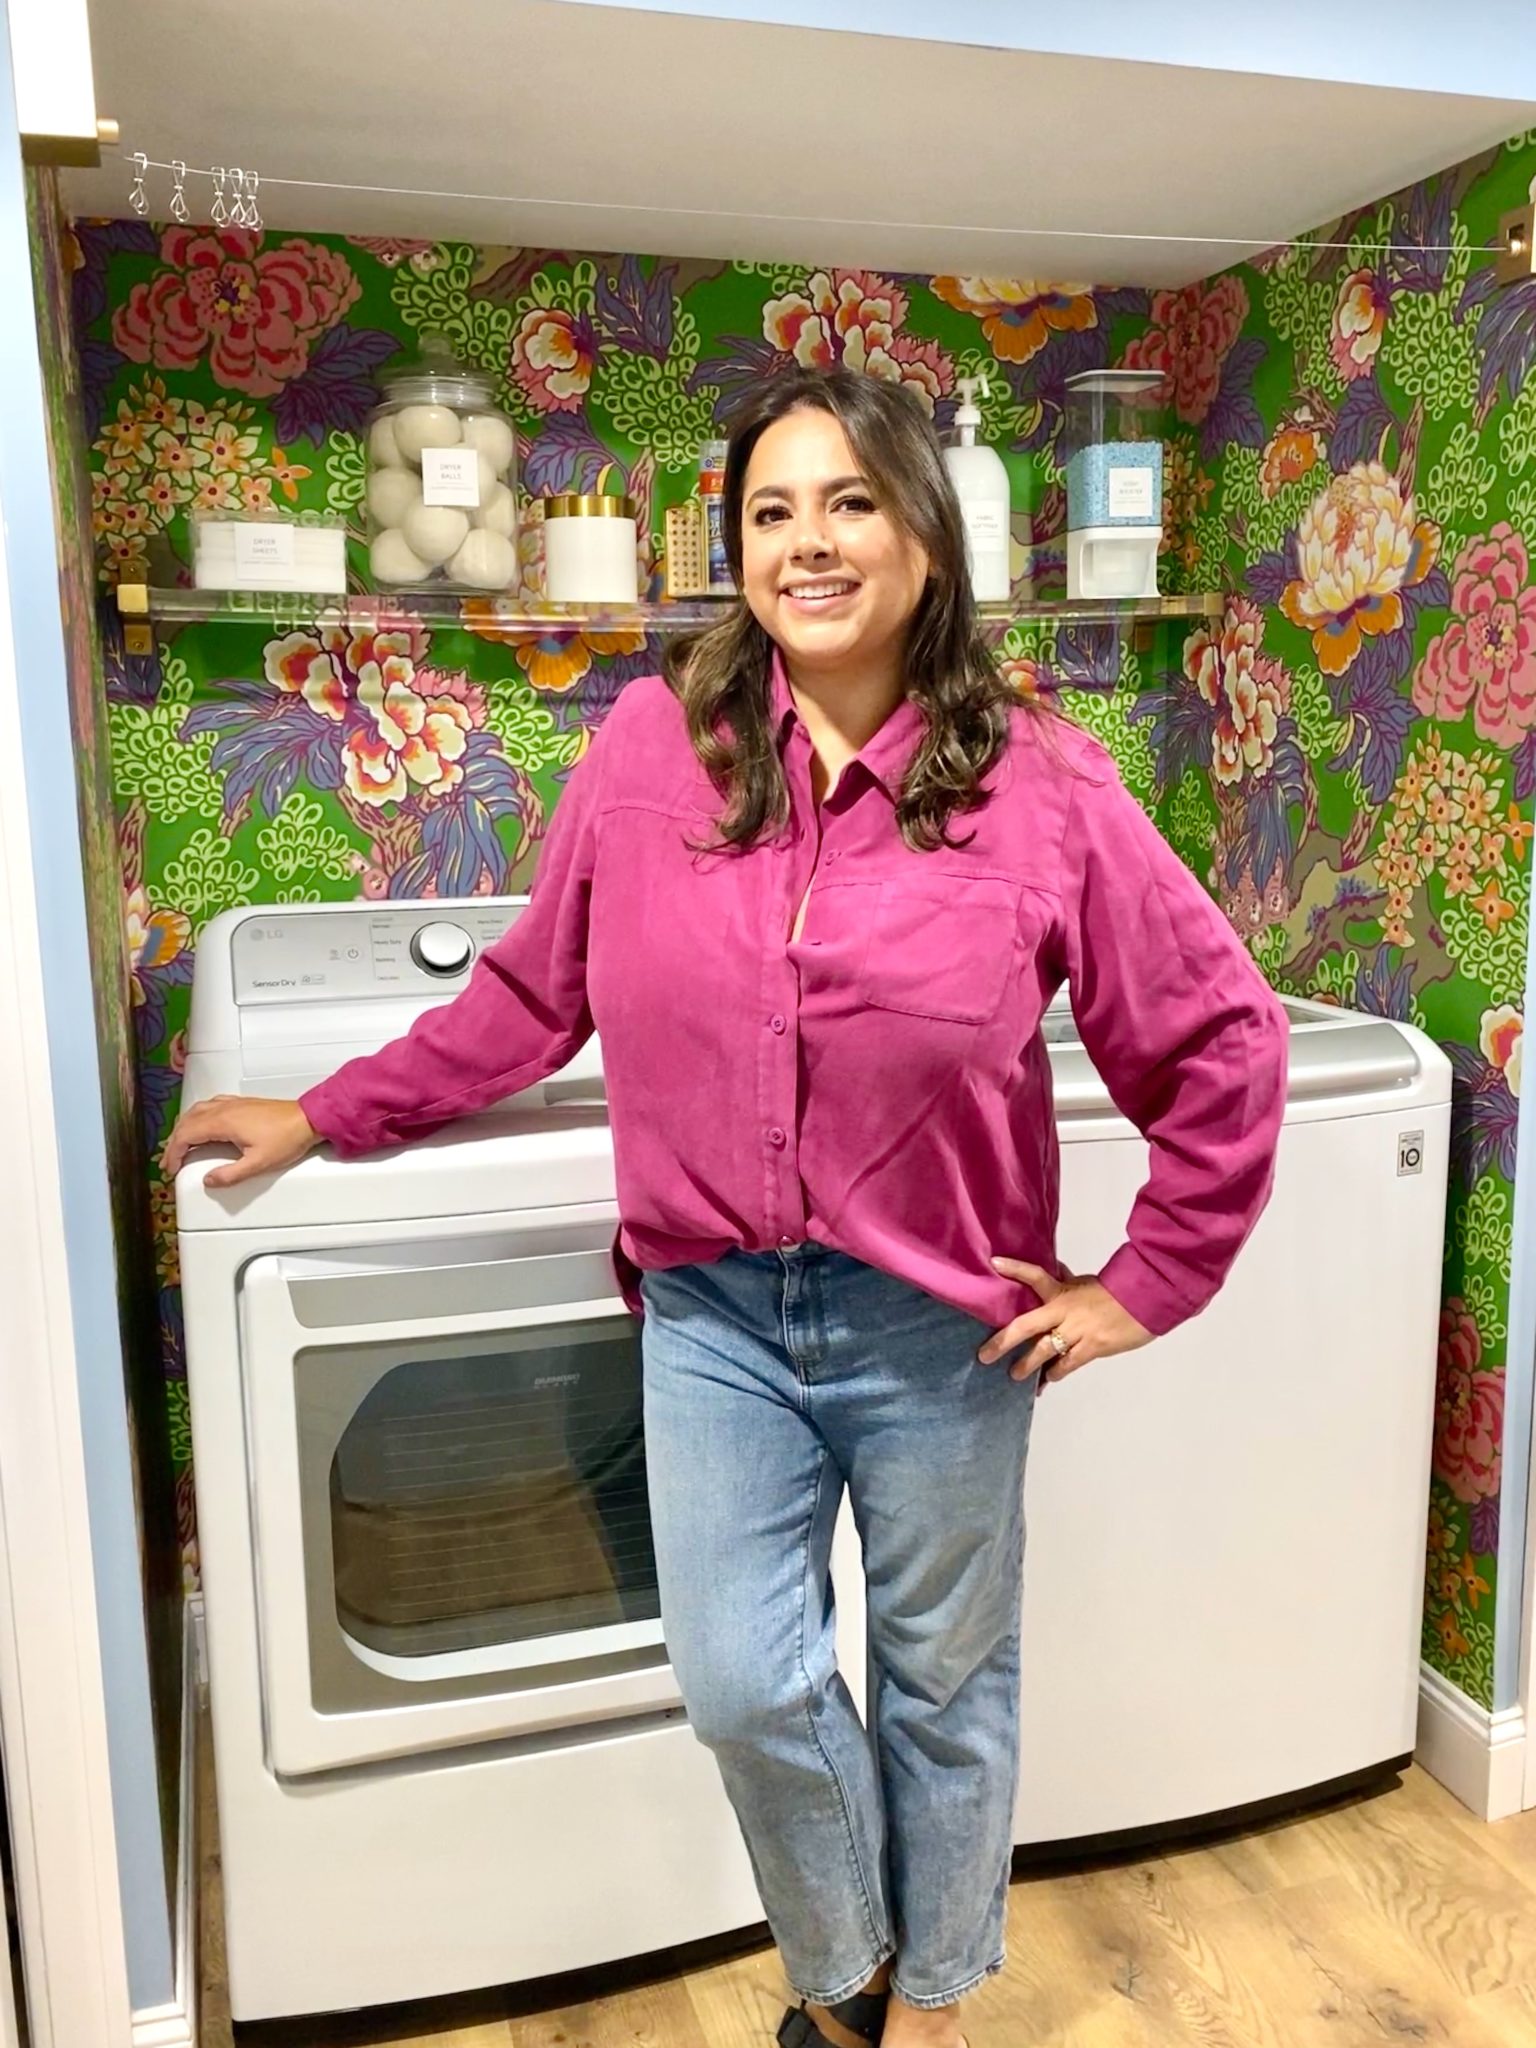
In our new home, the basement was completely unfinished. It was literally one of those dark spaces that you see in horror movies and are terrified of getting locked into. However, with the square footage in this house, I knew I needed to make the basement another workable and liveable floor of the house instead […]
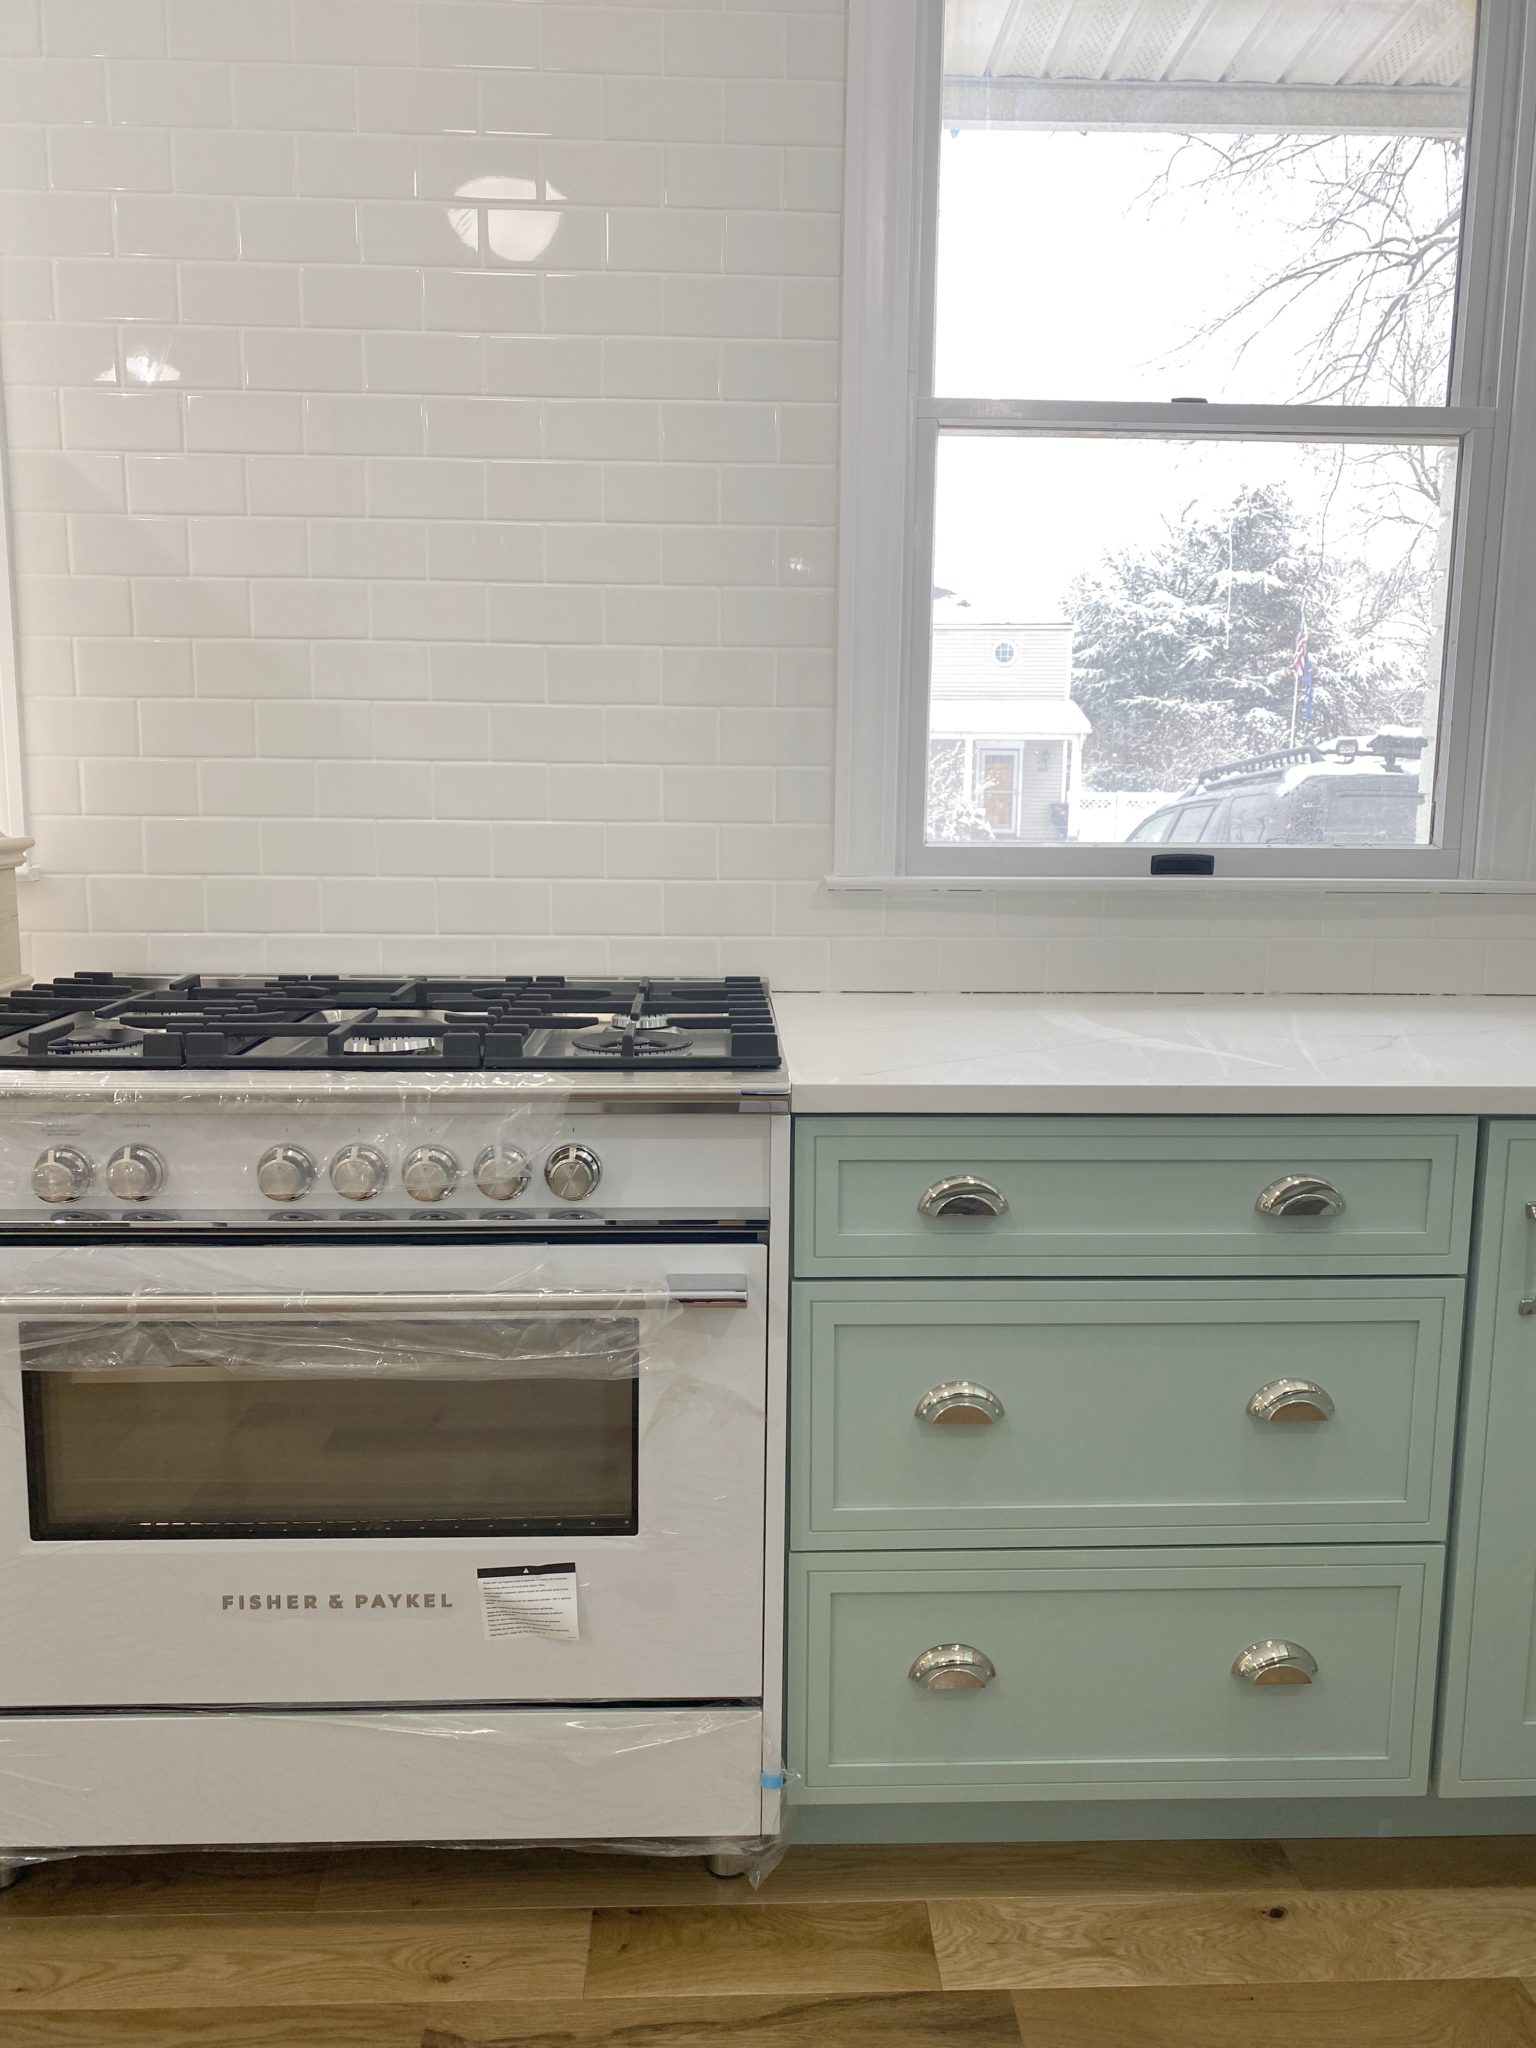
What to look for when it comes to picking out kitchen appliances: Leave room in your budget for appliances. When it comes to kitchen renovations everyone knows that the cabinetry and the labor of demoing and installing cabinetry is going to eat a lot of your budget. However, the second most expensive part of a […]
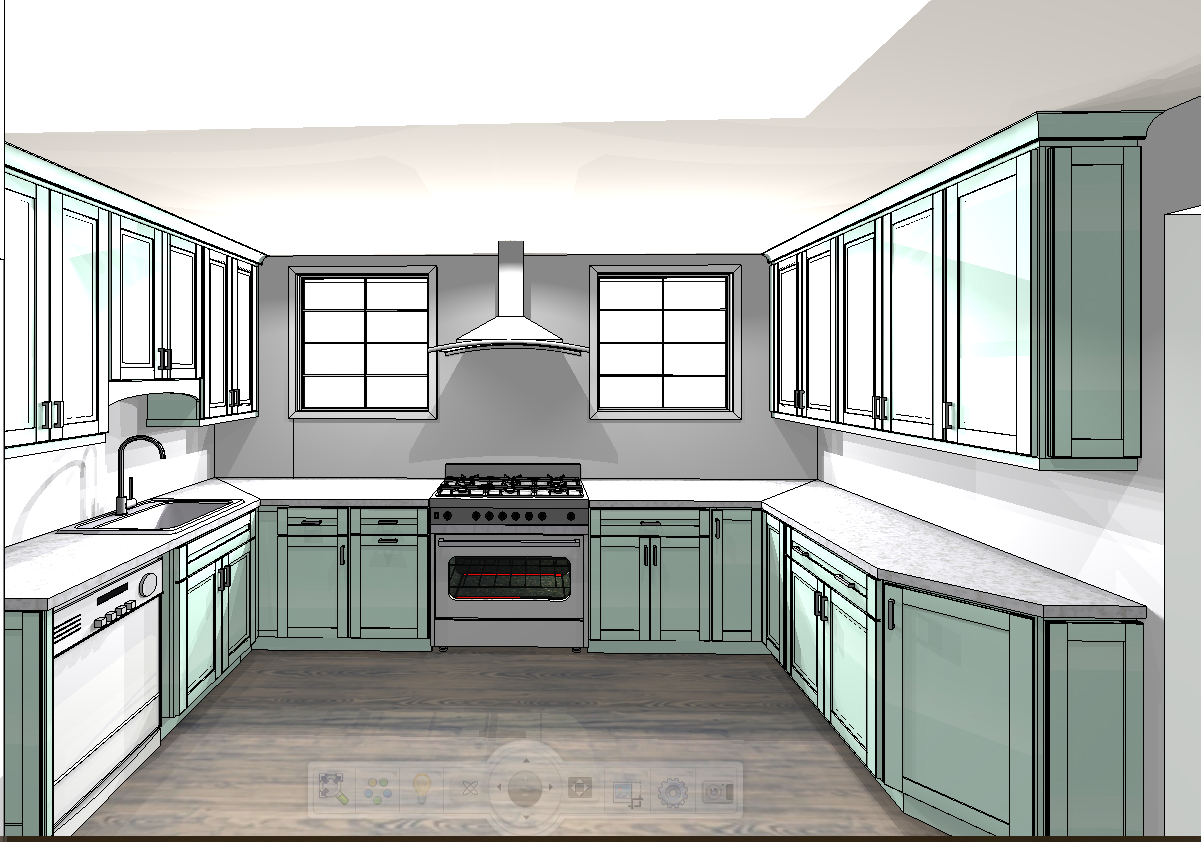
I don’t think I’m alone in thinking that designing a kitchen is an overwhelming undertaking. I’m an interior designer and even I find it stressful to iron out all of those details. So, when it comes time to design a kitchen I always like to partner with a kitchen designer to make sure I’m remembering […]


Isn't your husband just the sweetest one? He's always going along with your ideas! The bed looks great. Great team work!
super tute! Your bed looks great, and I love how frugal you are!
way to go!
gail
I am so impressed!! Your bed looks fabulous and the pillows are perfect with the wallcovering!
Karena
Art by Karena
That looks great! (and has also reinforced in my mind, that I need a jigsaw)
Looks great!! My husband and I made an upolstered head board ourselves this month too. You can check it out here…
http://www.rachelandryangray.blogspot.com
Wow! This looks great!
Wow, you are amazing! It looks great!
loooove it! and yes, it is wonderful that your husband helps you 🙂
Holy Smokes! I will be the first one at your door with a casserole if anything should ever happen to you! [just kidding]. Your husband rocks!
Sherry
You have a saint for a husband!! The bed looks AMAZING!!!
Luuurve!!!
Excellent job 🙂
Wow, I can't believe you took this project on! Now all I need is a cute little handyman husband and I'm all set to go!
Gorgeous! (And I agree, your husband definitely deserves an award!!) 🙂
ya'll are SO crafty! it seriously looks awesome, Camilla! and the price difference says it ALL — hooray DIY!
Wow, fabulous job! And adore the wallpaper!!!! Janell
You two make such an amazing team! The bed looks like a look of work to do but it looks so great! I am very impressed.
Camila look at you!!!! I think your Hubby wins the "Husband of the year award" for sure. LOOKS GREAT!!!!
Y'all did a great job! the bed looks just lie the Crate and Barrel bed.
Teresa
love love love it!
I also made my own DIY Colette. Check it out. Do you plan to add nail heads?
http://stylenest.blogspot.com/2010/01/colette-loverevisited.html
I can't even tell you how much I LOVE this!!!!!!!! I have been dying to make a fabric headboard, but wanted more of a "master bedroom feel". THIS IS IT!!!!!!
Speechless! Jon is the best of both worlds; hot hubbs AND handy with the tools. Fabulous job Camila and I just can't get over the wallpaper. Tres chic!
Good job!! And way better than spending $1600 to buy a bed!!
Hubby and I designed and made our own upholstered bed too 🙂 It was surprisingly easy — I say this as the project suprvisor 😉 — and it came out great!! And it's much more comfortable than the store-bought bed we had before.
Kelly
Absolutely awesome! I'm diy-ing a bed for a client soon and will be sure to share–you are an inspiration! BTW where did you get your inexpensive linen?
omg, I'm obsessed!! I want one now!! Wanna trade your husband for my fiance for the weekend?? I promise to give him back in one piece, even after he's finished with my list of projects I need him to do 🙂
LOVE this!! I think its one of your best projects yet!
You guys blow me away! Amazing…and so fun that you tackle the projects together. that bed is gorgeous!
xoxo, cass
I have been coveting that bed too! That looks amazing! Thanks for the detailed tutorial!
Quite the project, I love the final result!
Your blog is dangerous — everytime I read a new DIY post it makes me want to head to Home Depot and buy more powertools!
Fantastic step-by-step Camila ! Love the final result, bravo!
xo
Kate
YOu are some kind of amazing.
Oh my gosh! That turned out amazing! Where did you get the feet? What a Husband. Want to trade? Just for the weekend. Mine is an electrician so feel free to put him to work.
It looks amazing – what a great project to work on with your husband!!
Looks so amazing
Thanks for all the sweet comments. Jon's is going to love all of the love coming his way. He is in for a surprise when he checks out the blog.
The linen was purchased at a discount fabric place nearby. They don't have an online store. I don't always find what I need there, but for neutral fabrics I normally have my pick.
The legs were purchased at Home Depot. They are in their lumbar section we had about 4 different styles to pick from.
While the Colette bed has nail head trim we decided to do without it. With the busy wallpape and more pattern that we will be adding with fabric we wanted to keep the bed super classic and simple. It can be added on later if we want.
Wow, what an incredible project. Your finished bed looks amazing! I love that you upholstered the box frame, too. It looks like it is from Crate & Barrel. I am impressed, I can't even upholster a simple chair seat!
You are a genius and your husband sounds like a sweetheart. Bravo!!!
WOW! Now that's what I'm talking about. Make it yourself!
amazing!
That last photo is KILLER! Fabulous job!
Another fantastic DYI!!! So impressed. Where can I buy the helpful,handy husband???
This was awesome! My next project is a headboard, but you took this to the extreme! Perhaps I'll have the guts to attempt this in the future. Cheers!
amazing! and your lucky to have a very handy hubby 🙂
Can I borrow Jon for just a couple of weekends? I'm sure he would enjoy a trip to San Diego. Nicely done guys
And you know what…it is probably so much better made than the bed from C&B…great job!!
Umm I have been obsessing over this bed for a year now! This is awesome – there was someone on decorpad who did an amazing diy but her husband didn't and she wasn't super sure how. I even did a post including this bed yesterday – I think I am definitely going to have to put my husband to work on this one!
thank you thank you thank you! i really want the tate bed from c&b and decided long ago that the only way i'd get one is if i made it myself. i've been looking at various directions and tutorials online but this is much more similar to what i was thinking. it looks fantastic!
AMAZING! And it's funny you mention bringing another woman named Colette into your bedroom. Dont ask me how I know this but there's a swingers club in New Orleans called "Colette"… what a coincidence.
wow. looks fabulous. you have one handy and willing man there.
What an awesome diy project. Looks beautiful!
Seriously. You two rocked this project!! It looks freaking awesome.
holy shit you made a fucking bed!!!!!!!!!
as great as the bed is it is still super hard to look past that gorgeous wallpaper.
Fabulous!!just fab. Good for you!
I'm totally thinking about doing this….now…to persuade the husband!
WOW! I wish my husband would help me like that. BEAUTIFUL! Great job!
this is awesome! for christmas, i am asking for a diy headboard. i'm going to have to show him this so he knows it can be done. bravo!
wow! i am BEYOND impressed! love your wallpaper, too!
Oh my goodness, major props to you! I just spent 20 hours this weekend painting a hutch…and you made an entire BED in less time! It is beautiful, and I love how much money you saved!
Very impressive, and what a wonderful outcome! How great that Jon is so handy. Makes me want to give my husband a project, too! Terrific blog!
Awesome ! Your step by step instructions were so great.
I tried to talk my husband into making an upholstered headboard and I just got a dirty look. How sweet of your husband! Have you seen this one: http://manhattannest.wordpress.com/2010/07/23/a-whole-mess-of-staples/
It is a very different style, but similar idea.
Thanks for sharing. Now on to shame my husband for not building one for me!
Wow, your bed looks great and you hubby is so sweet to do that! Can I borrow him for a project? 😉
xo,
cristin
I'm lucky if I could get my husband to hang up a frame. So cool, you got yours to make you a bed! That's awesome.
Wow! That's great! My husband and I did an upholstered bed for our 2 yro and it was soooo easy that I'm thinking of doing one for us.
you and your husband did an amazing job!!! LOVE it! sweet dreams in your new bed:) xo grace
Unnnbelievable. Brought my husband over to read this post with me…we are both totally impressed!!!!!
GREAT job! So impressed – love your new bed! I just finished a diy upholstered headboard but to build the entire bed from scratch – wow!
You are AMAZING. That's all. 🙂
Camila…..you are one brave and amazing women. Great job on the bed and it is just gorgeous!! And your hubby seems like a sweetheart!!
Oh my gosh YES! I just emailed this to my husband. This is exactly what we've been looking for! Thanks so much, I'll be linking as well.
We are smack dab in the middle of a remodel – wood floors, new appliances. I so do NOT need another project.
Our mattress sits inside a water bed frame. Which I have always disliked. The headboard is this squarish thing that you can place a bedside lamp on.
I can see padding the frame and the cream linen wrapped around it. How many times have I stumbled into this box frame in the night? The cushioning alone would work wonders. This might happen. Simple enough with a staple gun. Great photos and inspiration.
Jon you ROCK! What a great bed you guys created. I was wondering about the tutorial, it was very detailed and instructional, and as I was reading it I thought, wow this post alone took her forever. It looks just amazing and the step by step instructions are priceless. Thanks for sharing and taking the time to do this post.
Just shared your tutorial. I want to do it!!
Impressive undertaking! If anyone's not quite up to the challenge, here's a more affordable option — http://www.interiorexpress.com/bedroom-furniture/aisling-cream-fabric-platform-bed-queen-size.html
You did a great job on this one! I am really impressed with what you did with the bed!
Thanks for the instructions! I recently build this bed, modified for the King size. Hope you don’t mind I linked your blog for instruction details on mine!
http://domesticjenny.blogspot.com/2010/12/opps-i-did-it-again.html
I made this bed myself…..well I let my husband help a little, clean up and cutting the boards, wouldn’t want him to feel left out…..we love it so much. I must say I was quite pleased with myself and it only took me a day total. I spred it out over two, made bed one day and upholstered it the next. I cannot thank you enough for the post. I’d been dreaming of a new bed and bedroom set for a really long time, just not the $$ that comes along with it. I drove past a yard sale (yeah for me) found some wicked awesome (from MA (: ) early 1900’s furniture in excellent condition and took it home for under $200. ( two dressers, a vanity and two mirrors in frames). That night I scoured the web looking for ideas to modify the bed I had. What I found was a high heeled YOU! The next day I took the bed punge. All I need now is to figure out bedside tables…..thanks so much for the inspiration. Little did I know all I needed was a High Heeled Foot to my butt! 🙂
Wow, bravo great job!
I’m so impressed! I am considering buying the Colette bed used or making this. I’d save so much money making it, but time/tools/etc. are a bit tricky at the moment…you did such an awesome job;) Kudos!