DIY: Painted Kitchen Floor for $50!
So happy that everyone has been enjoying the new kitchen floors!
STEP 3: Tape it up. We had a bunch of moulding in the kitchen so we needed to tape. Please remember if you use painters tape to remove it while the paint is still wet. If not the paint will stick to the tape and while it won’t bleed through it will remove a bit of paint when you take the paint off. If you have a steady hand I recommend free handing all trim.
STEP 4: Supplies. Take out your supplies, because you are about to start painting!
After all of my research of painting floors the most recommended product was Valspar Oil-Based Porch and Floor paint. Well due to green laws NY state no longer sells oil-based paint. So I hit a dead end on that front. I thought about marine grade paint, but wasn’t certain if they could custom color and wasn’t too thrilled with the long drying time. Windsor Smith came to the rescue in the form of a recommendation in an old In Style article.
Step 5: Paint! Remember to stir the paint. It is recommended to be shaken for 3-5 mins prior to opening the can. Jon was still super happy! Don’t you love his faces? He thinks he is being funny so I always threaten to post the pictures. Enjoy sweetheart! 🙂
I swear this isn’t one of those projects where I say “we” and it was mainly Jon that did it. I helped during the entire project. Here is my paint stained butt to prove it! 🙂
Painting took about an hour and a half. Here is the room after one coat:
Step 6: Re-coat: We headed to bed after the first coat so around 1 am and then re-coated it at 7 am. This went super quickly and we finished in about 35 mins.
We then left for the weekend and came home to this:
I love it! So far it’s been great. I was terrified of the dogs being on it, but they haven’t scratched it at all. I’ve also cleaned it with a swiffer and nothing happened. We moved in the appliances last night and all went smoothly with that as well! So for $50 (we had the other supplies already) we got a completely new look for our kitchen.
The paint color is actually a jade green. I got it custom colored in Spruce Green by Benjamin Moore. This was the original color of the walls. Those got repainted in Glass of Milk from Martha Stewart and my favorite shade of green went on the floors instead.
Enjoy!
Related
Leave a Reply Cancel reply
get inspired with our own home tour
ON THE BLOG
My living room is one of the rooms that evolved drastically from when we first moved one. Originally I painted the walls chocolate brown and did accents of white, blue and orange. That lasted maybe 2 years.
Our dining room sat empty for months. Okay maybe it was empty for just a handful of weeks and then we couldn’t take it anymore and put in a folding table and plastic outdoor chairs, but in my mind that was still empty.
On the main floor of our house we have a Florida room. Being that it’s a Florida room it is a considered a 3 season room, because there is no heat in the room. The previous owners used it as an indoor patio with outdoor furniture and it looked like this when we moved in.
In our new home, the basement was completely unfinished. It was literally one of those dark spaces that you see in horror movies and are terrified of getting locked into. However, with the square footage in this house, I knew I needed to make the basement another workable and liveable floor of the house instead […]
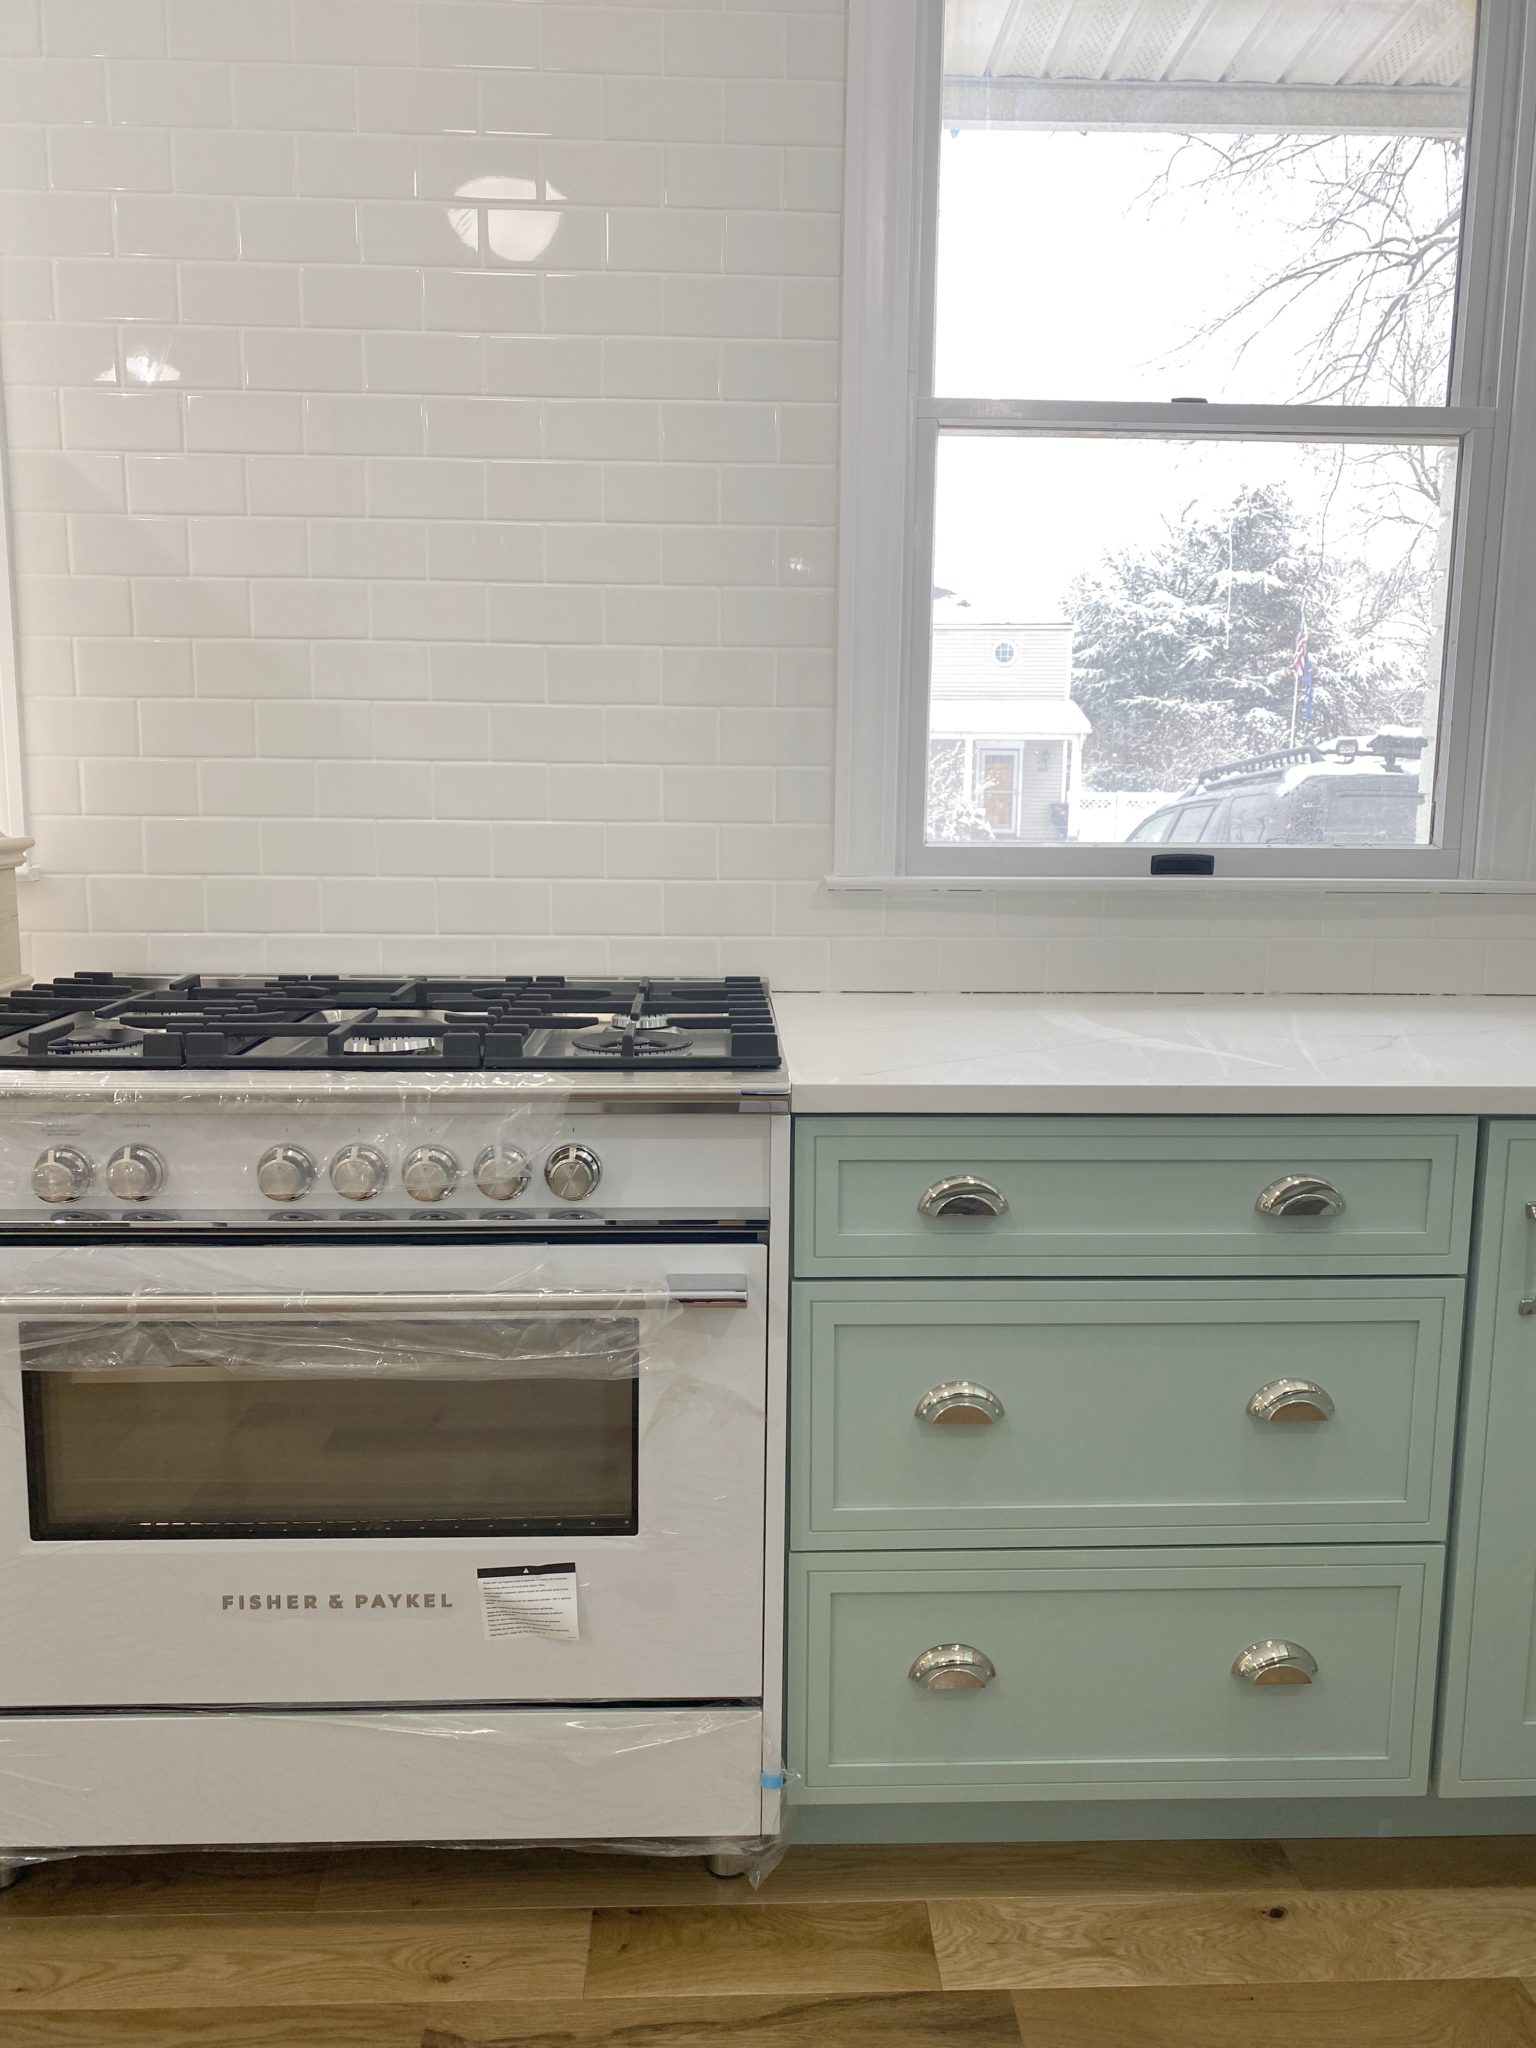
What to look for when it comes to picking out kitchen appliances: Leave room in your budget for appliances. When it comes to kitchen renovations everyone knows that the cabinetry and the labor of demoing and installing cabinetry is going to eat a lot of your budget. However, the second most expensive part of a […]
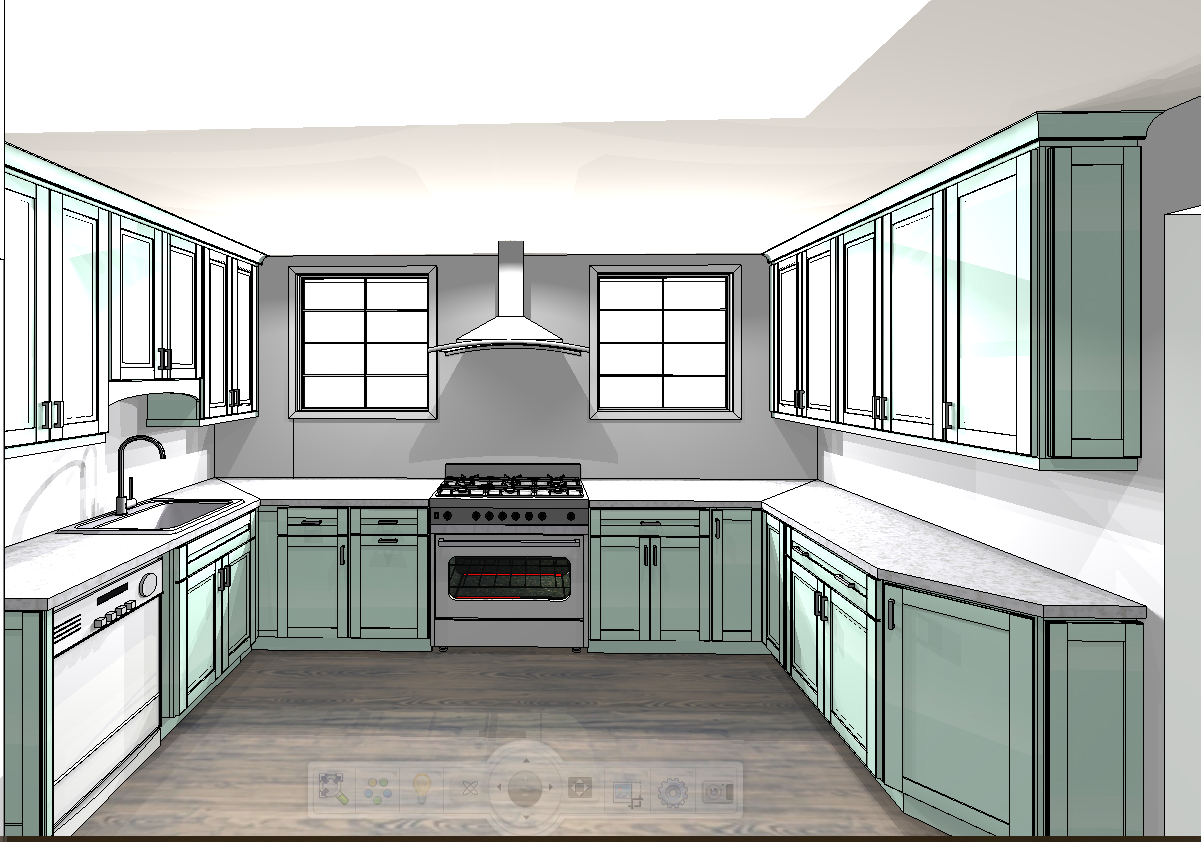
I don’t think I’m alone in thinking that designing a kitchen is an overwhelming undertaking. I’m an interior designer and even I find it stressful to iron out all of those details. So, when it comes time to design a kitchen I always like to partner with a kitchen designer to make sure I’m remembering […]

love them camilla! so cheery!
love love love LOVE this! They look amazing and really make the whole room look outstanding! It's such a chage from the blue walls and the wood floors. And I have to say my vote is for the painted floors, you made the right choice!
Thanks for the info–I've never heard of that product. I am hoping that when the time comes for us to renovate our kitchen that I'll get to paint our floors (we have tile now so we don't know what's underneath).
Wow, looks great!
I am SO scared to do this but SO inspired! What a difference! It makes your kitchen so light and cheery! LOVE it!!!
What can I say but sensational!!!! Beautiful job – you two make a great team! KG
Oh my. It looks gorgeous! I love it!
can not even express how much I love this!
Love, love, love!!!
I love the color, but I just can't paint wood floor, but it looks lovely.
Great project with great results!
Teresa (Splendid Sass)
Wow, what a change! Looks great!
I love it! I do adore a good painted floor, and I like the colour you chose.
Any suggestions on how to prep a cement slab floor so it can be painted?
sorry i dont know but if u find out please please let me know
No.Way. This might be my favorite of your magical transformations yet. I realllyyy want to do this now. What a sweet hubsy, I don't think mine would be very pleased about such a big project on a weekend either, but its amazing.
camila- it looks great!
This looks amazing!
that is so gorgeous i can't even stand it!!!!! and yay for helper husbands!
I love the floors! They look great. I think over time the "wear" may look just fine.
Thanks everyone! So happy you all like it! It really was a breeze. If you are thinking about it I would totally do it and use break through.
I know painting wood floors is not for everyone, but they were in horrible shape so it is a big improvement.
With the finish of the break-through it shouldn't wear. It should (fingers crossed) stay that glossy and shiny with no nicks, etc.
As for painting on concrete I've never done it except for outdoor areas. If you are painting concrete inside here are some steps: http://www.hintsandthings.co.uk/workshop/paintingconcretefloor.htm
I ordered my paint via http://www.starscenic.com and they were great to work with. I had the owner himself answering my emails right away during a Sunday!
the color mirrors the edge of the glass shelves…it's so the right color for the floor…very nice
I'm so in love! What a great decision to paint the floors. It looks stunning!
HELP ANYONE WHO KNOWS OR WHO HAS DONE THIS…..CAN THOSE BE DONE ON ANY OTHER TYPE OF FLOOR
Beautous! It looks great in your house. I love how it co ordinates with all you have going on.
Good golly, that looks awesome! I love it.
My husband is totally like that too…except he wouldn't have been joking. I love that you posted those. 😉 Great,great job. I bet you love it.
Fabulous!!!!!
This looks great. Hubby's are great for this type of a job. 🙂
This looks great! Before you painted, did you remove any sort of finish or varnish from your floors?
Amazing work, yet again! Love it!
I love how the whole room glows in the last pic. Awesome!
I didn't have to sand the floor. I only did small sanding where I had put down wood filler.
According to the article I read it can even go on top of linoleum.
They do have a primer available at http://www.starscenic.com, but I was told that I didn't need to use it.
What a fabulous outcome! And I love how the sky's the absolute limit with this one. Pattern? Distressed? Left new looking? How awesome. 🙂
Donna
http://funkyjunkinteriors.blogspot.com/
Hi, Camilla, your new floors look fab! So pretty. And how fun that you got to go to the Martha blogger party. That would be a blast!
That looks so adorable , so courageous .
Really, really, lovely. What a great solution!
(Btw, this is my first comment on your blog. I've been a lurker for awhile, but this project warranted a comment!)
wow! your floors look amazing. i love how jon is so hands on with all your projects. i adore the beautiful home you are creating together.
Very impressive! Thanks for sharing with us.
I've gotten emails about painting cabinets with break-through. It looks like it can be done and there is a special primer for it!http://www.starscenic.net/shopping/pgm-more_information.php?id=121&=SID
This looks awesome!
Will you please do a post on how to sweet talk your husband into helping with a DIY project? Yours seems to always do it with a smile!
(oh and your floors look great!)
Admirable!!! And such a fun! Fun! Color!
That Green is Gorgeous!!! Well done!
LOVE IT !!! LOVE IT !!! I have wooden floors in the living room and have been trying to decide what to do with them … after seeing your fabulous efforts, I am tempted to try my hand at painting. Did I mention that I love your floors???
Love the floors!
Super, super cute! The color really just perks the whole room up.
WOW! Love Love the floors 🙂
oh my goooosh! i love it! so fresh!
So gorgeous! I've wanted to do this and I'm glad you took the plunge. 🙂
Brave but great choice!!! I think the color you chose is stunning. I just launched my blog today so I hope you join as a reader. http://www.amindondesign.com
It is so P E R F E C T !!!!
Love the bold color! The floor turned out great!
Wow, that looks awesome. I would love to do something like that, but my mother would kill me if I painted the wood floors in my house. She and my real estate agent ganged up on me when I told them about my plans to pain out our wood trim!
I love the colour – so beach-y and relaxing.
Wow, good for you, this looks fabulous. Janell
oh my gosh! Girl, I LOVE it!!! Soo happy!
So gorgeous and great tutorial – I wish I had the guts to do this in our home – but its in no way our forever home so I'm too afraid – way to go. I absolutely love how it turned out.
it is so so so great!! i love it hard.
Wow, it looks fantastic! I *LOVE* that color! Thanks so much for the how-to, I'll be linking.
looks fantastic! My husband would probably pass out if I told him to paint wood floor! lol. So, if you ever want to go back to the original wood, does this paint come off?
Love your floor! I just discovered your blog and was so happy to see this tutorial. I think I am going to do this with one of my floors. Thanks for sharing!
Best regards,
Gloria
So charming! I LOVE painted floors.
OMG…I just LOVE your new floor. My house is 125 yrs. old and most of the floors are good but long ago someone painted my bedroom floor a tacky beige. I am planning to paint it white and now I know which paint to purchase. Thanks!!! Bess in VA
Thank you for this post! I wish you had written it months ago 🙂 But the floors look amazing (I also love your white cabinets with green knobs) and with your advice (and product recommendation!), I think I will undertake this project! Thank you thank you! 🙂 I'm glad I found your blog!
Looks so cool! I'm definitely planning to paint my yucky commercial black vinyl tiles (complete with lovely white specks in them to simulate dirt I suppose) in my kitchen. I have a question I hope you wouldn't mind answering (I emailed the company – Tayler, but didn't receive a response). I've seen other specialty paint of this type warn against using rollers to apply, but you guys used a short nap roller – did you have any difficulty? Looking back do you think using a brush would have made a difference? Thanks!
awesome job! i love it!
awesome job! i love it!
be still my heart! Even on top of linoleum you say??? i might just be painting my 70's lino this weekend. WOO HOO!
OH WOW! what an awesome idea!! I thought painting a floor would be a bad idea with all the walking around on it, BUT seeing this proofing it totally wrong! now all I have to do is to convince the mr to paint our wooden floor board! 😛 THANKS FOR SHARING!
LOOOOOOVE THIS!!!!!!!
Great tutorial! I've been wanting to paint our inside wooden floors but was wondering if you could also use it on a covered wooden porch floor. Do you think this paint would work? Or is it just interior paint? Can you buy it locally or do you have to order it online?
Thanks!
awesome post. i found the picture of a kitchen with the same colour floor windsor smith decorated in my latest Instyle. I'm about to do my floors yet was thinking white, but you might have changed my mind. good on you!
I have thin-strip oak wood floors similar to yours that are in pretty bad shape – having them sanded and refinished would be prohibitively expensive. This seems like a really good alternative. Did you use the satin or gloss finish product?
So brave and so beautiful!
So I don't think I've ever been so in love with someone elses kitchen in my LIFE. Your floors make me want to cry happy tears. Oh for the love of teal. I am bookmarking this away and when we ever (IF EVER) own our own place- I want to do this! Thanks so much for the tutorial. Amazing.
Now that you have had the floors for a while, who are they wearing?
Going to do a follow up post. Stay tuned.
Have you done a follow up on this? How is wear and tear, especially in high traffic areas?
I’m also anxious to know how your kitchen floor is holding up!! Please update us soon 😛
hi, there! love your floors but couldn’t find an update on your blog. Do you still love the results of breakthrough? I painted my floors white a few months back and due to some bad advice from the local BM…the results were a disaster 🙁 Looking for a great product!
Hi I just found your site and am loving the painted floors, have you done a update post? Id love to hear how they held up. Im getting ready to do this and would like to know how you liked this paint and help me decide what color I CAN NOT decide! I would love white but with 4 kids and 3 dogs Im scared it would be to much to maintain, then I think black but would I ever see the dog poop before someone stepped in it??? Oh the dilemma
Love, love, love your apron sink!!
i’m wondering how your floors are holding up? do you have a picture of the wear you could post? and where did you find this paint?
thanks!
we just did our kitchen with dreakthrough paint, how are yours holding up, and did you use a shellac over the paint??
we are about to paint our upstairs, 100 year old hardwood floors and have been researching for a while on the easiest way to do it, i found your method the easiest!
i do have a question on one step, did you sand the entire floor ( besides what you wood filled) for the paint to adhere or did you just paint on top of wood?!…. because i would love to skip that part of hand sanding the whole floor if possible
thanks!
I just sanded a couple of spots.
I love your kitchen but that’s a lot of green . I would have used a white on the floors. But that’s just me. I think I would get tired of the green.
It is now 2015. Gallon of breakthrough is now $70.00.
I just bought a gallon for $43 including tax.
Only a smling visitant here to share the love (:, btw outstanding style .
The wood had all these interesting veins and patterns and people just paint it over.
Im sorry i dont want to sound mean, im just pointing out that natural wood that is stained t the shade you like (yes they have green now along with blue, grey and iron black) sealed with a clear coat or varnish can be beautiful.
Paint covers all those natural striations though.
Next time sand the floor down to remove the old varnish or paint then try a stain of color you like/ he seal it with a polyurethan or any clear sealer you like.
Looks great !
I was wondering how the PPG BreakThrough paint on the floor held up after 7 years?
I am not sure which paint to use on my floor .
Thanks for your reply,
Erik
Any chance your would update and let us know how it has held up over the years?! Thankyou for this tutorial btw! ❤️
Hi Dusty,
We don’t live in that house anymore, but from our experience the floor does need to be repainted after time, but we had two dogs and two kids in the house that were constantly in the kitchen running, playing, etc. So our floor probably had more wear than a typical floor. We re-painted every two years. It was never difficult. It would probably take around 1.5 hours to do it and we would do it at night once we put the boys to bed and then would be in the kitchen minimally the next day and if we were in the kitchen we would wear socks.