In recent years beach photography has become very popular. Not just any shots of the beach, but aerial shots where you get to see the pretty water and a slew of colorful beach umbrellas. Photographer Gray Malin is known for his beautiful aerial shots. I’m a huge fan of his work, but I also love a good DIY project and from that came my latest project.
When I’m working on a budget I always to sites were you can download stock photos for affordable artwork options. After a couple quick searches I found that Shutterstock had the best options. For searching I used key words like: aerial beach view, colorful umbrellas, and crowded beach.
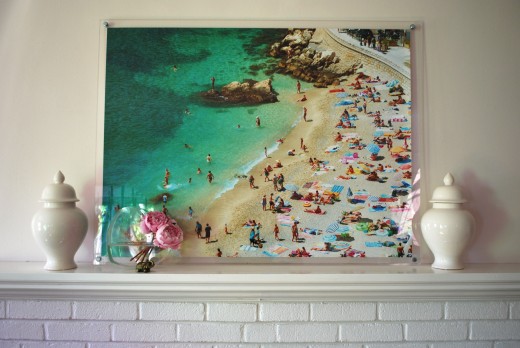
I immediately found a winner! People on the sea beach with sunbeds and umbrellas. Hot summer days.Wow what a title!
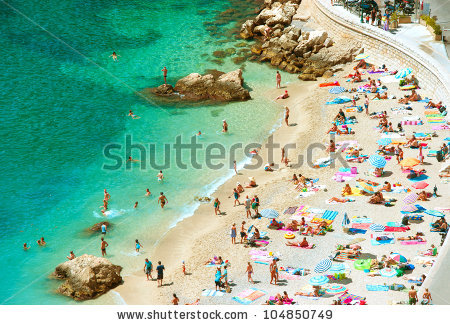
{I also really liked this photoas well.}
Stock photograhy sites work by you signing up and purchasing a plan. Now they have monthly options that are pricey, but they also have options where you can download 2 images for $29. I found a coupon code and only paid $23. Once you sign up with a plan you now have the option to download the image you want in a variety of sizes. I wanted something super sized which meant I downloaded the SUPER version of the photo.
I then used Nations Photo Lab and ordered a print in 30″ x 40″ size. They always have 50% off sales, which meant my print was only $25.
Now getting an extra large piece of art professionally framed can be very expensive. I knew I wanted another DIY option and decided to frame my photo with lucite aka acrylic. Typically I purchase sheets of acrylic at my local home improvement stores, but it was too pricey at $60 a sheet and I needed 2. Enter Freckle Face.I had never heard of the company and the name was a bit confusing, but once clicking over I saw that they sold anything and everything I would need in acrylic. Plus as a bonus I could get the sheets in my custom size instead of having to purchase from a home improvement store in a standard size and cut it myself.
I wanted to have my image floating the acrylic and added a 2″ border around my 1/8″ thick sheet of acrylic.
Everything arrived promptly and in perfect condition.
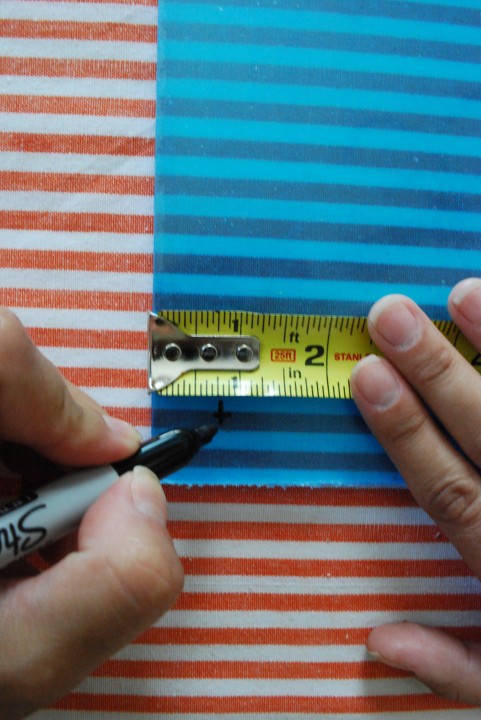
This project literally took about 15 mins. Once you have all of your materials just measure where you want your hardware holes to go.
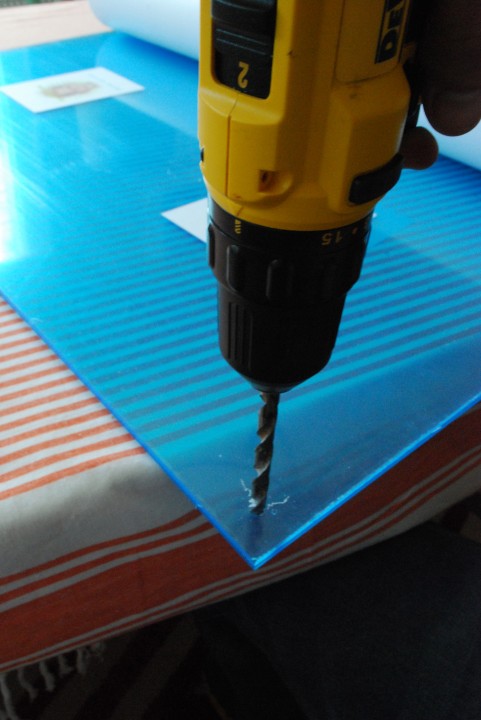
Then use a drill gun to make your holes:
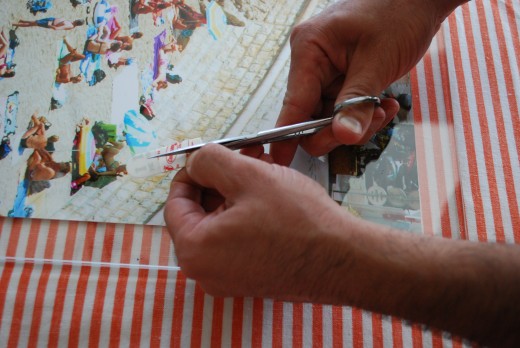
Before we sandwiched the photo between the two sheets of acrylic we used 3M Command adhesive stripes to place the photo on the bottom acrylic sheet in order to prevent any movement.
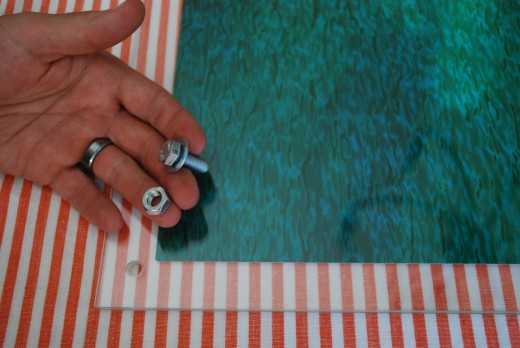
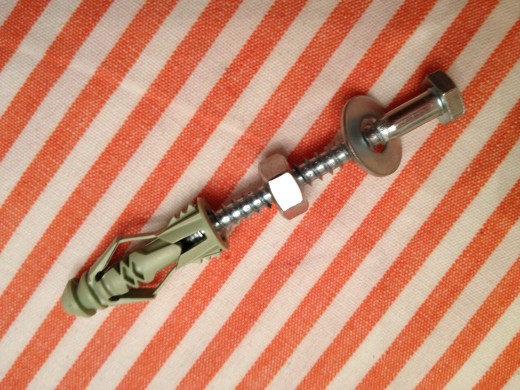
Now all you need to do is add the hardware. We slid a bolt with a larger washer through the holes and used the nut on the back side to tighten the sheets together. Sizing of the bold, washer and nut are up to you. It all depends on how bold you want to be.
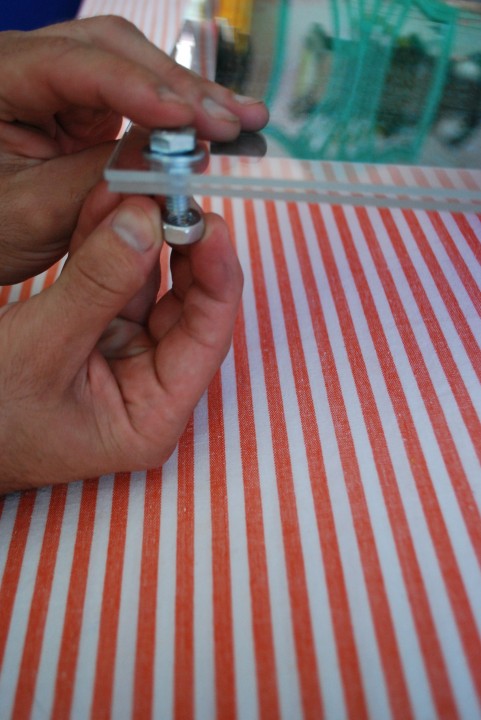
If you wanted to attach the photo/frame directly into the wall you would need a lag bolt, an appropriately sized anchor, washer and a nut for back spacing, which will hold your frame off of the wall and give it the floating effect.
{Anchor would go into wall first, then nut, then acrylic sheets with photo, then washer and lag bolt would slide through and lock it all together.}
I promptly leaned mine on my fireplace mantle!
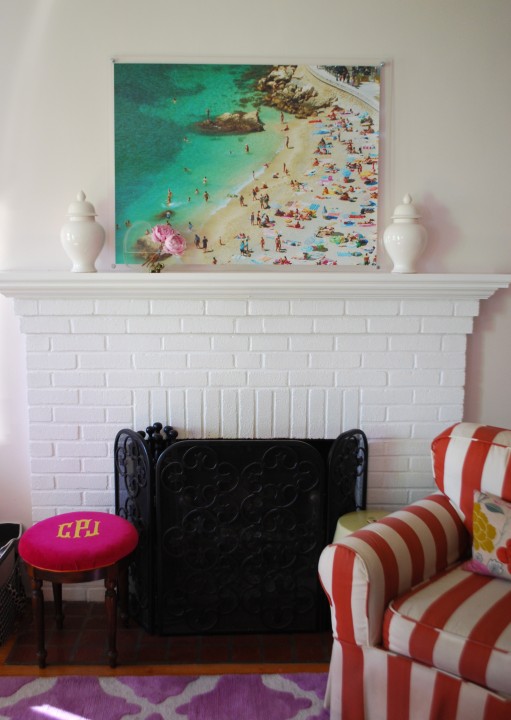
{DIY instructions for fabric monogram applique featured on bench here.}
Close up:
Are you ready to tackle your own extra large aerial beach photo with floating lucite frame?
Related
Leave a Reply Cancel reply
get inspired with our own home tour
ON THE BLOG
My living room is one of the rooms that evolved drastically from when we first moved one. Originally I painted the walls chocolate brown and did accents of white, blue and orange. That lasted maybe 2 years.
Our dining room sat empty for months. Okay maybe it was empty for just a handful of weeks and then we couldn’t take it anymore and put in a folding table and plastic outdoor chairs, but in my mind that was still empty.
On the main floor of our house we have a Florida room. Being that it’s a Florida room it is a considered a 3 season room, because there is no heat in the room. The previous owners used it as an indoor patio with outdoor furniture and it looked like this when we moved in.
In our new home, the basement was completely unfinished. It was literally one of those dark spaces that you see in horror movies and are terrified of getting locked into. However, with the square footage in this house, I knew I needed to make the basement another workable and liveable floor of the house instead […]
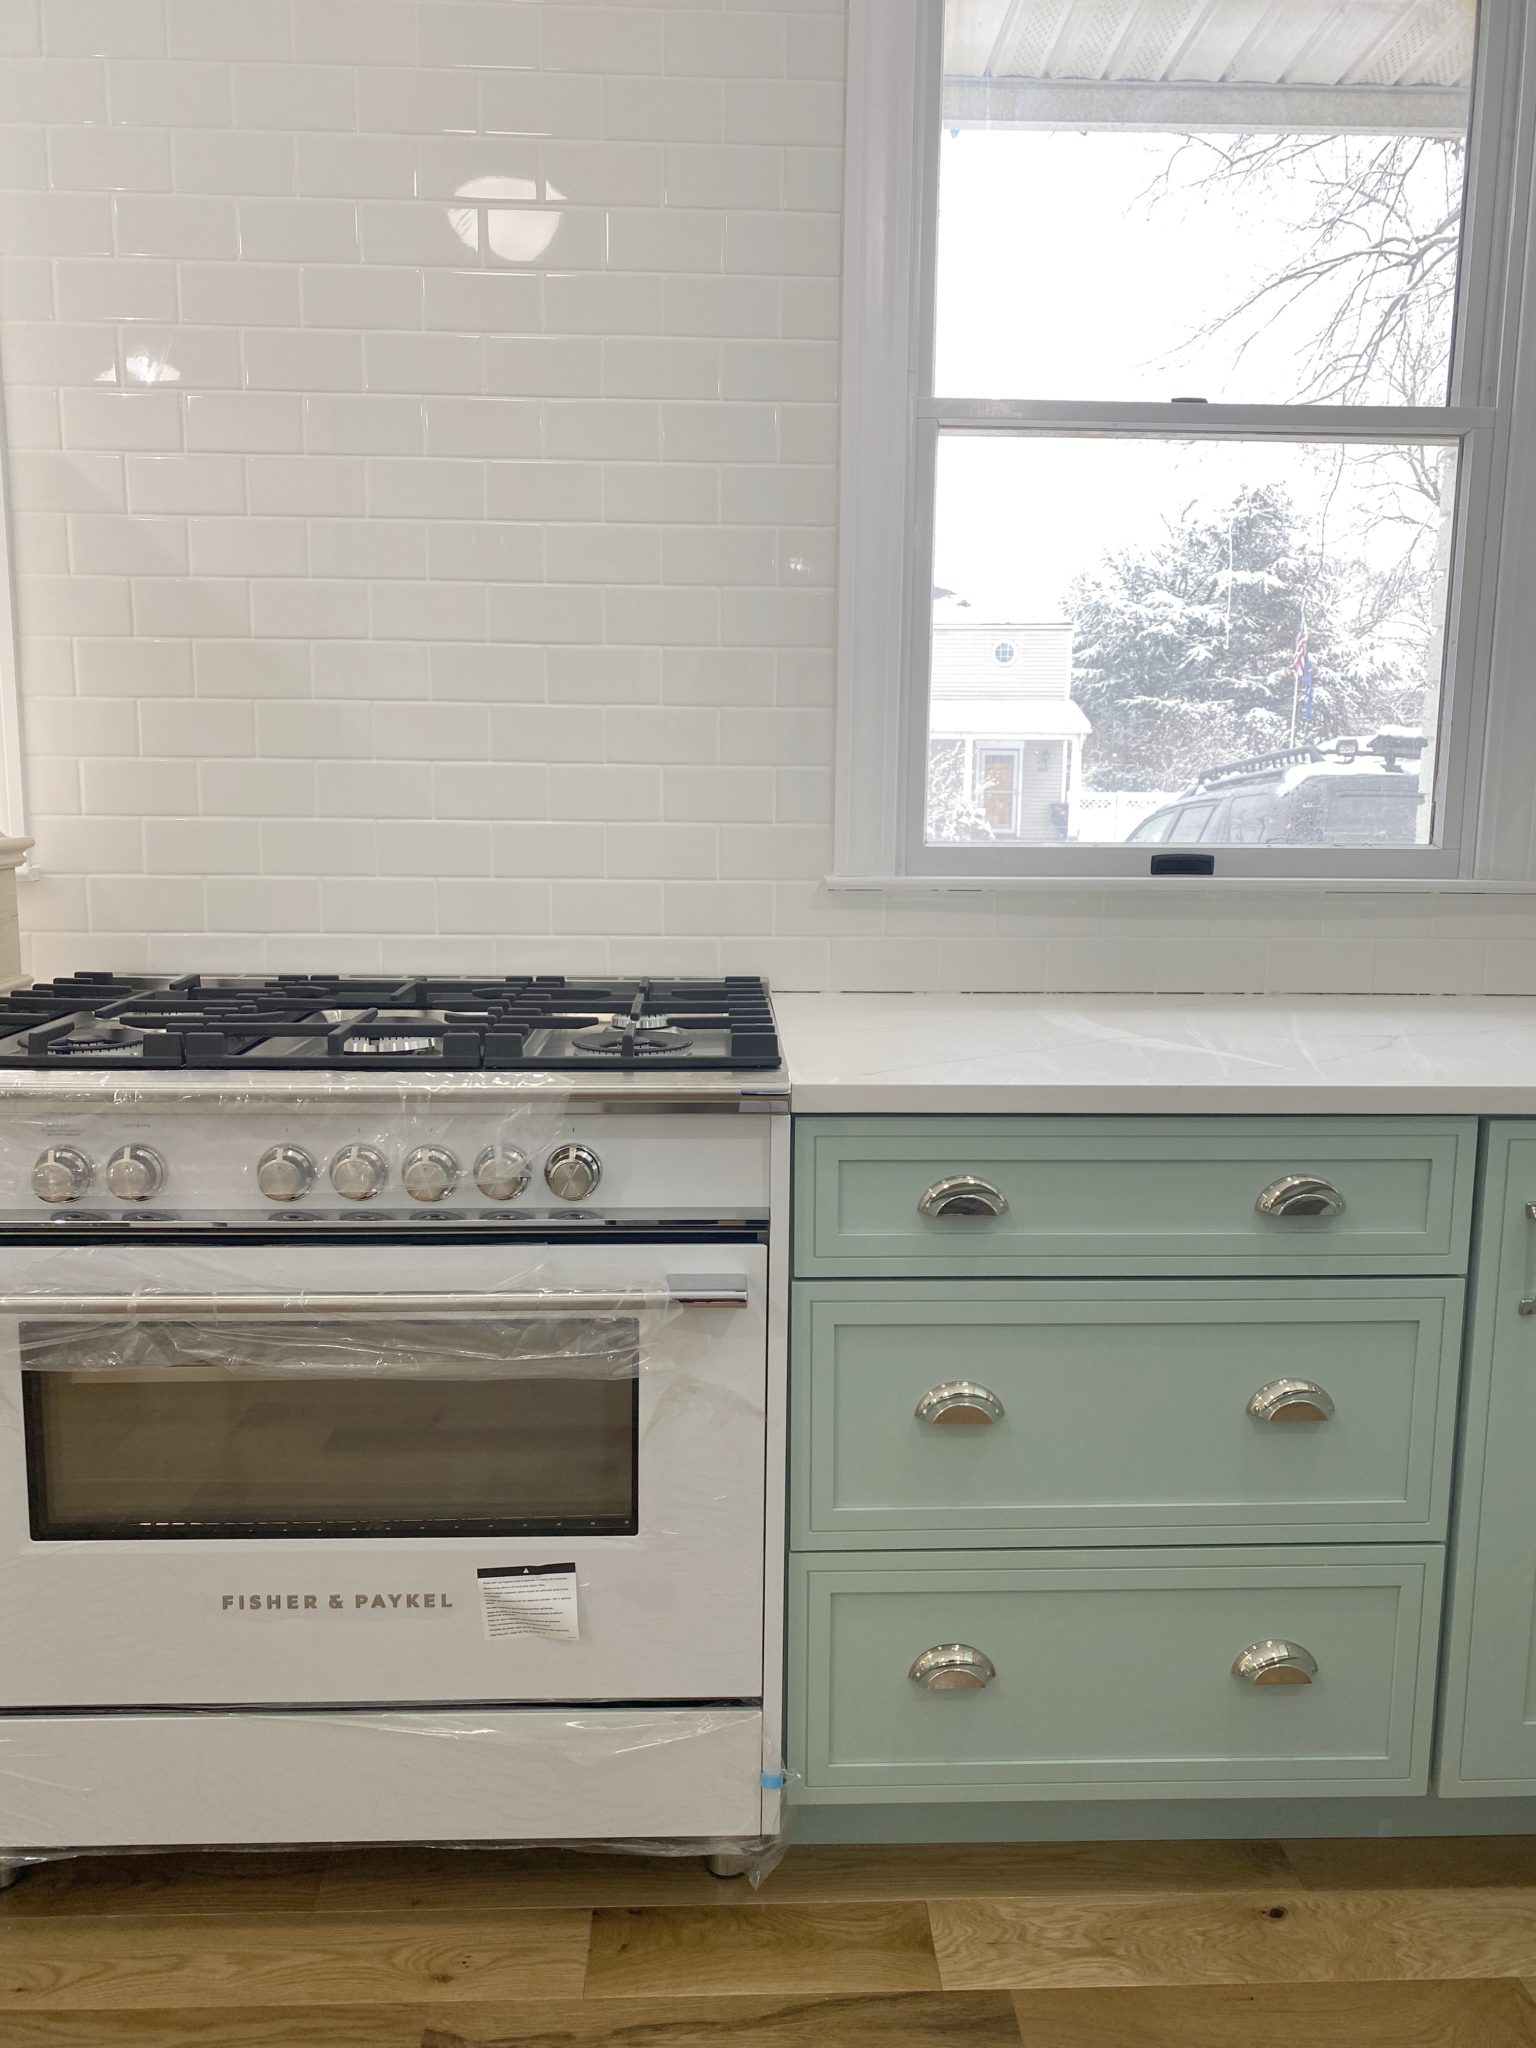
What to look for when it comes to picking out kitchen appliances: Leave room in your budget for appliances. When it comes to kitchen renovations everyone knows that the cabinetry and the labor of demoing and installing cabinetry is going to eat a lot of your budget. However, the second most expensive part of a […]
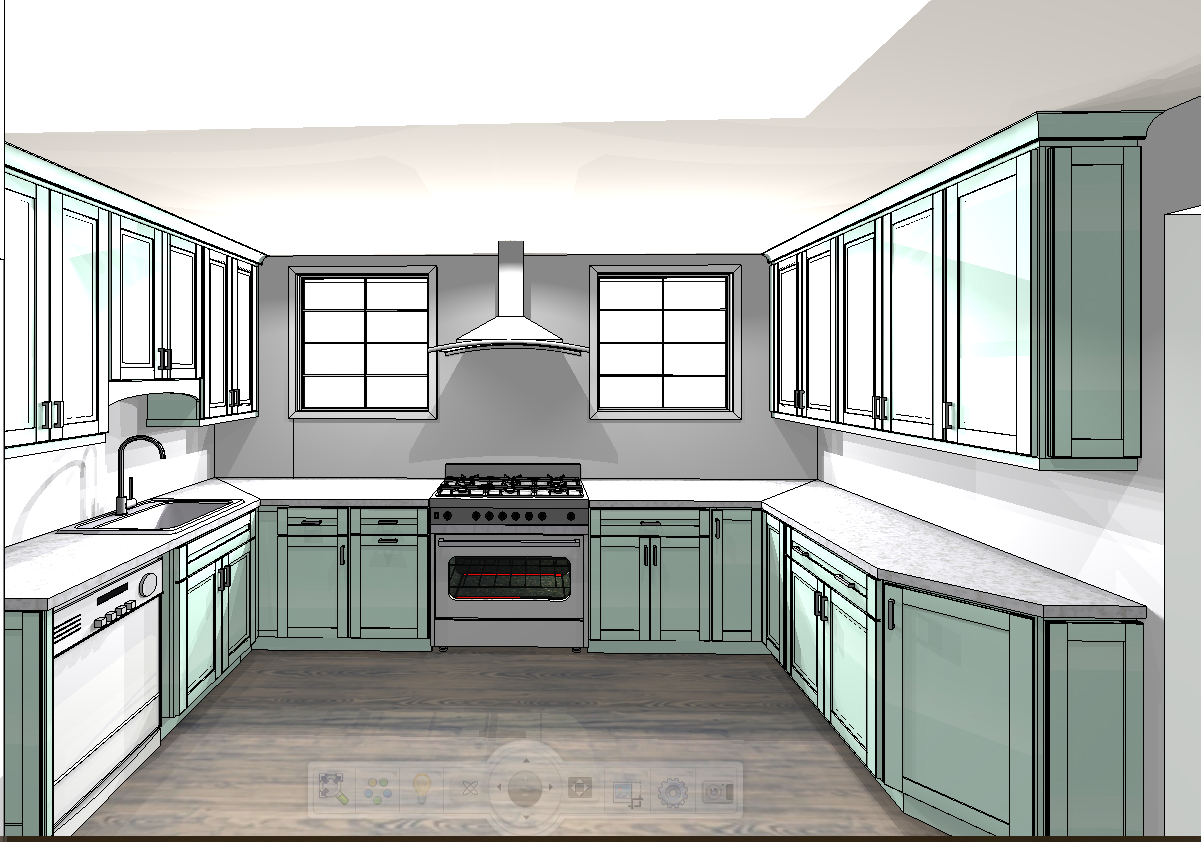
I don’t think I’m alone in thinking that designing a kitchen is an overwhelming undertaking. I’m an interior designer and even I find it stressful to iron out all of those details. So, when it comes time to design a kitchen I always like to partner with a kitchen designer to make sure I’m remembering […]

Great tutorial and resources! (Freckleface?) I have always loved this idea; now I just need to decide on an image. Thanks!
Great DIY project! I have been looking for something bright and large scale for our living room and this is just the ticket! Thank you for posting.
Awesome idea! I love Gray Malin, but his work is too much for my budget right now. I love this!
Nikki
thefashionablewife.com
You always have the BEST DIY projects! Always so do-able, thrifty, original AND beautiful. I rarely feel so inspired by other blogs’ DIY posts!
I am SO excited to try this!!! Thanks for sharing 🙂
Been dying for a frame like this for our entryway but everything similar is SO costly — this is an AWESOME DIY, thank you!!
Do you know how large you can print the shutterstock images and still have good quality? I see there are 3 levels available for purchas.e
Thanks!
I always order the highest level and you can get them pretty large. I believe they are details on shutterstocks site.
I love this DIY and the photo I am going to do the exact same one with the two inch border. Did you order the 1/8 x 36 x 48 Acrylic Sheets or your own custom size from freckleface?
Hi Jodi,
I ordered 32″ x 42″ 1/8 acrylic.
Hope that helps.
Camila
I would not use Freckleface as they were very rude to me
So sorry about that. I have never had an issue with them and have recommended many people to them and have never heard anything bad.
Depending on the size you might need LOWES does carry some acrylic sheets that could be used to make a frame.
Great idea! how much did you pay for the two pieces acrylic? how much was shipping?
I actually picked up the acrylic sheets at Lowes. I don’t remember the cost off hand.
Amazing solution for my odd-sized print! Can you tell me: Did you order two sheets, or did your one order come with the two sheet for sandwich’ing?
Thanks so much for this!
I ordered two different pieces of acrylic to sandwich it together.
Hi! I am happy I found this because I need to frame a really oversize piece. Question: On Freckleface, it stipulates that they can’t make the two sheets match exactly since they are saw cut and you have to allow for small variances…so, did you find your two pieces matched exactly? I’m afraid of a sandwich where one side is a little off… Thanks!
I didn’t have any issues. I have also found large acrylic pieces at Lowes. So, if you have one near you then try there first so you can match them up yourself. Hope that helps!