
DIY CANED RIBBON PILLOW
I hope you guys are all enjoying these projects and getting some good gift ideas for others or for yourself. Let’s be honest I’m keeping everything I made.
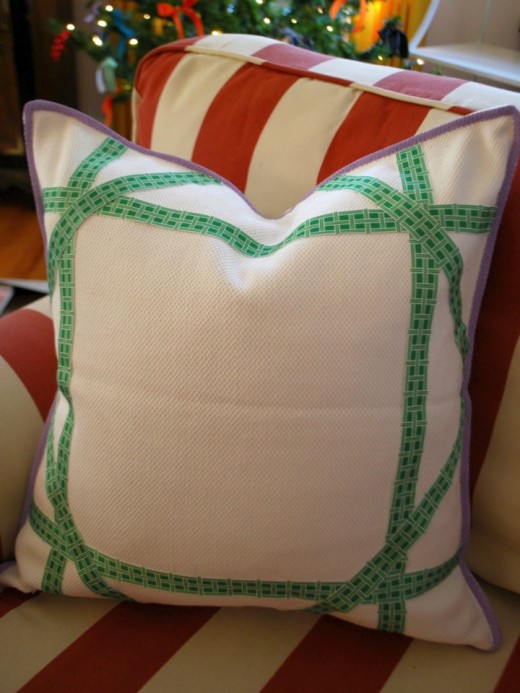
Pillows with ribbon trim are everywhere now a days, but due to all of the measuring and sewing they can be rather pricey. Even when I have them made at my workroom the price is still crazy high and I’m paying wholesale prices. I know fretwork/greek key is everywhere with ribbon trim pillows so, I decided to do something else and go with a caned pattern.
Loving the caned looked as well? Here is how to inject a dose of it into your own home.
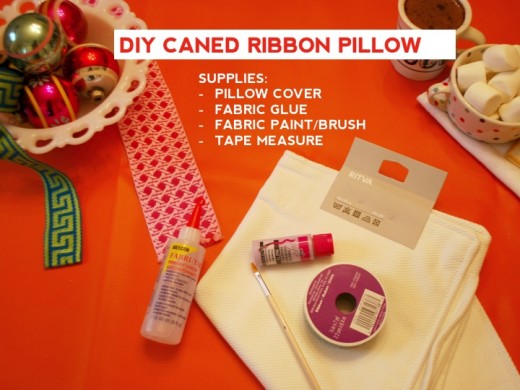
For supplies you’ll need the same Ikea pillow cover from the DIY silhouette pillow, fabric glue, fabric paint (again I went with Tulip Soft Fabric paint),paintbrush, and ribbon (I found this pretty emerald green lattice one at Michaels).
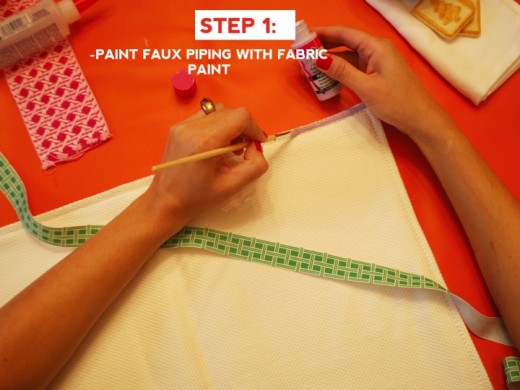
Step 1: This step is optional, but since there is an inner seam that gives the look of a flat welt piping I decided to paint it a contrasting shade. Pastels are going to be huge come Spring and I have always adored purple with green so I went with a lilac shade.
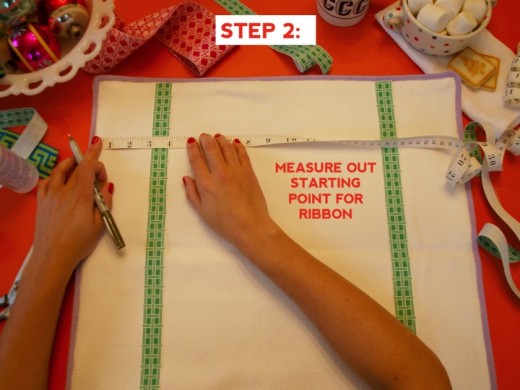
STEP 2: Decide on placement for your vertical ribbon. I decided to go in 3 inches from the faux piping on both ends of the pillow.
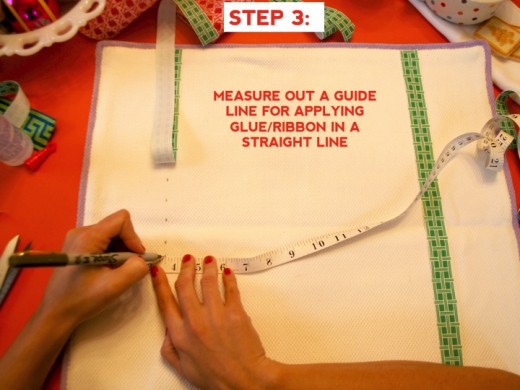
STEP 3: I find it incredibly difficult to keep things in a straight line. Horrible trait in my field, but at least I have Jon who always helps with straight lines. Don’t worry I’m not out giving my clients wonky installs. In order to keep in check I decided to give myself a guide for my glue line and help keep the ribbon straight. Since I was placing my ribbon 3″ in from the piping I gave myself a dotted line guide at 3.5″.
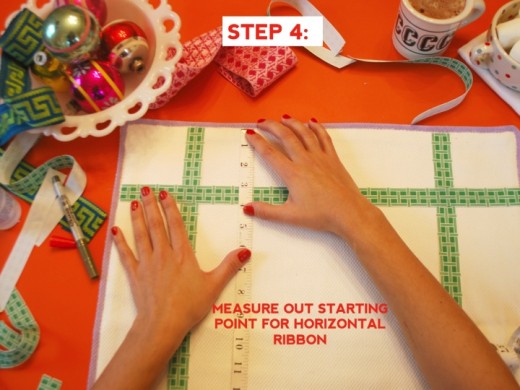
STEP 4: Measure out your placement for the horizontal pieces of ribbon you need to add to the pillow. Since I did 3″ on the vertical pieces I did 3″ for the horizontal pieces. Again I used my dotted line step in order to get a straight line.
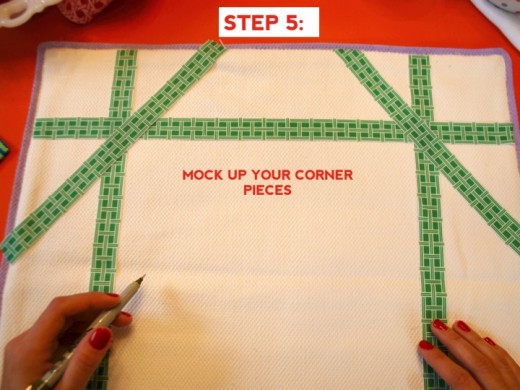
STEP 5: Mock up your corner pieces. Now yes I could have measured here, but I decided to just eye ball. Much quicker and just as pretty. I made sure to cut my mock up pieces extra long in order to give myself some room to cut the pieces on a slant.
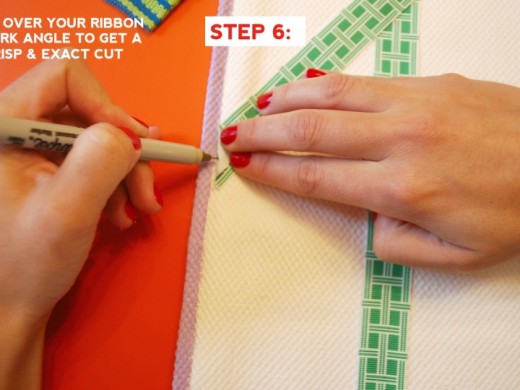
STEP 6: To cut the ribbon on an angle and get a crisp cut I folded over the pieces on the corner and marked up my cut before going to town with scissors. Such an easy and quick step and helped me get a crisp cut on the first try.
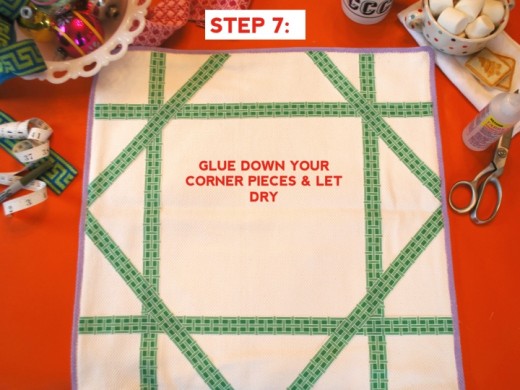
STEP 7: Once your corners are cut simply glue into place and let dry.
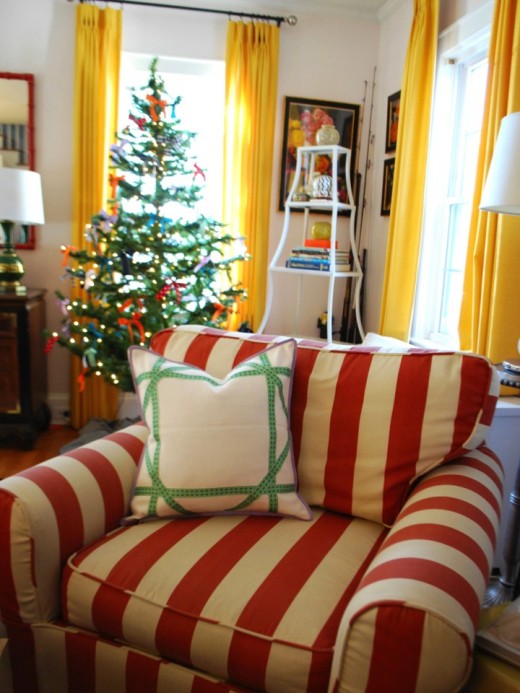
Voila all finished!
Close up!
So, what did you think? Are you up to trying it out yourself? I love it and it’s just what my striped chair needed.
Any favorites thus far from DIY gifts? Pom Pom heart pillow? Silhouette pillow? Abstract collage artwork? They are all my babies so I can’t pick a favorite!
Speaking of babies.
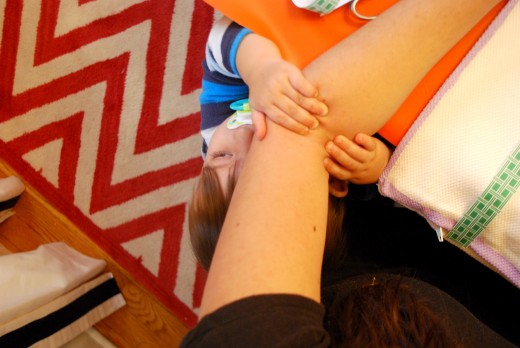
This baby who doesn’t love it when Mommy has to do work is turning 1 today! Can you believe it? Do you guys remember this day!It has seriously flown by and I’m more in love with everyday. I’m totally obsessed with him and could talk about him all day to anyone/everyone. I’ve become one of those people I never said I would be. So, in honor of Hudson we are taking the day off and going off to celebrate all day long!
P.S. I totally realize I never did a full nursery reveal and just shared little snips here and there. Well it’s because it looks like we might be getting our house featured on a pretty major website and I couldn’t reveal the whole room. Fingers crossed we find out soon if it’s official.
Related
Leave a Reply Cancel reply
get inspired with our own home tour
ON THE BLOG
My living room is one of the rooms that evolved drastically from when we first moved one. Originally I painted the walls chocolate brown and did accents of white, blue and orange. That lasted maybe 2 years.
Our dining room sat empty for months. Okay maybe it was empty for just a handful of weeks and then we couldn’t take it anymore and put in a folding table and plastic outdoor chairs, but in my mind that was still empty.
On the main floor of our house we have a Florida room. Being that it’s a Florida room it is a considered a 3 season room, because there is no heat in the room. The previous owners used it as an indoor patio with outdoor furniture and it looked like this when we moved in.
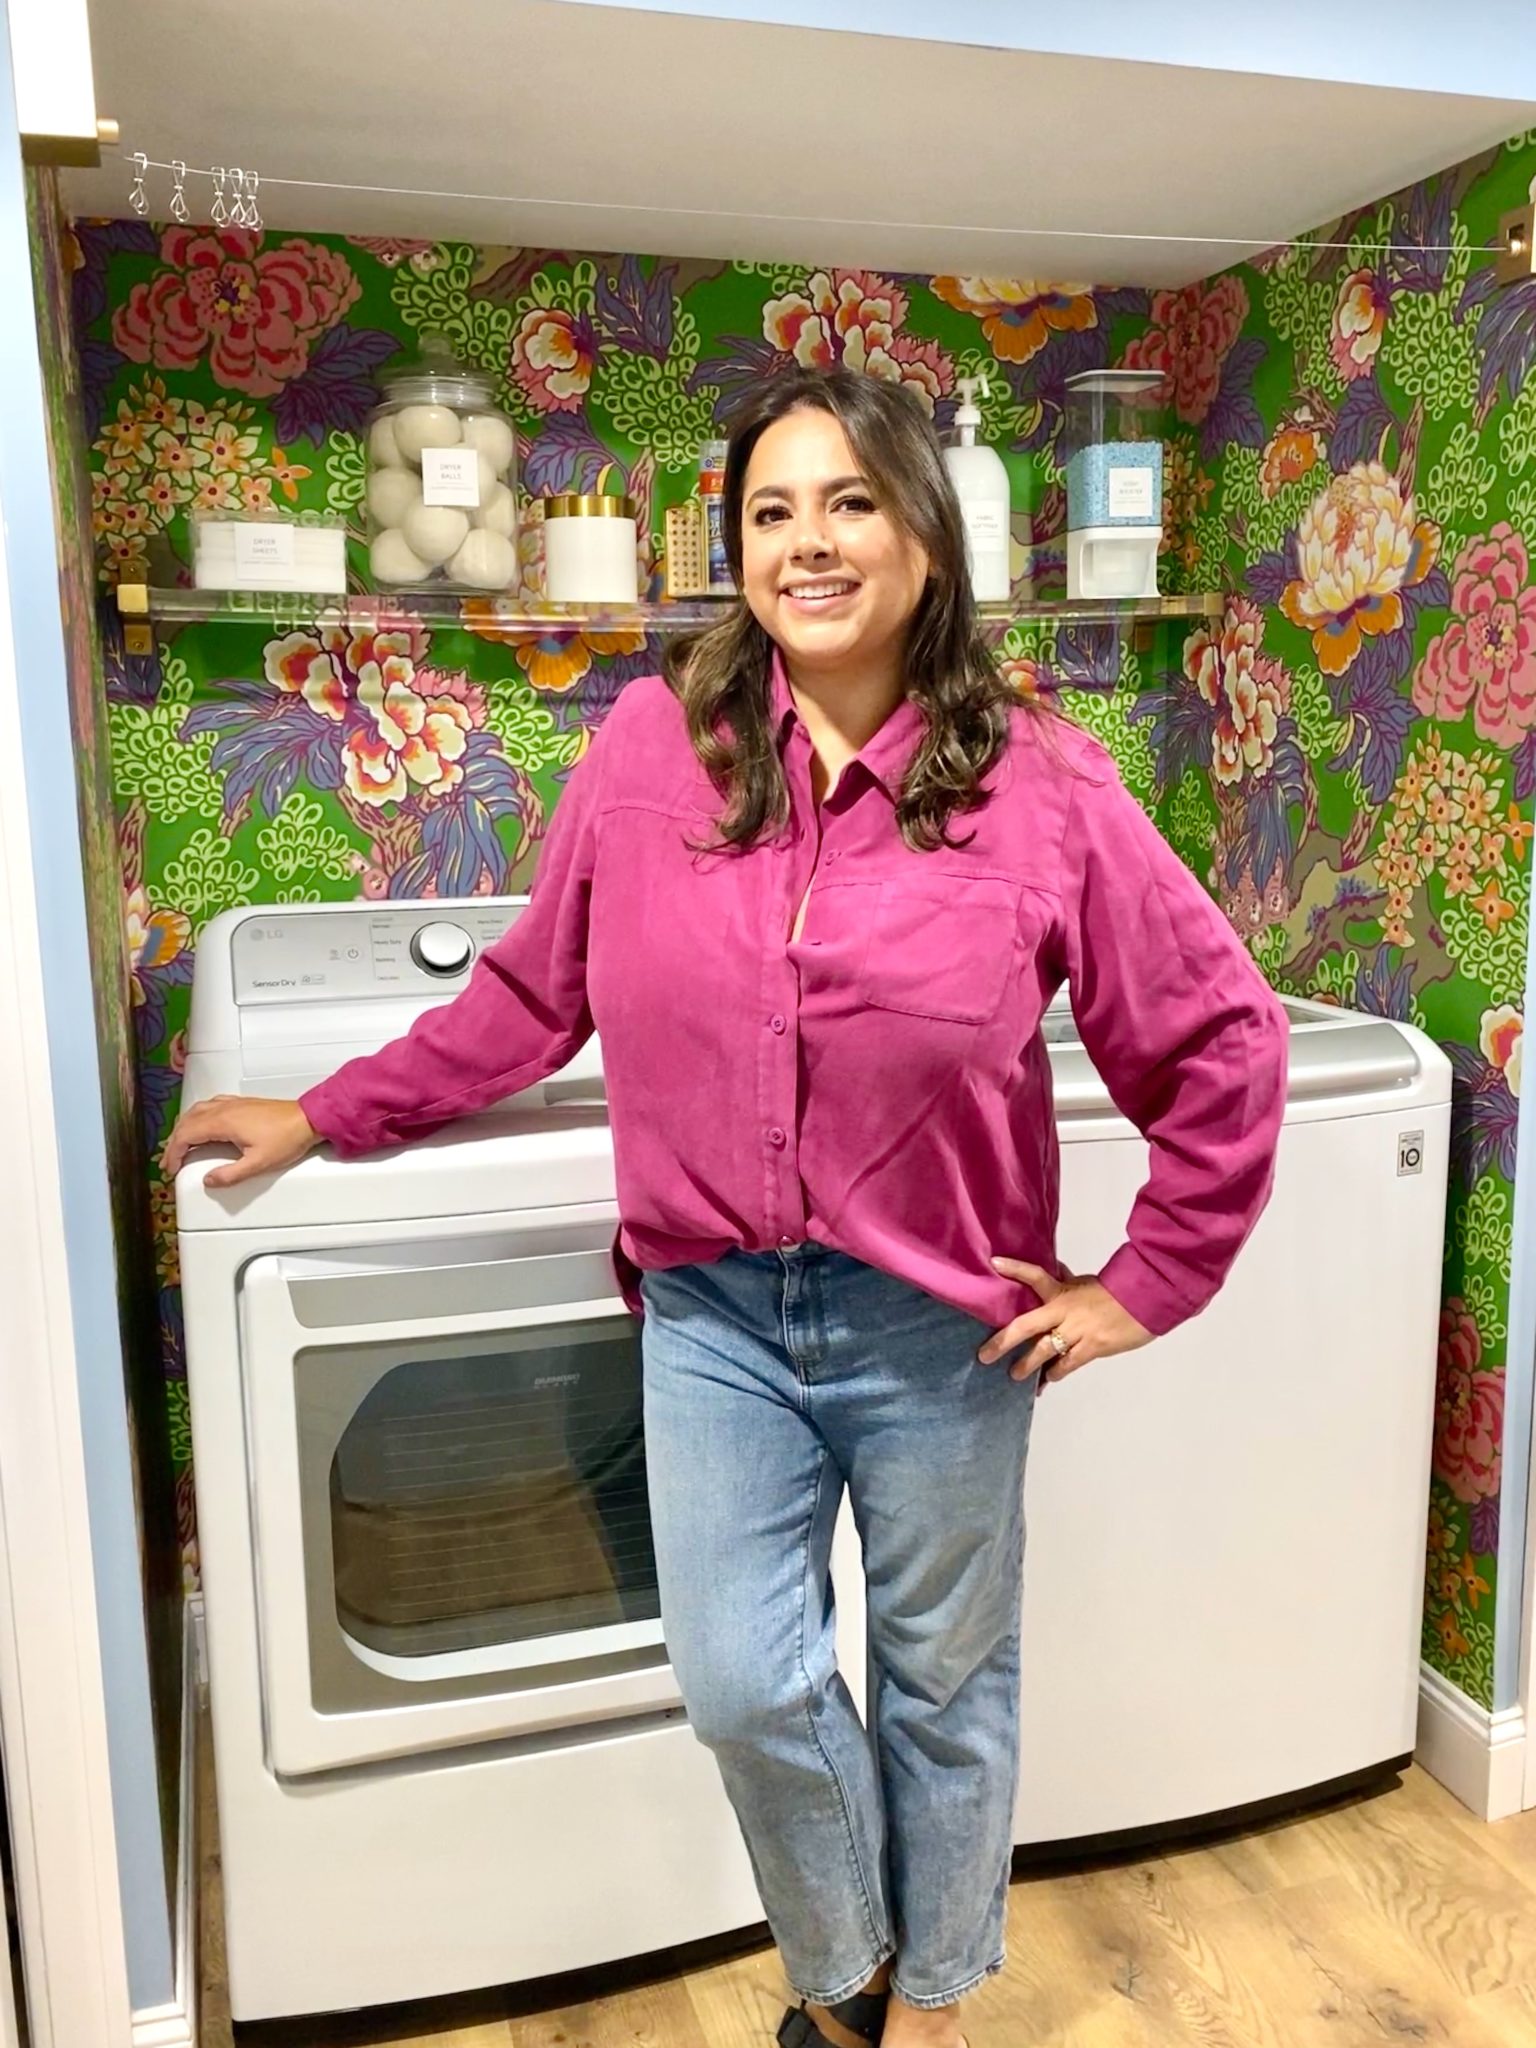
In our new home, the basement was completely unfinished. It was literally one of those dark spaces that you see in horror movies and are terrified of getting locked into. However, with the square footage in this house, I knew I needed to make the basement another workable and liveable floor of the house instead […]
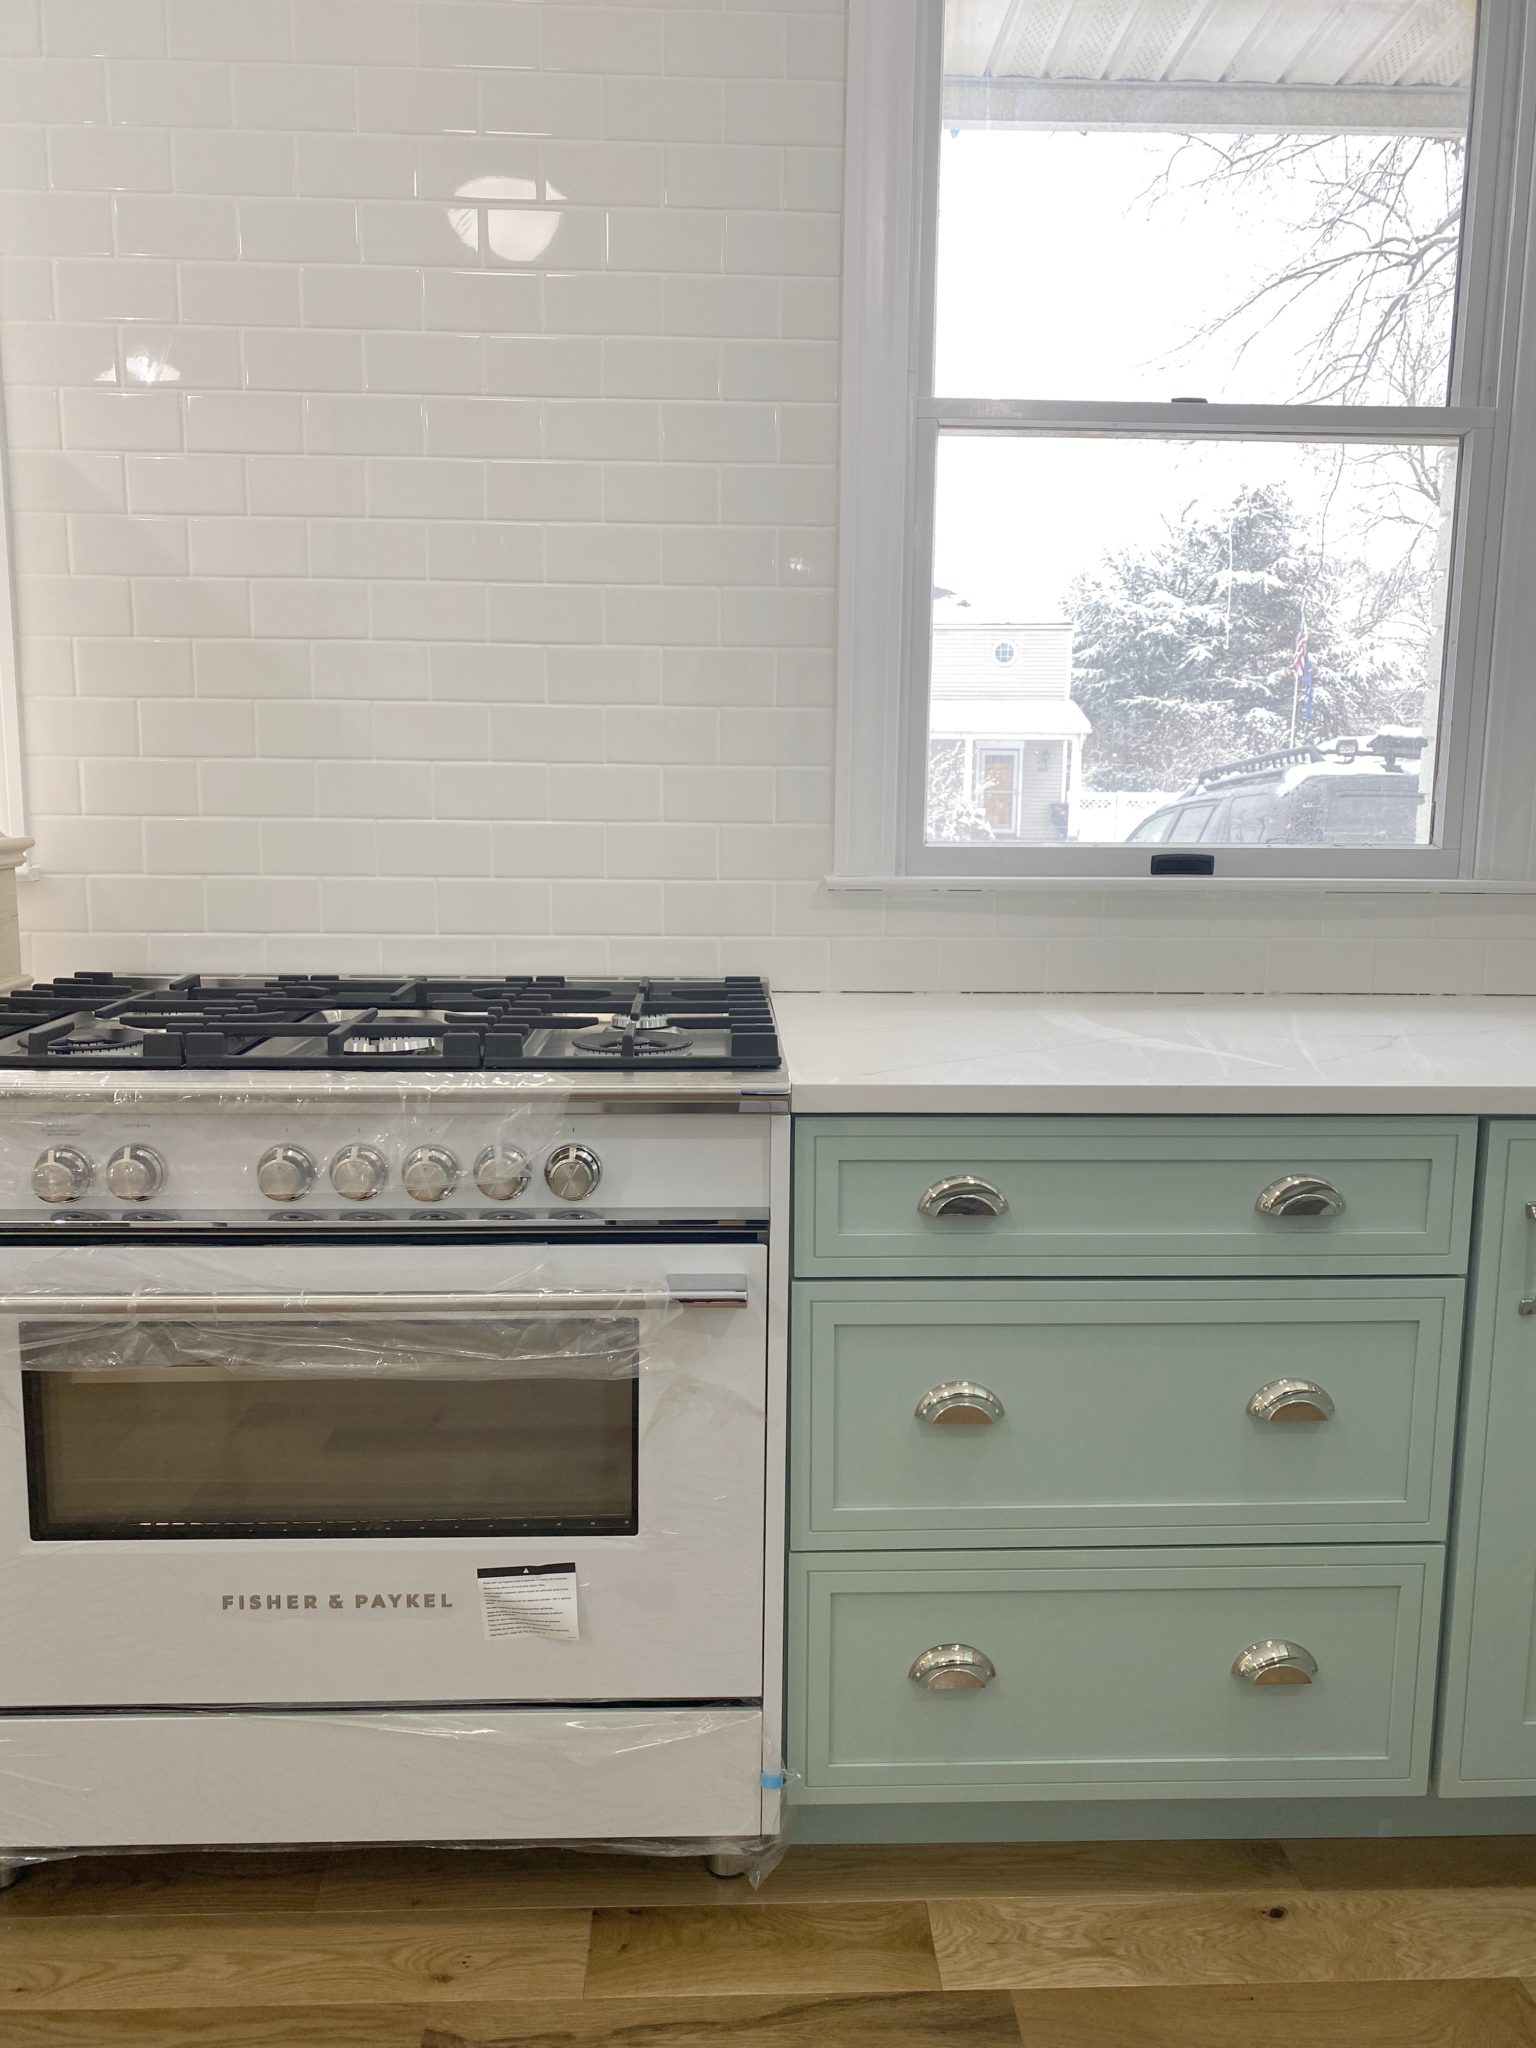
What to look for when it comes to picking out kitchen appliances: Leave room in your budget for appliances. When it comes to kitchen renovations everyone knows that the cabinetry and the labor of demoing and installing cabinetry is going to eat a lot of your budget. However, the second most expensive part of a […]
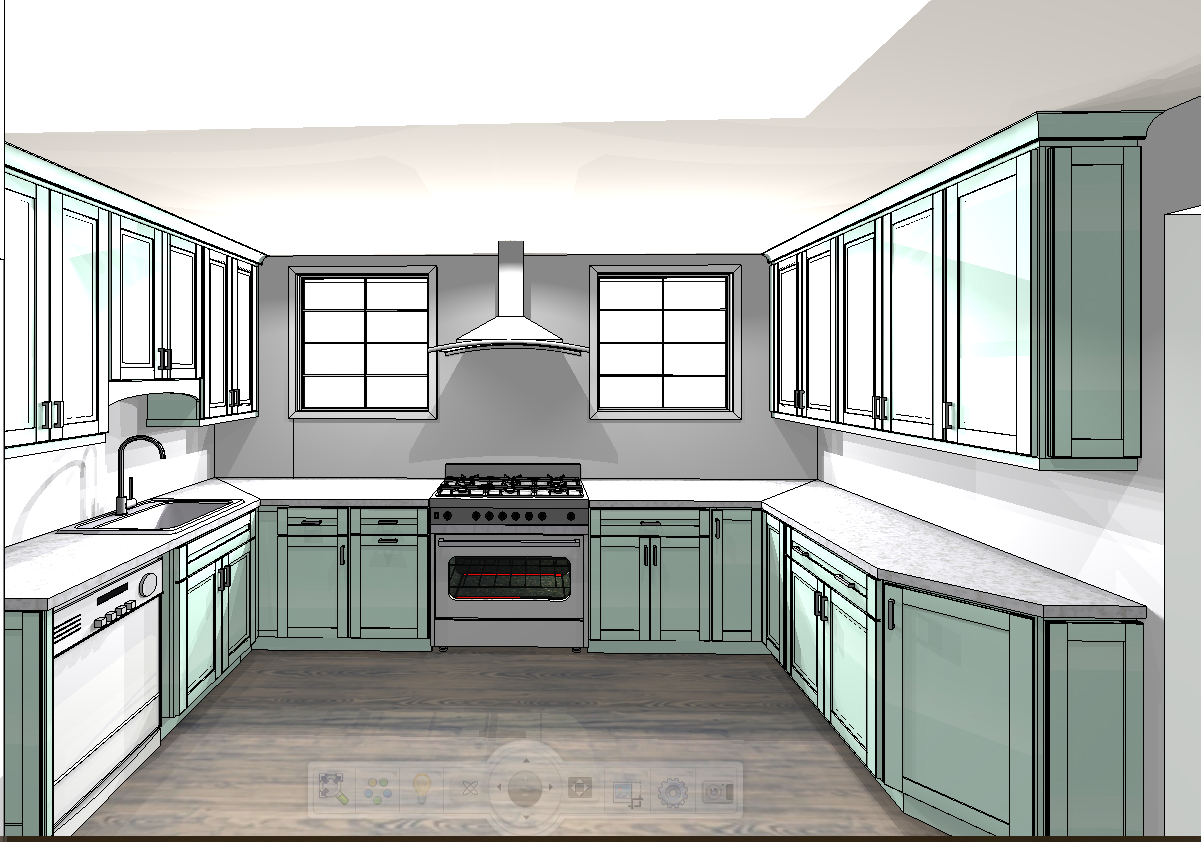
I don’t think I’m alone in thinking that designing a kitchen is an overwhelming undertaking. I’m an interior designer and even I find it stressful to iron out all of those details. So, when it comes time to design a kitchen I always like to partner with a kitchen designer to make sure I’m remembering […]



I would have to say this one is my favorite! I am in love!
Beautiful pillow, and enjoy every minute of Hudson your little guy…time goes by way too fast!
So now I have a pillow for the girls room and a pillow for me! Win win!! Thanks again for sharing. And happy birthday to Hudson!
Love this- the painted faux piping is my favorite!
Happy birthday Hudson! My son turns 10 tomorrow! It goes very quickly… enjoy!!!
Oooh, looks great! Super chic and classy, but also festive. Would love to do this, if I had the perfect ribbon and fabric… hmm…
Good luck on your feature!!
Lovely pillow, very creative and fun. Good luck with your home being featured…looking forward to finding out with you.
Happy, happy birthday, Hudson!!! It flies by, doesn’t it?!?!! Fingers crossed on the website publicity — yay!!