
DIY GLASSYBABY VOTIVE HOLDER
Glassy Baby votive holders have graced the tables of many fancy events. They are beautiful hand blown glass votive holders that are available in a rainbow array of colors. I love them, but have never actually picked one up, because I couldn’t justify the $44 price tag.
The other day while shopping at Ikea I found the perfect glass to recreate the look!
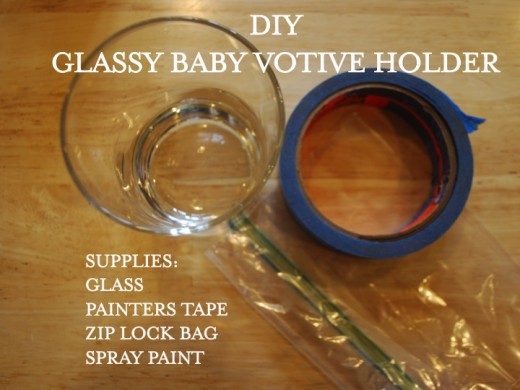
The supplies for this project are probably things you already have around the house. The only thing I needed to pick up were the glasses.The thing that makes these glasses perfect is the thick glass vase on them. Plus they are only $5.99 for a set of 6!
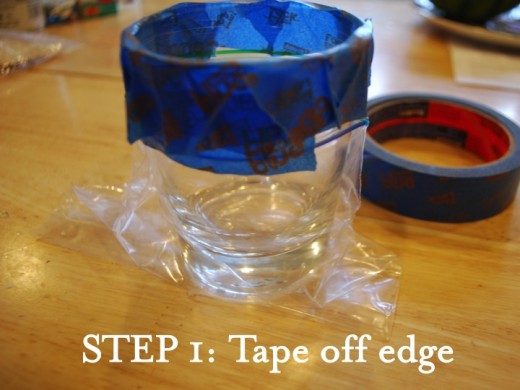
Step 1: In order to prevent over spray from the spray paint the best way to protect the outside of the glass is a zip lock bag. Simply place the glass in a sandwich sized zip lock bag and then use the painters tape to secure it around the glass and protect the top edge of the glass.
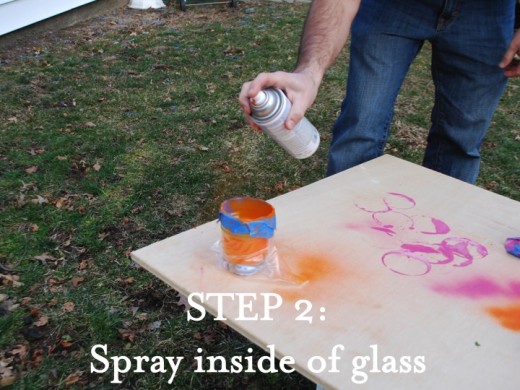
Step 2: Spray painting the inside of something with such a small opening can lead to lots of problems. Easiest way to do it is light sprays in a circular motion so that you cover all angles. Also make sure that your spray paint can is shaken properly so that the color comes out in the proper hue. Remember light sprays are key and no need to put them upside down for drying. I actual found that flipping them over led to lots of drips.
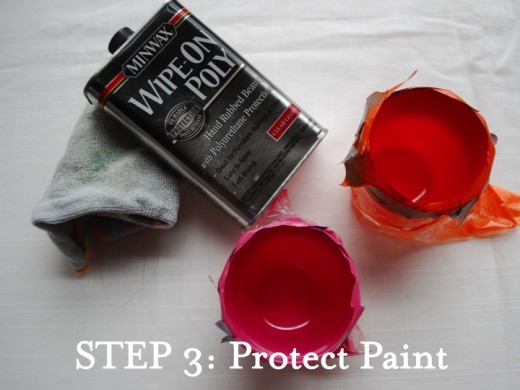
Step 3: Once your paint is dry you can stop here and enjoy, but I wanted to further protect the paint so I used some wipe on poly for durability.
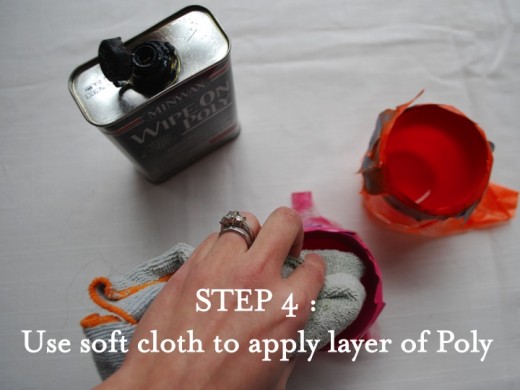
Step 4: Use a soft cloth to apply poly. If you use a paper towel you might get some paper residue on the finish.
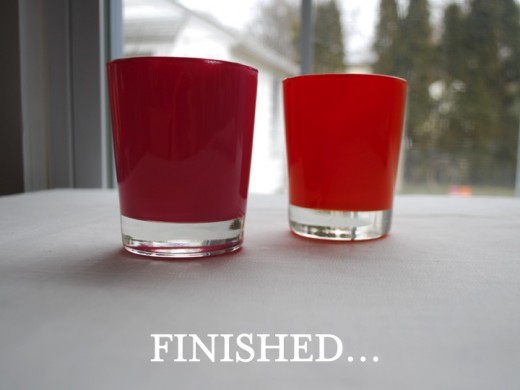
Now you can be finished at this step, but I decided to use my votive holder as a mini vase instead.
*If you want to use it as a votive holder with a lit candle make sure your tea light or votive candle is in it’s own holder instead of placing a naked candle in the holder. With all the paint & poly I want you to be careful with the flame.*
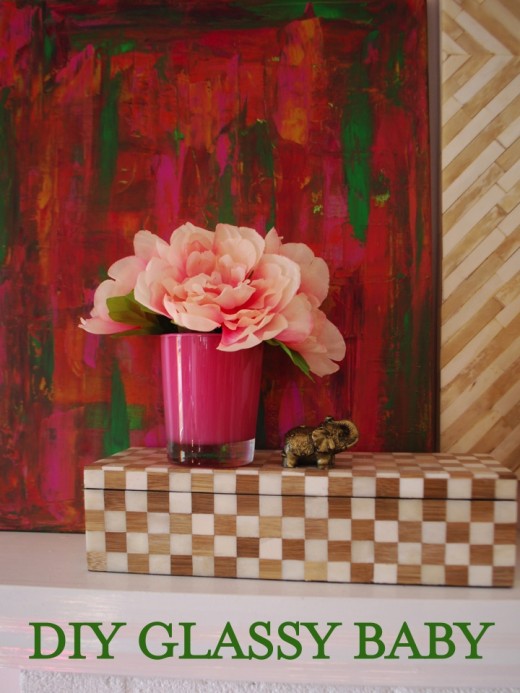
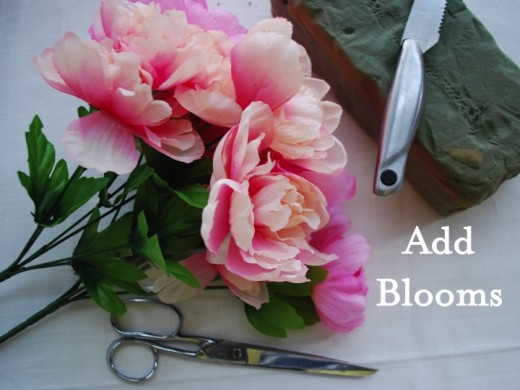
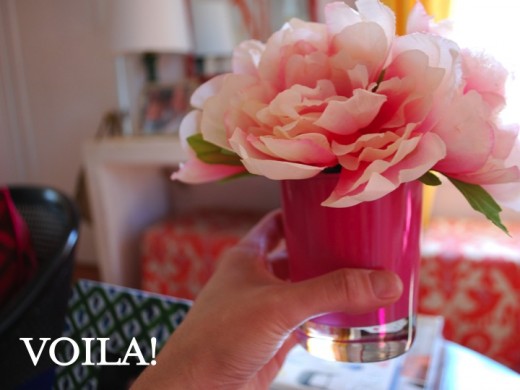
With the protect finish using really flowers shouldn’t be an issue, but I wanted peonies and since I couldn’t find any fresh ones I went fake! Ah! I know, but it actually worked out pretty well.
The key to any floral arrangement in floral foam. It really helps the flowers stay in the perfect place and not go limp.
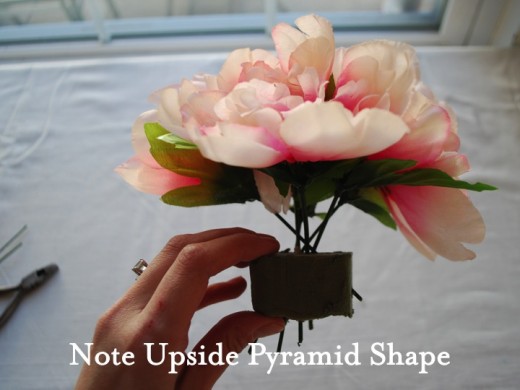
A tip for using faux blooms is to make sure none of the faux steam shows so it’s a good idea to cut them down to size. I like inserting the stems into the floral foam in a 45 degree angle with all of the steams going towards the center and forming an upside down pyramid of sorts. It’s okay if some of the stems pop out of the foam it won’t mess with the arrangement.
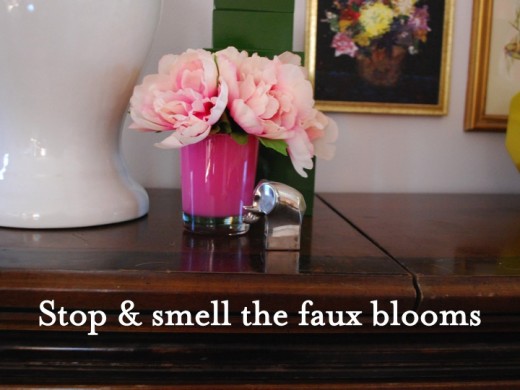
Now have fun trying to find the perfect stop for them.
Enjoy! I now have a pretty set of 6 (3 orange and 3 pink) to sprinkle around my house. I think they would be perfect for any Easter or Spring celebrations you may be having.
Related
Leave a Reply Cancel reply
get inspired with our own home tour
ON THE BLOG
My living room is one of the rooms that evolved drastically from when we first moved one. Originally I painted the walls chocolate brown and did accents of white, blue and orange. That lasted maybe 2 years.
Our dining room sat empty for months. Okay maybe it was empty for just a handful of weeks and then we couldn’t take it anymore and put in a folding table and plastic outdoor chairs, but in my mind that was still empty.
On the main floor of our house we have a Florida room. Being that it’s a Florida room it is a considered a 3 season room, because there is no heat in the room. The previous owners used it as an indoor patio with outdoor furniture and it looked like this when we moved in.
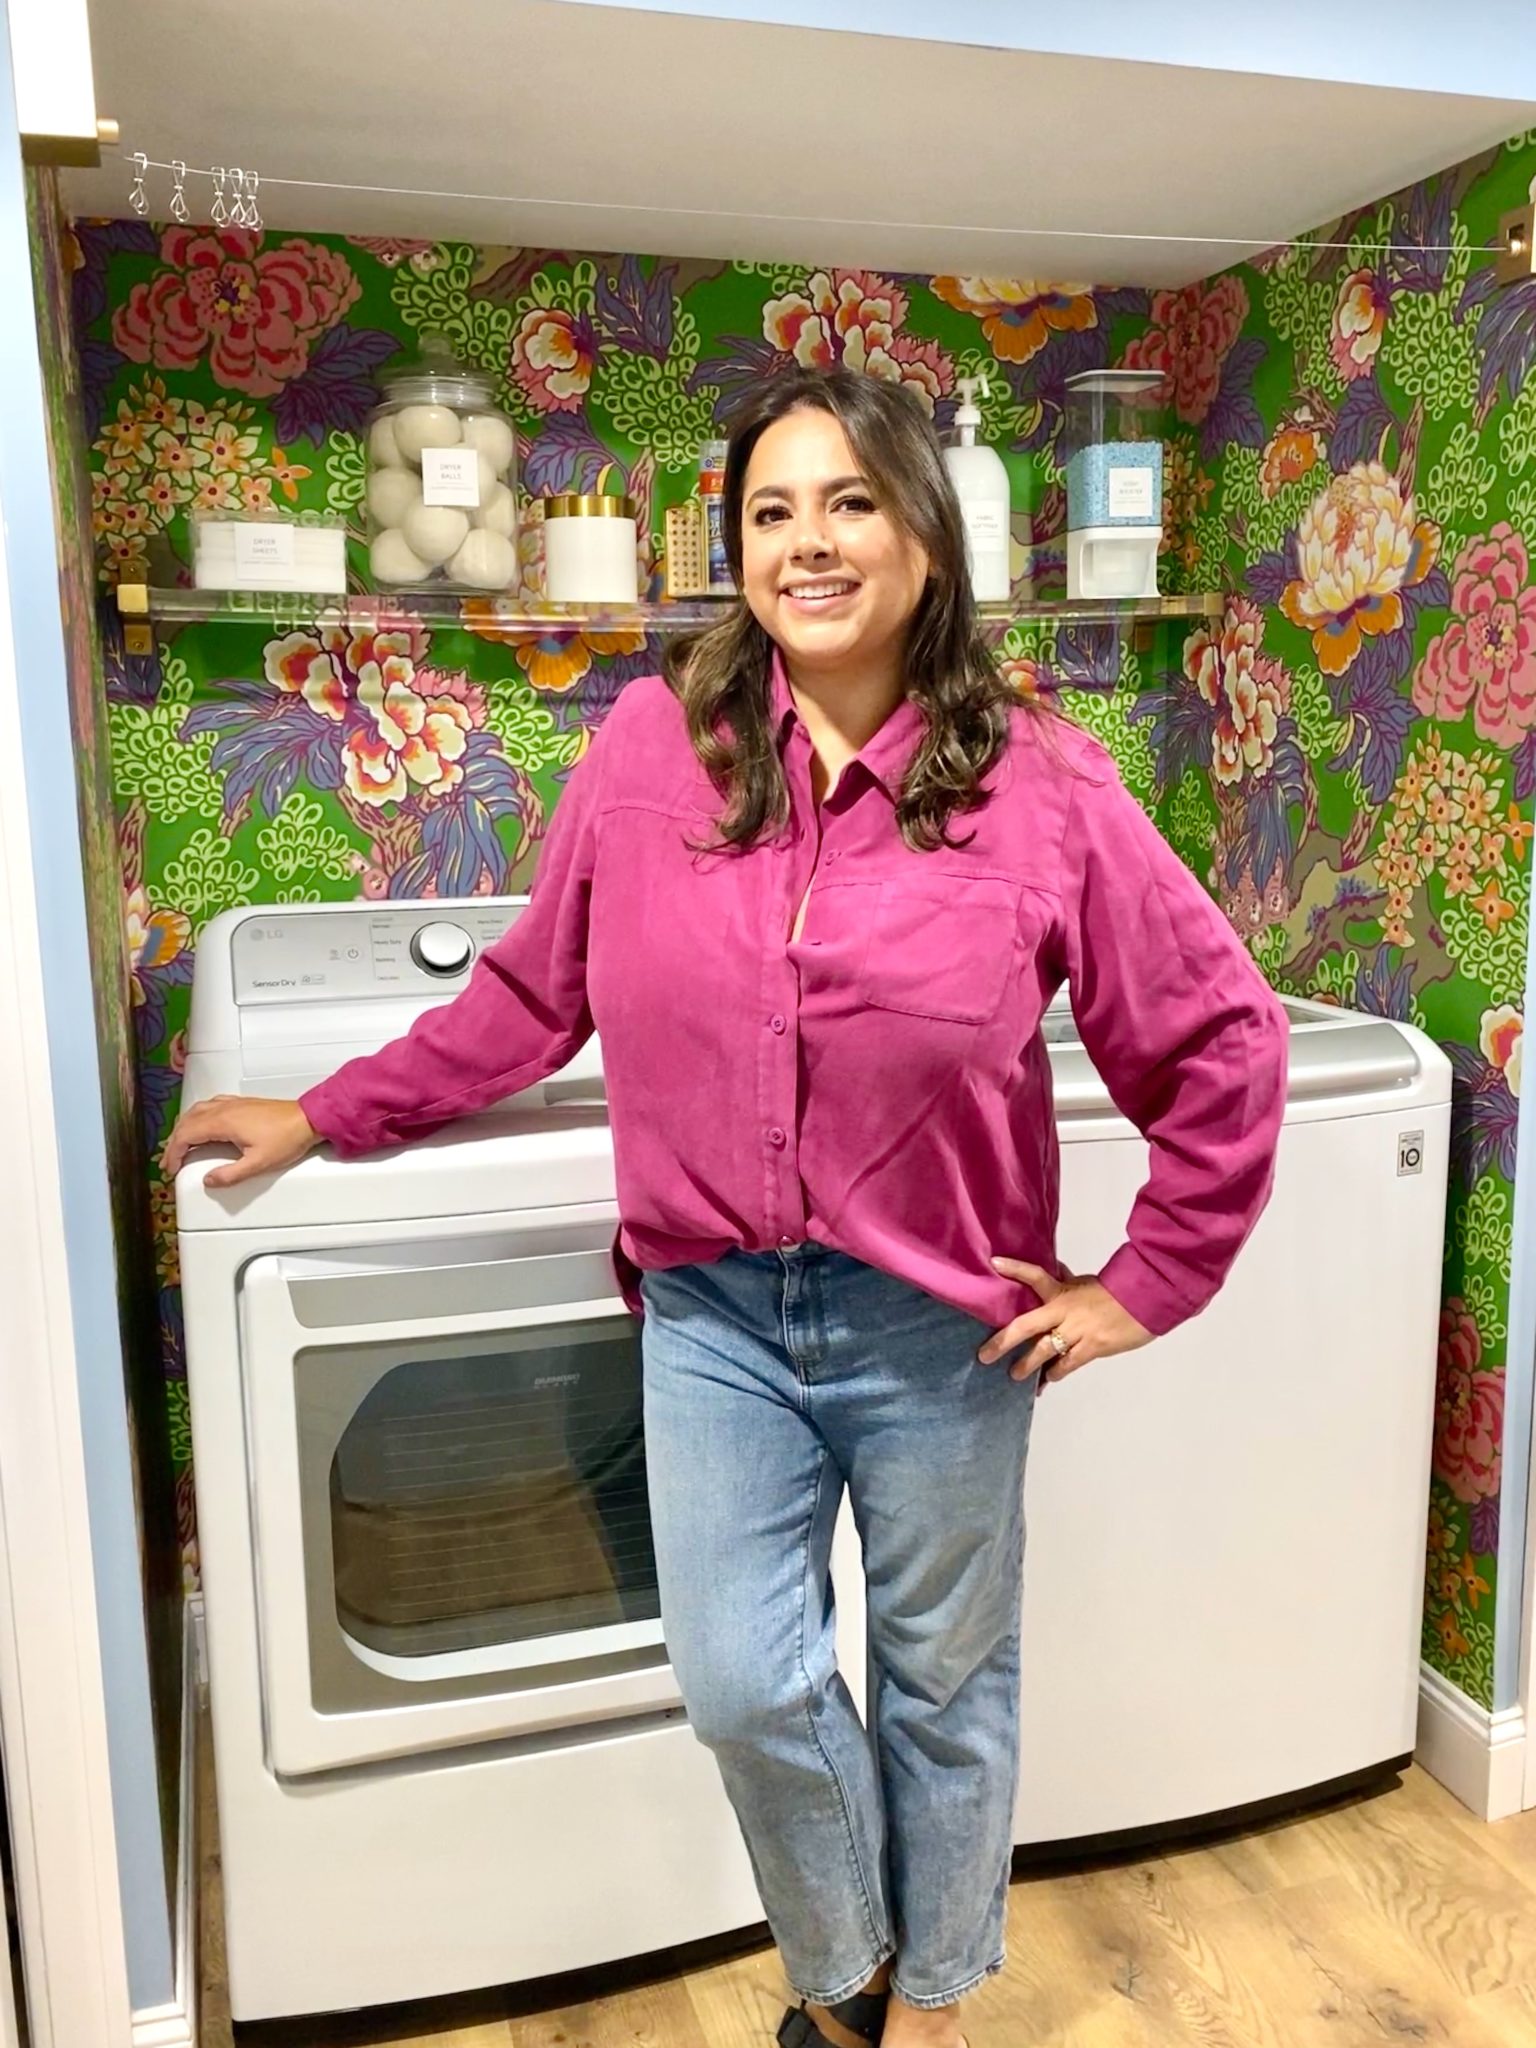
In our new home, the basement was completely unfinished. It was literally one of those dark spaces that you see in horror movies and are terrified of getting locked into. However, with the square footage in this house, I knew I needed to make the basement another workable and liveable floor of the house instead […]
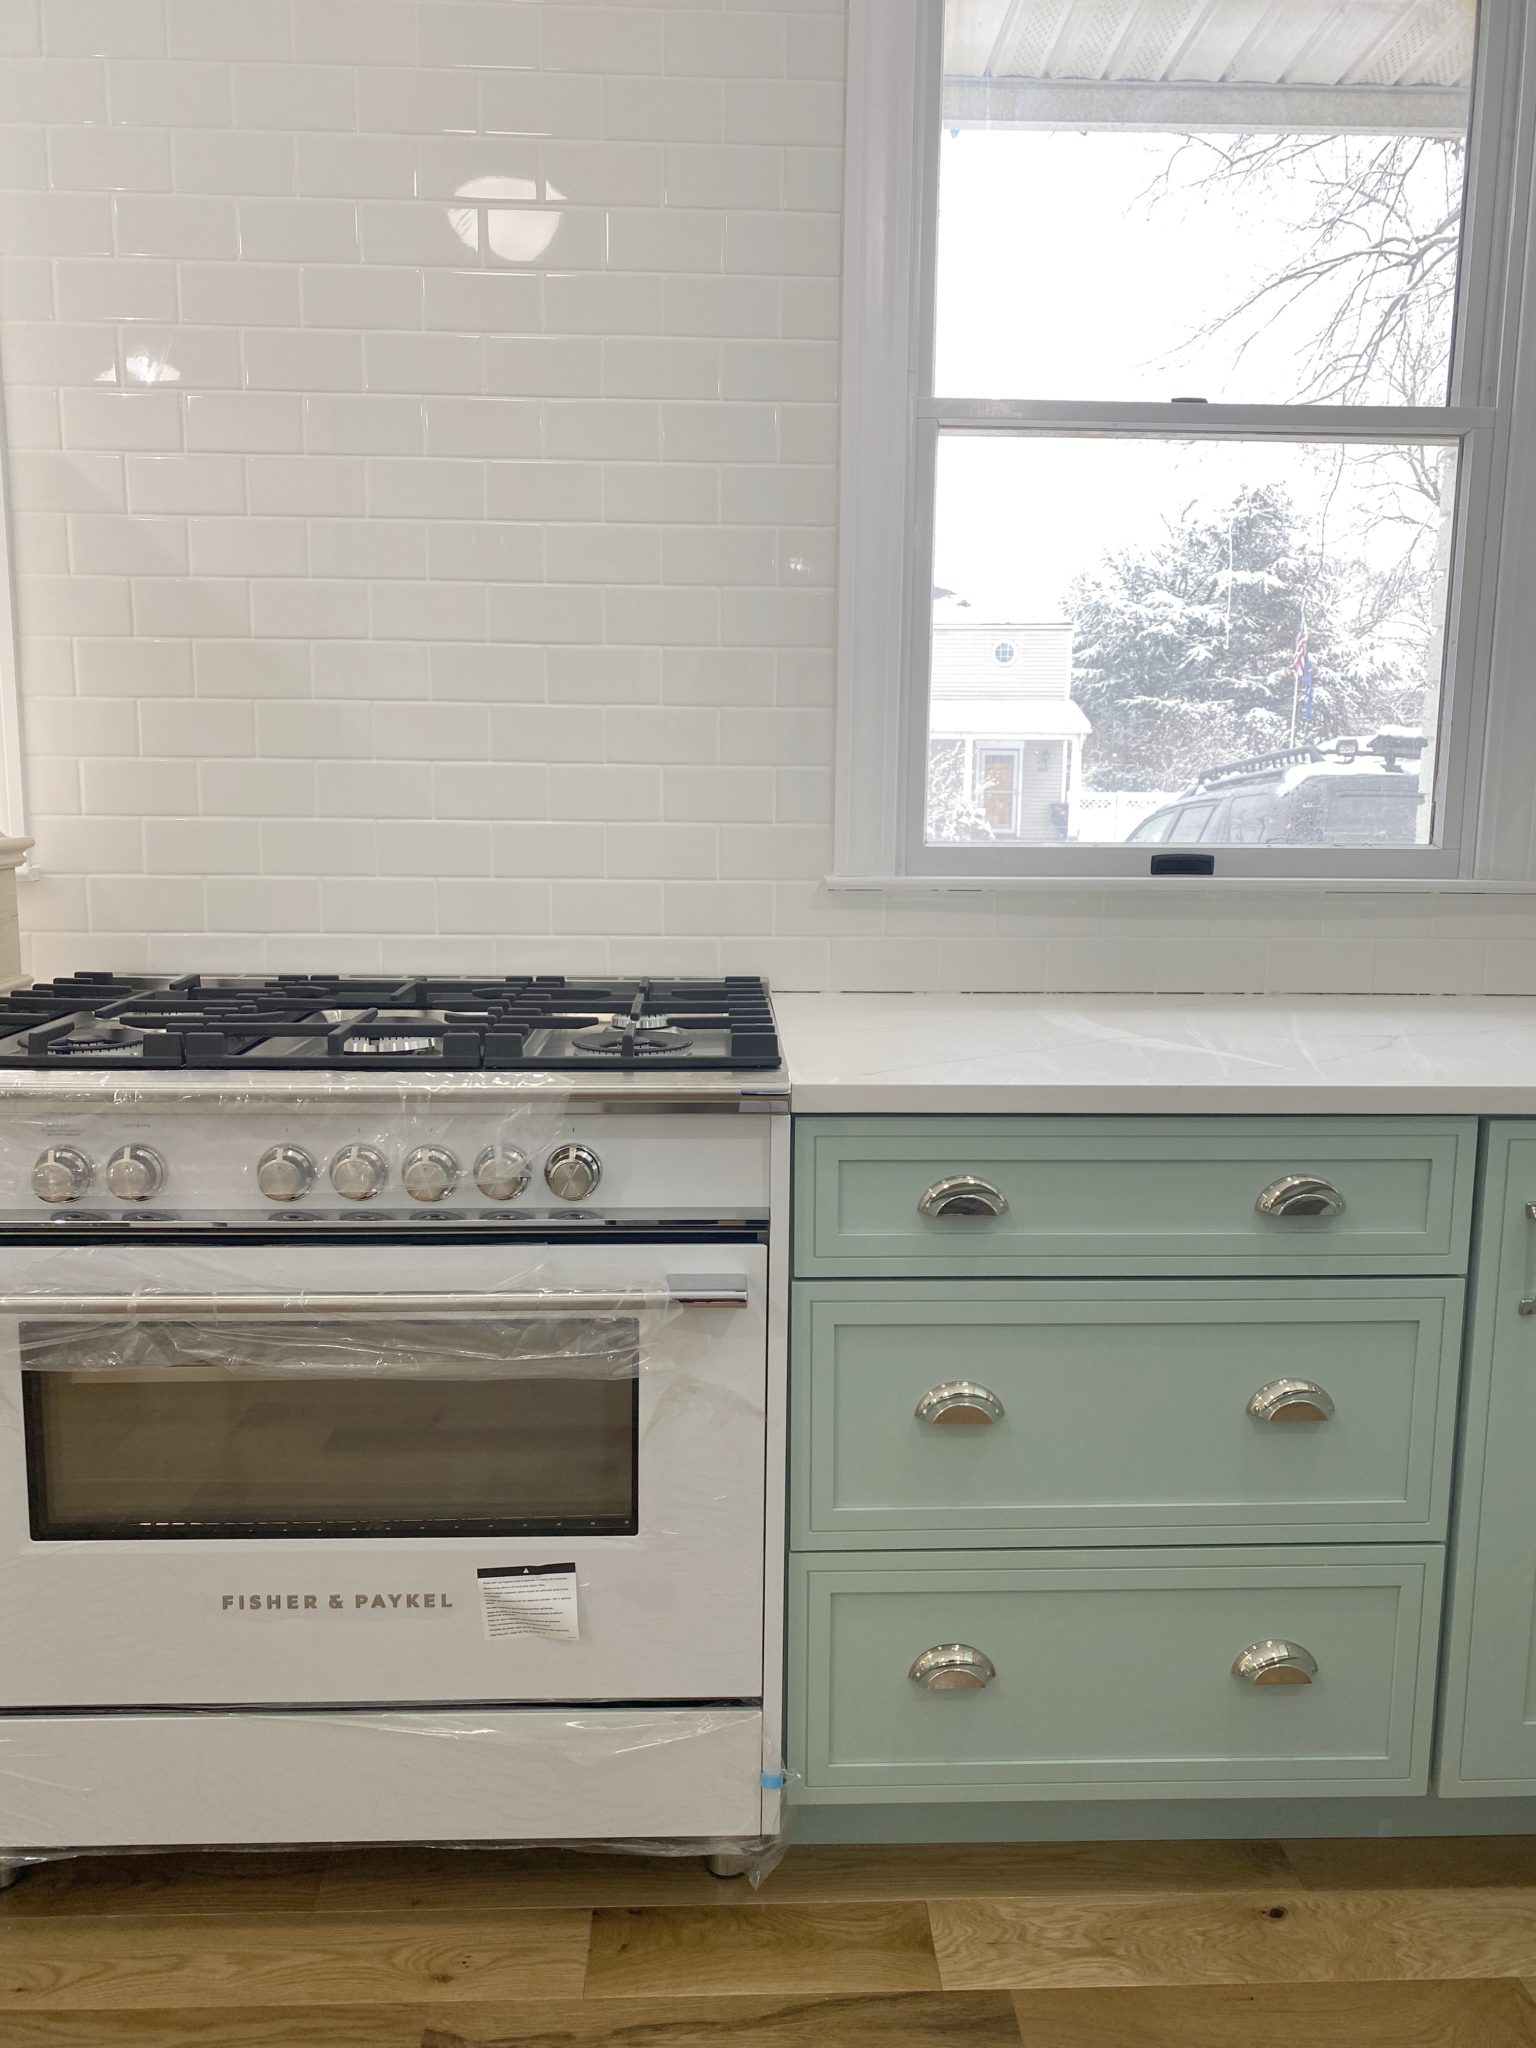
What to look for when it comes to picking out kitchen appliances: Leave room in your budget for appliances. When it comes to kitchen renovations everyone knows that the cabinetry and the labor of demoing and installing cabinetry is going to eat a lot of your budget. However, the second most expensive part of a […]
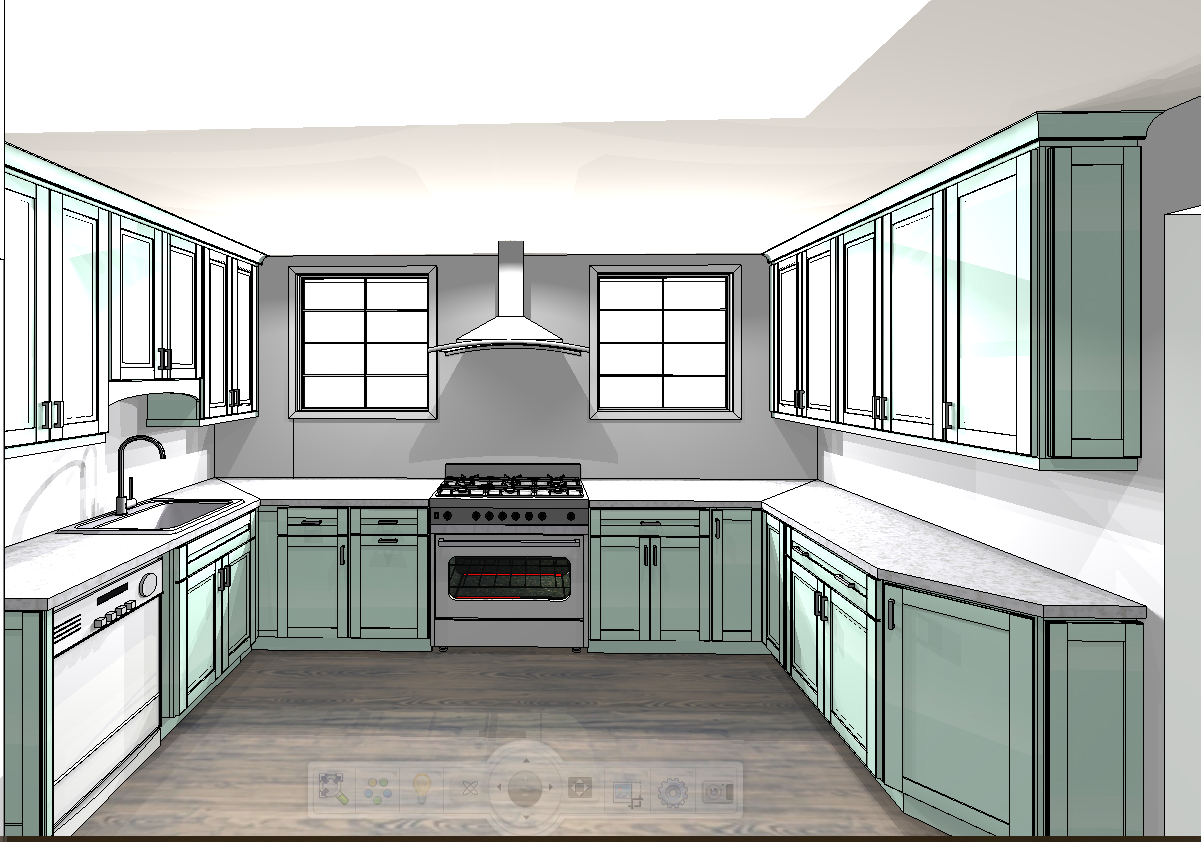
I don’t think I’m alone in thinking that designing a kitchen is an overwhelming undertaking. I’m an interior designer and even I find it stressful to iron out all of those details. So, when it comes time to design a kitchen I always like to partner with a kitchen designer to make sure I’m remembering […]



How I love the dollar tree! That votive looks like a million bucks. Love the idea of spaying it instead of sloshing paint around the inside. Love it!
Great tutorial!
Super cute idea!
LOVE THESE!!!!