


DIY Splatter Chocolate Bars
As a decorator I’m surround by paint samples pretty frequently. Between little sample pots, gallons of opps paint that I needed to give a good home too, craft paint and spray paint we have a lot of paint in the house. Now it’s time to add chocolate paint! I wanted to come up with a cute DIY for Valentine’s day and I came up with the perfect thing. I love to paint and I love chocolate and with that I bring you DIY splatter chocolate bars!
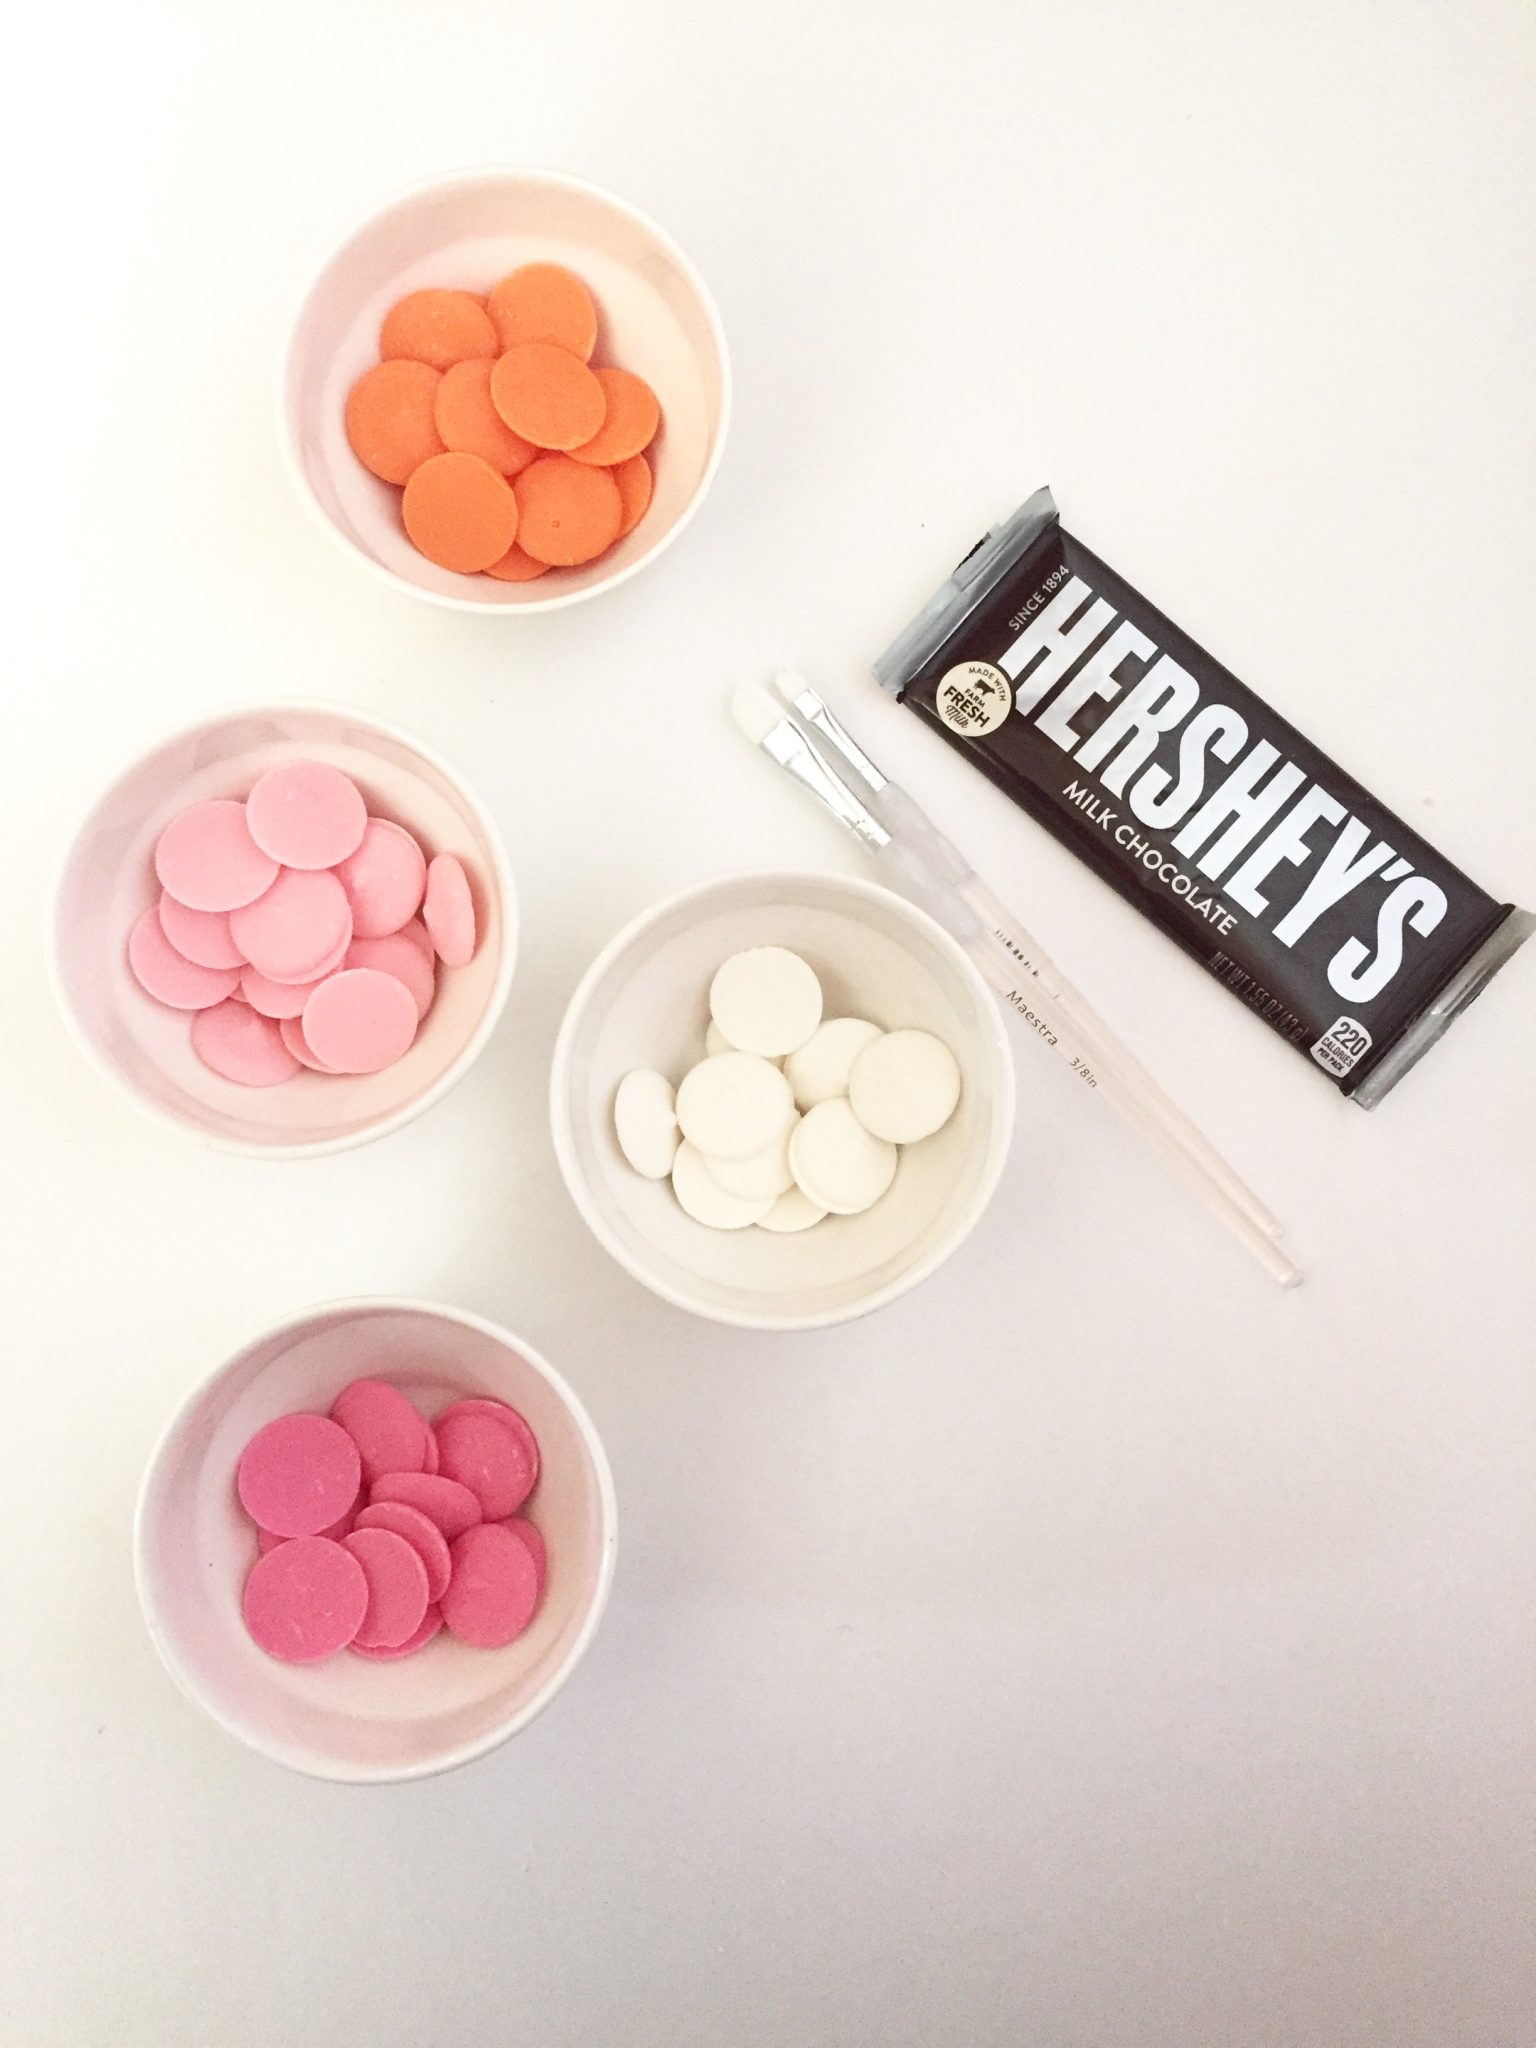
For your paint palette you will need to pick up some candy melts, paint brushes, chocolate bars, frosting spreader, and wax paper.
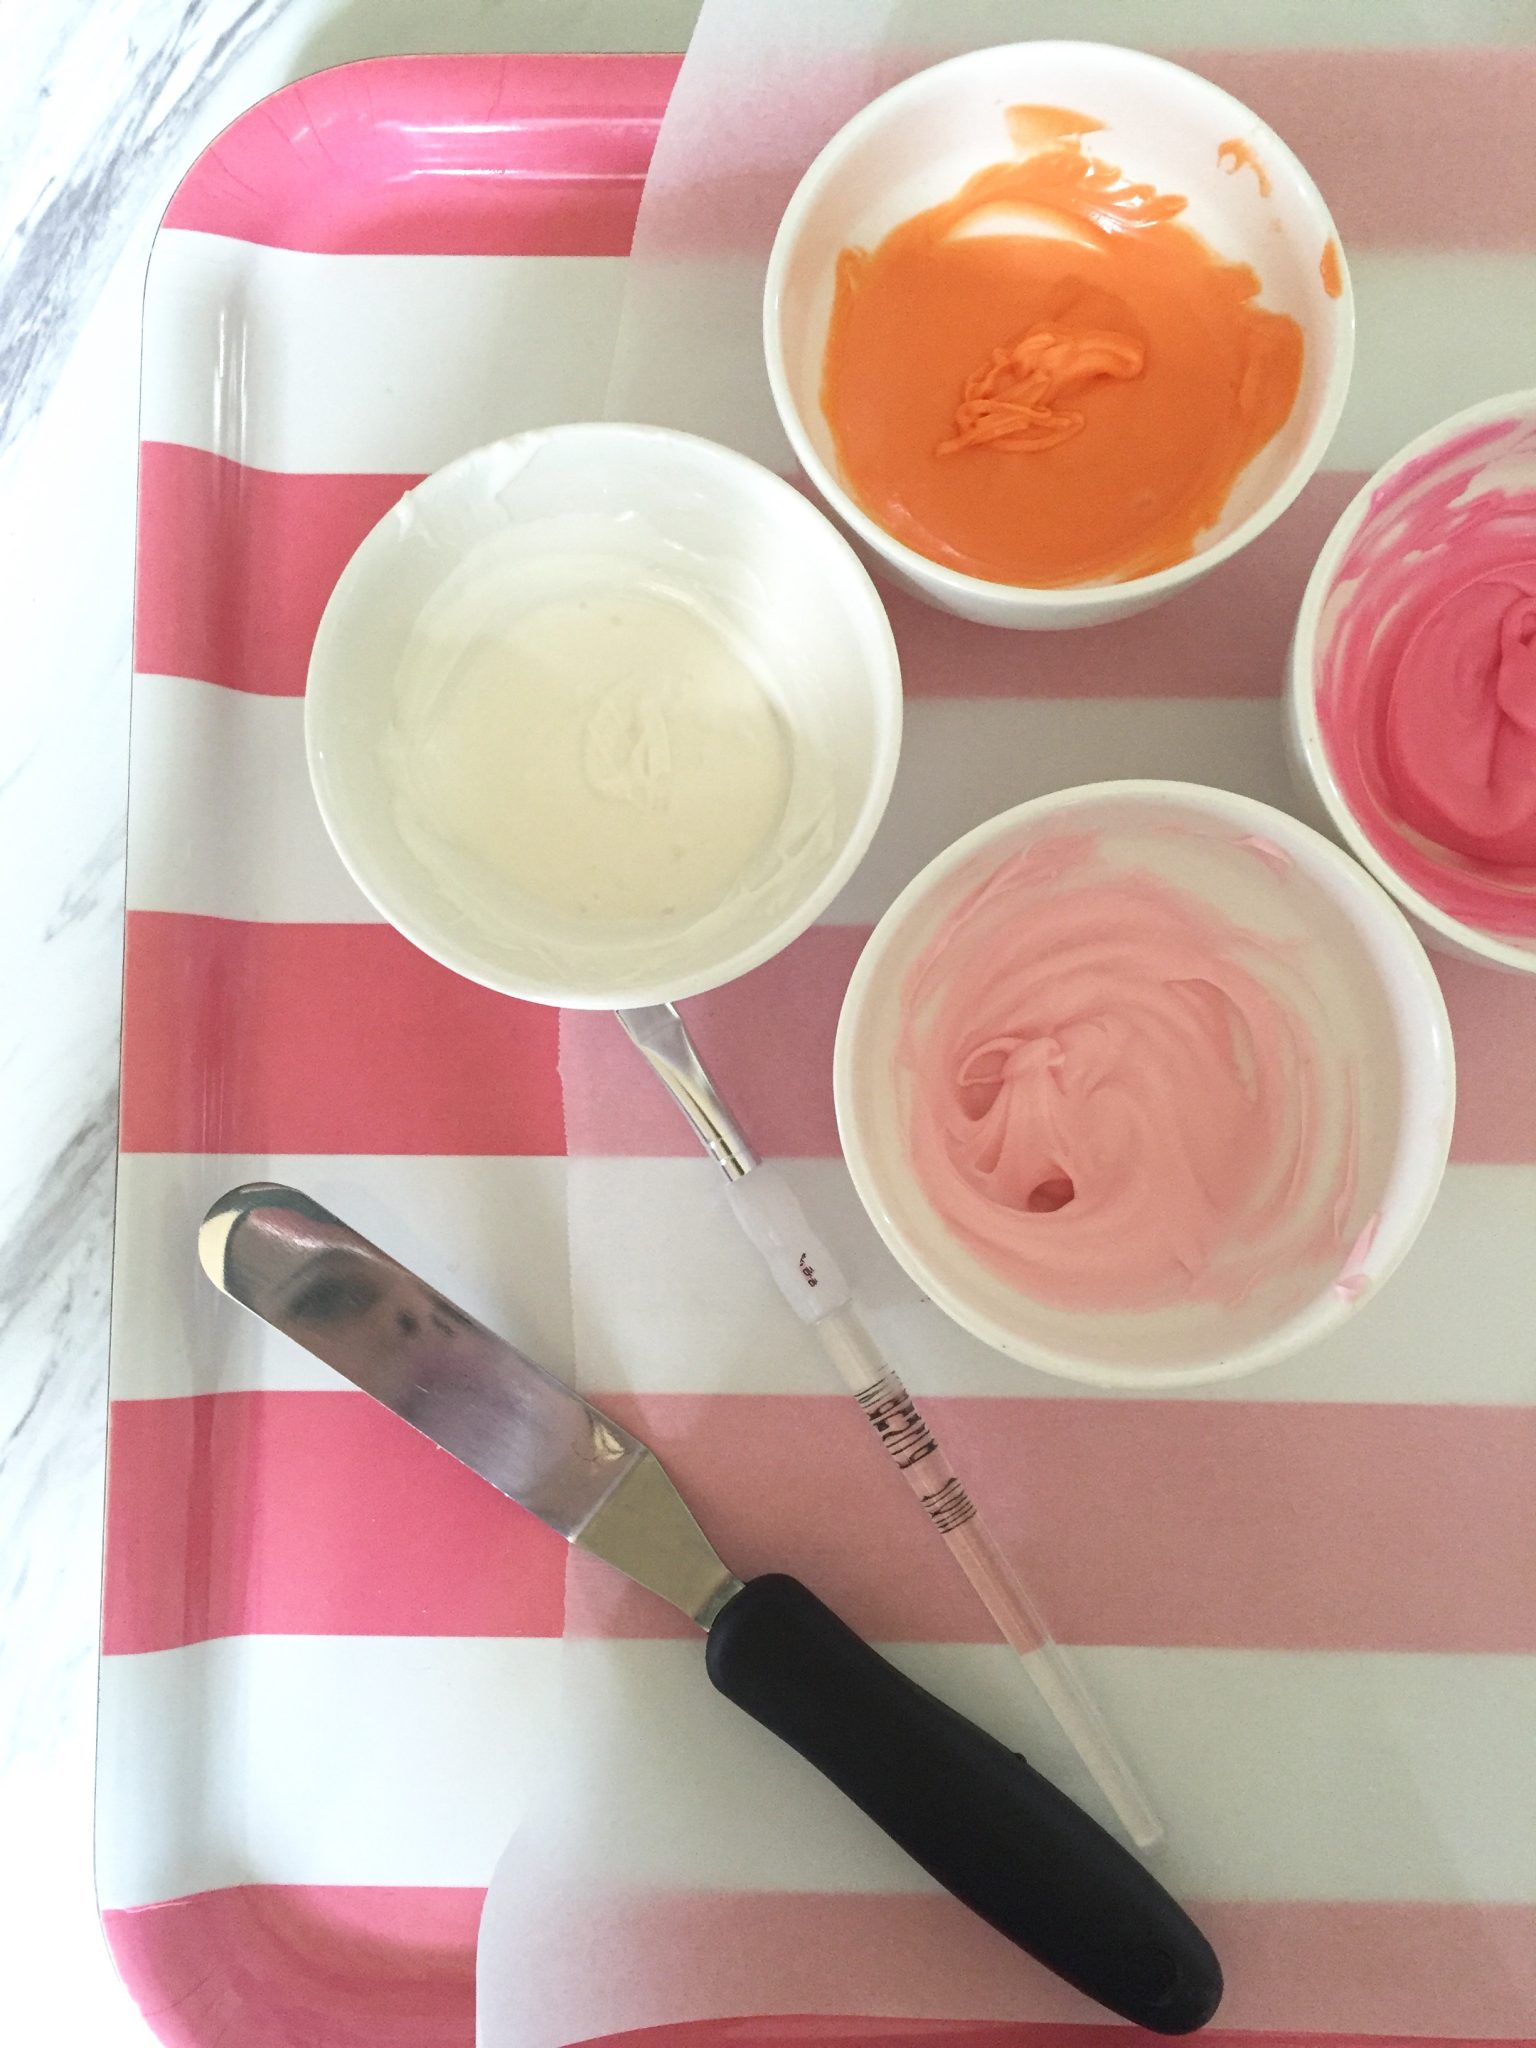
You will need to warm up your candy melts so that they are really thin. You can do this by doing one round of 30 seconds and then an additional 25 second round in your microwave. Time will vary depending on your microwave and the amount of candy melts in the bowl. I would start at 30 seconds and then go up from there.
Once you have your candy melts at the right consistency then it’s time to get to painting. Grab your paint brushes and start splattering paint onto your wax paper. Do all of your colors first, because the white will be your background color.
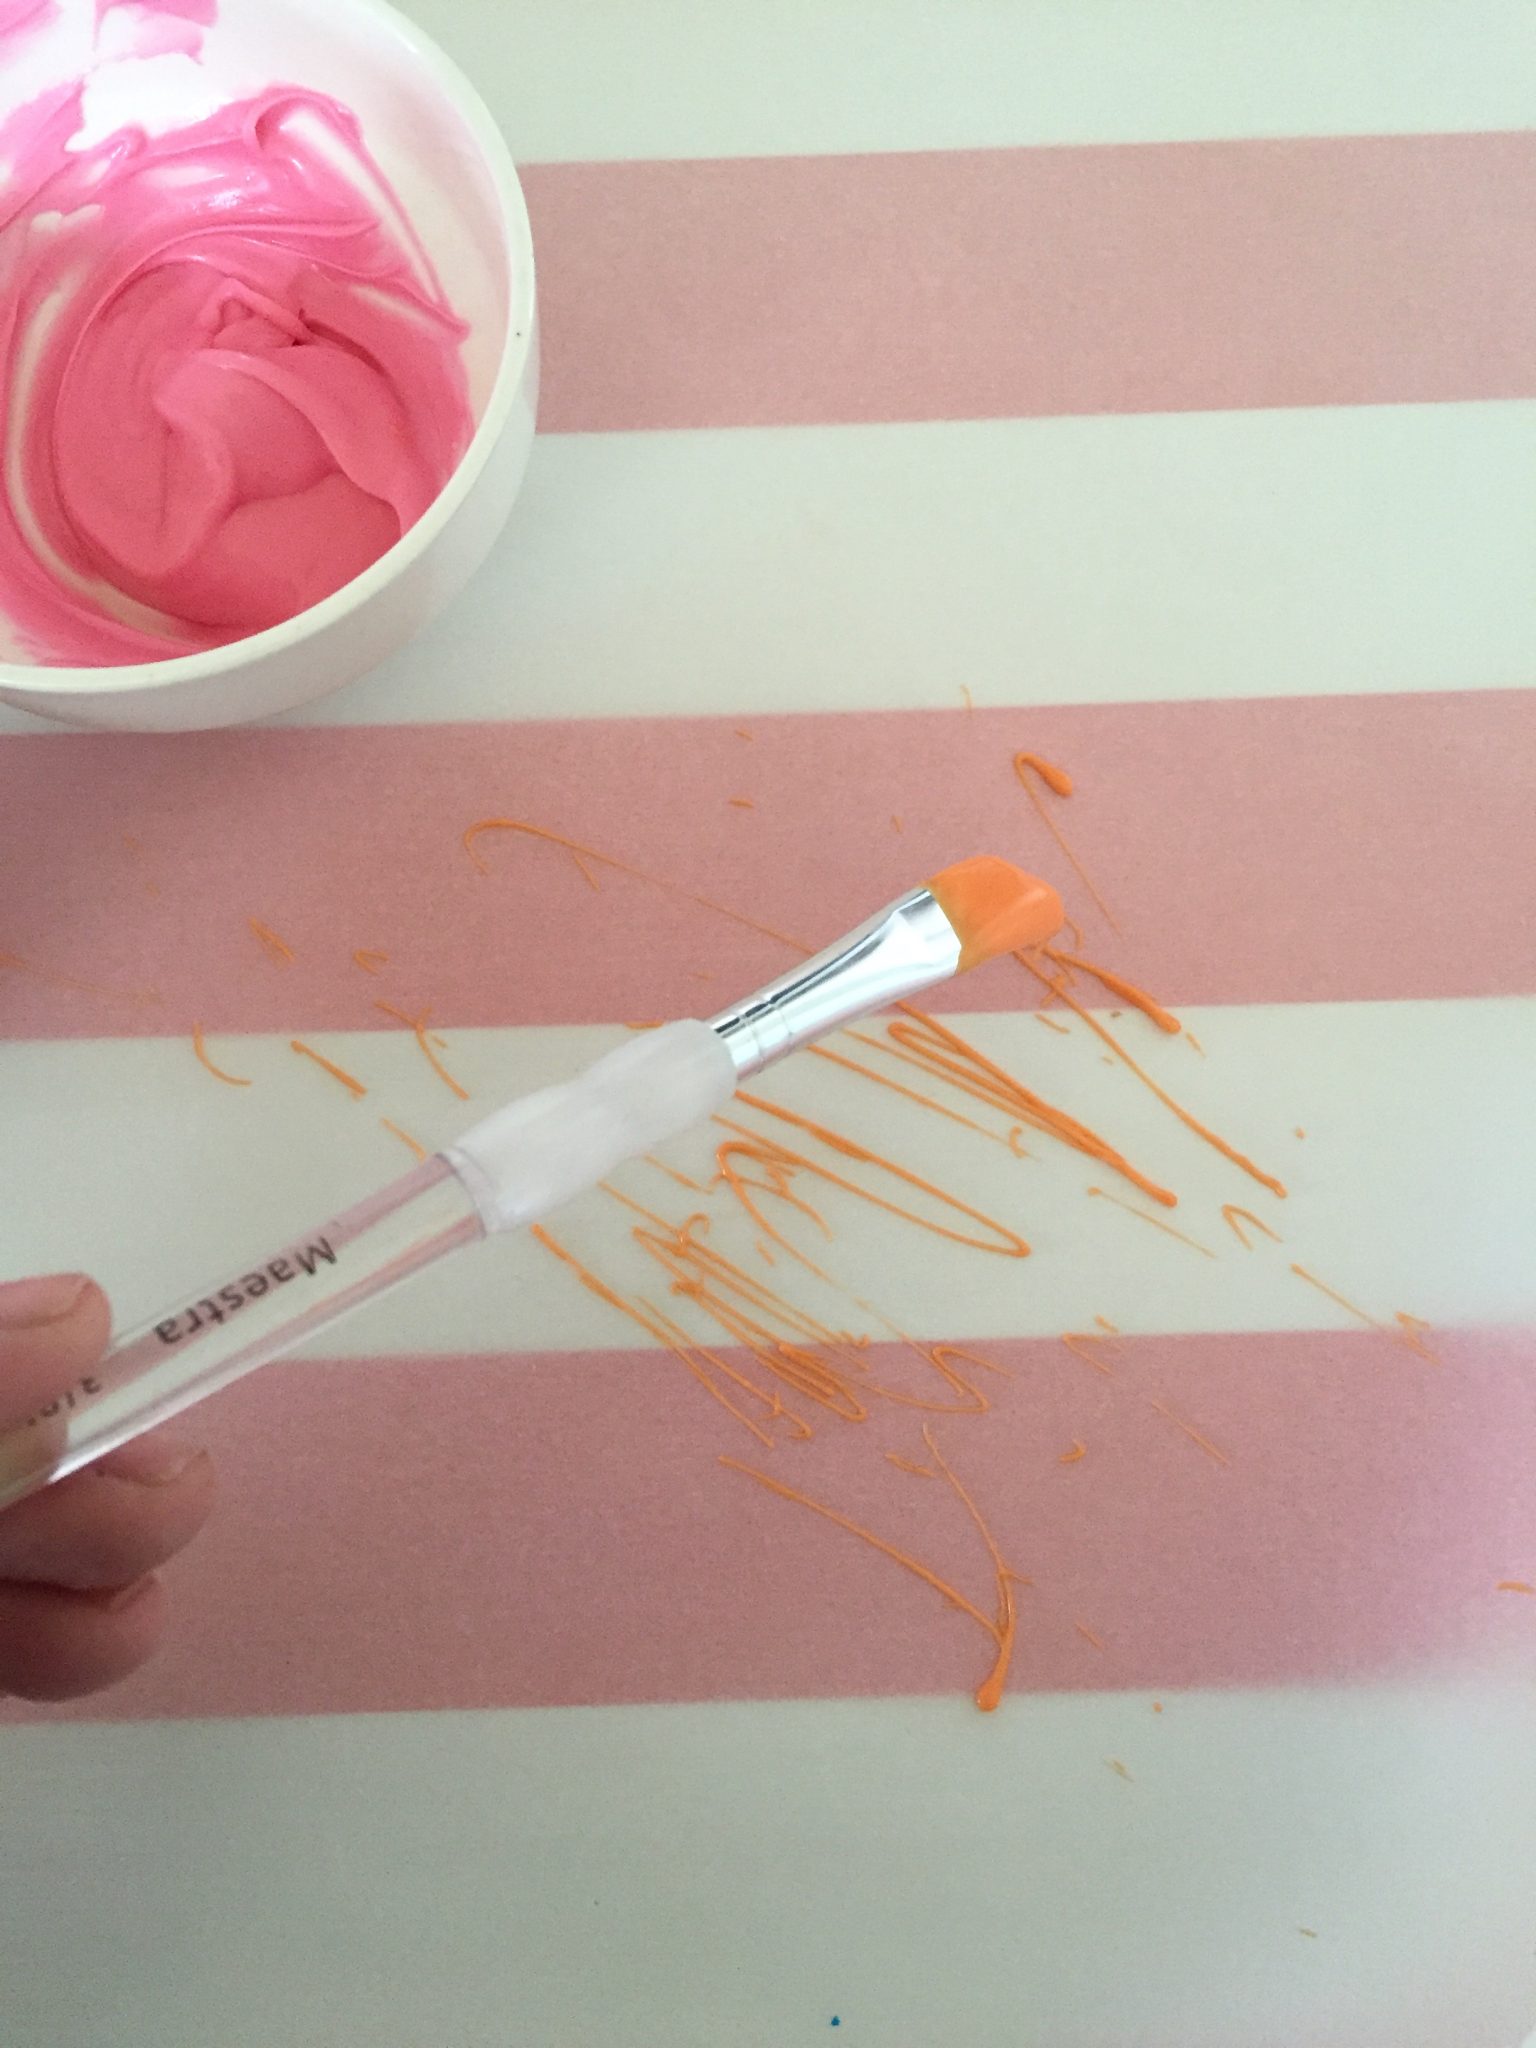
You can make the lines as thick or thin as you like. The thinner your candy melts the easier it will be to make thin lines. You can also just throw it on there so you can get some bigger areas of color. Once you first color is done you can layer on the next color.

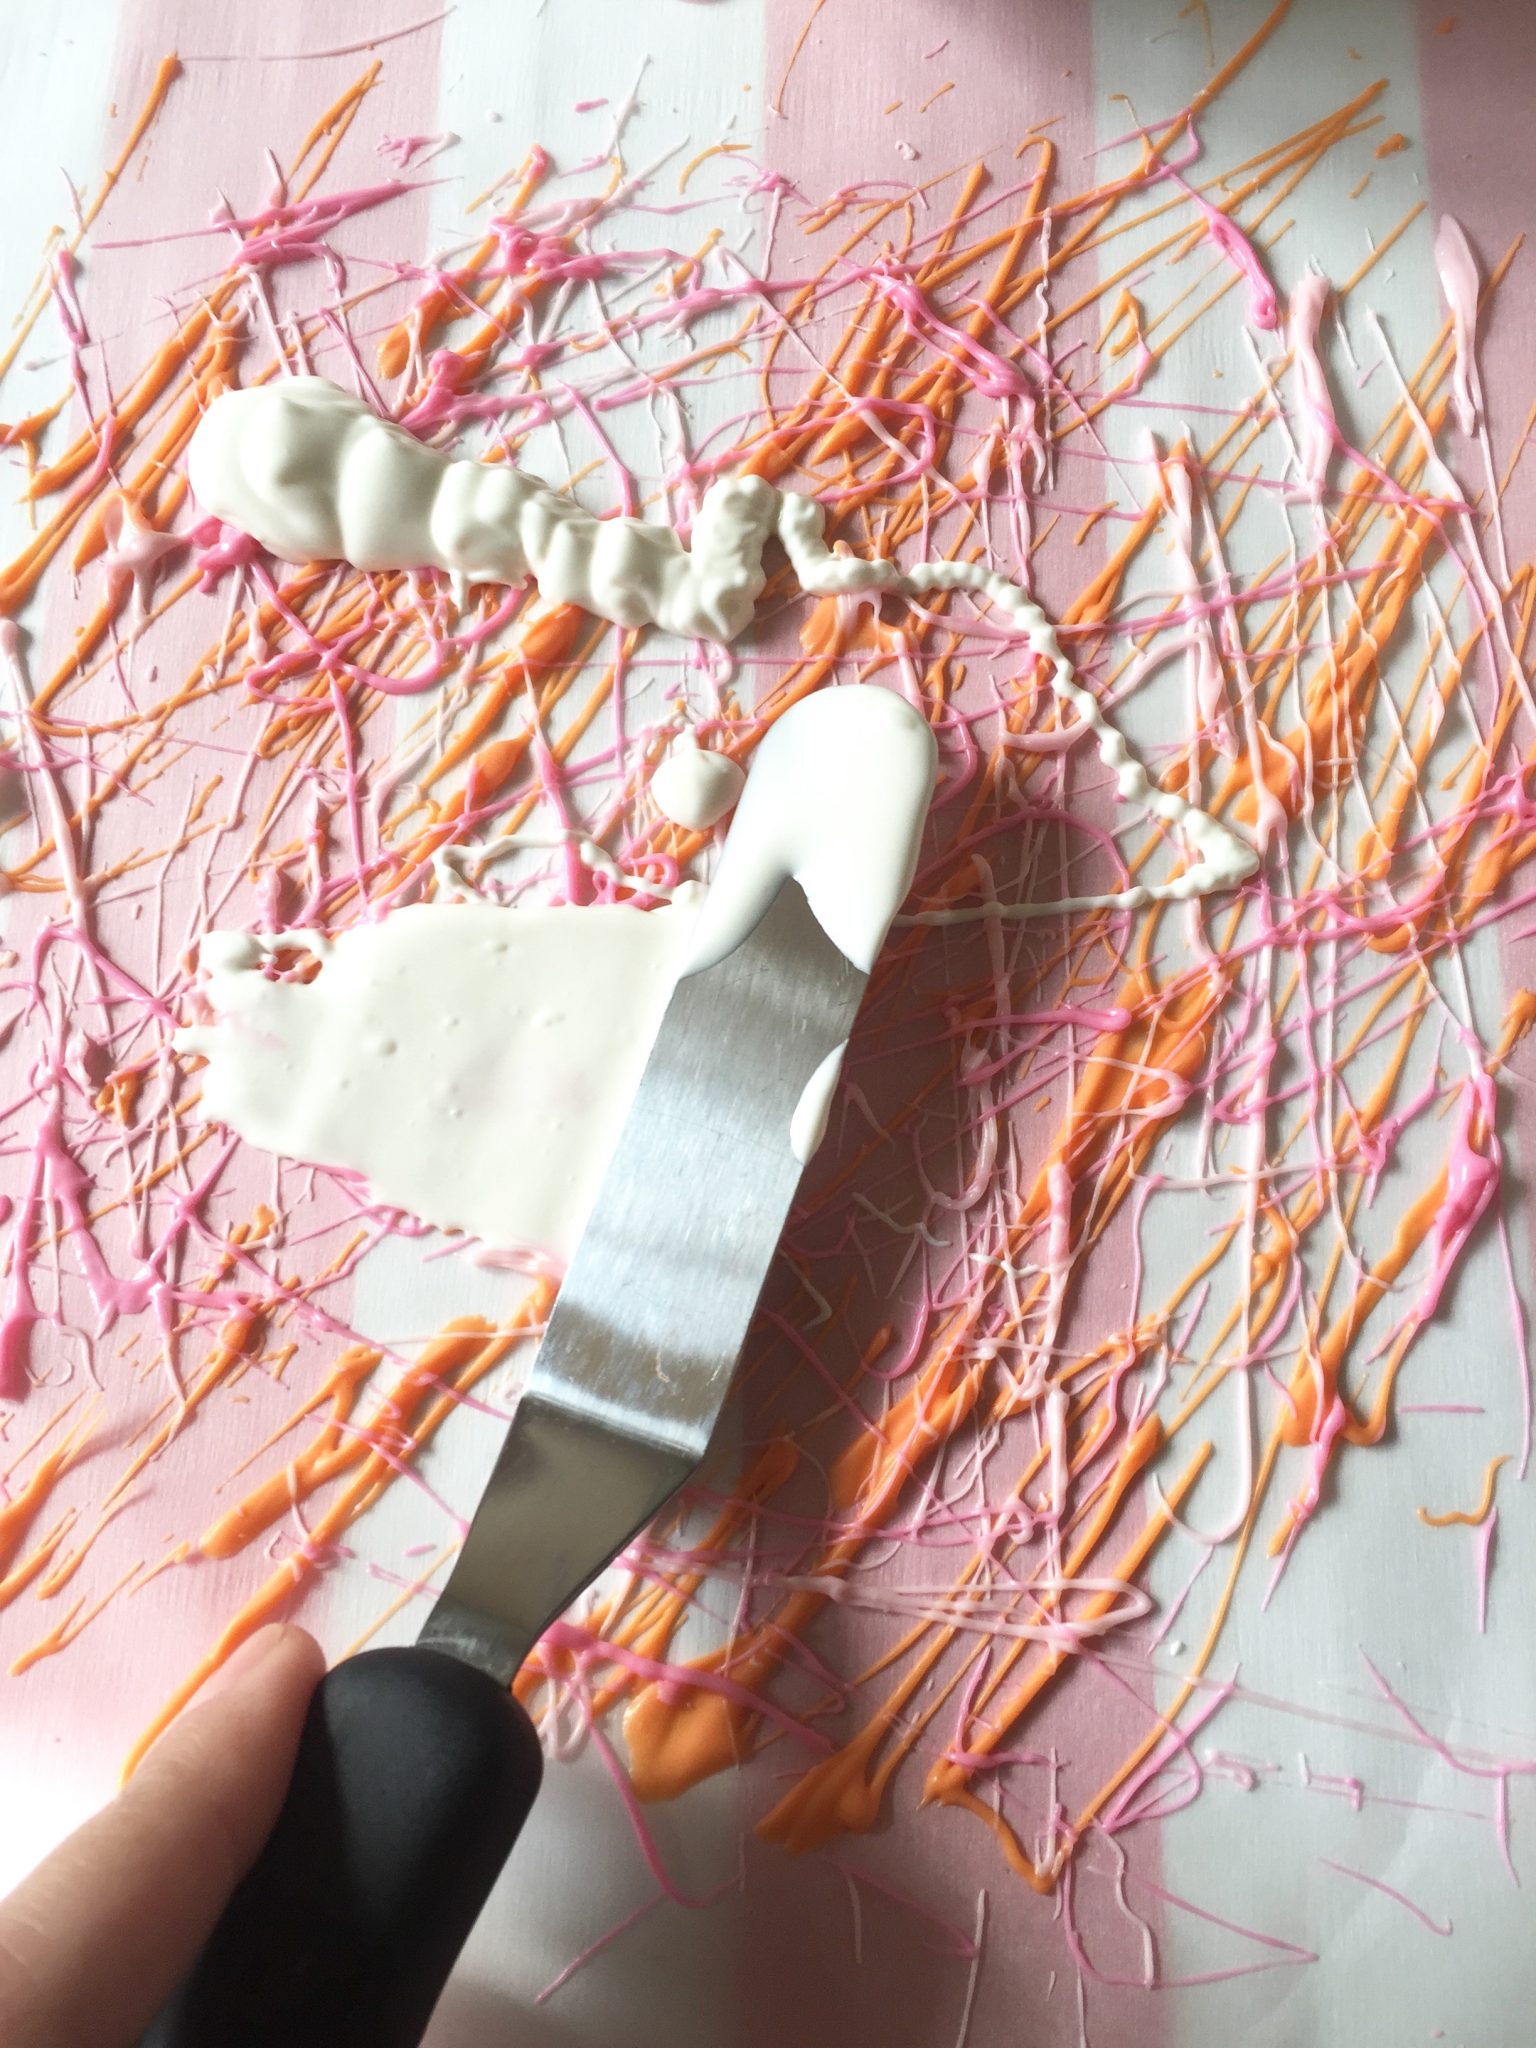
Once you are done with your colors it time to add your background color of white. This is where you can use a frosting spreader or knife to get a smooth application.
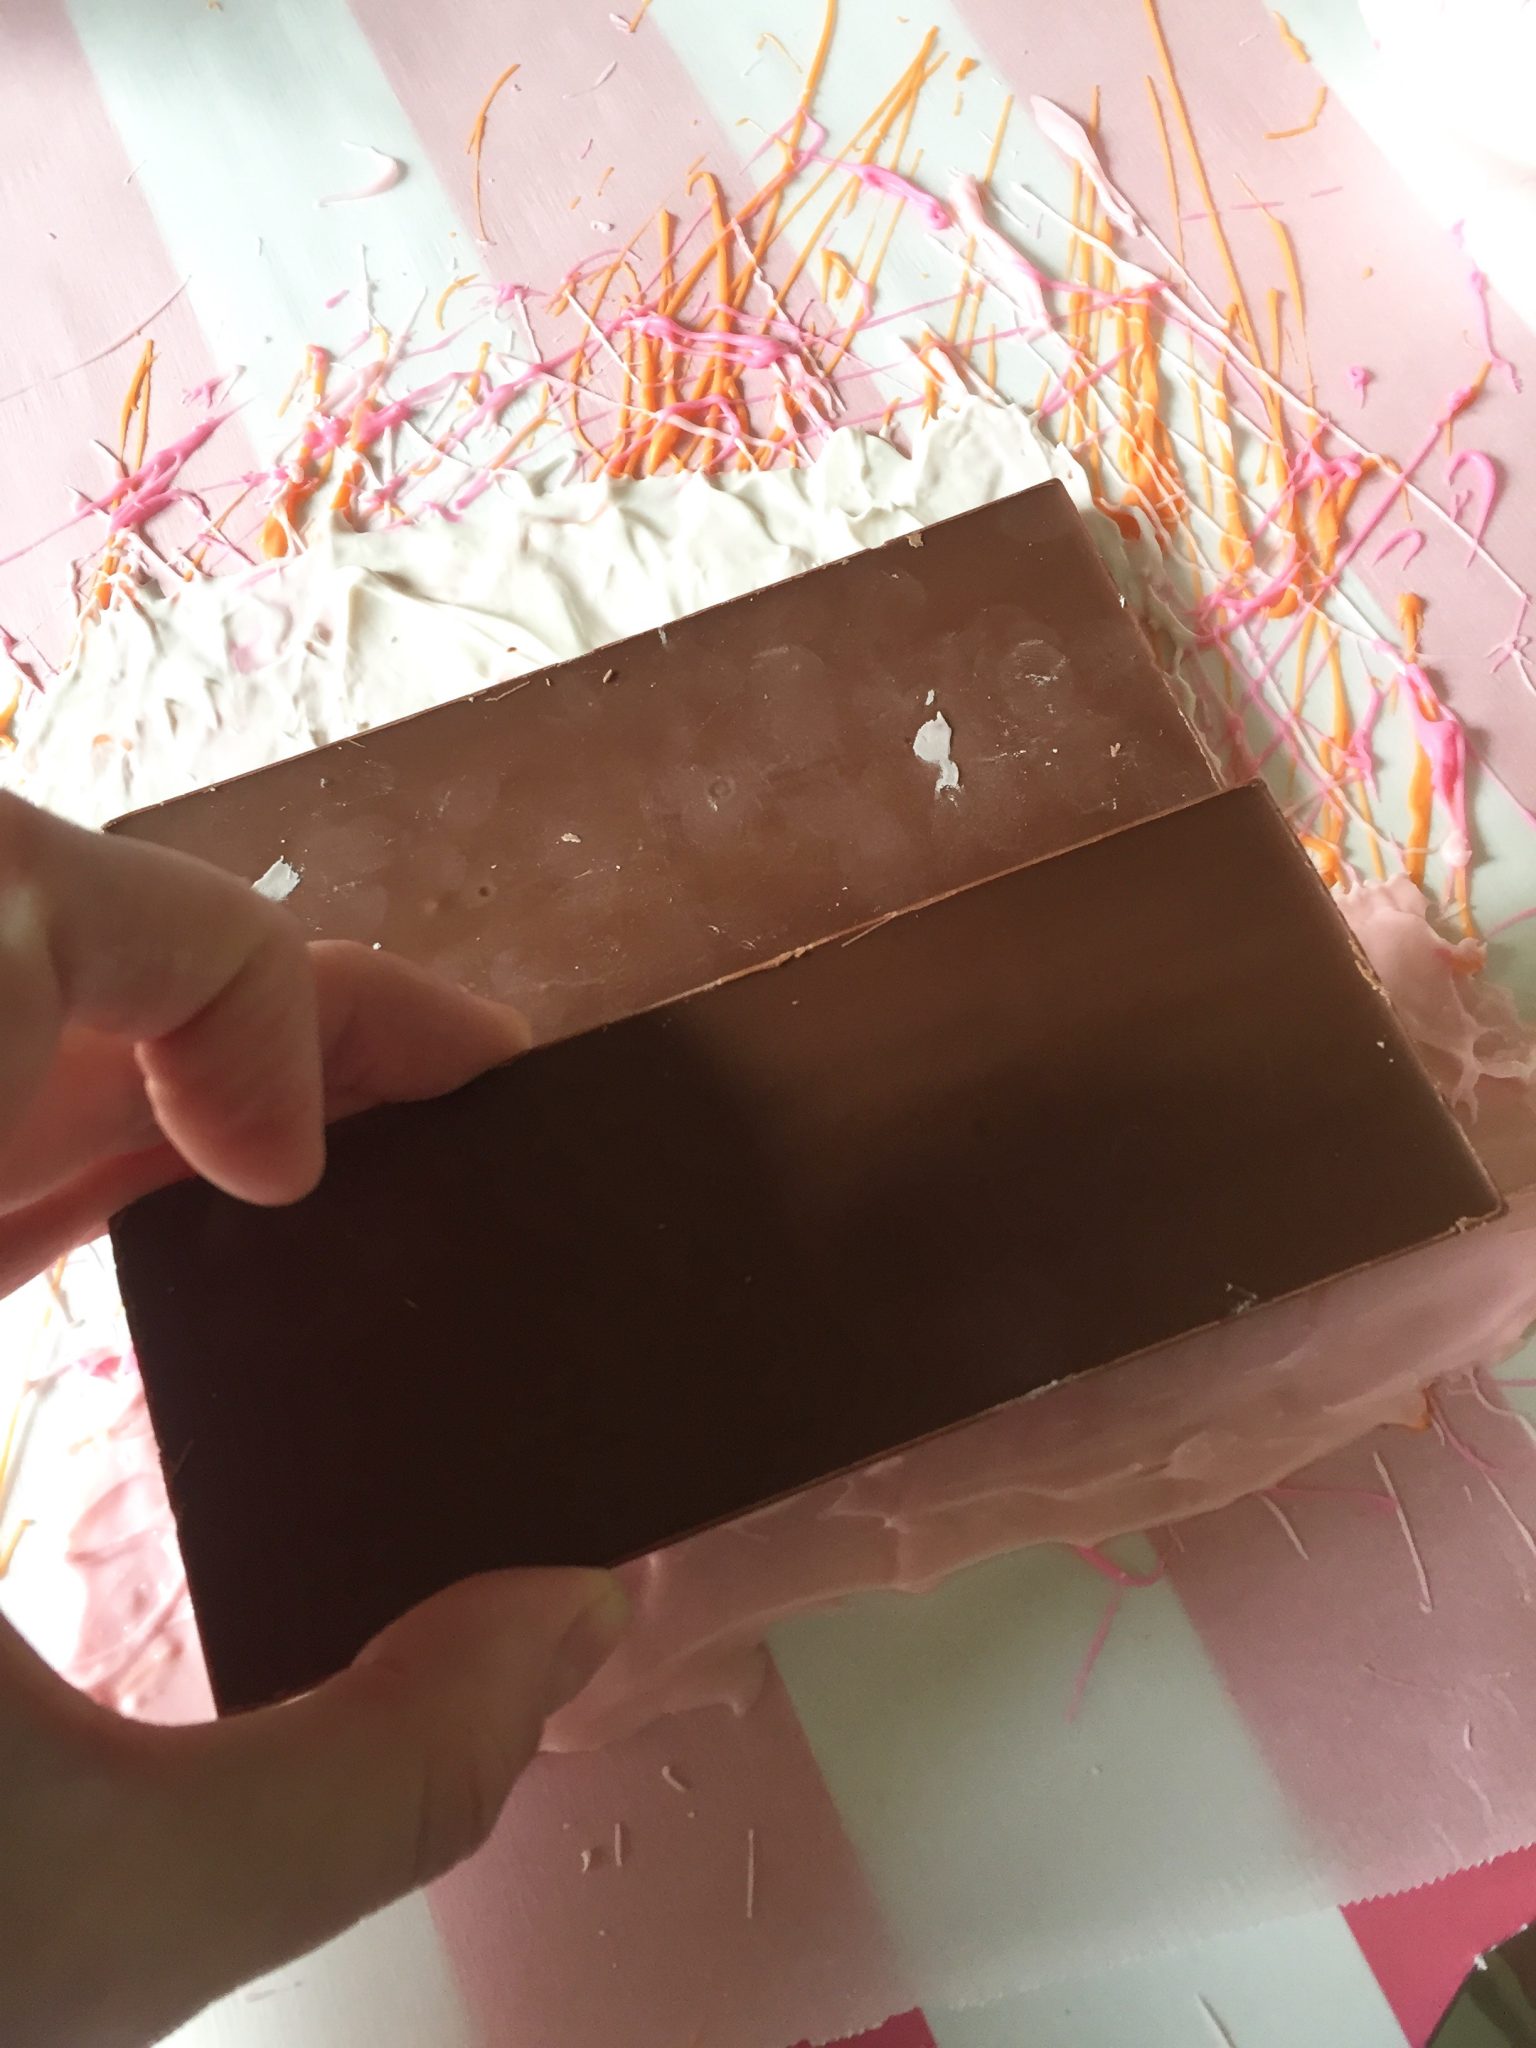
Once that is done you are almost finished! Simply take your Hershey chocolate bar and place it block side down into the candy melts.
Now it’s time to just let them set. I like to leave them overnight, because I want to make sure it’s fully set, but use your judgement. I would at least let them set for a couple of hours.
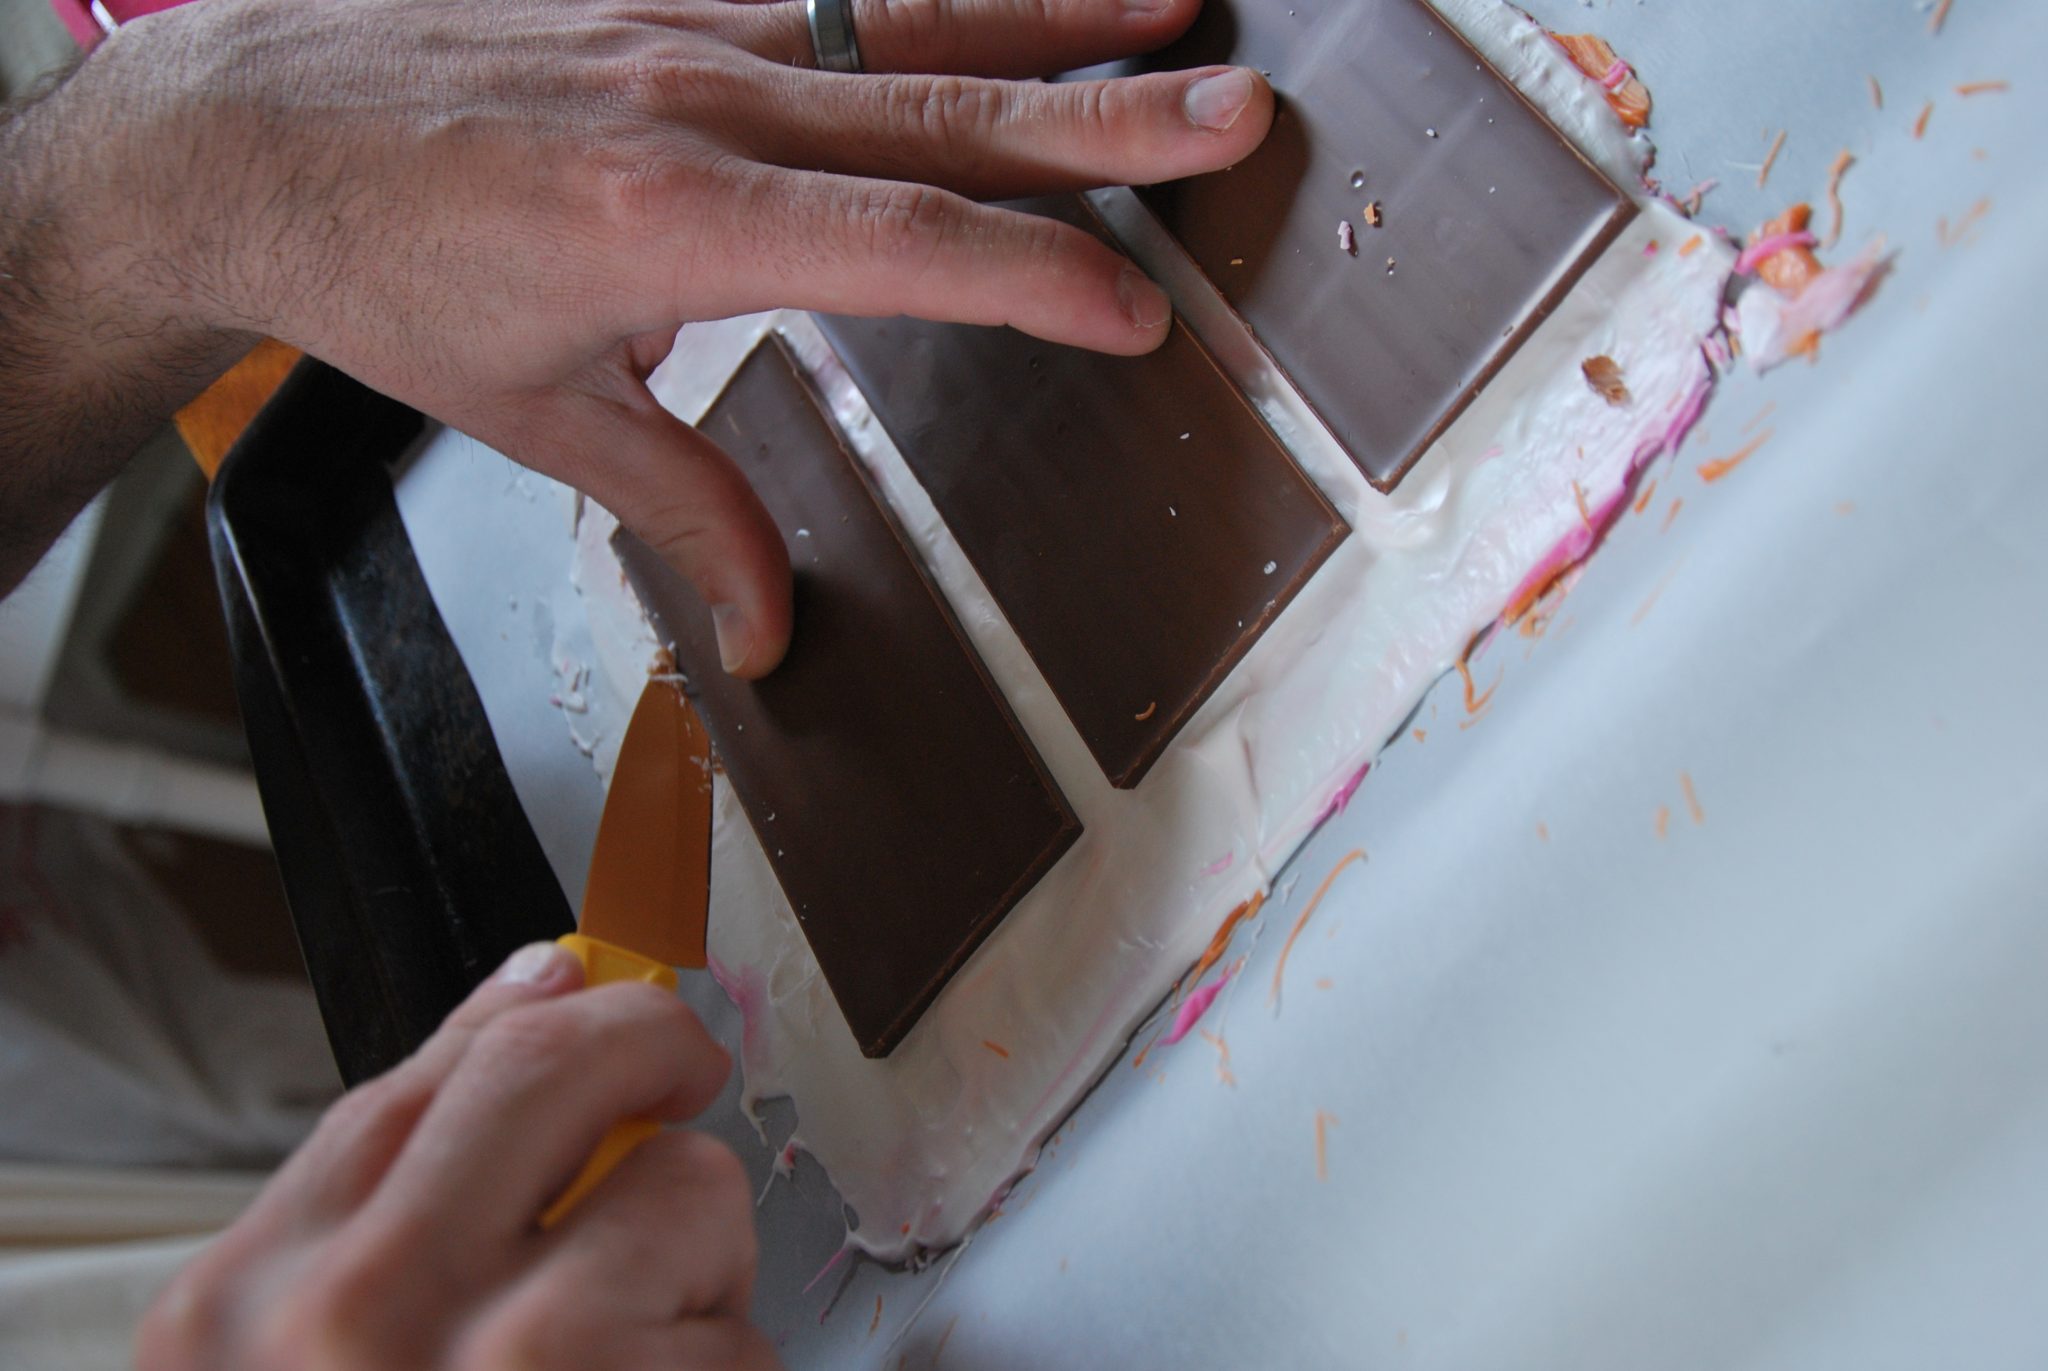
Finally it’s time to slice them out. This step gave me a little bit of problems, but after doing a bunch of bars I finally got the hang of it. Make sure you use a super sharp knife and it’s easier to have control of where you are cutting when you grab the bar and start shaving down the sides instead of just cutting it all out while it’s laying down. Also mistakes/chips will happen. Don’t fret. Just make another cut and move on. I decided not to stress if I had some smaller chocolate bars in the mix.
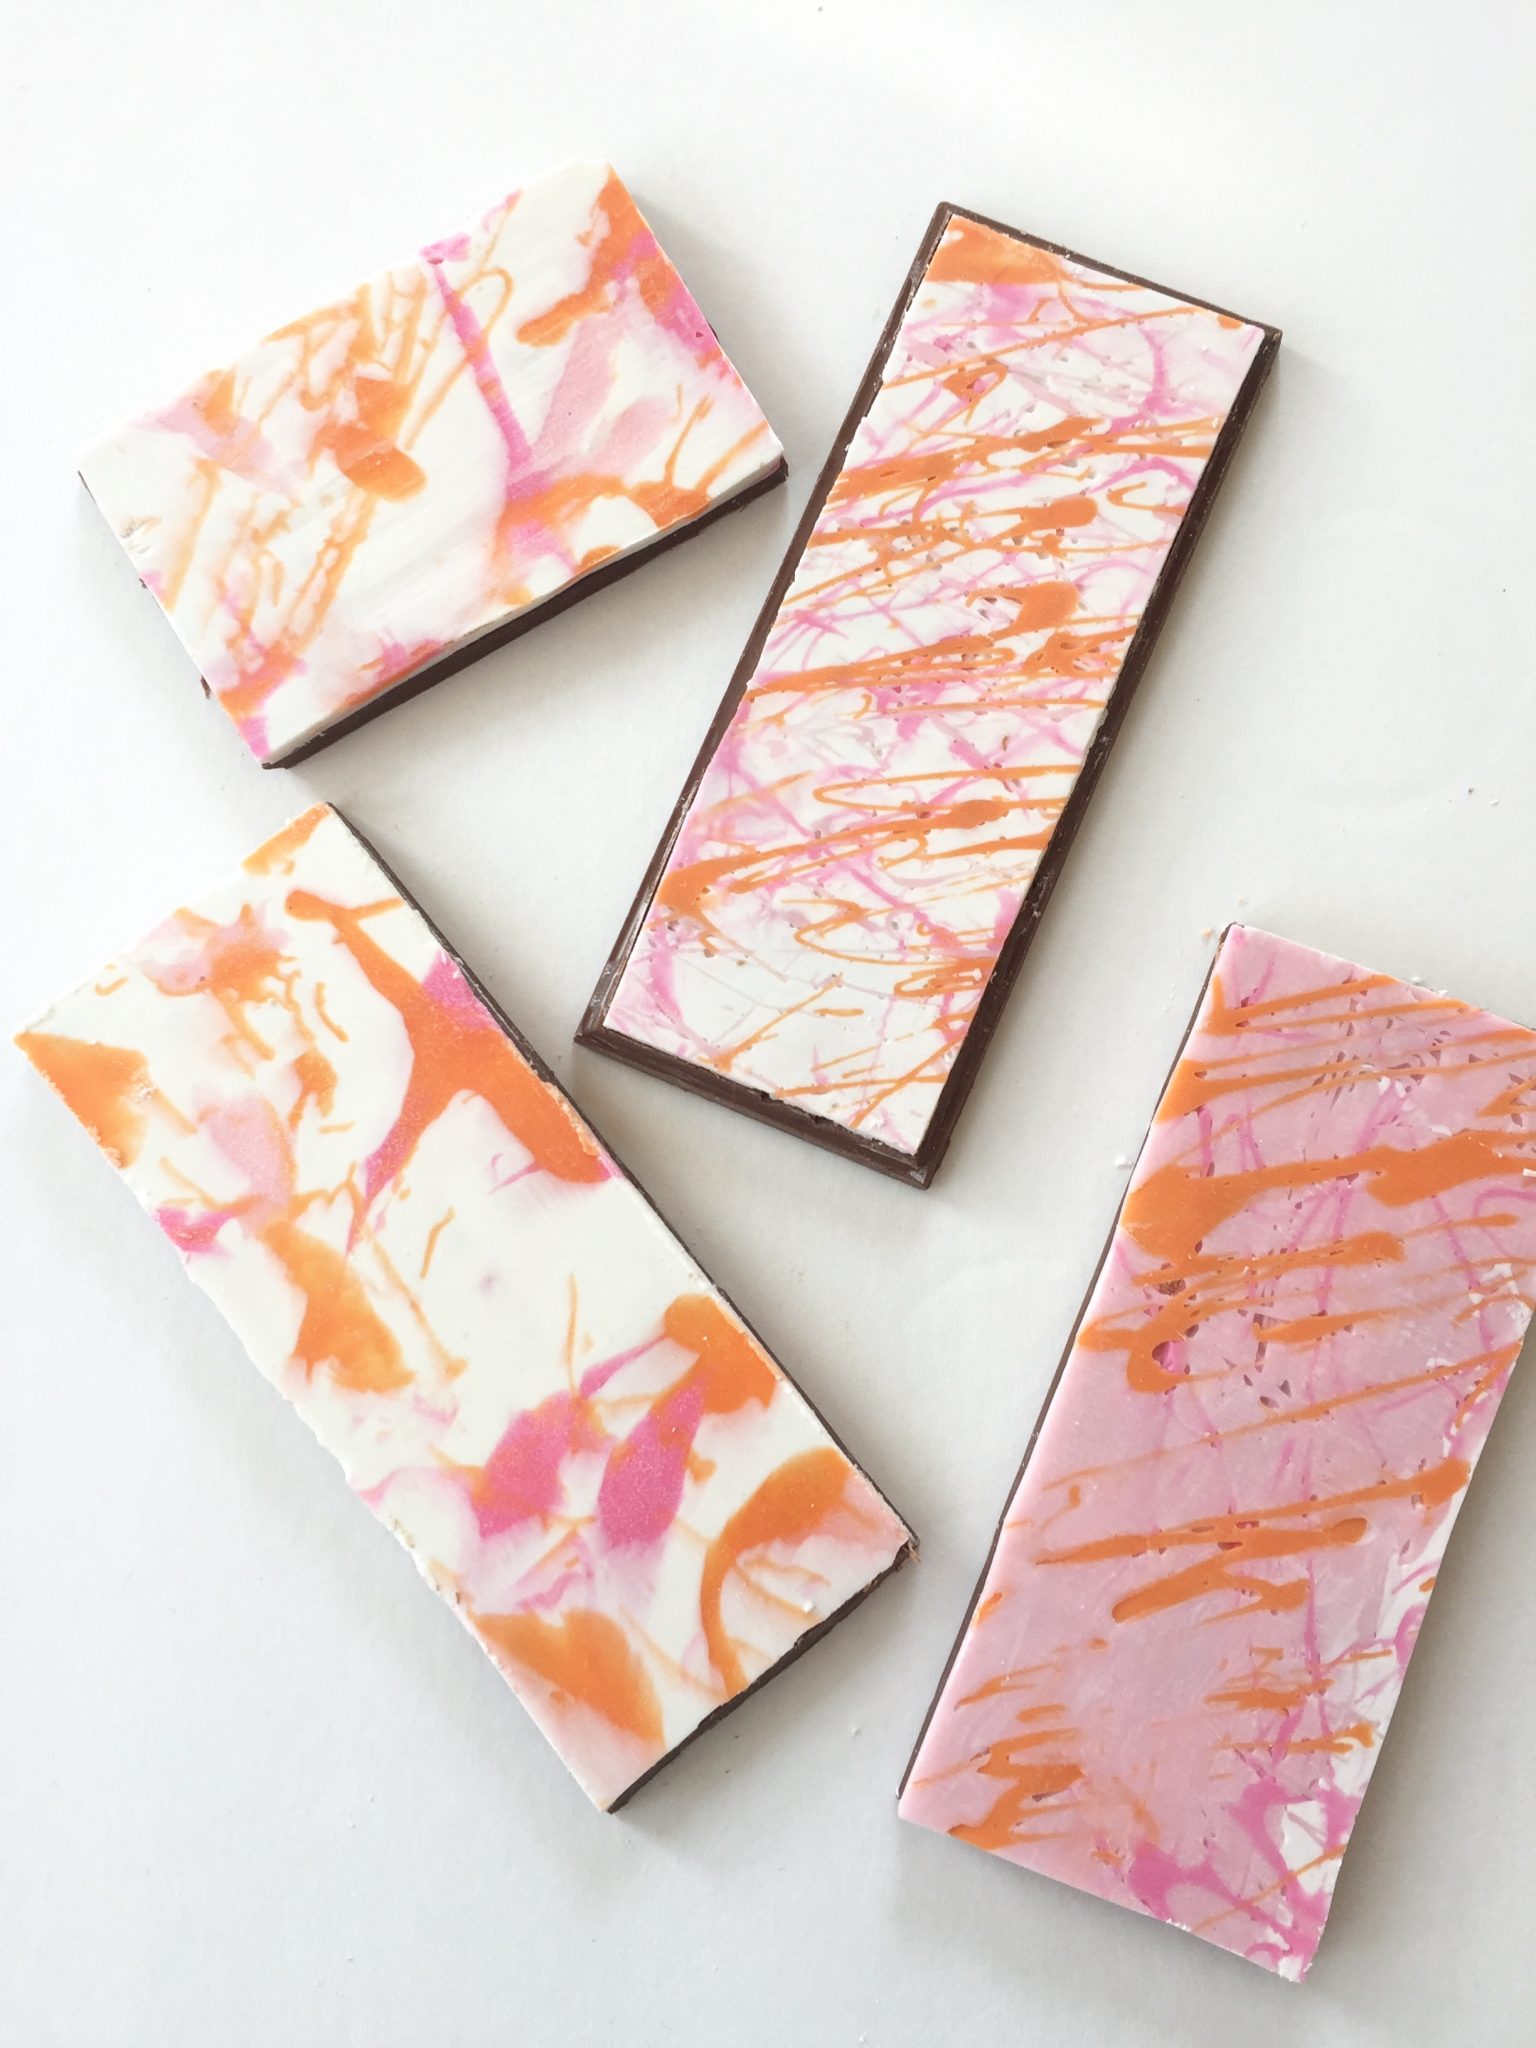
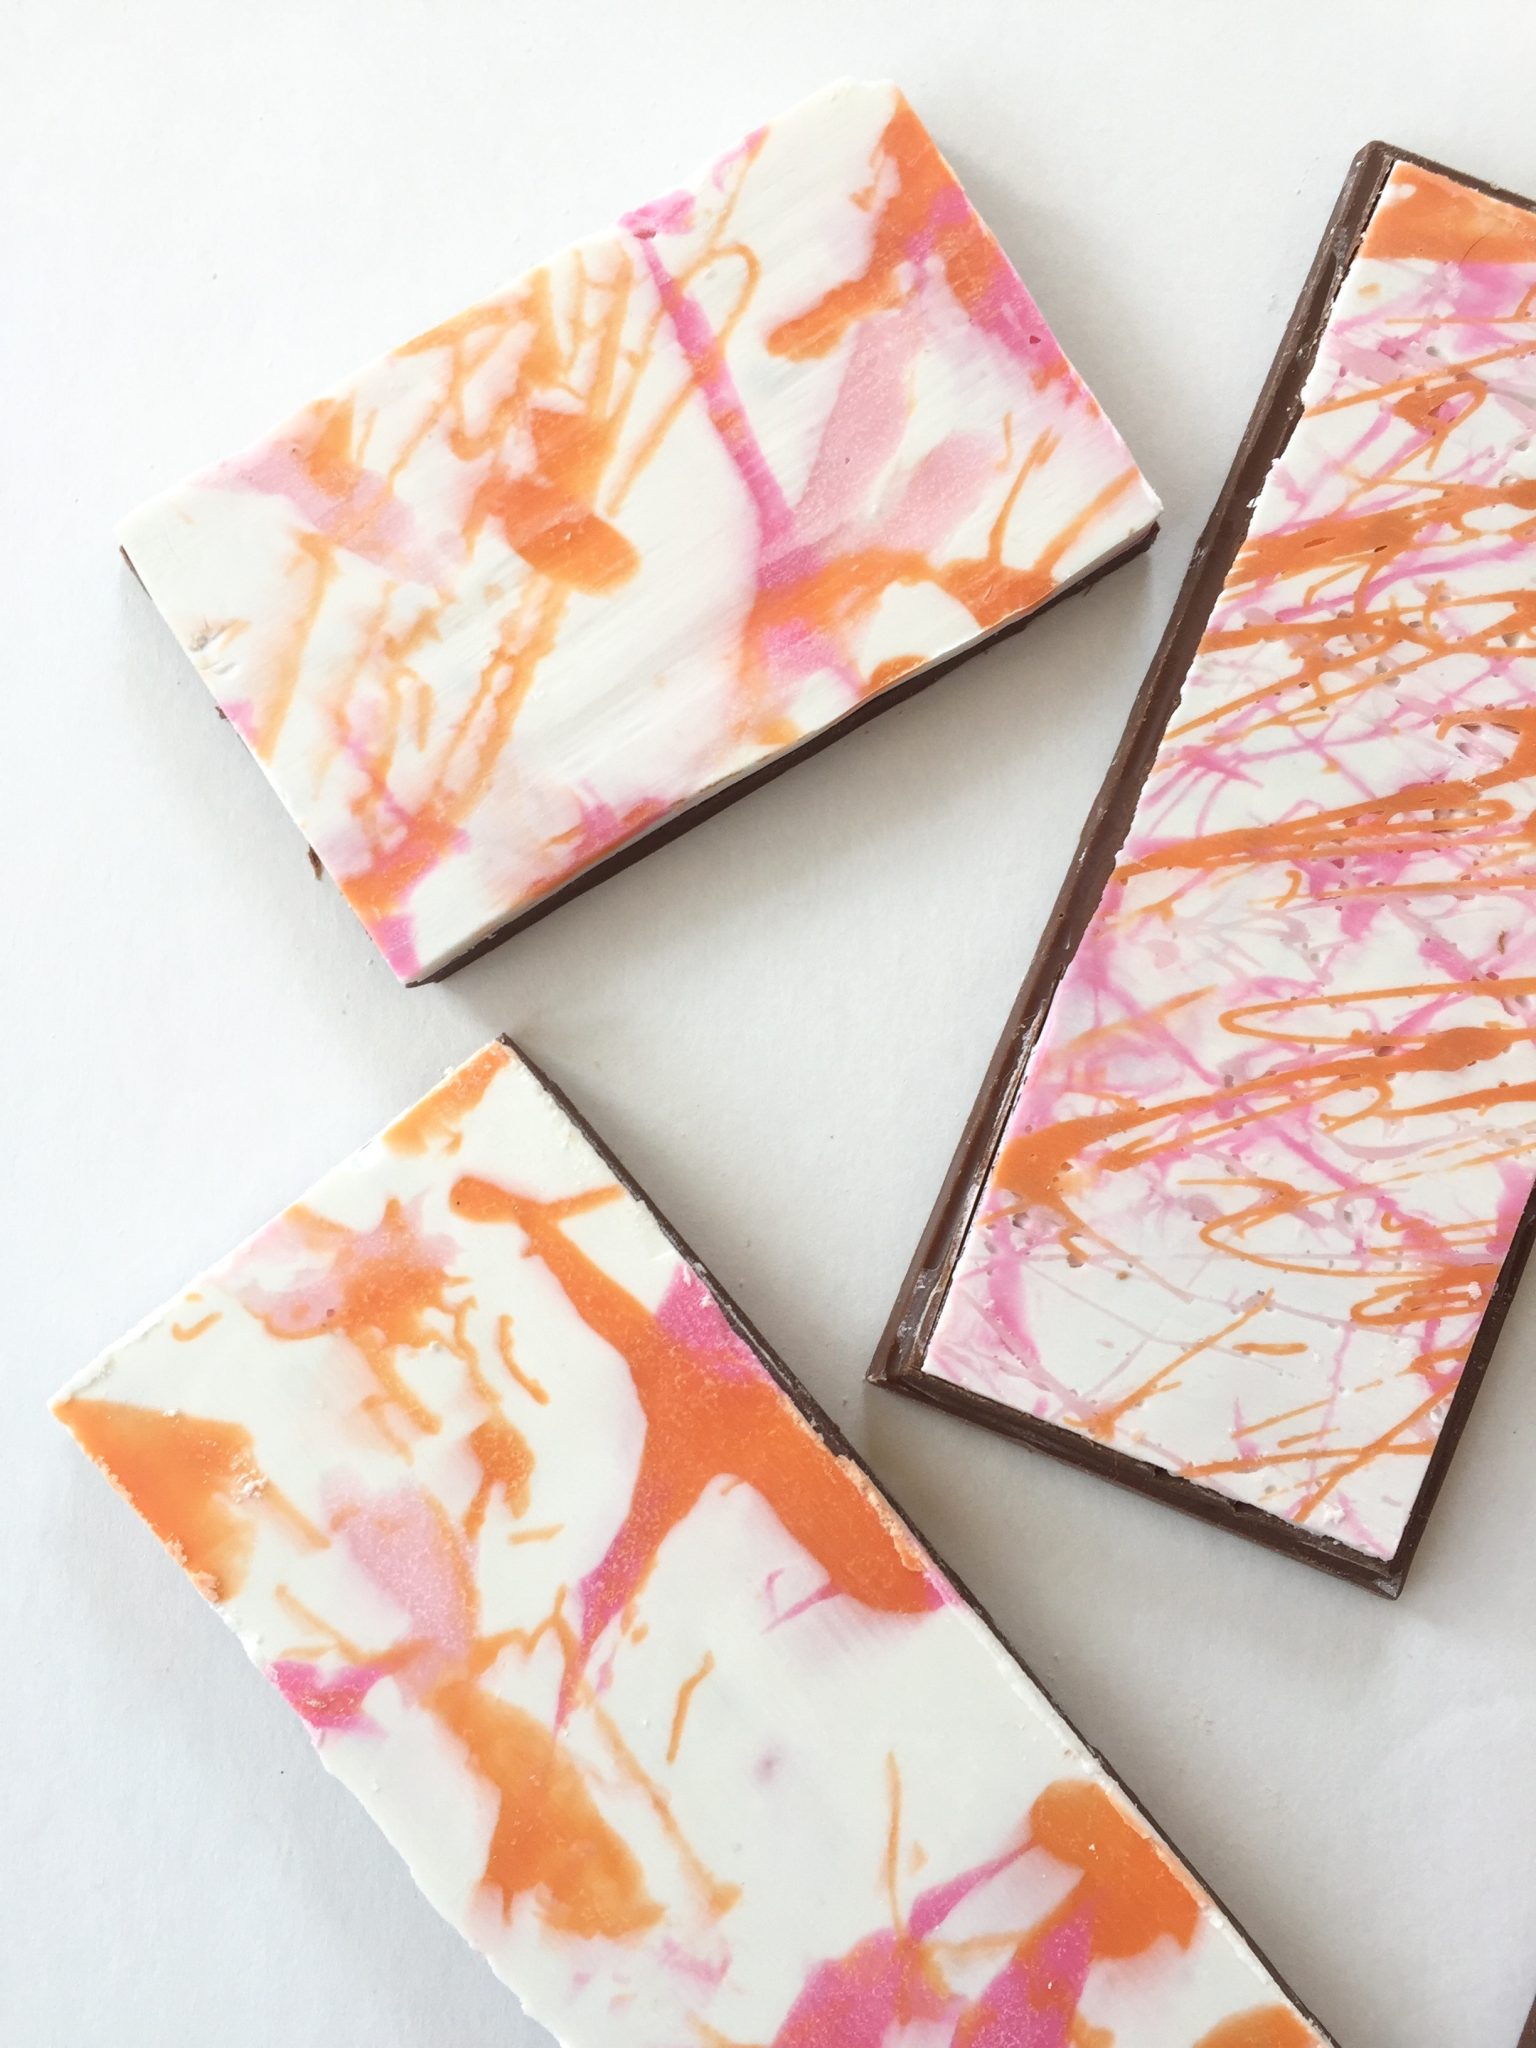
It was such an easy project and I’m obsessed with the outcome!
Leave a Reply
get inspired with our own home tour
ON THE BLOG


My living room is one of the rooms that evolved drastically from when we first moved one. Originally I painted the walls chocolate brown and did accents of white, blue and orange. That lasted maybe 2 years.

Our dining room sat empty for months. Okay maybe it was empty for just a handful of weeks and then we couldn’t take it anymore and put in a folding table and plastic outdoor chairs, but in my mind that was still empty.

On the main floor of our house we have a Florida room. Being that it’s a Florida room it is a considered a 3 season room, because there is no heat in the room. The previous owners used it as an indoor patio with outdoor furniture and it looked like this when we moved in.


What a brilliant idea! You could wrap them up in cute cellophane bags and tie them with a ribbon. They would make fabulous teacher gifts.
Thanks! Such a cute gift!