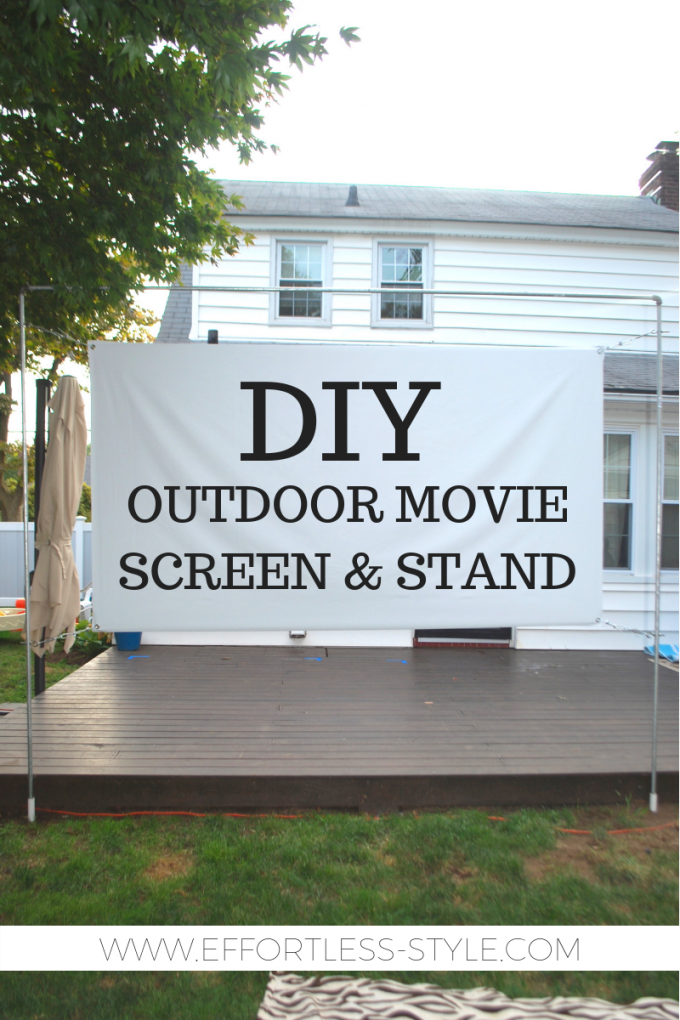
DIY OUTDOOR MOVIE SCREEN AND STAND
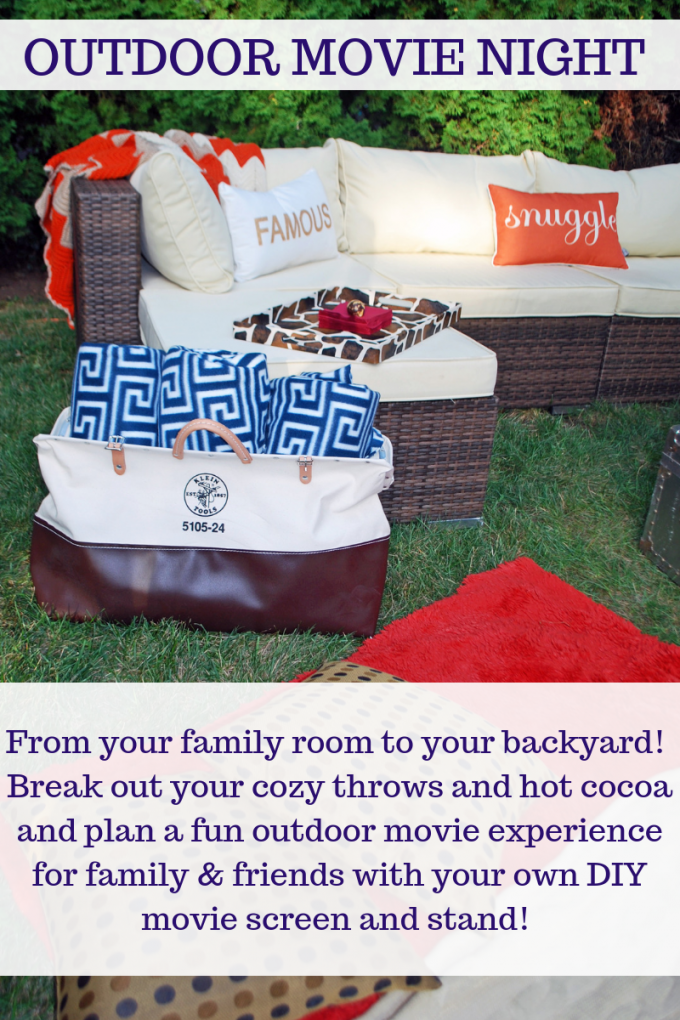
Fall is the perfect season to host an outdoor movie night in your backyard! It’s that time of year when outdoor furniture is still outside and it gets dark earlier than the summer which means your little kiddos can enjoy the movie night as well. It’s so nice to transform your backyard with cozy blankets, a hot cocoa station and a very simple DIY movie screen with it’s own frame and a projector and you are in business!
Here is what you will need to achieve the perfect outdoor movie night.
-Outdoor Movie Screen (DIY STEPS BELOW)
–Projector
-Ipad or Laptop
-Snacks
-Seating
There are a wide variety of projectors out on the market and they range in prices, but most are on the high end side. For a typical user that wants to have occasional movie nights I found that this projector was the best bet for quality and price point.
When you are searching for a projector, make sure to pay attention to resolution and brightness. A high resolution number will allow you to stretch the image on a larger screen without losing clarity. A high lumen value (brightness) will allow you to see images in brighter rooms, which is helpful for outdoor viewing when you want to start your movie before nightfall.
Once you have settled on a projector you may be wondering how to set up your audio. Of course most projectors will come with built in speakers, but since you are outdoors you may need louder sound for all of your guests to enjoy the movie. Projectors have different outputs on the rear and one option is using audio out to an external sound system like a surround sound or old boom box, which is what we used.
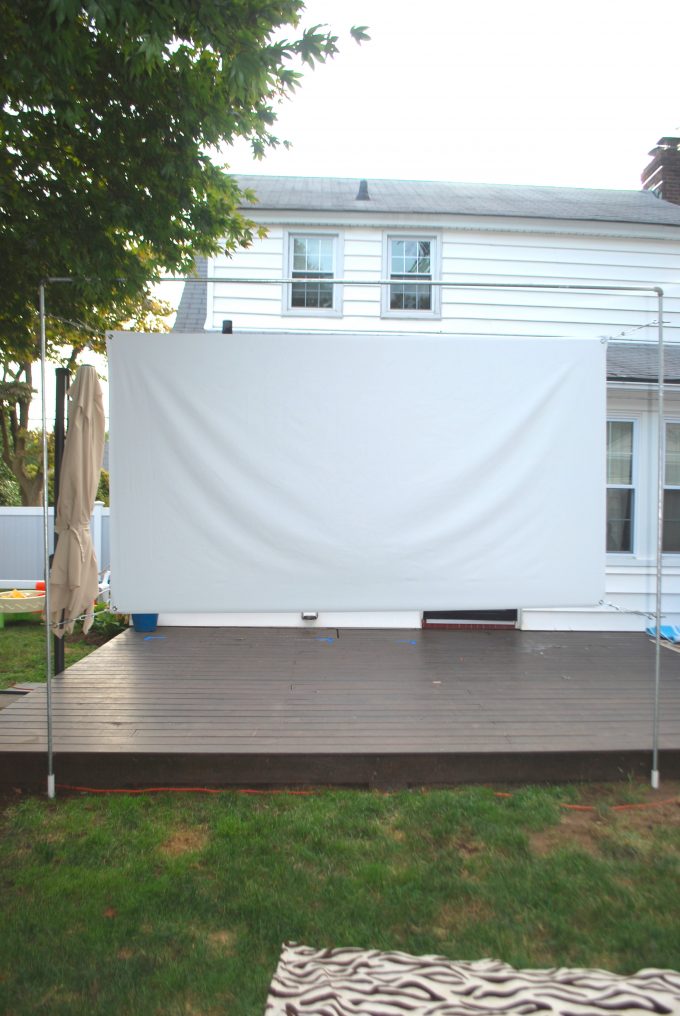
Now that your projector and sound is figured out you need to get a movie screen set up. This is where an easy DIY project will provide you with the perfect screen.
Here is what you will need:
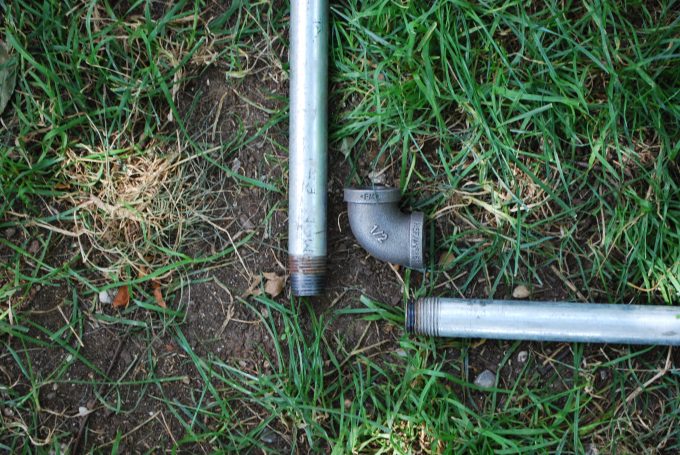
– Qty 3: 10 foot sections of half inch galvanized pipe with threaded ends
– Qty 2: ½” 90 degree threaded galvanized pipe elbows
– Qty 4: Eye hook with threaded shank with nut
– Qty 4: 3/32 inch Plastic coated wire rope approximate 2 ft sections
– Qty 8: Wire clamps for 3/32 inch Plastic coated wire rope
– Qty 4: Small Guy Wire tensioners
– Qty 4: Grommets
– Qty 3 yards of Black Out Curtain Liner
– Qty 2: 1” PVC pipe 2 ft long
– Qty 2/ 1” PVC cap
STEP 1:
You will need to find a 10 ft long section in your yard that also has 10 ft high clearance. We used the edge of deck for this.
STEP 2:
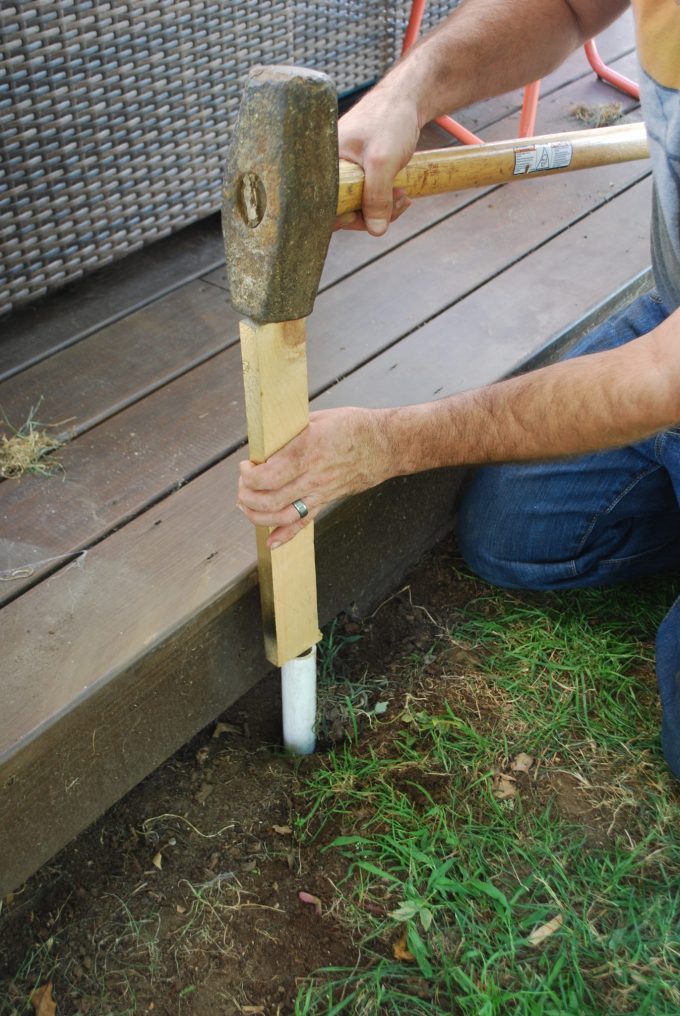
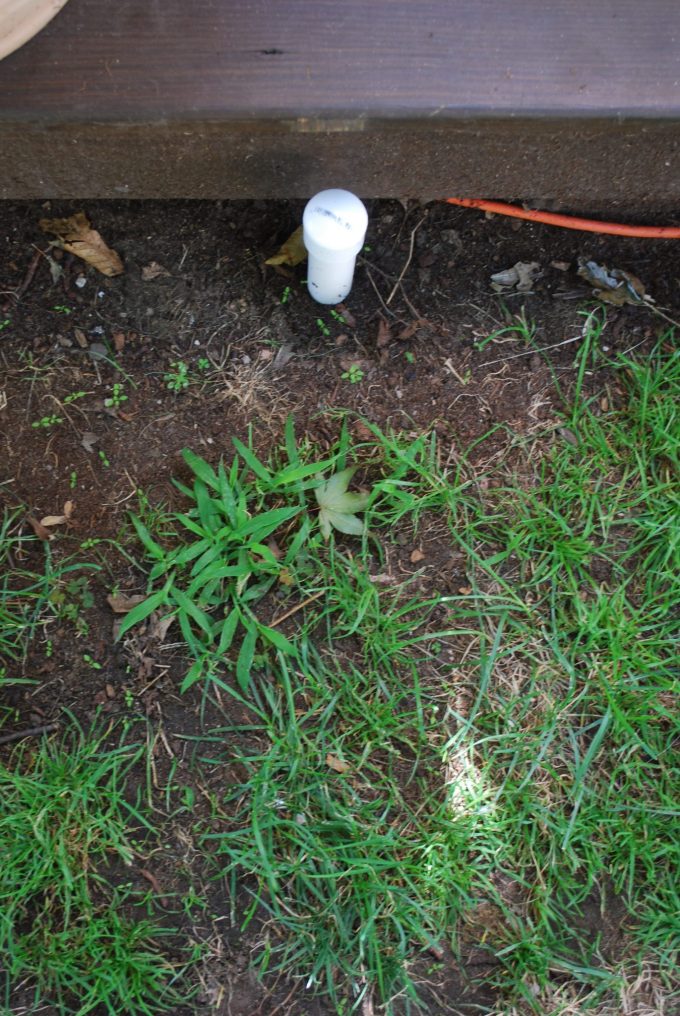
Our frame will be made out of galvanized pipe and in order to keep that upright we will need to insert the 1” PVC pipe into the ground 2 feet deep at the points on the lawn where the width of the frame will be placed. In our scenario these pipes will be 10 feet apart.
STEP 3:
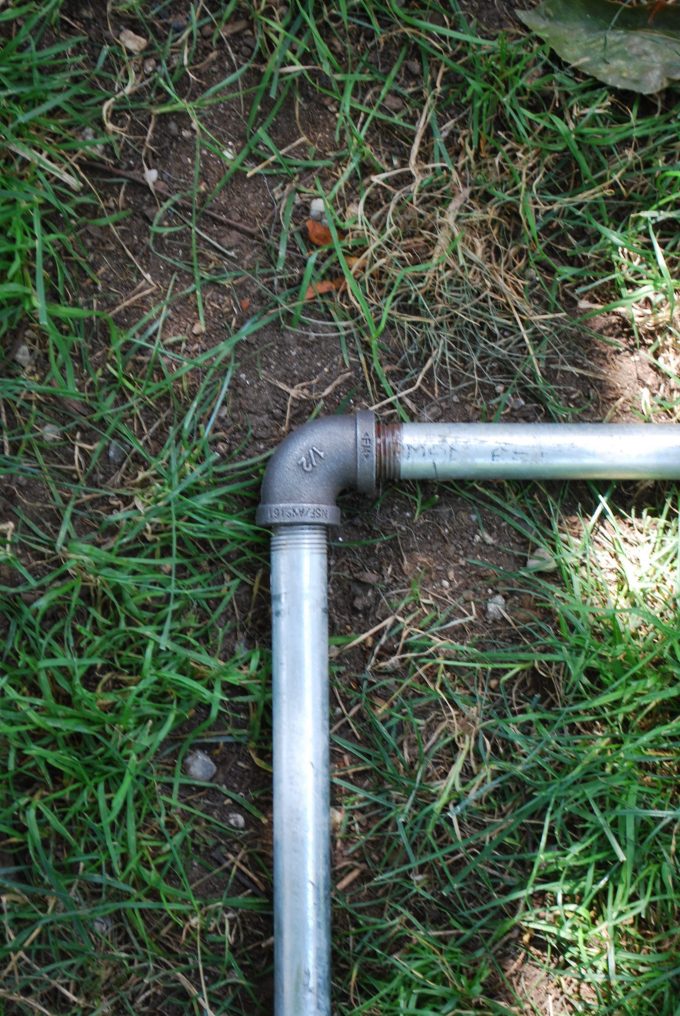
Take one 10 ft section of galvanized pipe and thread a 90 degree elbow onto one end. Thread another 10 ft section of galvanized pipe into the opposite end of the elbow you just threaded. You will now have an upside down L. On the end of the 10 ft section of galvanized piping that you just threaded add the second 90 degree elbow. Into the opposite end of that elbow thread your last 10ft section of galvanized pipe. You will now have an upside down U that is your frame.
STEP 4:
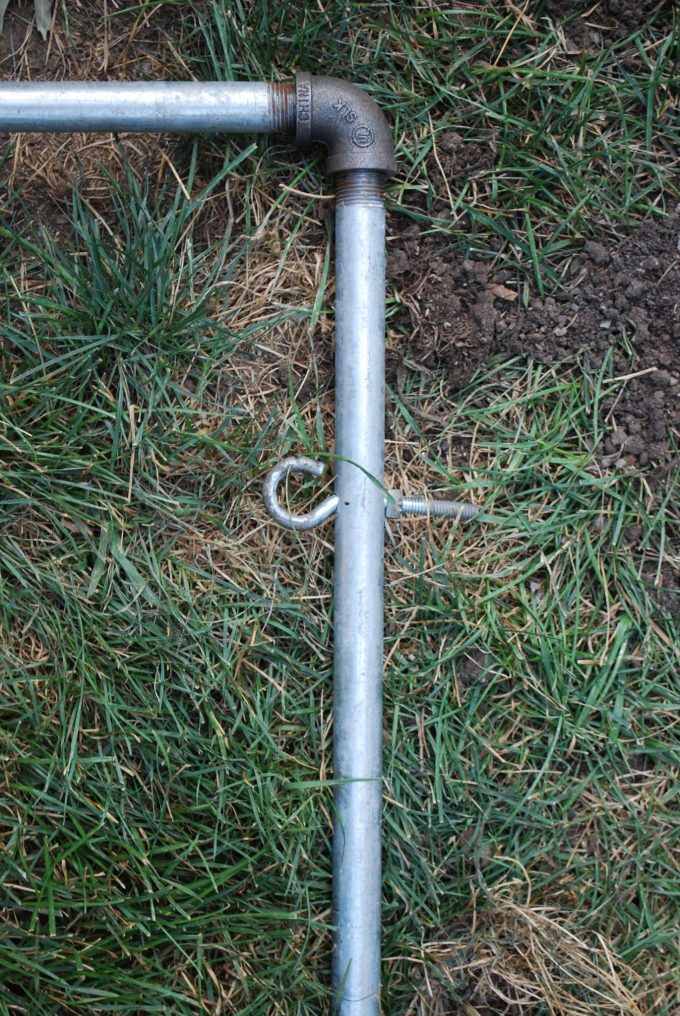
On each of the sides of your frame drill a hole approximately 8” down from your elbow. Make sure you don’t drill down on the pipe, but through the side of the pipe. Once you have drilled your hole through the pipe, insert your eye hook from the inside of the frame and secure with nut on the outside of frame. Repeat on opposite side.
You will also be repeating this step on each side 60” below the eye hooks you just placed.
STEP 5:
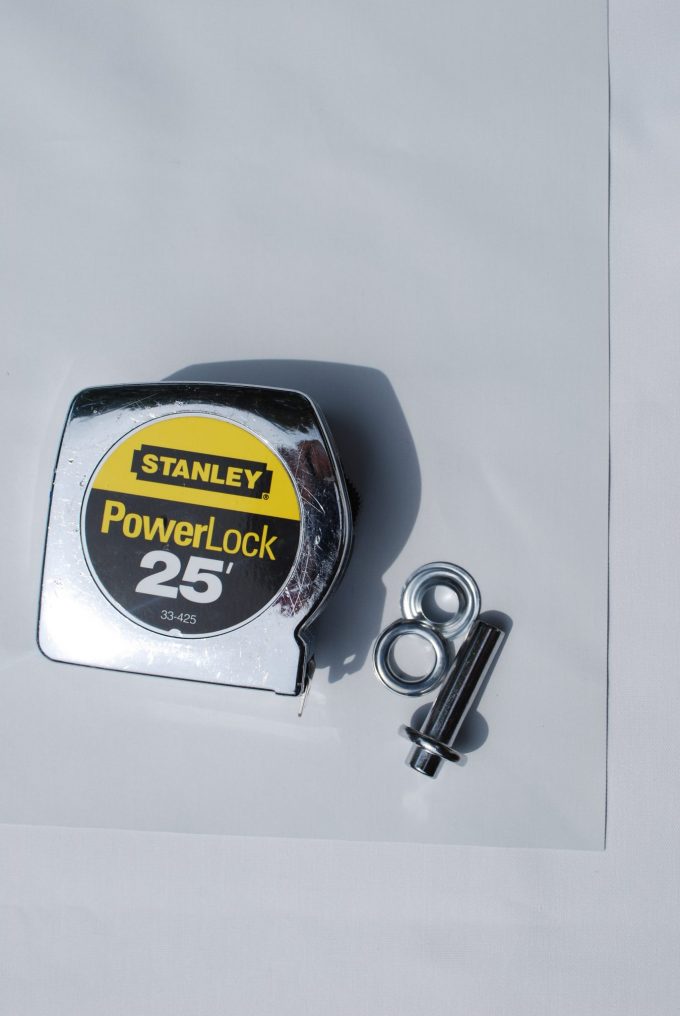
Now it’s time to work on the actual screen! We are going to need a 54” wide section of blackout curtain liner (this is standard for most fabrics) that is 8 ft long. We purchased a 3 yard (9 ft) section so we needed to remove one foot. You will also need a tape measure and a grommet kit.
Due to the nature of blackout curtain liner you will not to hem anything because the fabric will not fray. You can use other fabrics, but we found that blackout fabric was the best because we are projecting our image onto the screen we needed a fabric that would prevent the light aka movie image from bleeding through the screen and giving us a lower quality image.
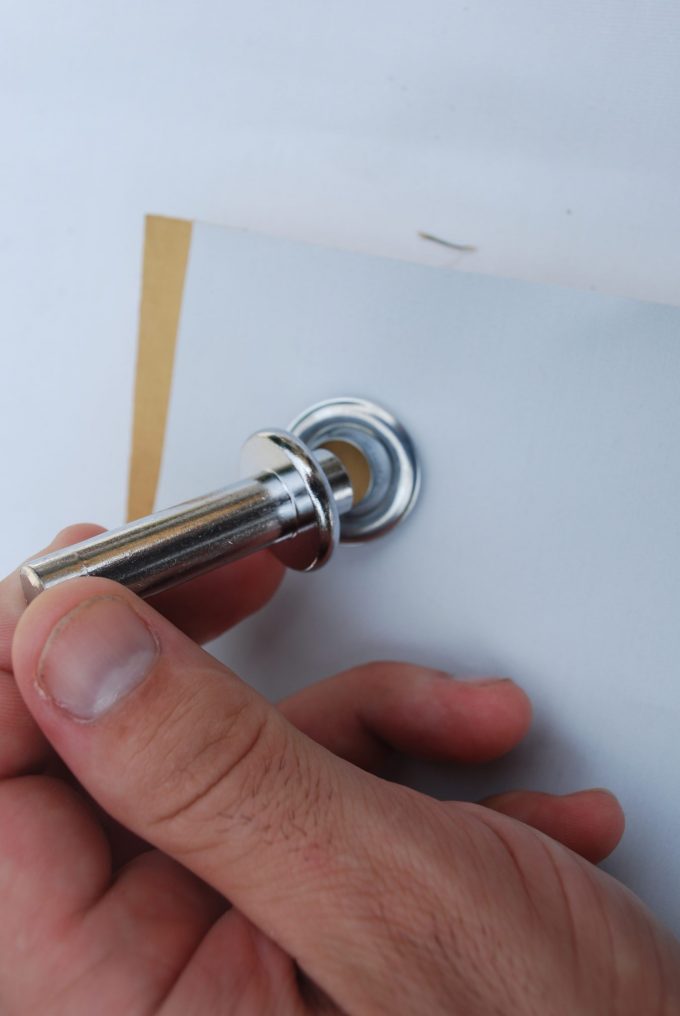
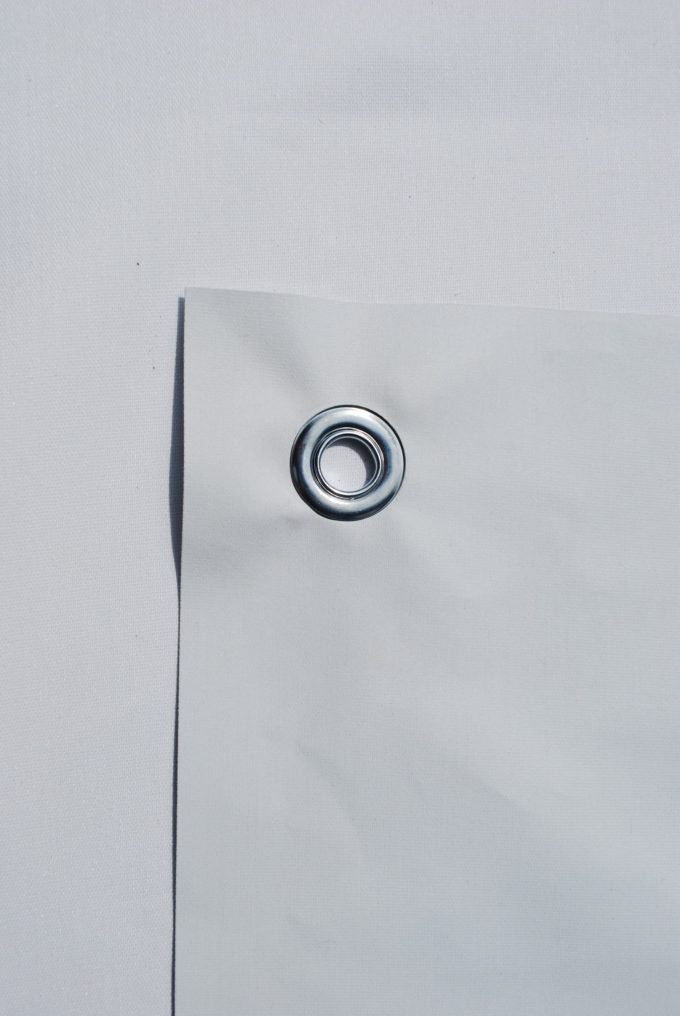
Go 2” in from each corner and cut a small hole that each grommet will be placed into. Use grommet kit tool to secure grommet into place.
Your screen is now finished.
STEP 6: ATTACHING SCREEN TO FRAME
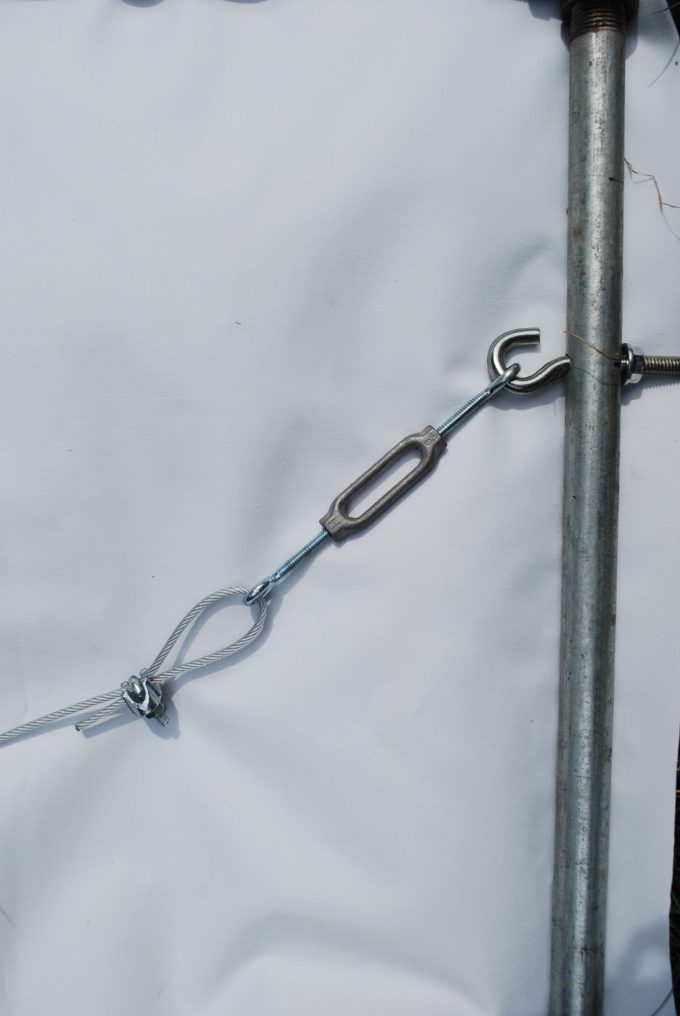
Open guy wire tensioners so that they are as long as possible.
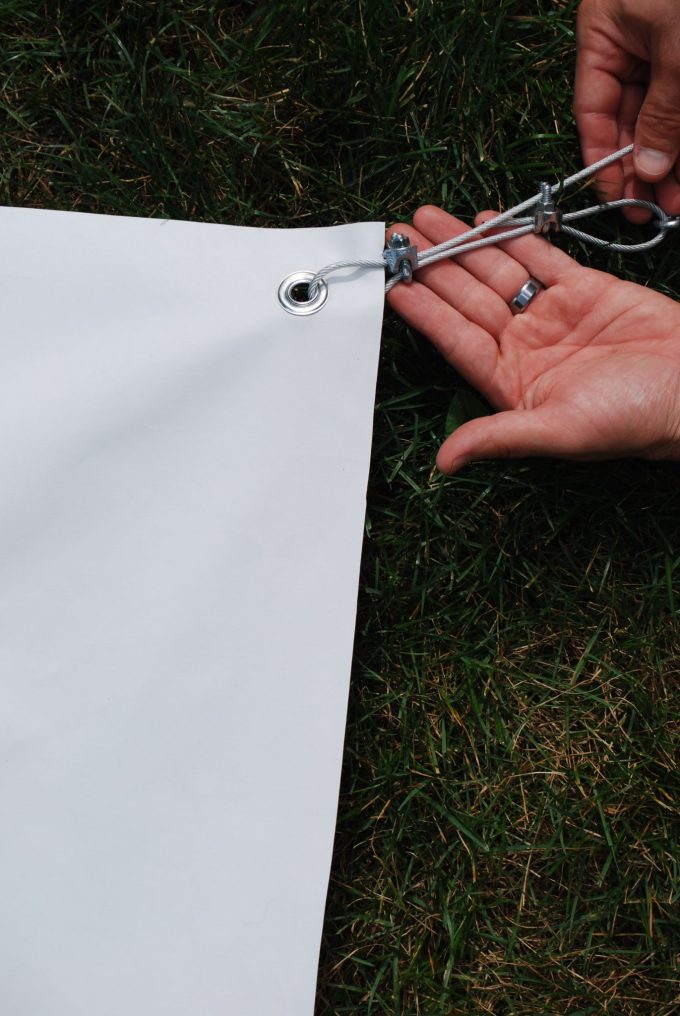
Take your wire rope and thread it through one eye of the guy wire tensioner and secure in a loop with wire clamp. Repeat 3 more times on additional guy wire tensioners.
Loop opposite end of each guy wire tensioner onto each of the 4 eye hooks on the frame.
To ensure that screen is centered within frame make sure to lay screen within the assembled frame. Take unsecured end of wire rope and thread through the grommet on screen and secure with wire clamp. Repeat on additional 3 corners. Make sure screen is taut. You can tighten the fabric by turning the center section of the guy wire tensioner.
STEP 7:
With two people, one on each side of frame, lift the frame in unison and insert the galvanized pipes into the PVC pipes in the lawn from STEP 2.
Your outdoor movie screen is now ready for action.
Additional optional steps:
STEP 8:
When PVC pipes are not in use you may cap them with a 1inch PVC cap to prevent the tubes from filing with dirt or bugs.
STEP 9:
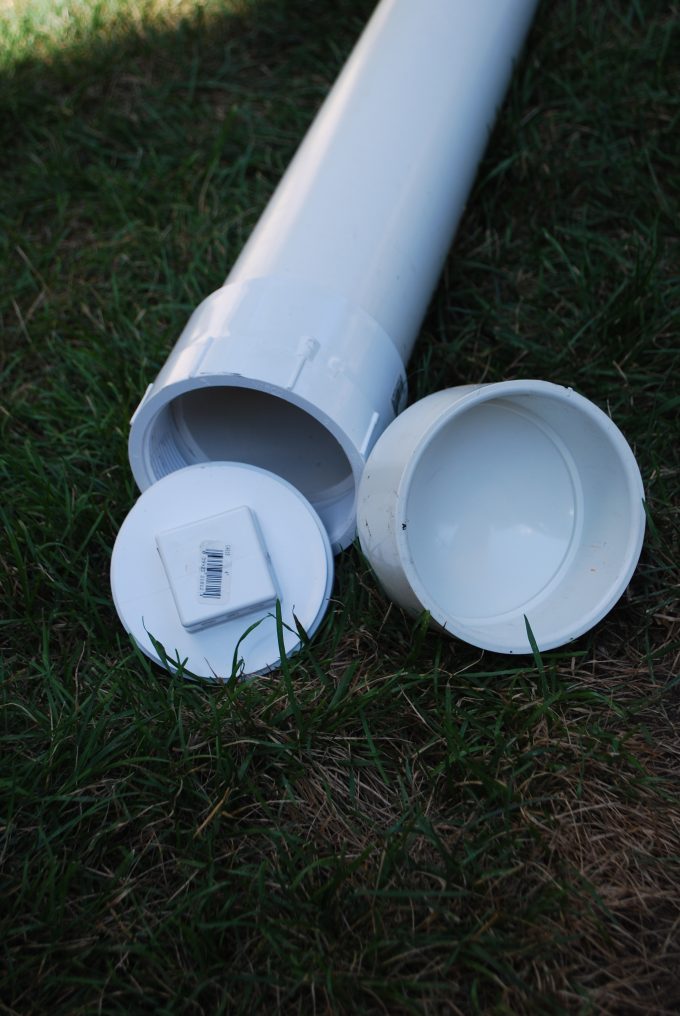
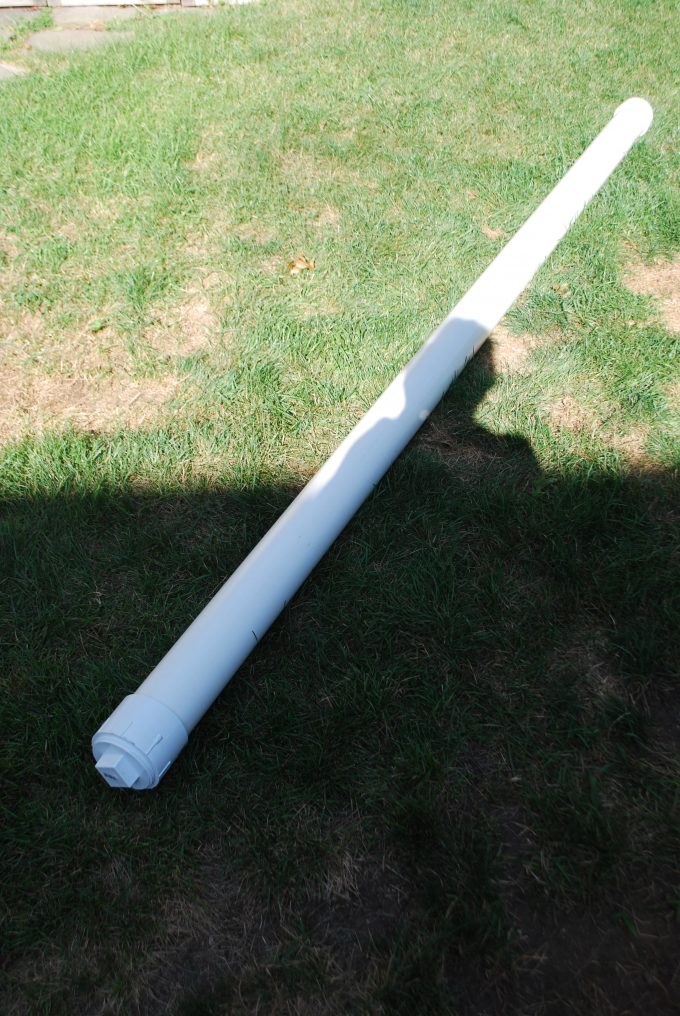
When your screen/frame is not in use an easy way to store everything is to break it down and place items into a 4” PVC tube that is 10 ft long.
This is a standard length at home improvement stores. You will need to also purchase a 4” PVC cap and a 4” PVC threaded cap. It’s easy to do, inexpensive and will keep everything clean and in one place. Plus it can be left outdoors if you have no room for it in your garage or basement.
STEP 10:
When setting your viewing area you need to take into account where you will be placing your projector and speakers. All projectors will be different so you will need to play around with placement, but in our case with the projector we recommend and the screen size in this tutorial we placed the projector 15 ft away from screen on a surface that was 18” above the grass.
The further the projector is placed from the screen the larger your image will be, but depending on the resolution on your projector you may lose picture quality the larger you go.
OUTDOOR MOVIE inspiration here!
You now have all of the tools needed to host outdoor movie nights and become a favorite friend in your circle. While the instructions are very detailed and may seem overwhelming it was actually a very simple process and took a couple of hours to produce. Plus once it’s done it takes minutes to set up. We have had numerous movie nights in our own background and have even taking it camping with us! From Lake George to Virginia!
Related
Leave a Reply Cancel reply
get inspired with our own home tour
ON THE BLOG
My living room is one of the rooms that evolved drastically from when we first moved one. Originally I painted the walls chocolate brown and did accents of white, blue and orange. That lasted maybe 2 years.
Our dining room sat empty for months. Okay maybe it was empty for just a handful of weeks and then we couldn’t take it anymore and put in a folding table and plastic outdoor chairs, but in my mind that was still empty.
On the main floor of our house we have a Florida room. Being that it’s a Florida room it is a considered a 3 season room, because there is no heat in the room. The previous owners used it as an indoor patio with outdoor furniture and it looked like this when we moved in.
In our new home, the basement was completely unfinished. It was literally one of those dark spaces that you see in horror movies and are terrified of getting locked into. However, with the square footage in this house, I knew I needed to make the basement another workable and liveable floor of the house instead […]
What to look for when it comes to picking out kitchen appliances: Leave room in your budget for appliances. When it comes to kitchen renovations everyone knows that the cabinetry and the labor of demoing and installing cabinetry is going to eat a lot of your budget. However, the second most expensive part of a […]
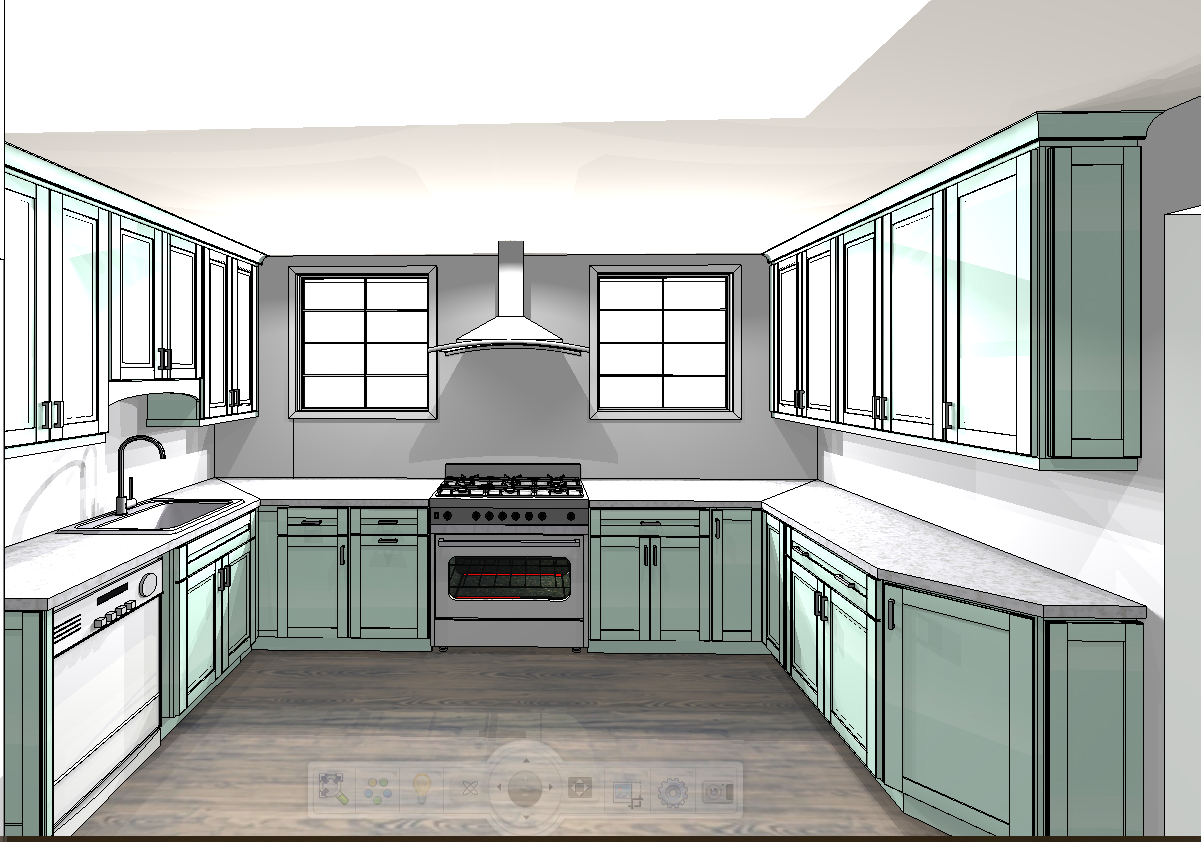
I don’t think I’m alone in thinking that designing a kitchen is an overwhelming undertaking. I’m an interior designer and even I find it stressful to iron out all of those details. So, when it comes time to design a kitchen I always like to partner with a kitchen designer to make sure I’m remembering […]
