The Easiest Way to Install Removable Wallpaper
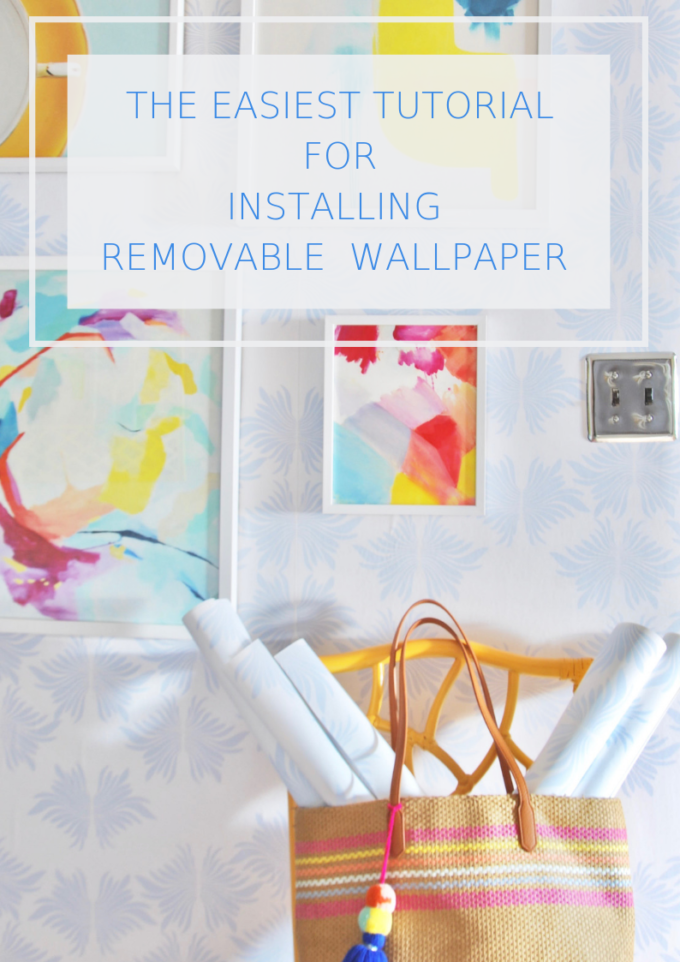
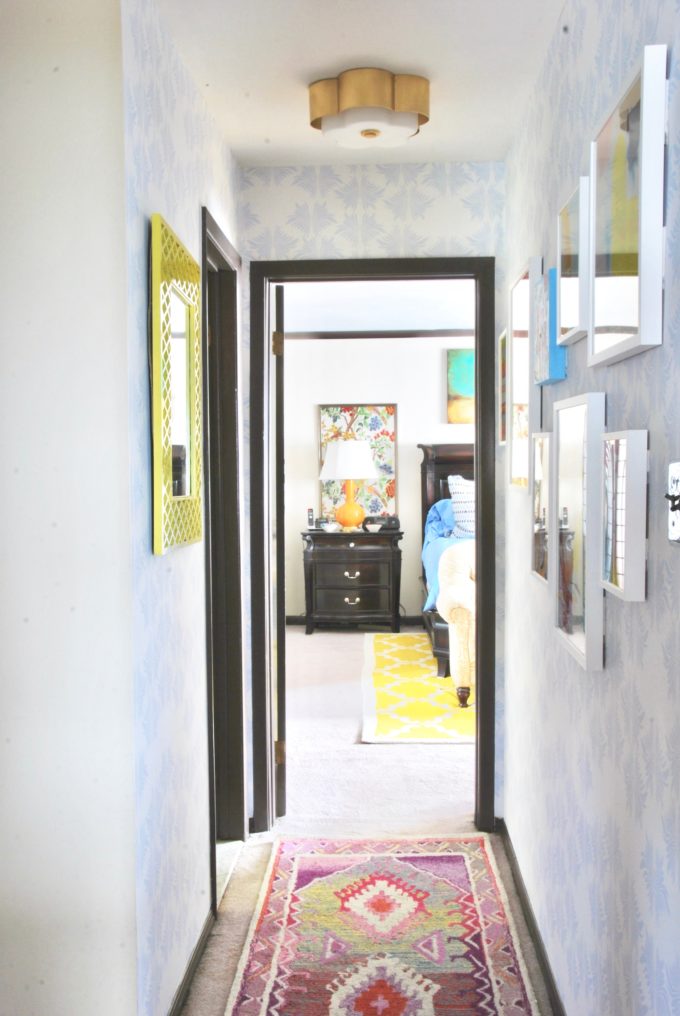
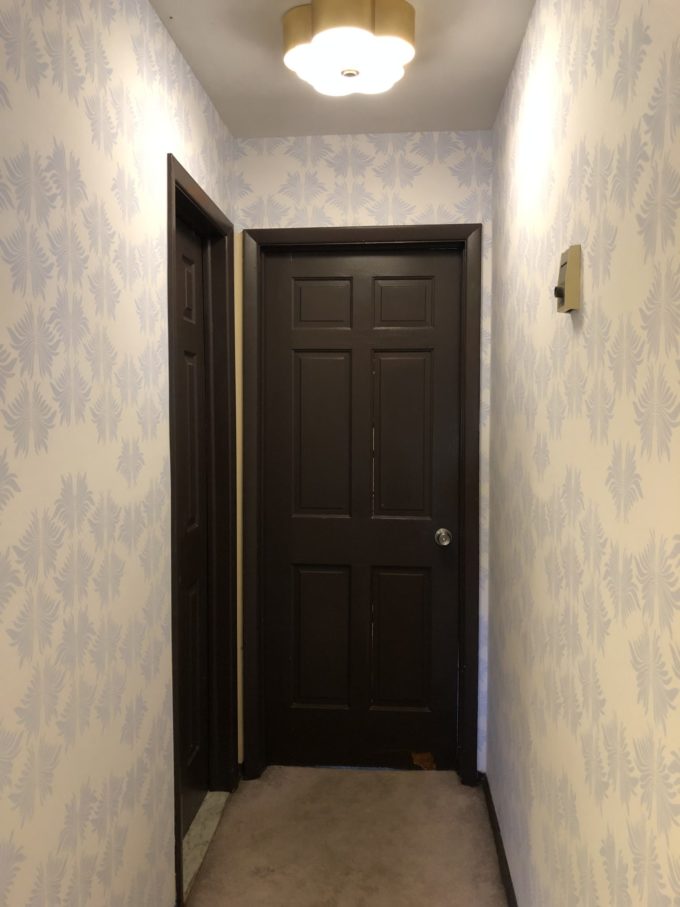
Last week I shared the hallway transformation I tackled for a recent blogging challenge. I decided to re-vamp a space in my parents home without asking them about it! What? My mom loves a good surprise and my Dad always goes with the flow. What could go wrong? I knew they were going to love it, but just in case, I decided to install removable wallpaper. This way they could easily get their hallway back to the way it use to be quickly. It was my first time tackling removable wallpaper and honestly I wasn’t sure what to expect. I was very nervous it was going to feel like I was putting a giant sticker on the wall, but I’m happy to report that that was the opposite of my experience. I was lucky enough to work with Milton & King on the project and I was highly impressed with their product. They are an Australian based company run by two brothers who have the most stylish patterns and their wallpapers are available in both traditional and removable versions. The finish on the wallpaper was beautiful and not at all like a sticker. Today I’m sharing the easiest way to install removable wallpaper with our tips and tricks!
THE EASIEST WAY TO INSTALL REMOVABLE WALLPAPER WITH THESE TIPS:
Tip 1: Now typically with traditional wallpaper I would paint the wall a base color that works with the wallpaper. That way if the seams opened up a little bit you wouldn’t notice it. Since I went with removable wallpaper I wanted to leave the paint as is. That way if my parents wanted to remove it then the hallway would match existing staircase. I will say that if you go with a white based removable wallpaper then the paint color will show the tiniest bit, but once it’s all up you don’t notice it at all.
Designer Note: If you have painted your walls with Teflon or latex flat finish paint then you will probably have an issue with removable wallpaper sticking to it. It typically repeals the adhesive on removable wallpaper.
Tip 2: Prep your wall. You don’t need to re-paint, but if you took down artwork then you should spackle and nail holes and sand it down before installing removable wallpaper for a smooth application.
Tip 3: If you are wallpapering all four walls in a room make sure to start in the corner that isn’t easily viewed and wrap around from there. That way if anything happens where your pattern is a little off you won’t notice it.
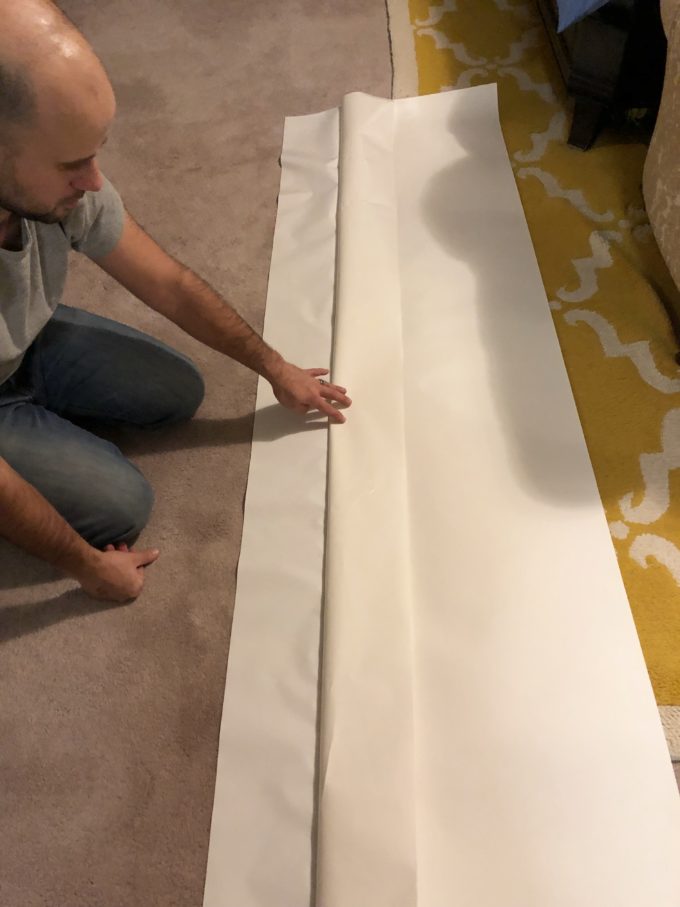
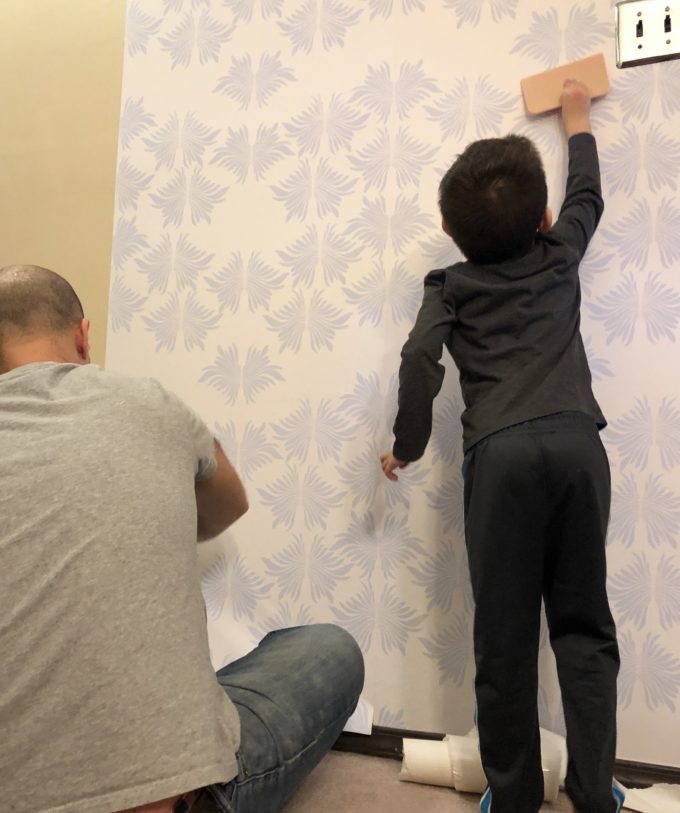
Tip 4: When installing the removable wallpaper peel the paper from the side and go all the way from top to bottom. You will start at the top and press it into place and then slowly work your way down. Once that is all set you can continue to peel the remaining paper off. We found this to be the most effective way to hang the removable wallpaper. It allowed us to do the edge/seam perfectly. If you go from the top to the bottom it is very easy to have your paper misaligned. Trust us, we tried it both ways!
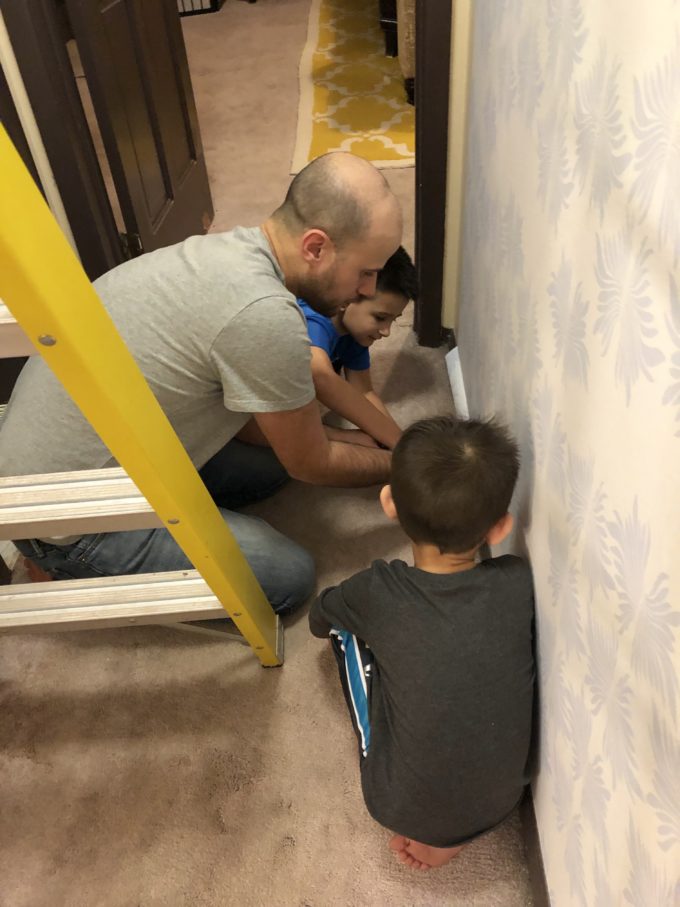
Tip 5: Have an extra pair of hands to help. With traditional paper you have a little more freedom with installing it. You can pretty much slide it around on the wall before stopping at the perfect place. With removable wallpaper it’s very sticky and it’s easy to get part of the wallpaper stuck on a wrong part of the wall or a piece of trim.
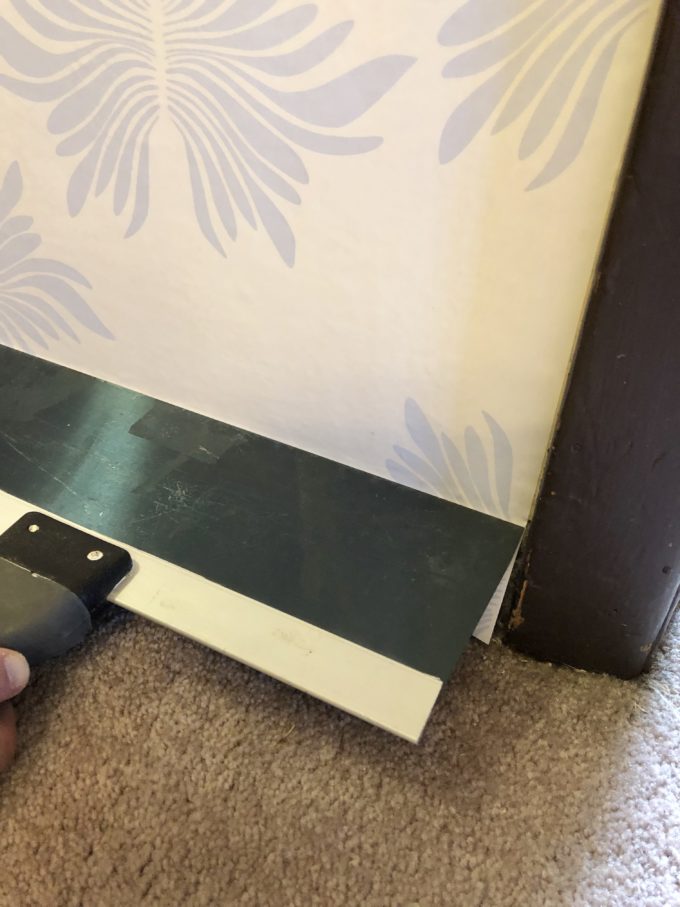
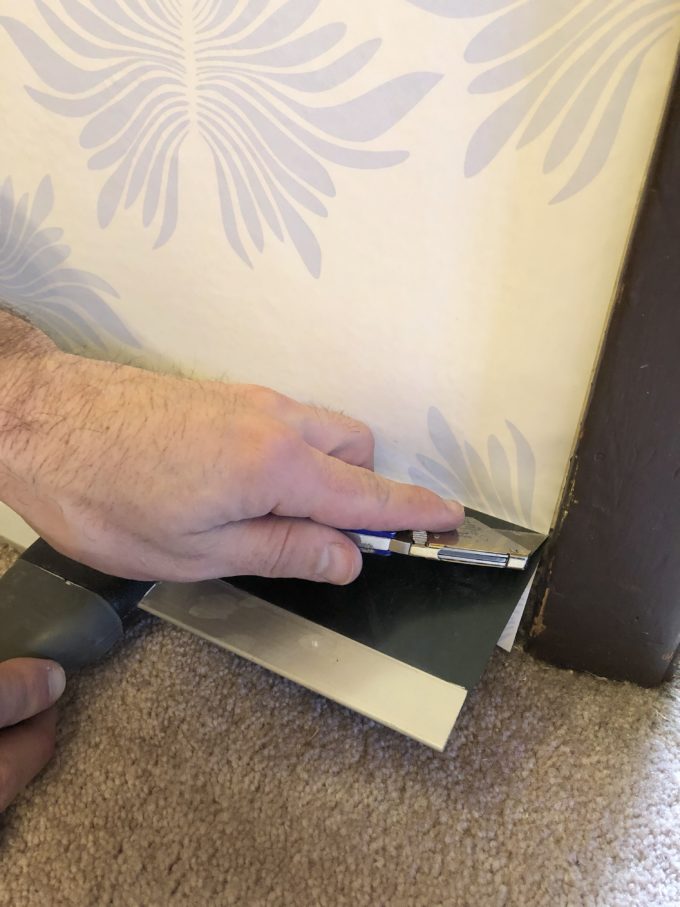
Tip 6: Get yourself a metal taping knife. It will help you get the crispest cut on your wallpaper.
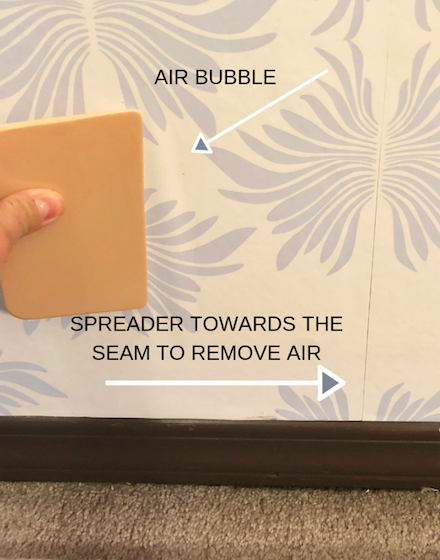
Tip 7: Bubbles are way more prevalent with removable wallpaper than traditional wallpaper. We picked up a plastic spreader, which is similar to wallpaper spreader, but I really liked that this set had three different sizes and it was cheaper! When using the spreader go slowly to prevent wrinkles/creases. Also work the air bubbles to the edge/seam. If after doing all that you still have bubbles then use a pin to poke a small hole and release the air.
In an afternoon we had the hallway done and had a brand new looking space!
Make sure to pin for any future removable wallpaper installs you may have!
Related
Leave a Reply Cancel reply
get inspired with our own home tour
ON THE BLOG
My living room is one of the rooms that evolved drastically from when we first moved one. Originally I painted the walls chocolate brown and did accents of white, blue and orange. That lasted maybe 2 years.
Our dining room sat empty for months. Okay maybe it was empty for just a handful of weeks and then we couldn’t take it anymore and put in a folding table and plastic outdoor chairs, but in my mind that was still empty.
On the main floor of our house we have a Florida room. Being that it’s a Florida room it is a considered a 3 season room, because there is no heat in the room. The previous owners used it as an indoor patio with outdoor furniture and it looked like this when we moved in.
In our new home, the basement was completely unfinished. It was literally one of those dark spaces that you see in horror movies and are terrified of getting locked into. However, with the square footage in this house, I knew I needed to make the basement another workable and liveable floor of the house instead […]
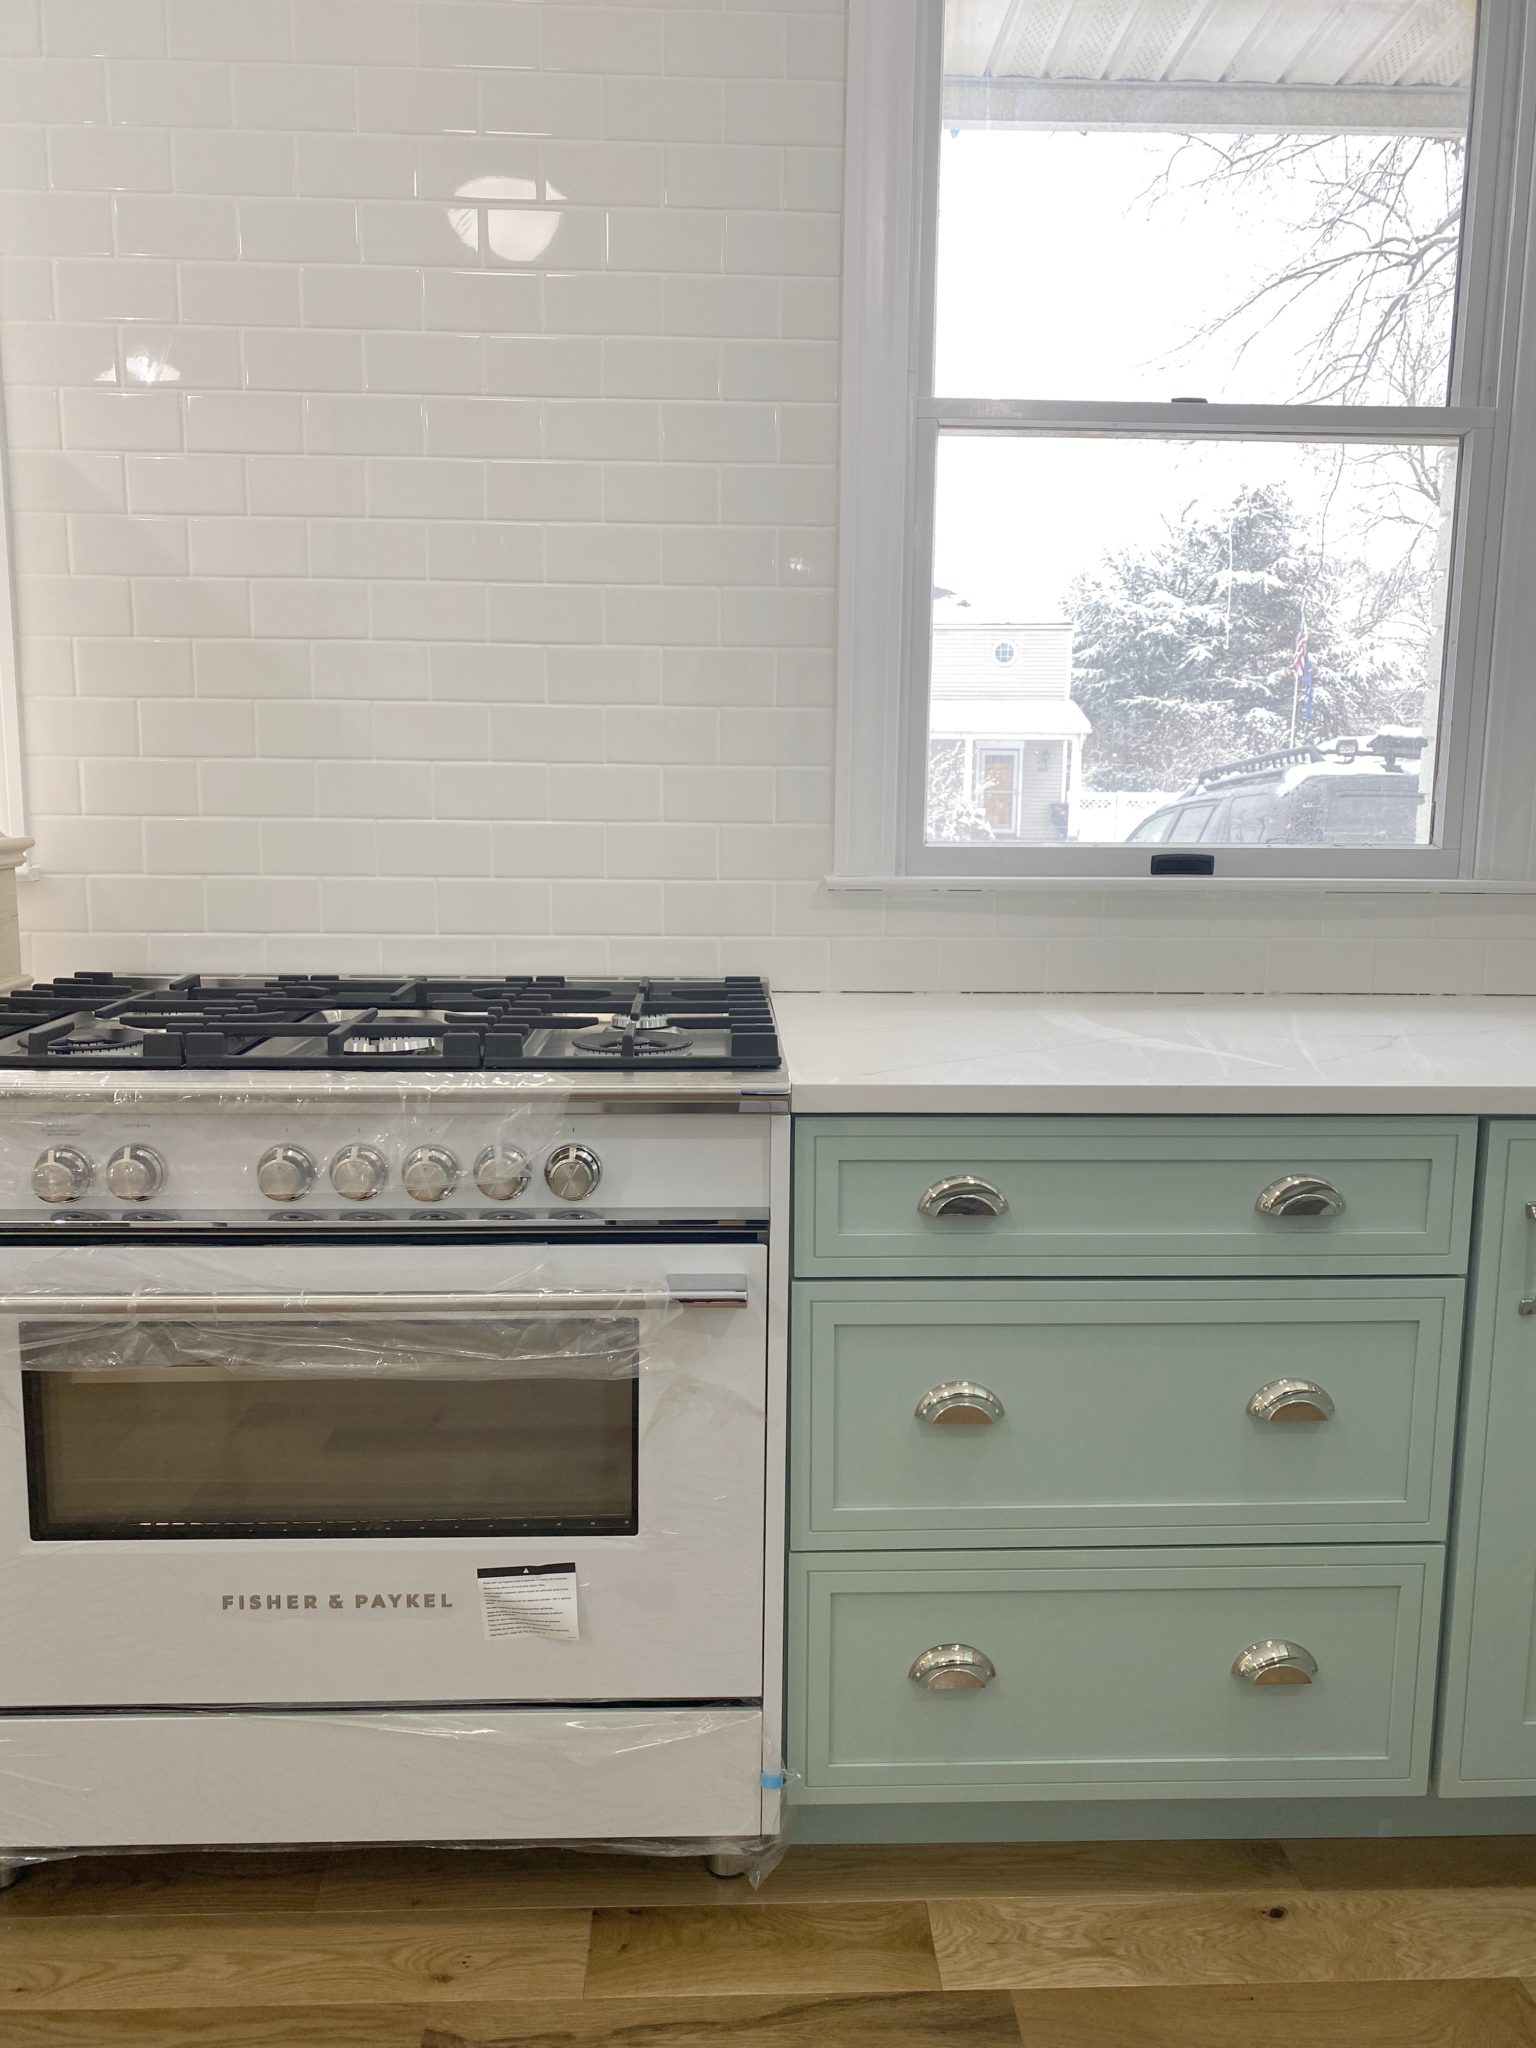
What to look for when it comes to picking out kitchen appliances: Leave room in your budget for appliances. When it comes to kitchen renovations everyone knows that the cabinetry and the labor of demoing and installing cabinetry is going to eat a lot of your budget. However, the second most expensive part of a […]
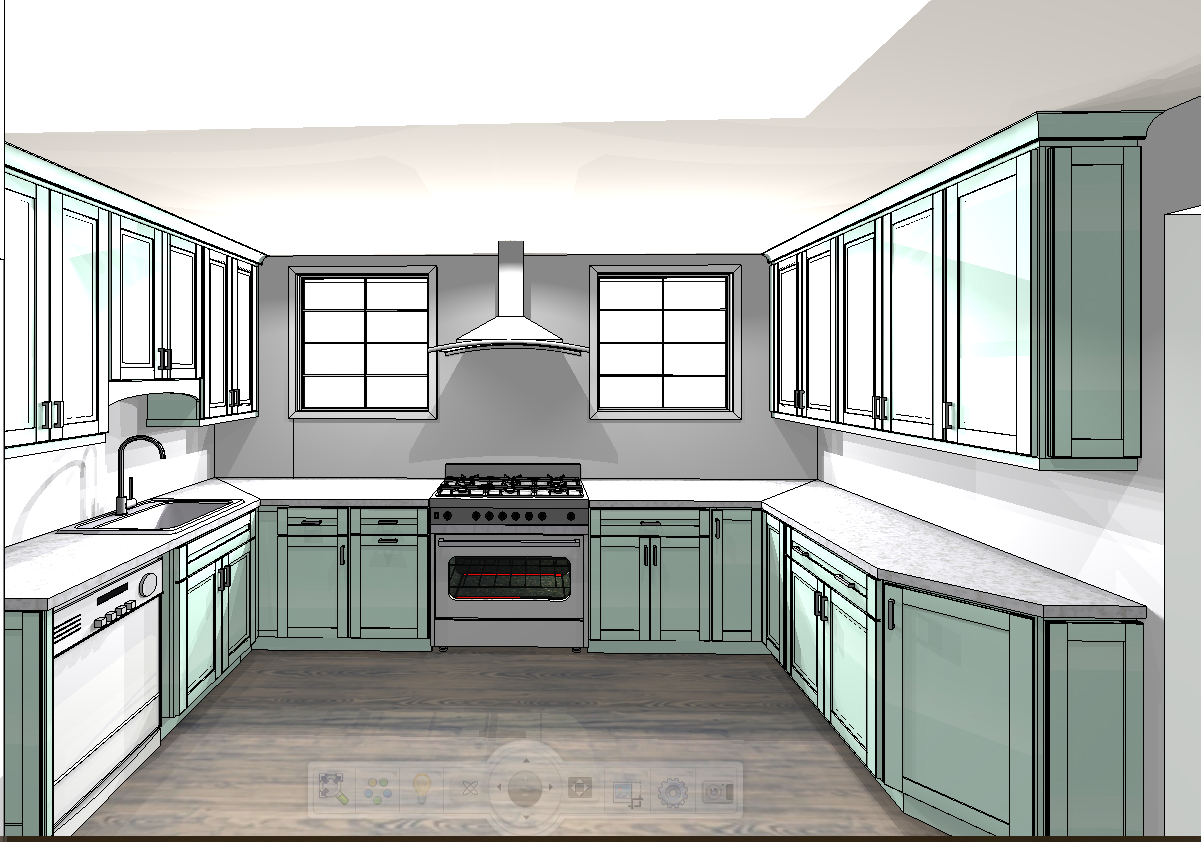
I don’t think I’m alone in thinking that designing a kitchen is an overwhelming undertaking. I’m an interior designer and even I find it stressful to iron out all of those details. So, when it comes time to design a kitchen I always like to partner with a kitchen designer to make sure I’m remembering […]
