DIY Rainbow Pumpkin Wreath
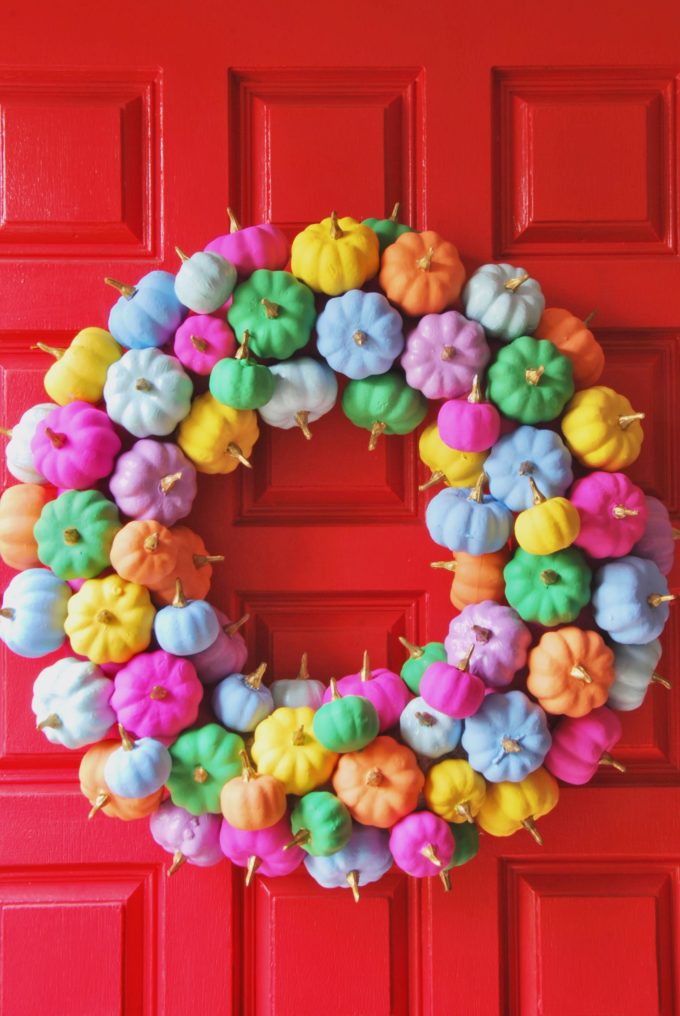
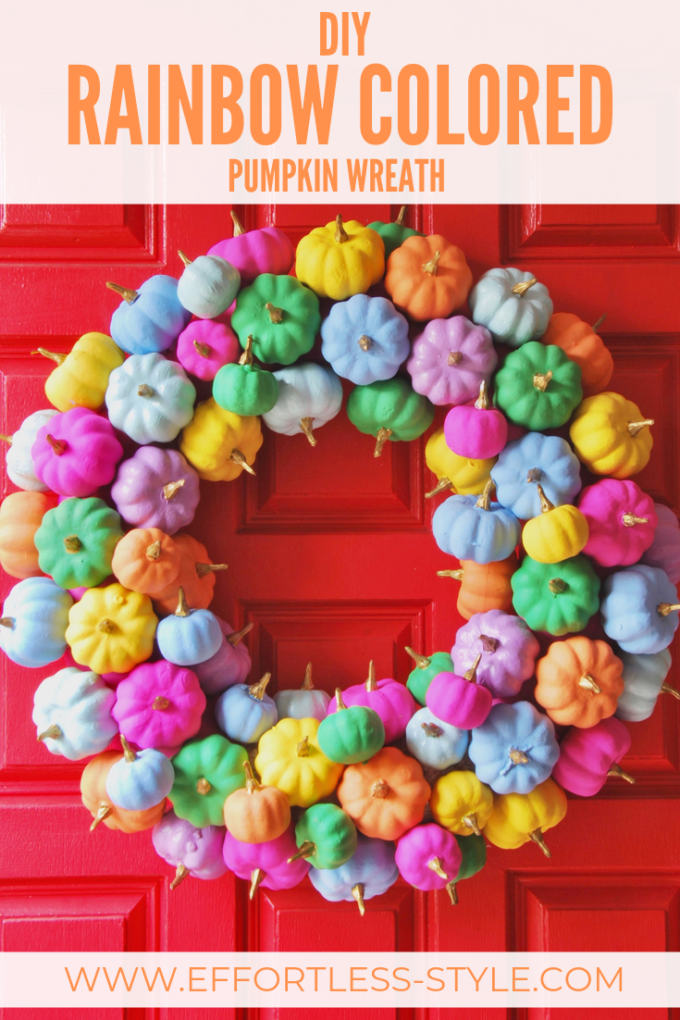
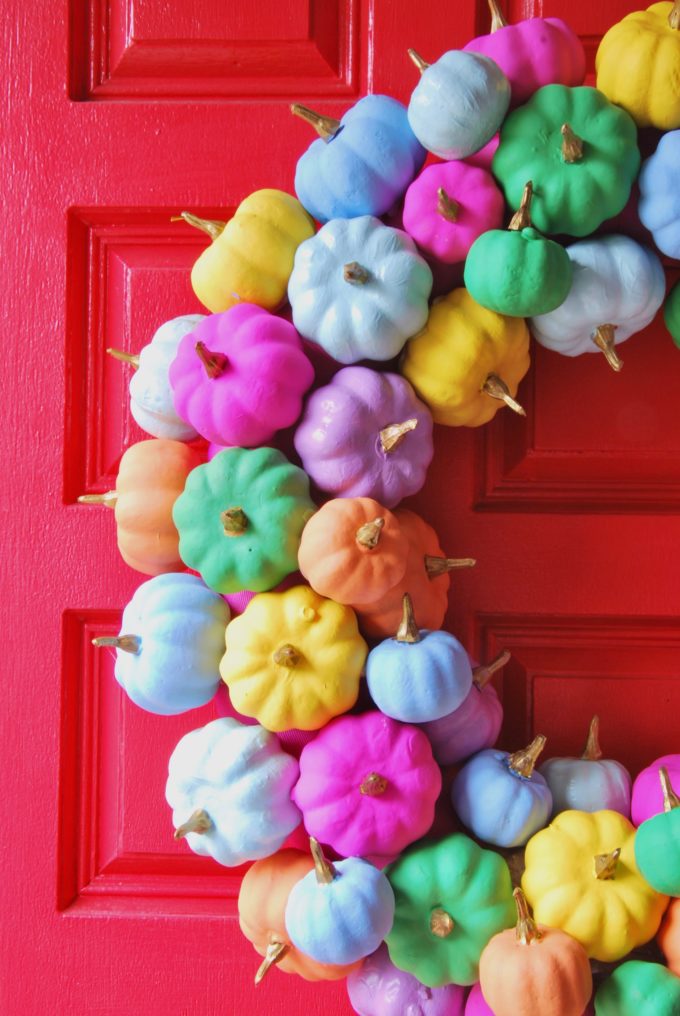
I love a good front door moment! For the past couple of years, I have been making my own wreaths and it’s one of my favorite seasonal projects. I’m always on the hunt for inspiration to hit! I saw Mrs. Threadhead instagram feed I was obsessed! I knew I wanted to tackle it with my own spin and make a DIY rainbow pumpkin wreath! It’s totally me! It’s happy, colorful and a little bit glam. I love that it’s not specifically Halloween so it works for both October and November. It’s a happy Fall moment that anyone can tackle! If you can handle a paintbrush and a glue gun you are good to go!
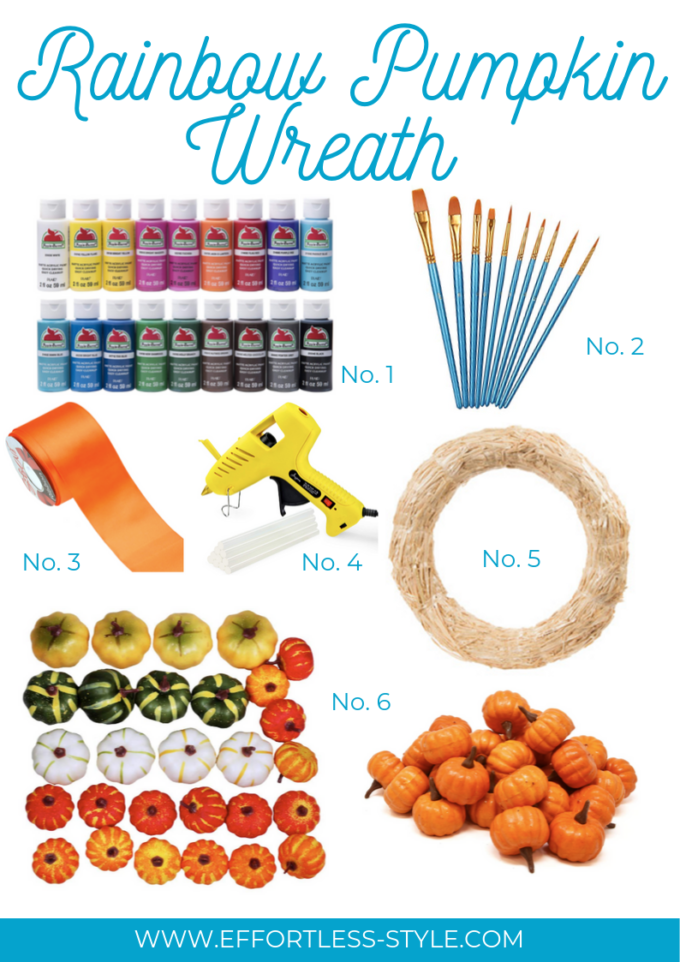
Here is what you will need to make your very one DIY Rainbow Pumpkin Wreath:
No.1 Not all craft paint is made alike. I wanted to keep costs down so, I went into my craft closet and made it work with what I had on hand, which was a variety of brands. The best brand was Apple Barrel paint. Their colors are vibrant and it coats so nicely. When I used this brand I only had to do 2 coats. Every other brand had me doing at least 4.
No. 2 Craft Paintbrushes: Great price and a variety of sizes. Perfect for all craft projects.
No. 3 3″ Ribbon: Whatever color you want. Use it wrap around your straw wreath.
No. 4 Hot Glue Gun: Normally I pick up the cheap $3 glue guns from the craft stores, but I have found them to not be heating up the glue as well so, it was time to get something better.
No: 5 16″ Straw Wreath: You can do any size you like, but I found 16″ to be the perfect size for a door.
No: 6 Foam pumpkins: A variety of sizes is nice to fill all of the nooks and crannies of the wreath. I love this set of 28 pumpkins and this set of 36 pumpkins.
Once you have the supplies now it’s time to get to work!
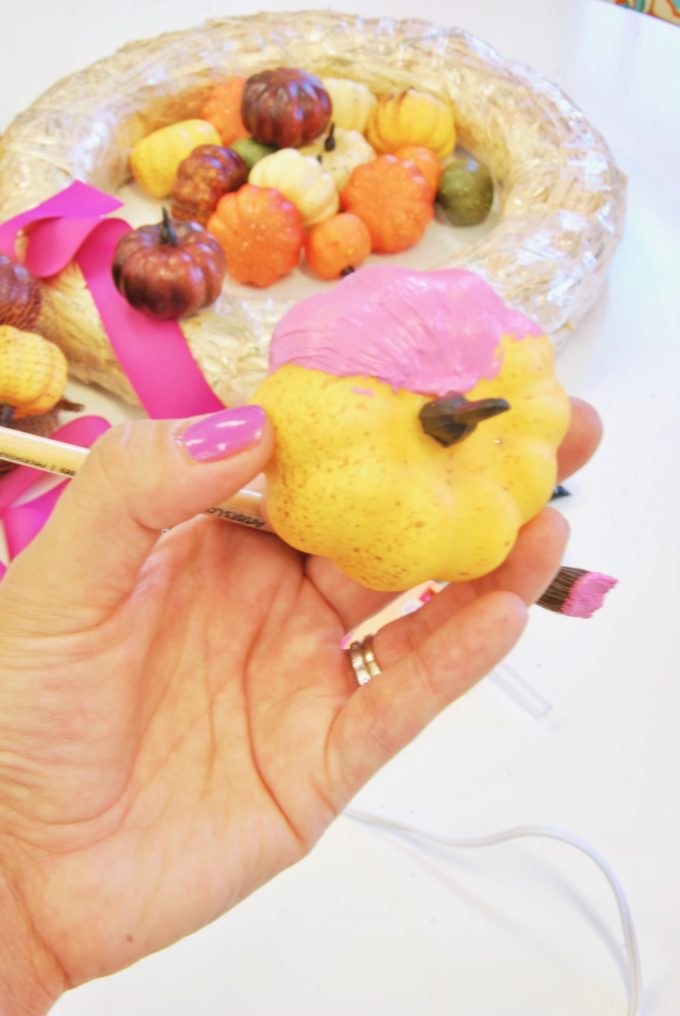
Step 1: Paint all of your pumpkins. I picked a variety of colors that I liked. It’s up to you to decide what you want. Perhaps you go with a single color and then polka dot them or go ombre with your color! It’s up to you. Yes, you could spraypaint them and it would be faster, but I was trying to keep costs and spray paint cans are at least $4 and that would add up quickly.
Note: I didn’t paint the bottom of my pumpkins. 90 percent of them are going to be glued onto the wreath by its bottom. Only a couple of them have exposed bottoms. Once I knew what was showing I specifically painted those.
Step 2: Wrap your straw wreath. Since straw wreaths are wrapped in plastic I wanted to protect it more by adding the ribbon. It also gives you a nicer finish. If you have any gaps in your pumpkins you now see a pop of ribbon, not straw.
Step 3: Glue on your pumpkins. For this step, I found it was easiest to hang it so, that I could see how everything was looking when placed and where pumpkins were needed. I wasn’t getting the same views when it was flat on the table.
That’s it! I use clear fishing line to hang it. Just knot it around the wreath and then make a small loop for hanging.
Make sure to check the depth of your pumpkins if you have a storm door. You want to make sure it will close.
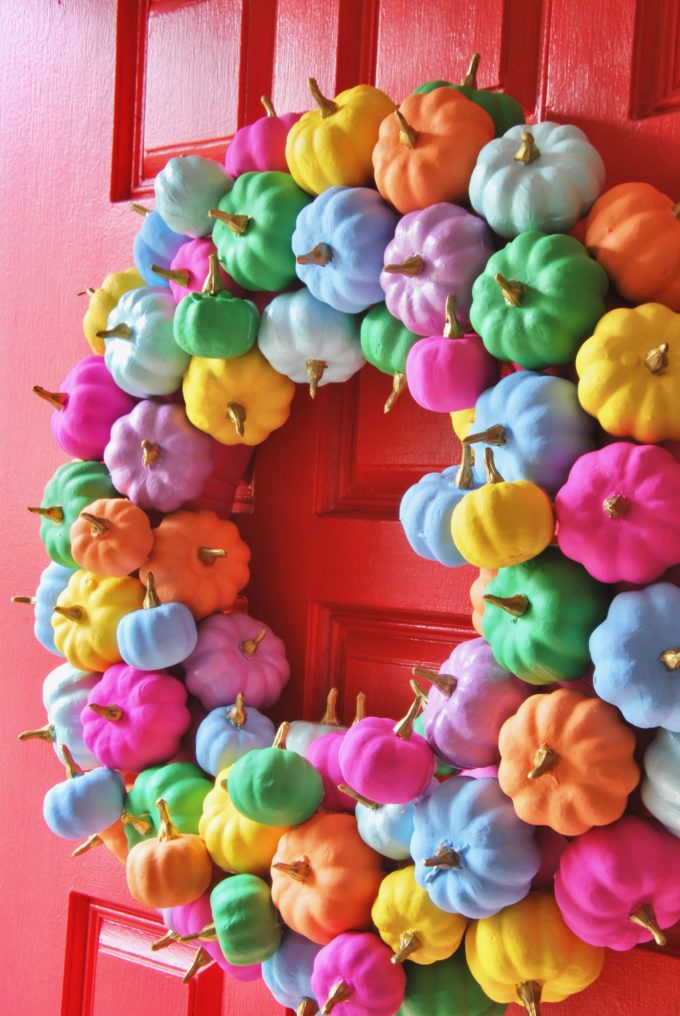
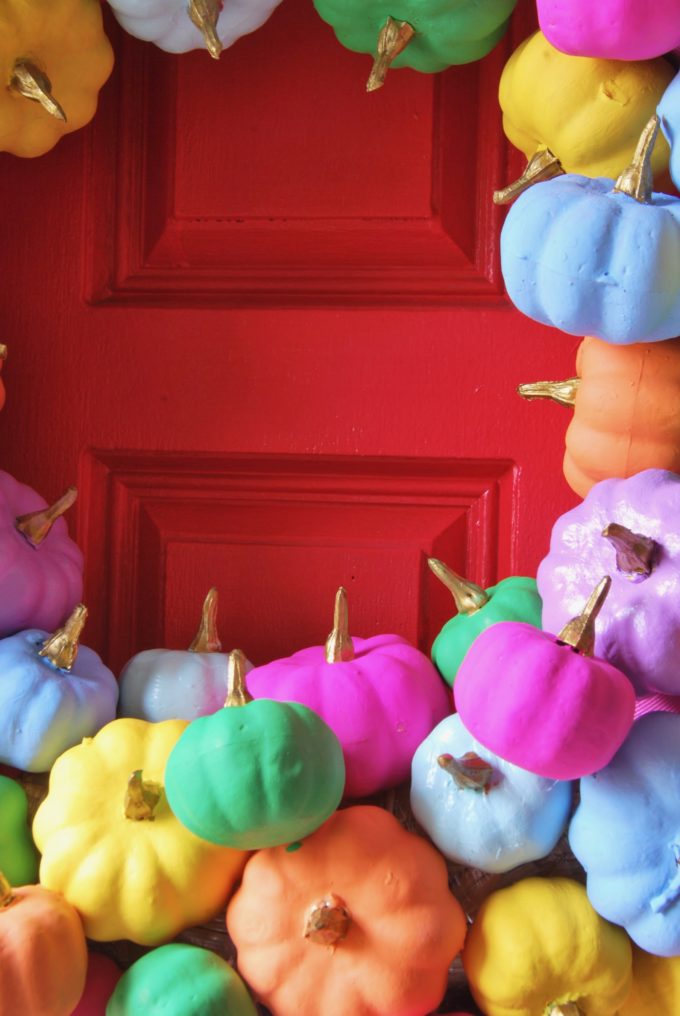
I used gold metallic craft paint to paint all of the stems once they were attached to the wreath. You can do the same or leave them as is or the same color as the pumpkin.
Well, what are you waiting for? Start getting your supplies and make your front door shine!
Related
Leave a Reply Cancel reply
get inspired with our own home tour
ON THE BLOG
My living room is one of the rooms that evolved drastically from when we first moved one. Originally I painted the walls chocolate brown and did accents of white, blue and orange. That lasted maybe 2 years.
Our dining room sat empty for months. Okay maybe it was empty for just a handful of weeks and then we couldn’t take it anymore and put in a folding table and plastic outdoor chairs, but in my mind that was still empty.
On the main floor of our house we have a Florida room. Being that it’s a Florida room it is a considered a 3 season room, because there is no heat in the room. The previous owners used it as an indoor patio with outdoor furniture and it looked like this when we moved in.
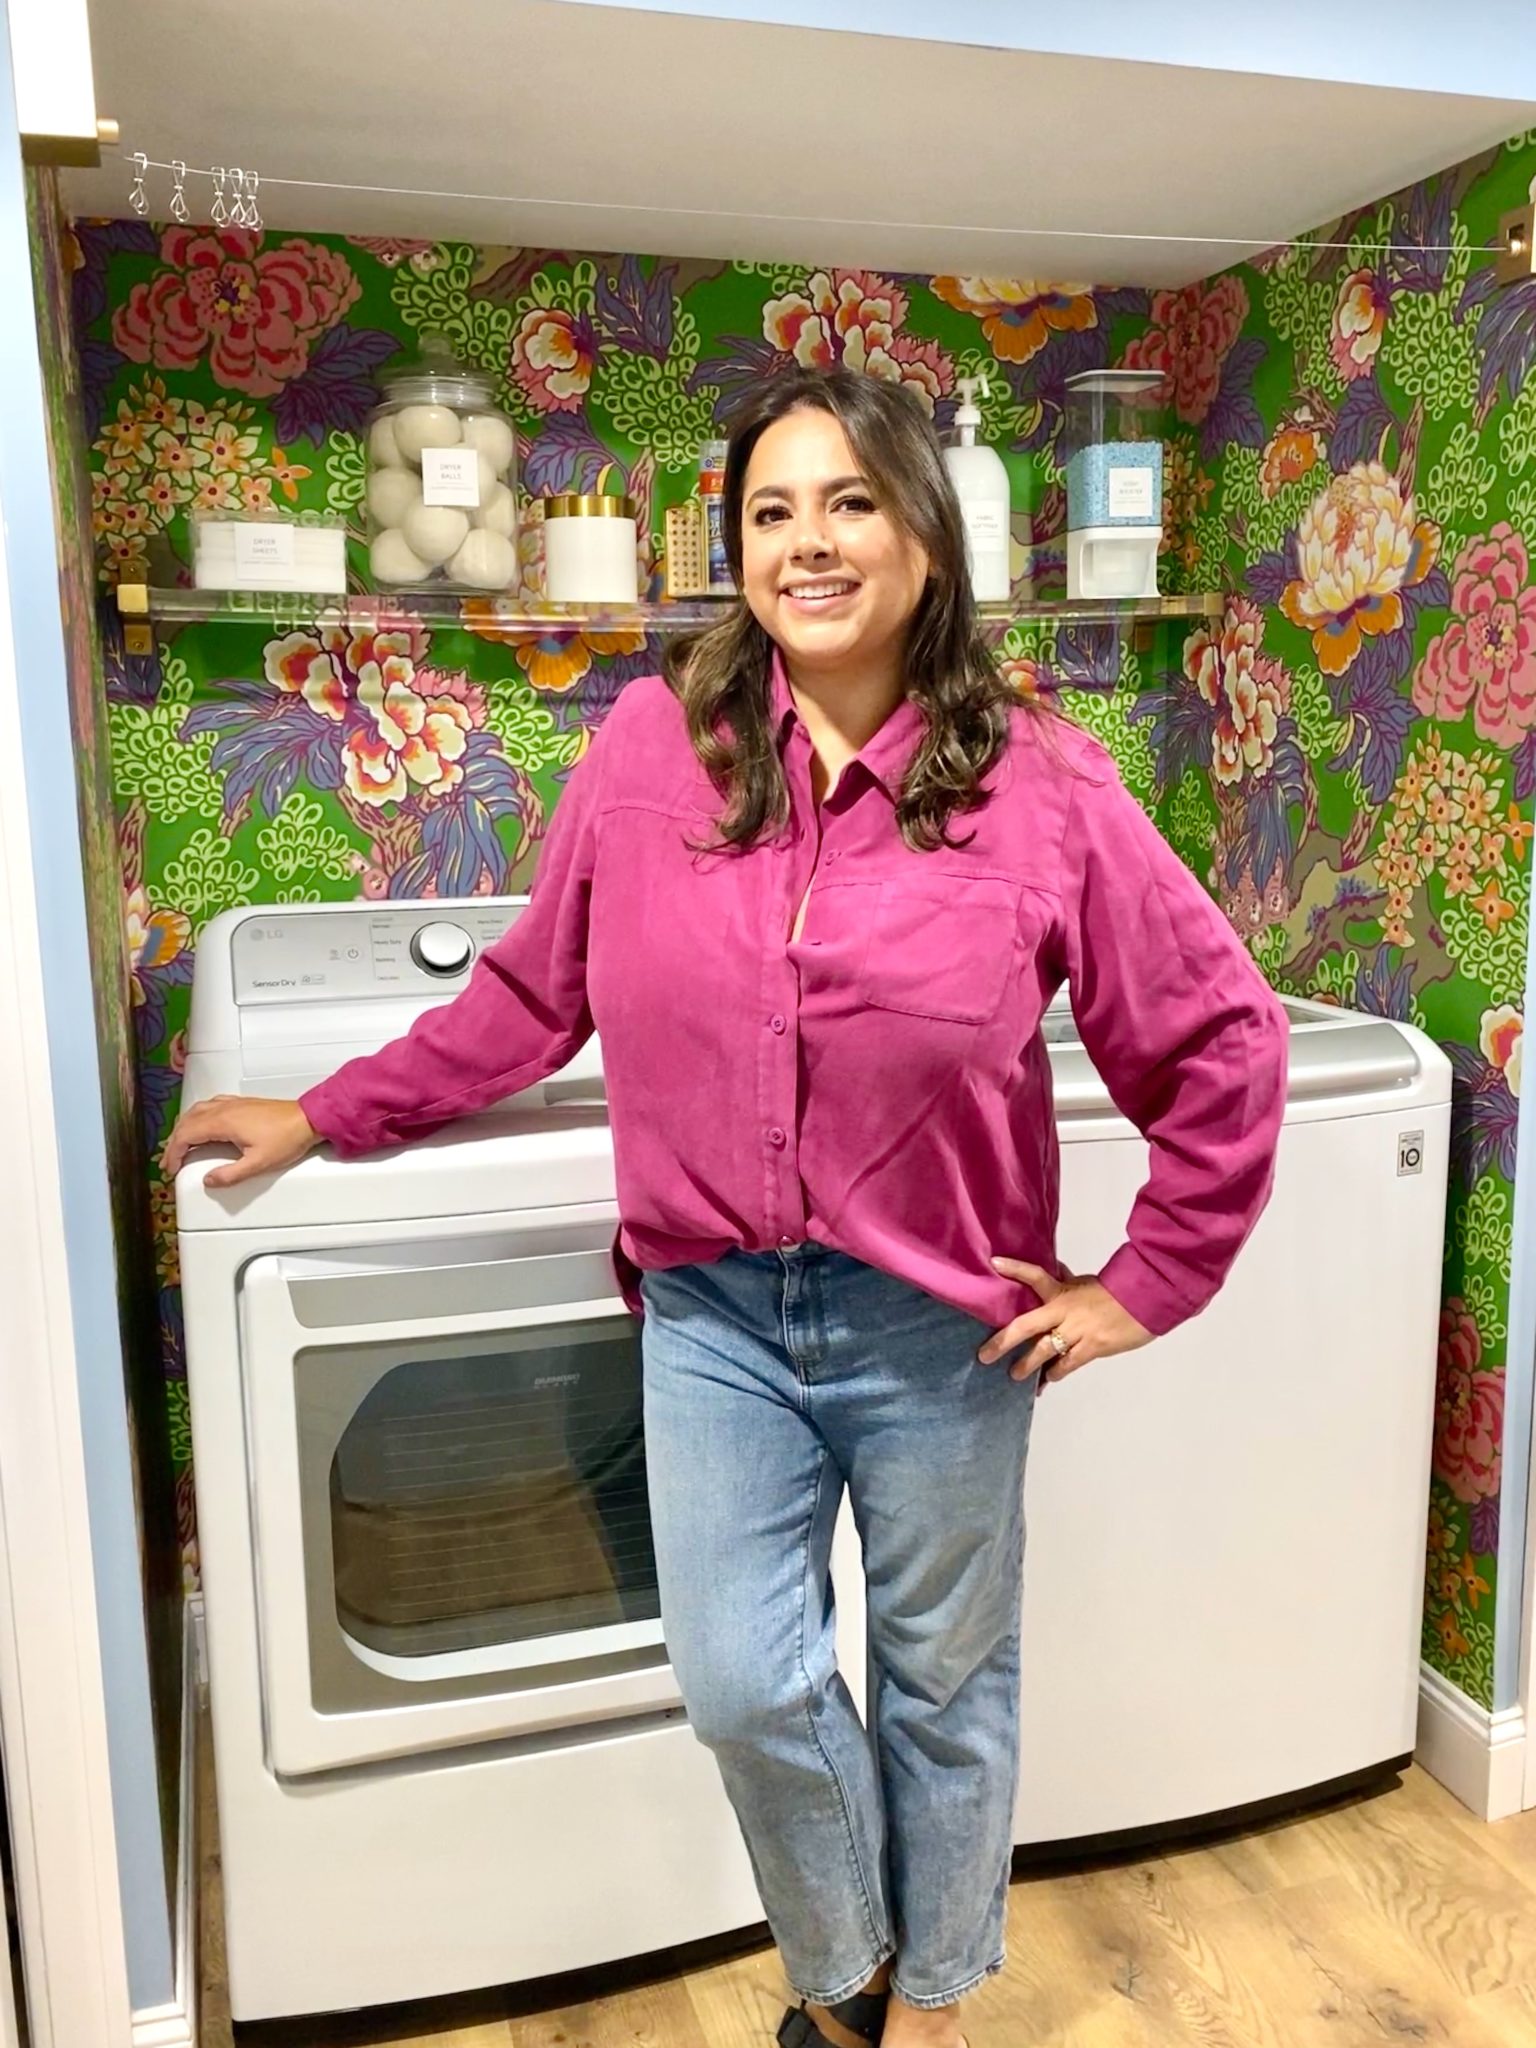
In our new home, the basement was completely unfinished. It was literally one of those dark spaces that you see in horror movies and are terrified of getting locked into. However, with the square footage in this house, I knew I needed to make the basement another workable and liveable floor of the house instead […]
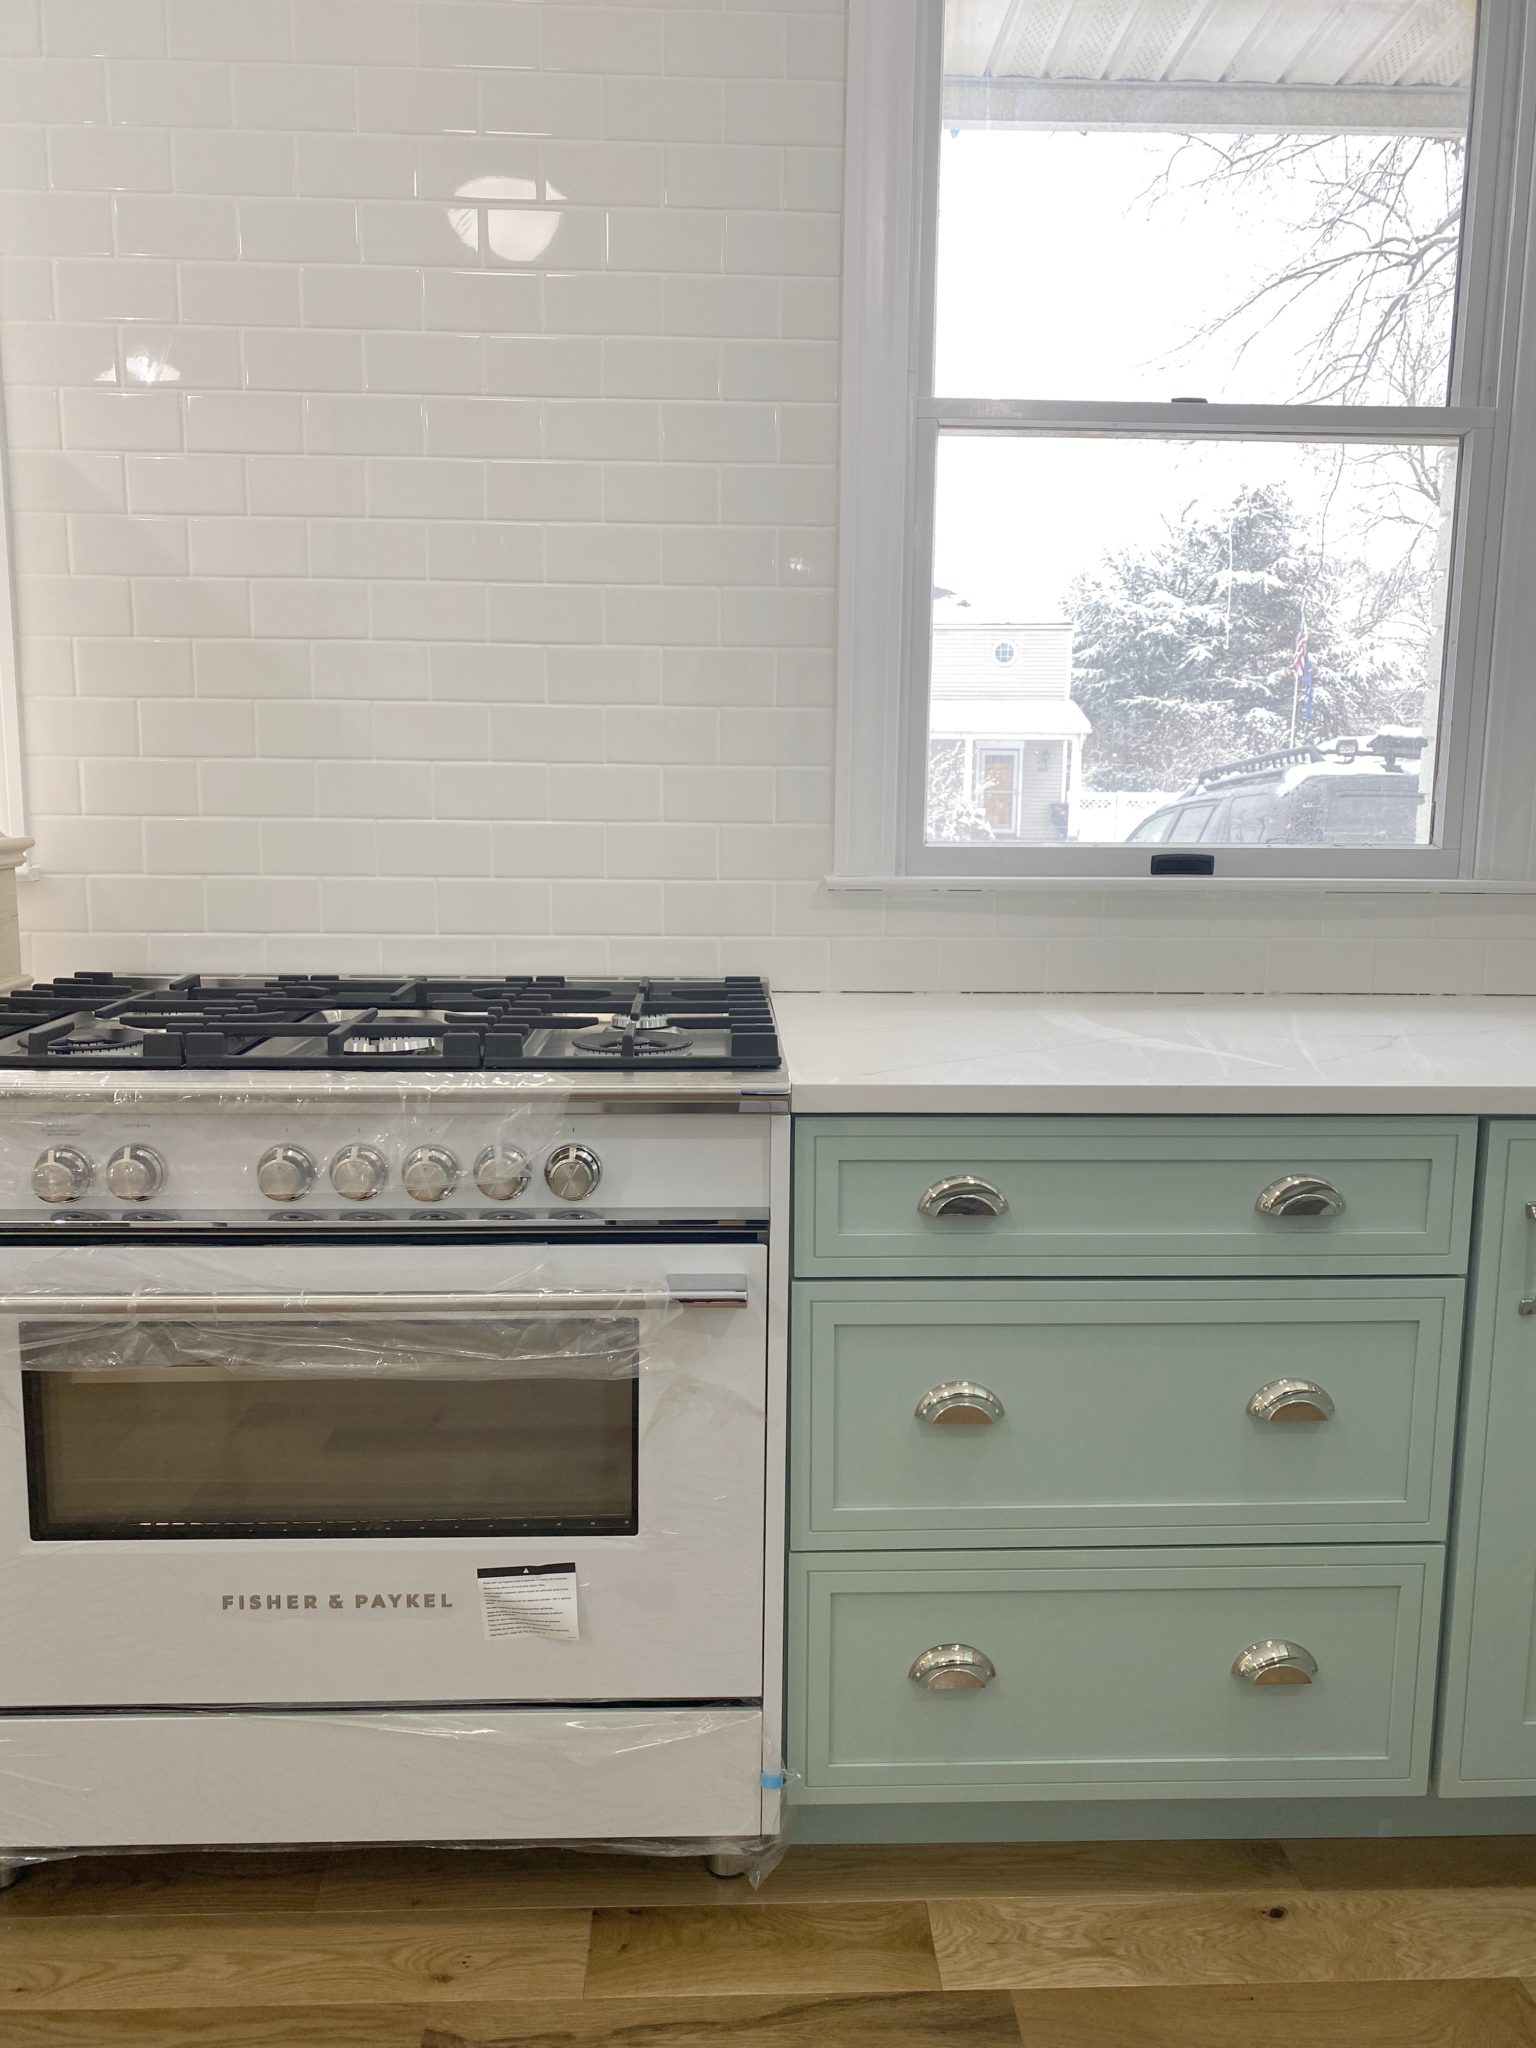
What to look for when it comes to picking out kitchen appliances: Leave room in your budget for appliances. When it comes to kitchen renovations everyone knows that the cabinetry and the labor of demoing and installing cabinetry is going to eat a lot of your budget. However, the second most expensive part of a […]
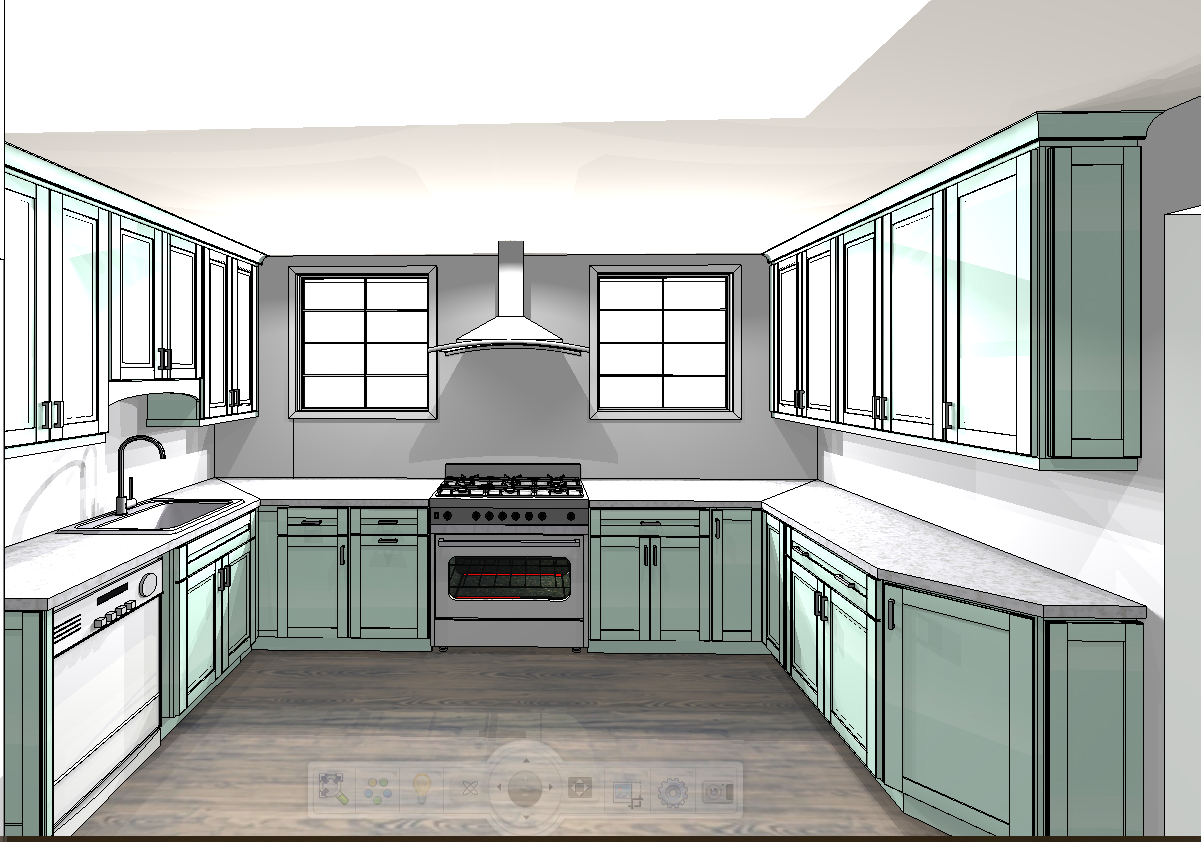
I don’t think I’m alone in thinking that designing a kitchen is an overwhelming undertaking. I’m an interior designer and even I find it stressful to iron out all of those details. So, when it comes time to design a kitchen I always like to partner with a kitchen designer to make sure I’m remembering […]
