


DIY Leopard Fabric Covered Wreath
I don’t like to rush the holidays, but now that Thanksgiving is upon us this week I think it’s safe to start talking about Christmas! You know I love to watch my share of Christmas movies and bake all of the cookies and fa la la while I decorate the house. I also love a good DIY project for the holiday season. My favorite DIY project to share for decorating the home is wreaths! This year I was searching for inspiration and it finally hit when I was at my studio one day. What is more, fitting than having an interior designer using fabric for their wreath! In my book leopard is always a neutral and it works so nicely in the Fall/Winter season so, why not make a diy leopard fabric covered wreath! The whole project takes around 30 mins and can be done with whatever fabric you like!
Here are the supplies for our DIY Leopard Fabric Covered Wreath:

–Straw Wreath Form: They range from 12″ to 18″. I went with a 14″.
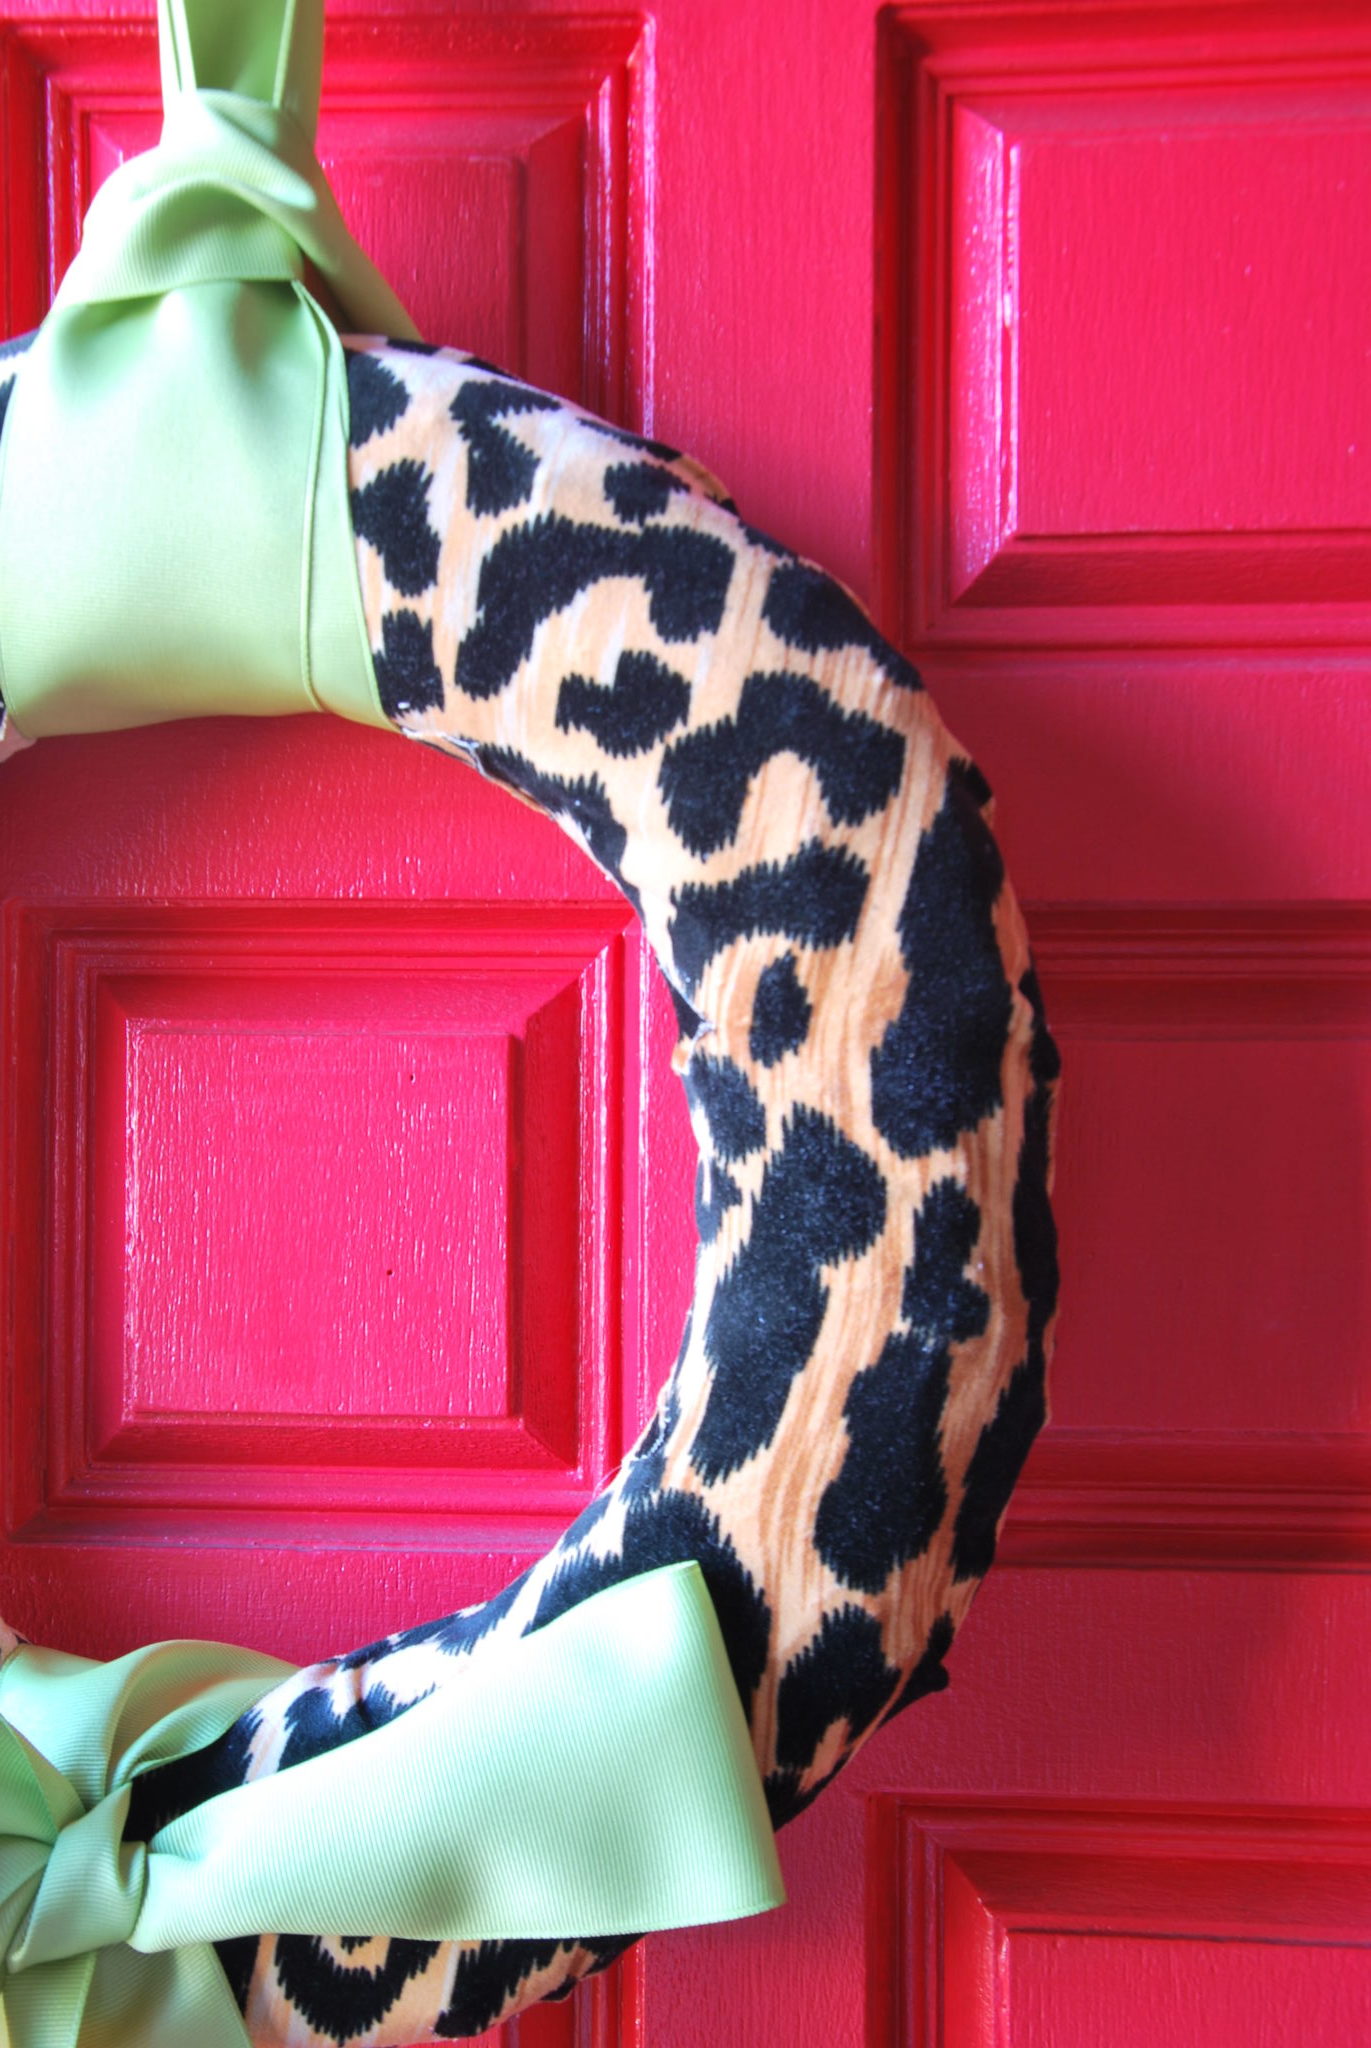
-1/2 yard of fabric: velvet leopard fabric
–3″ grosgrain ribbon: I went with apple green, but you can pick whatever color you like.
–Glue Gun
–Lucite & Brass scissors – wish I had these! Just ordered them and waiting for their arrival!
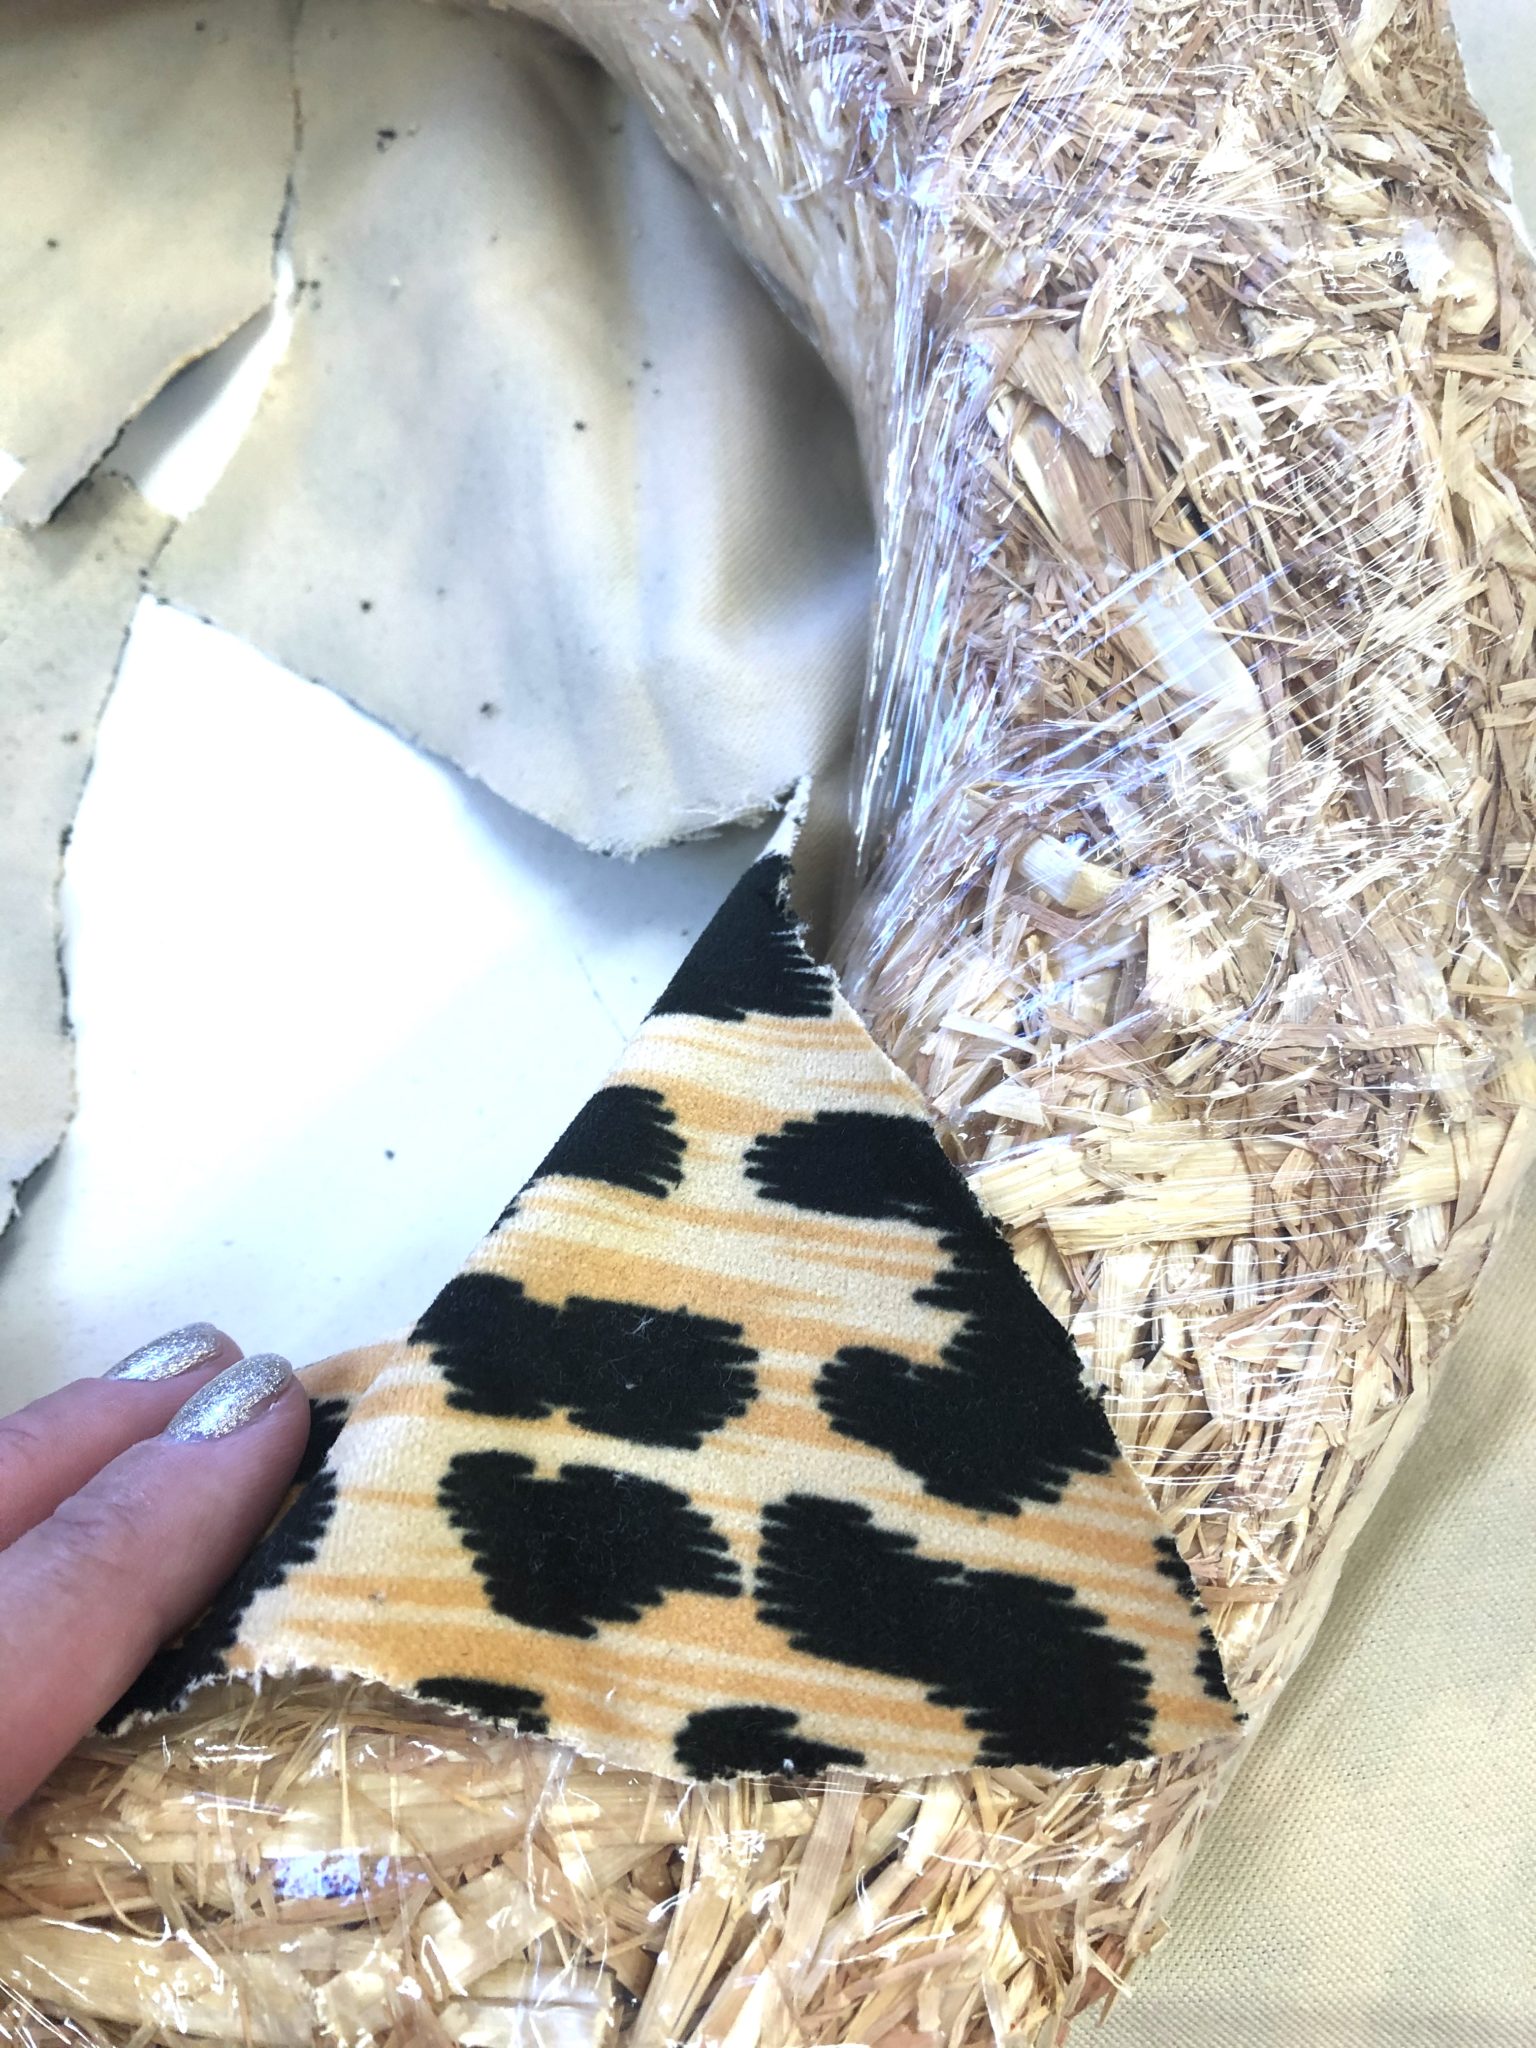
Step 1: Cut your fabric and lay your wreath above it. Size depends on the size of your wreath. Make sure you have enough to wrap around. Then pinch up the center of the fabric in the opening of the wreath and make your first cut.

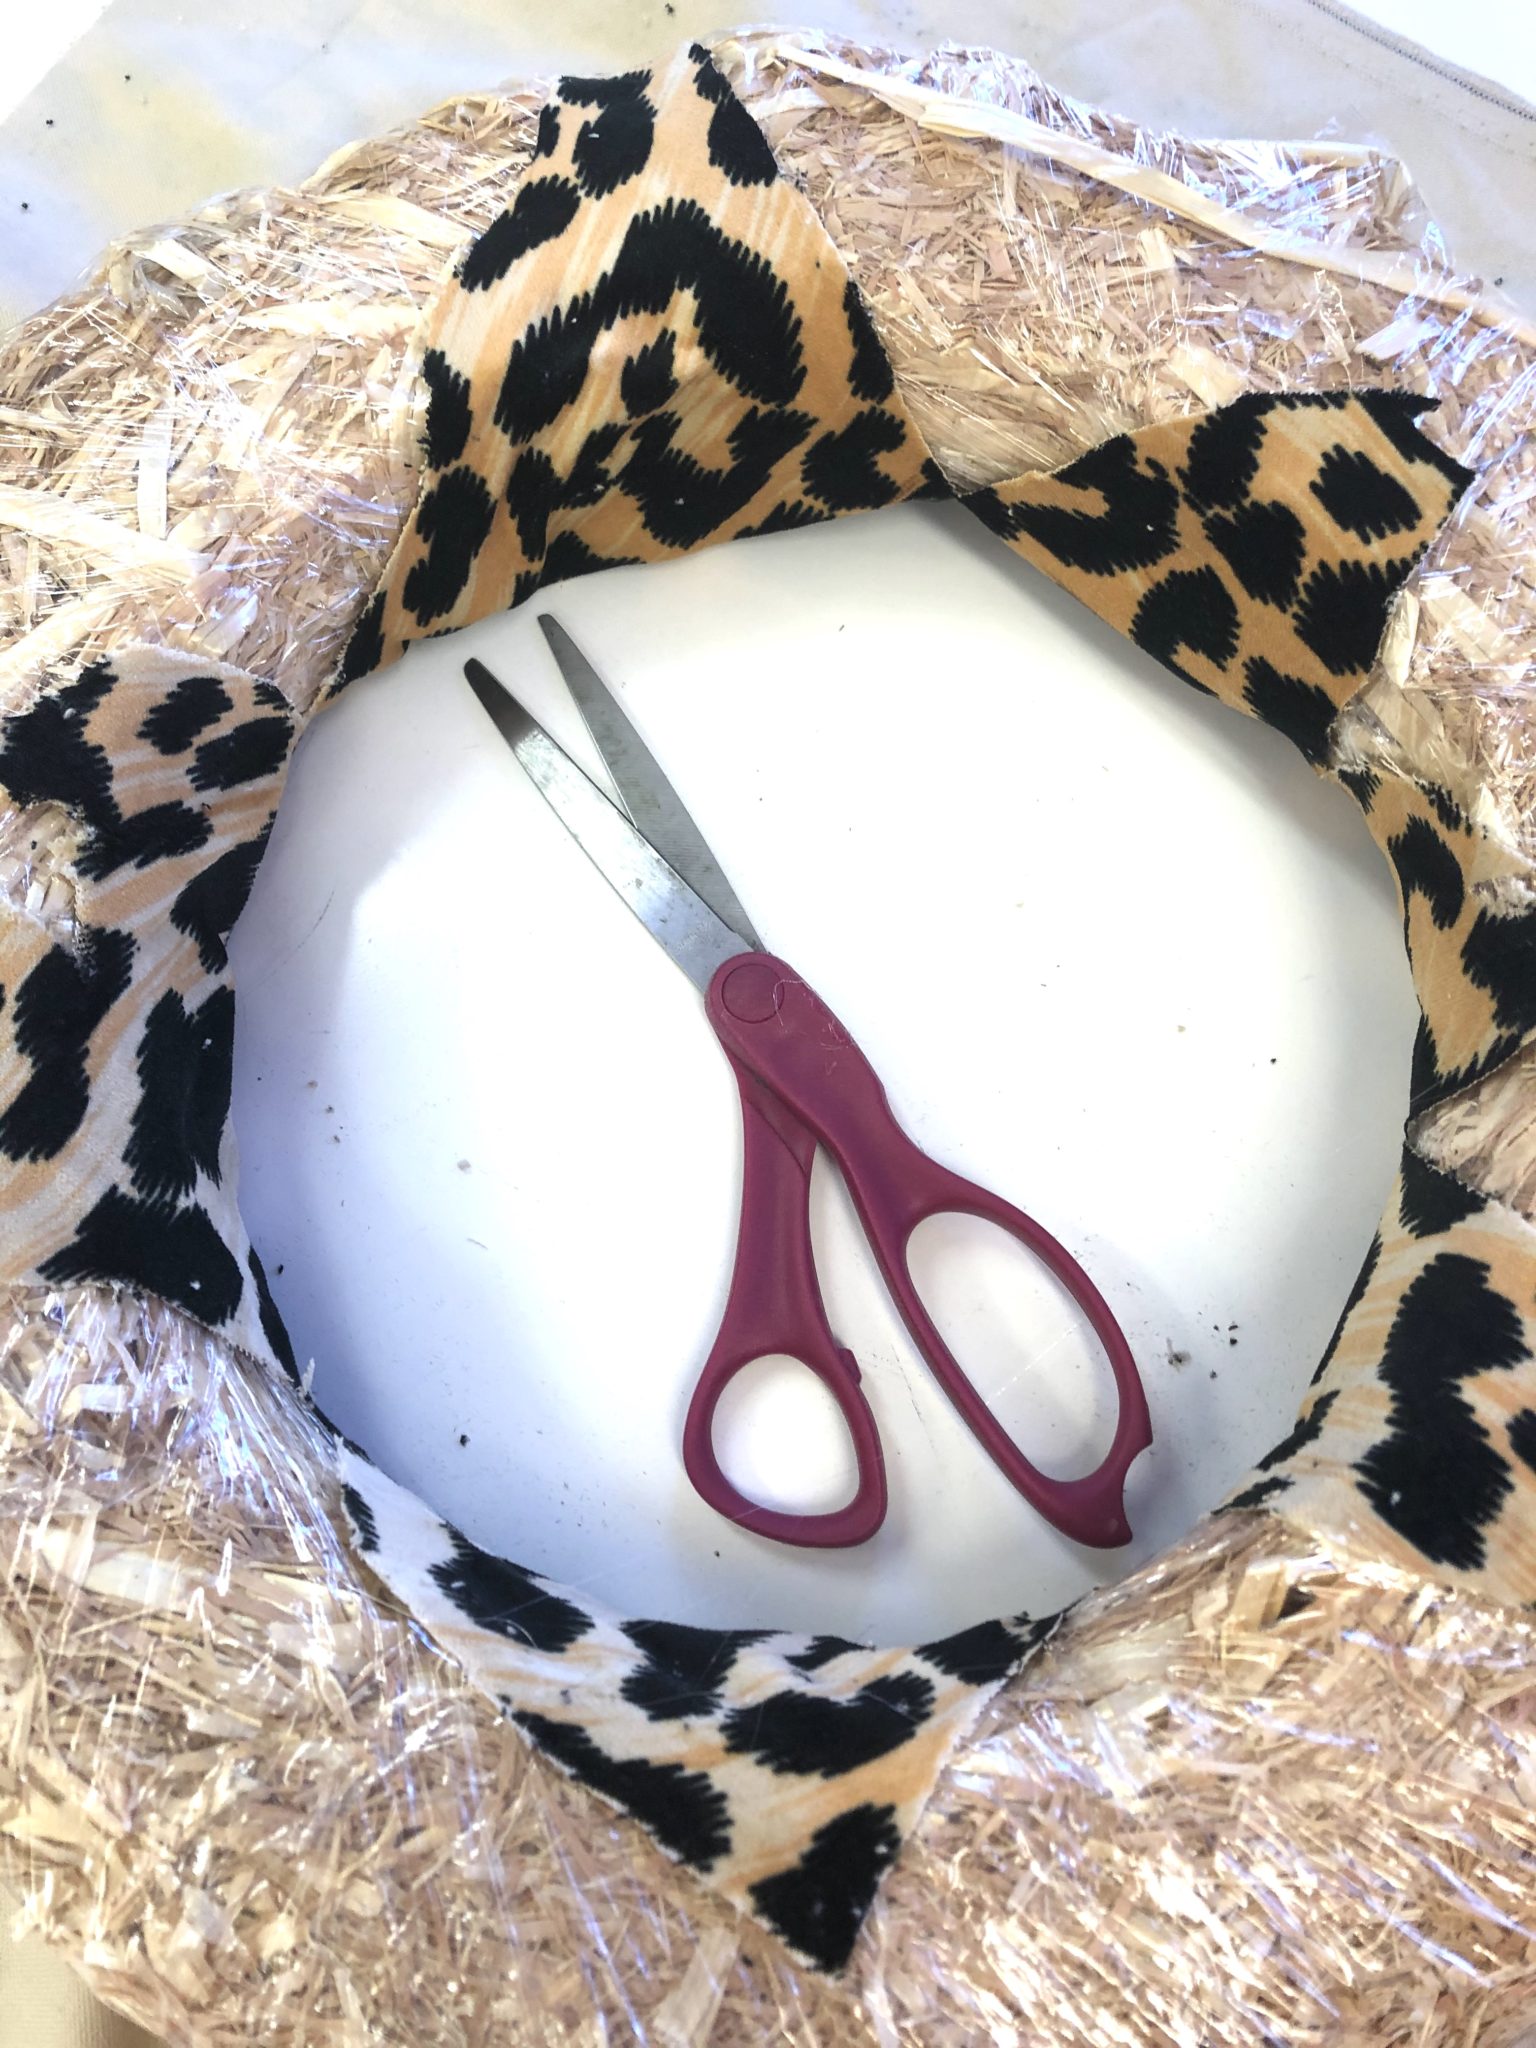
Step 2: Make triangle cuts around the center of the wreath.
Once your cuts are made glue them onto the wreath.
Step 3: Now it’s time to attach your outer layer of the fabric to the wreath. You are going to make lots of little folds to deal with the curves on the wreath and glue it down as you go.
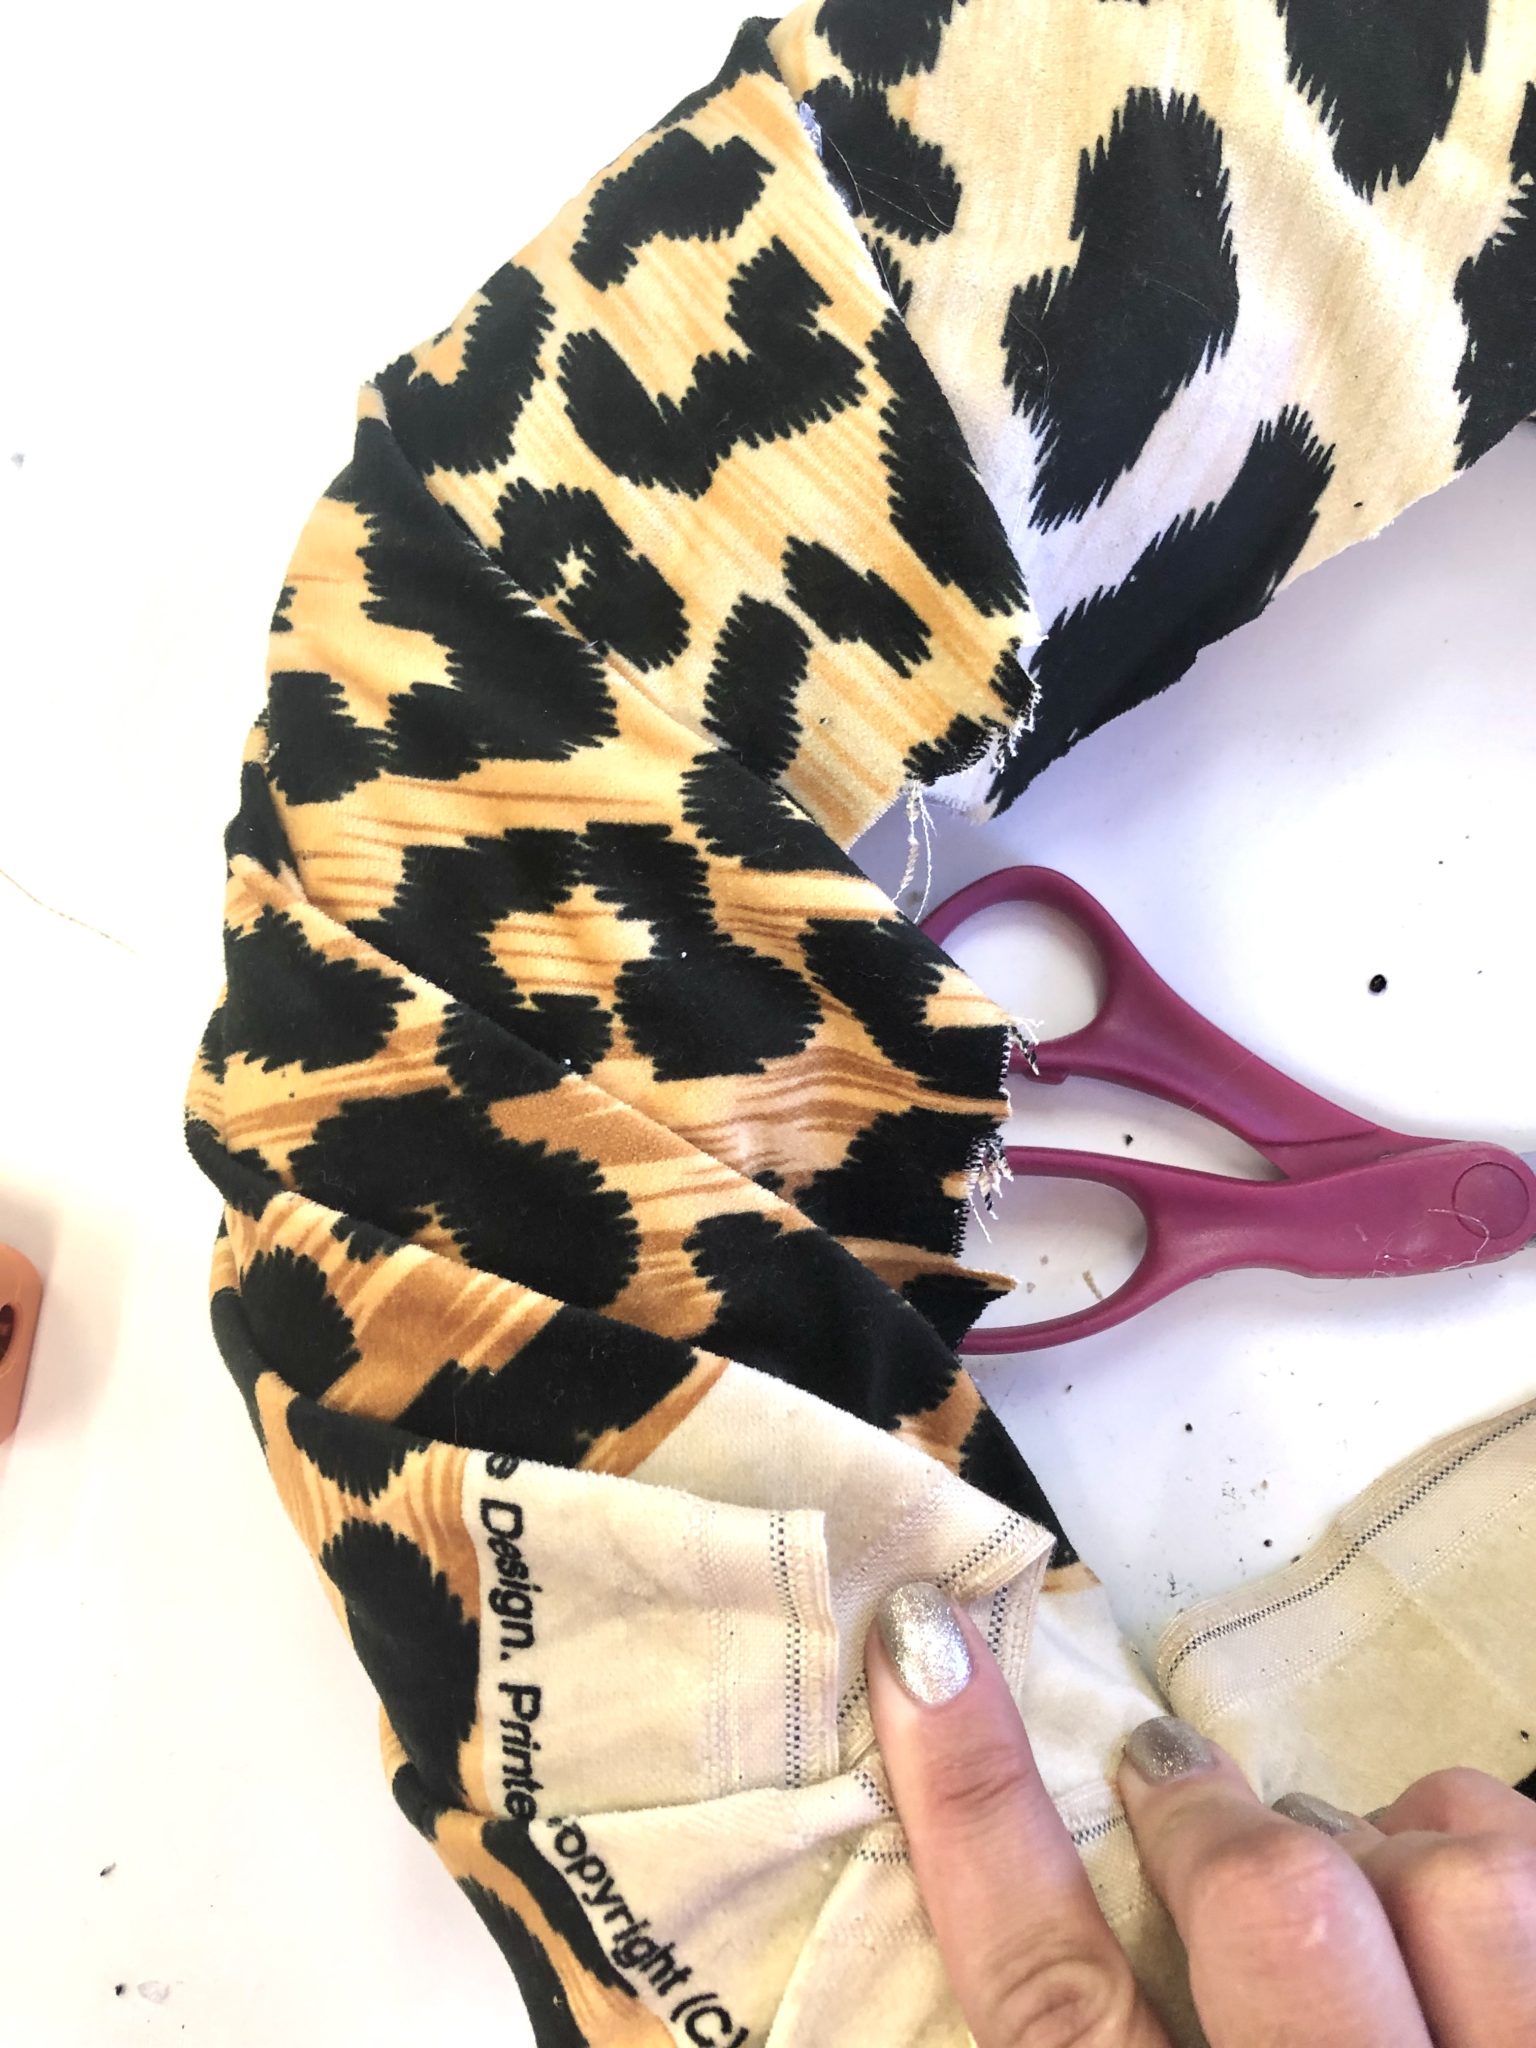
The back of the wreath will look like this.

Step 4: Add your wreath and enjoy! I simply tie the wreath and then tie my bow. To hang my wreath loop my ribbon and then place it over the door and attach it to a small nail I have on the back side of the door.
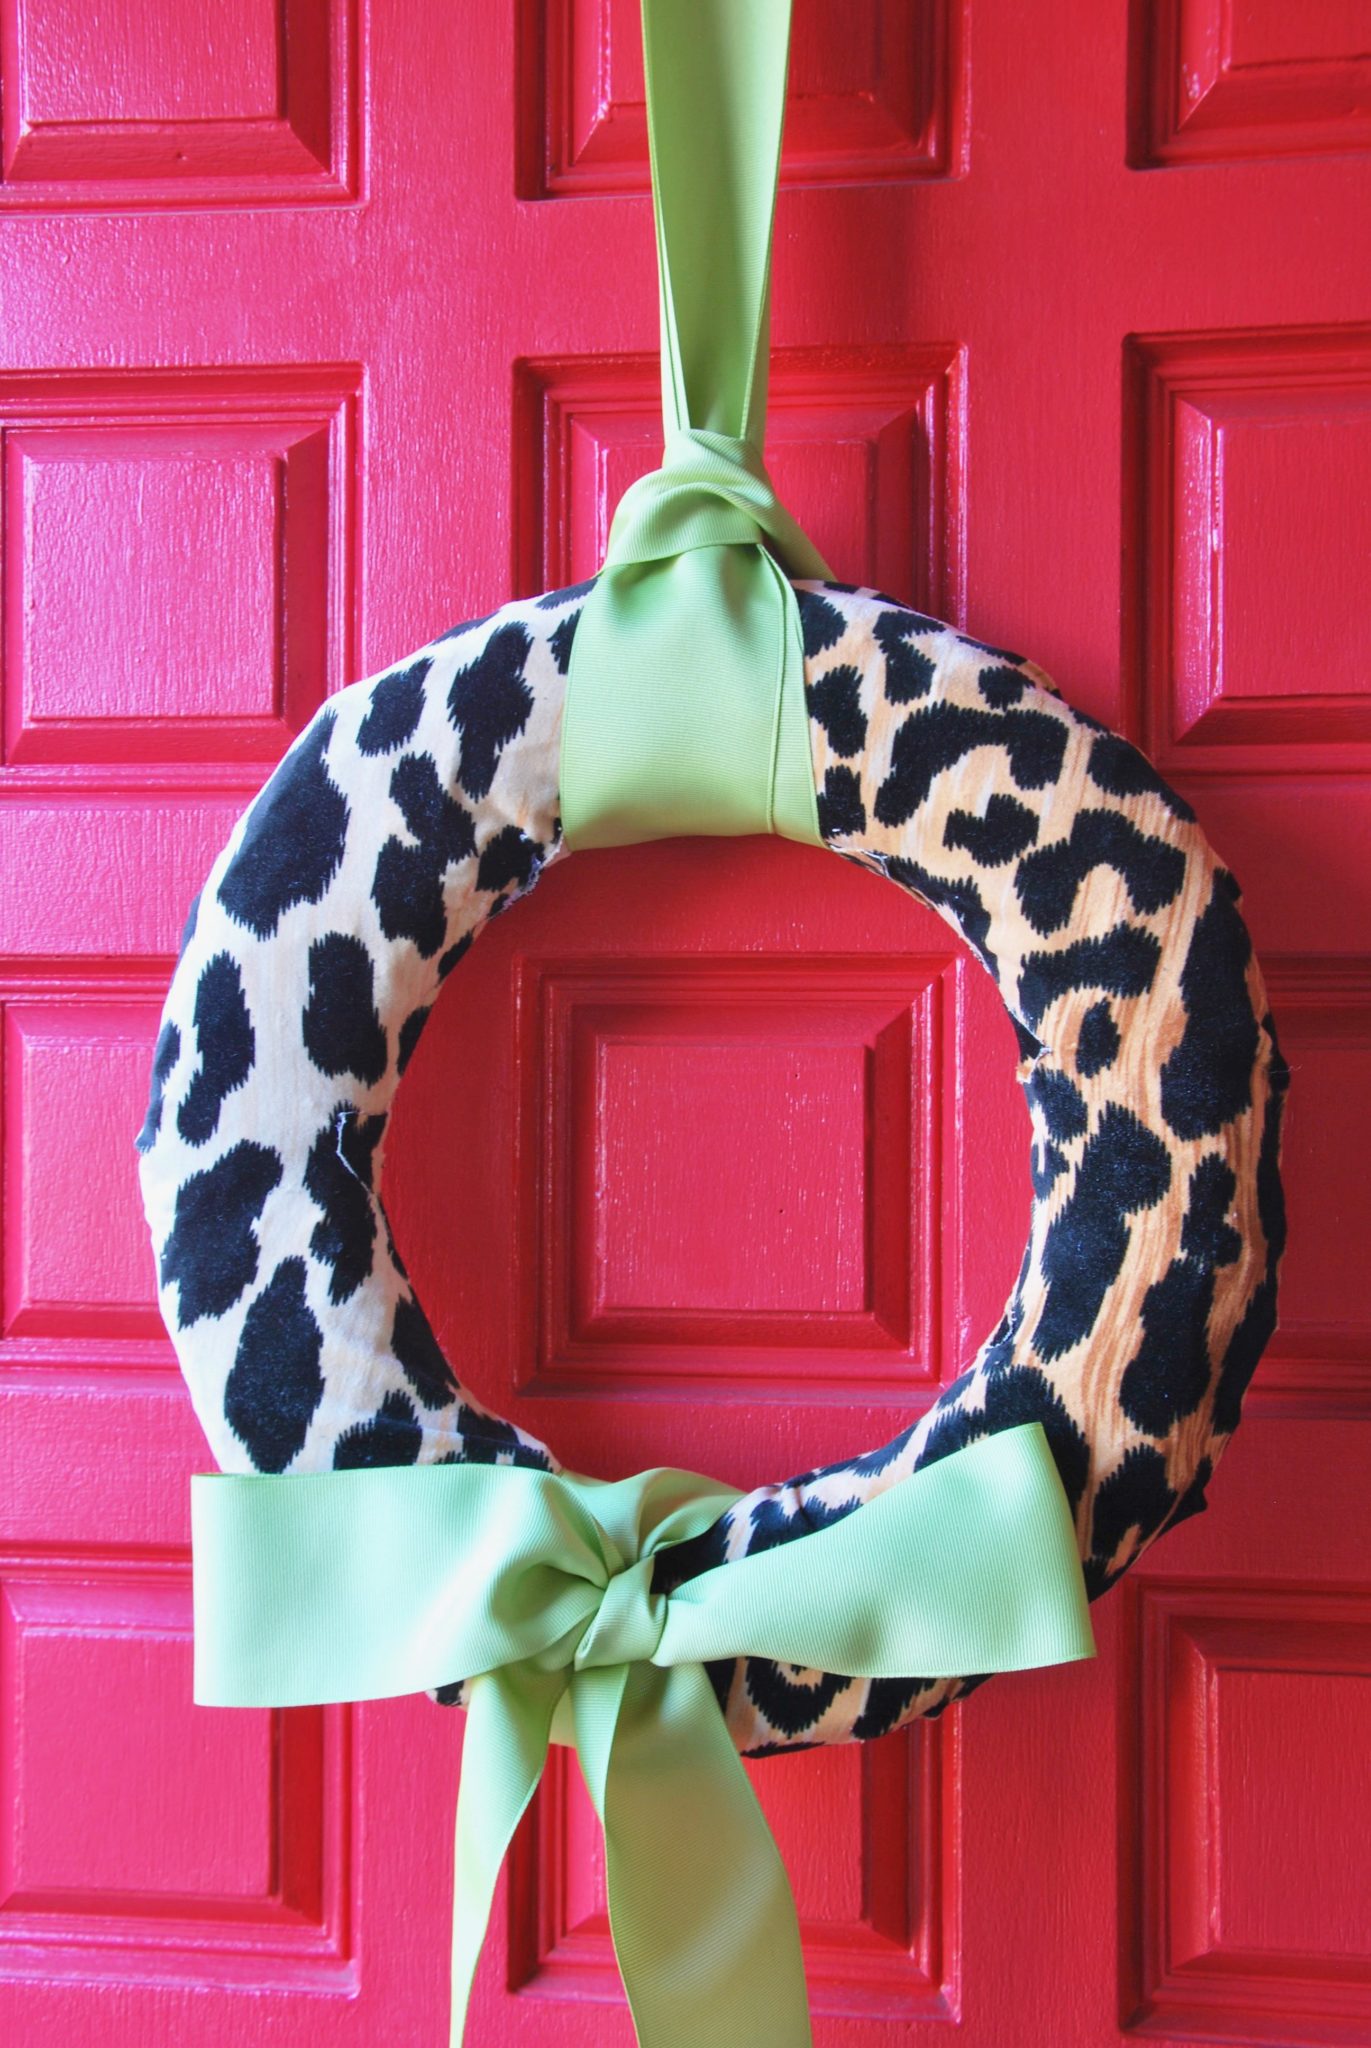
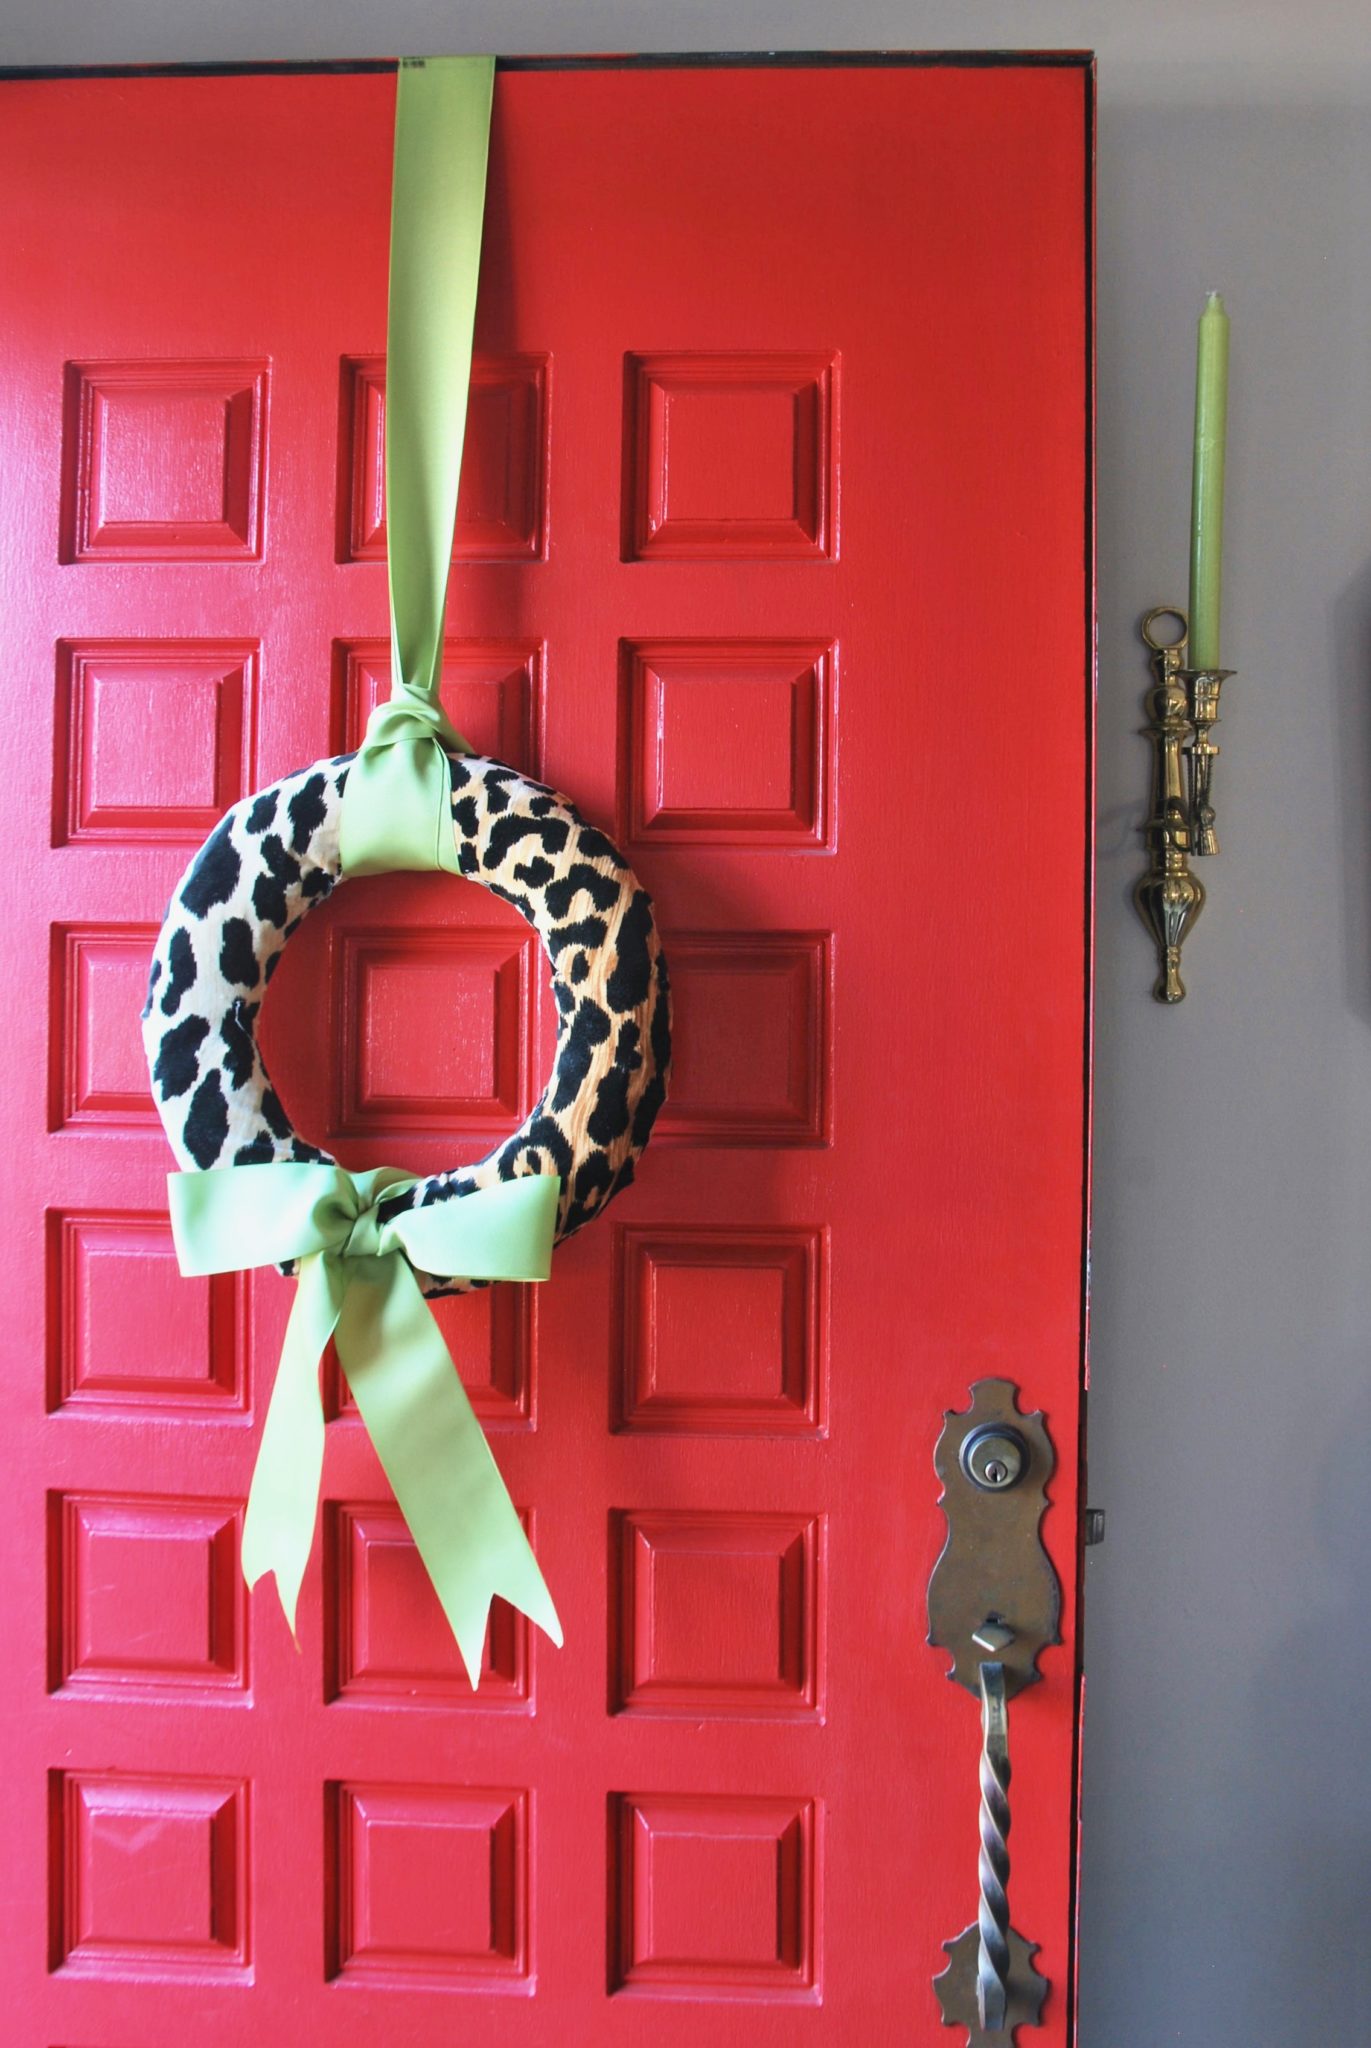
Isn’t it a fun addition to your front door? I can even see it going over windows in a whole house! Such an easy project that can be switched out for any occasion! Imagine all of the fabric and ribbon pairings.
Leave a Reply
get inspired with our own home tour
ON THE BLOG


My living room is one of the rooms that evolved drastically from when we first moved one. Originally I painted the walls chocolate brown and did accents of white, blue and orange. That lasted maybe 2 years.

Our dining room sat empty for months. Okay maybe it was empty for just a handful of weeks and then we couldn’t take it anymore and put in a folding table and plastic outdoor chairs, but in my mind that was still empty.

On the main floor of our house we have a Florida room. Being that it’s a Florida room it is a considered a 3 season room, because there is no heat in the room. The previous owners used it as an indoor patio with outdoor furniture and it looked like this when we moved in.


Being the leopard lover that I am.. I’m totally digging this!