Tips & Tricks for Installing a Gallery Wall
Over the weekend we installed a gallery wall at a client’s house and shared our tips & tricks for installing a gallery wall over instagram stories. We had so many questions about it on instagram stories that it warranted a blog post. Gallery walls are something that has been around for quite so time and they gained popularity a couple of years ago. I’m still not tired of them and don’t consider them trendy. I think that when they are done right they can stand the test of time. Of course, after doing for them so long I have some tips & tricks for install a gallery wall up my decorator sleeve!
TIPS & TRICKS FOR INSTALLING A GALLERY WALL
Tip 1 for installing a gallery wall: Super size it!
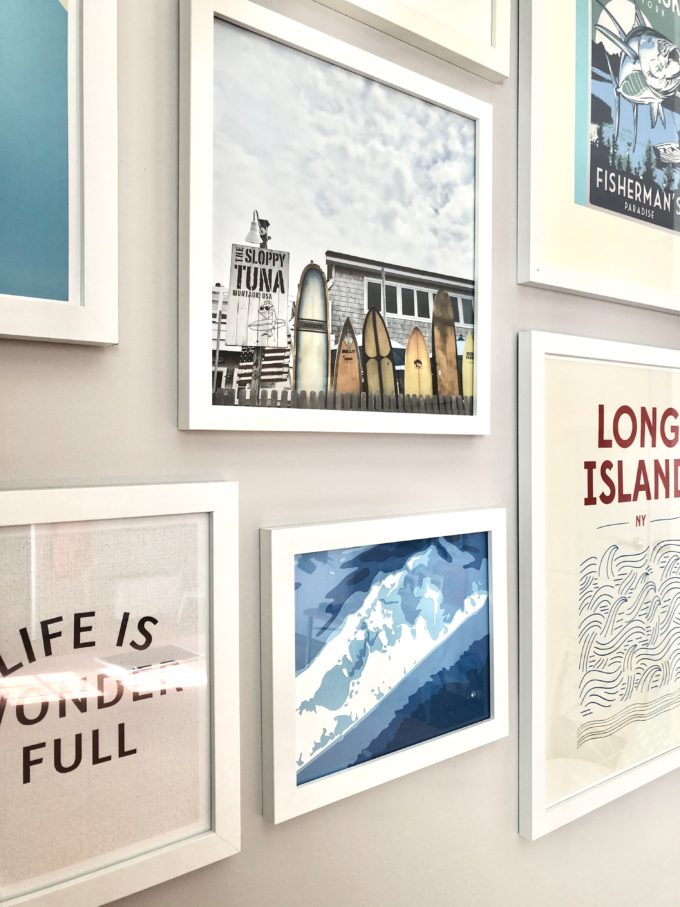
The main issue I see with gallery walls is that people go too small with them. Not too small in the scale of them, but too small in the size of the artwork. So many times I see rooms where the biggest frame size is 8″ x 10″ and then the wall is a mix of 5″ x 7″ and 8″ x 10″ frames. That is way too small. A blank wall where there is so much open space you need to go bold. Little teeny tiny frames are not going to make an impact. I use 8″ x 10″ sparingly probably only 1-3 in a gallery wall. The rest are large and in charge!
Tip 2 for installing a gallery wall: Mix it up!
The nice thing about a gallery wall is that it lets you go a little crazy. It’s a place where an abstract piece of art, a typography piece, and a framed vintage scarf can all work together. I like to make sure there is a common thread in the gallery wall so there will be a couple of colors that I repeat throughout the space. I also love framing unusual items like a fortune cookie fortune in a shadow box, a hanging vase for a flower or two.
Now if all of that chaos sounds terrifying to you then I recommend going with all family photos. Go big! Make 8″ x 10″ your smallest size and make all of the photos either all black and white or all color.
Tip 3 for installing a gallery wall: Lay it down.
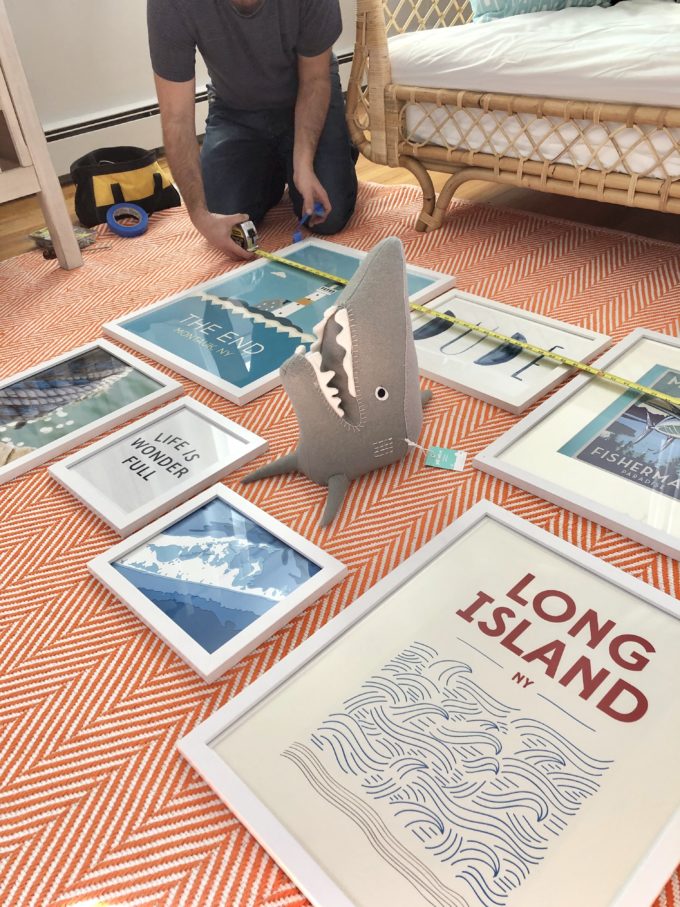
Measure out your wall and then make a grid on your floor to fill up with your artwork. Then snap a picture of it to make sure you keep everything in the right place. I use to do paper mock ups, but after doing so many I don’t do them anymore. It’s easier and faster just to do the grid on the floor and then start hanging.
Tip 4 for installing a gallery wall: Don’t be afraid to switch things up.
Sometimes I come up with a plan on the floor, but then something is missing when I start putting up the pieces. I always have an additional piece or two just in case.
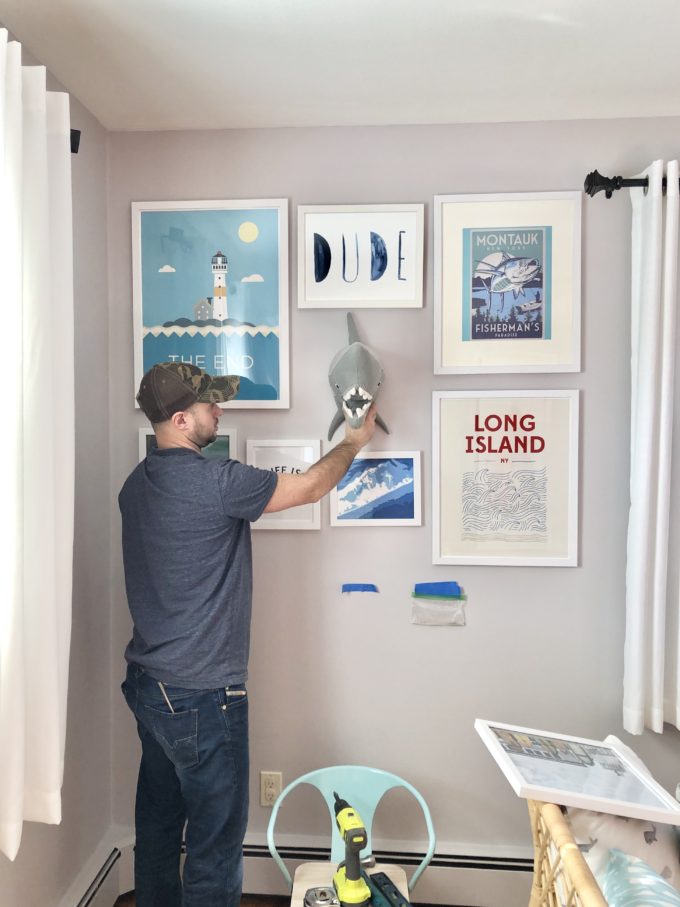
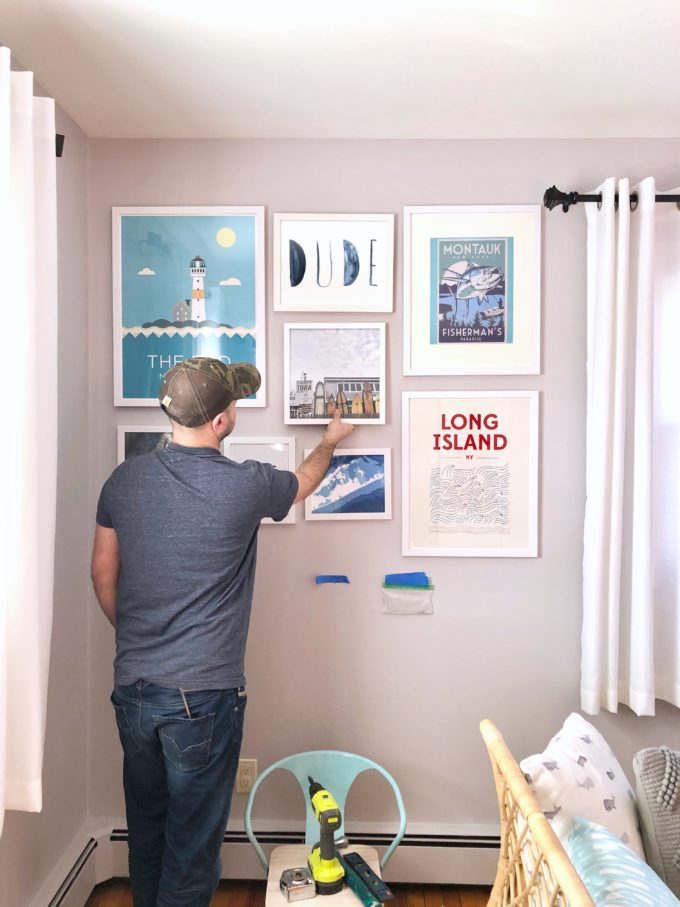
Originally I wanted this shark bust to go in the middle. It was our last piece to go up and before Jon put the nail in I just wasn’t feeling it. It felt like it there was too much empty space surrounding it. Everything else was too grid like and it just felt off.
This framed piece worked so much better!
Now for my little tricks to make the job a little faster and easier.
Trick 1 for installing a gallery wall: Use a picture hanging tool!
It helps you visualize where you are going to hang the piece and where you need to place the nail. You hang it on the tool and then press down on the wall where you are happy with the height so that it leaves a little indentation on the wall. That is where you will place your nail. You can even place a screw through a paint stirrer and use that as a picture hanging tool.
Trick 2 for installing a gallery wall: Sandwich bags aren’t just for lunch.
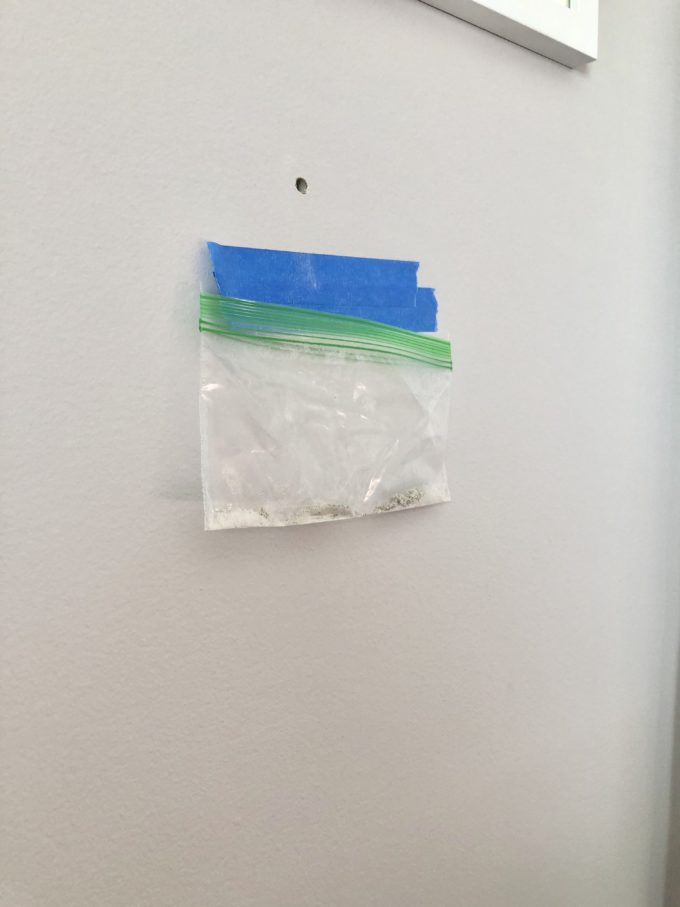
For easy cleanup, Jon always uses a little sandwich bag and uses painters tape to attach it to the wall. He places it below where he is going to drill into the wall. This way all of the dust and debris from placing an anchor in the wall goes directly into the baggie and it doesn’t make a mess on the floor.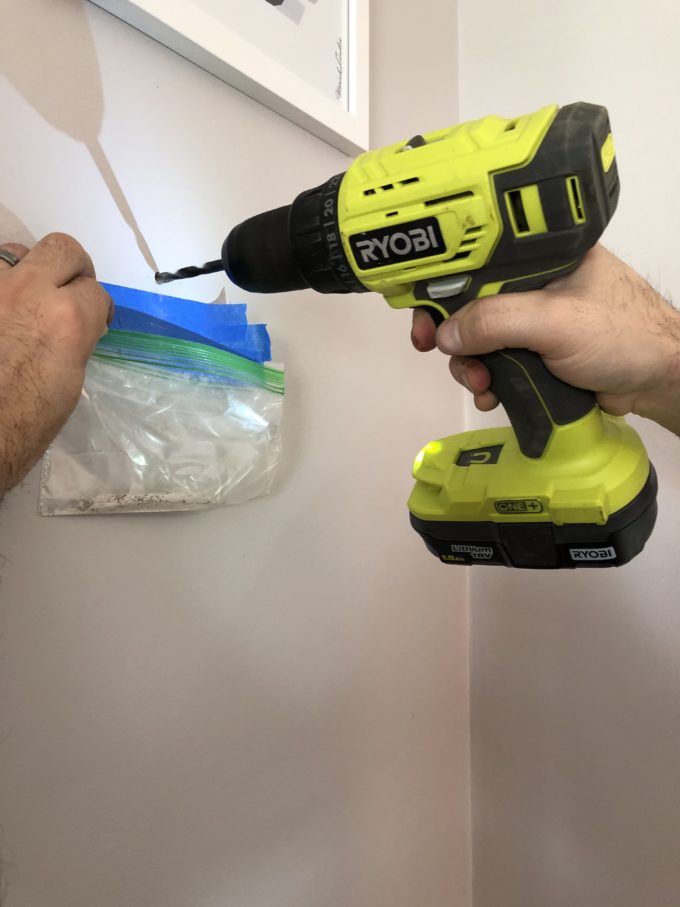
So easy! We just moved it around for each piece and left the client’s house with clean floors.
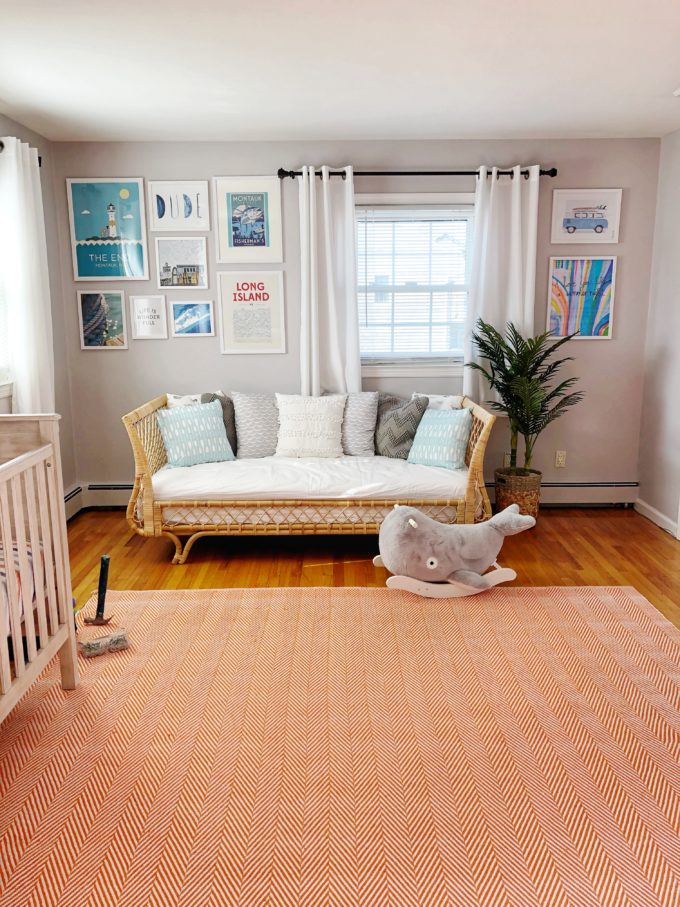
Doesn’t it look so pretty! We are still finishing up this space and awaiting wallpaper, new curtains, etc! Plus a new little bebe! I would have loved to have filled the wall all the way down to the floor, but with two adventurous brothers awaiting this baby I wanted to keep temptation away.
Artwork Sources:
Montauk Fisherman Print
LIFE IS WONDERFUL Print
THE END Montauk Print
Long Island Waves Print
VW Van with Surfboards Print
Shark Bust
Watercolor DUDE Print
I love you like a summer night Print
Long Island Layered Paper Cut Out
Rope on Dock Photograph
Sloppy Tuna Montauk Photograph
If you ever need help with your gallery wall make sure to contact me! I offer hourly design services and curate gallery walls for clients all of the time. It typically only takes 2 hours for a beautifully curated art selection for your home.
Related
Leave a Reply Cancel reply
get inspired with our own home tour
ON THE BLOG
My living room is one of the rooms that evolved drastically from when we first moved one. Originally I painted the walls chocolate brown and did accents of white, blue and orange. That lasted maybe 2 years.
Our dining room sat empty for months. Okay maybe it was empty for just a handful of weeks and then we couldn’t take it anymore and put in a folding table and plastic outdoor chairs, but in my mind that was still empty.
On the main floor of our house we have a Florida room. Being that it’s a Florida room it is a considered a 3 season room, because there is no heat in the room. The previous owners used it as an indoor patio with outdoor furniture and it looked like this when we moved in.
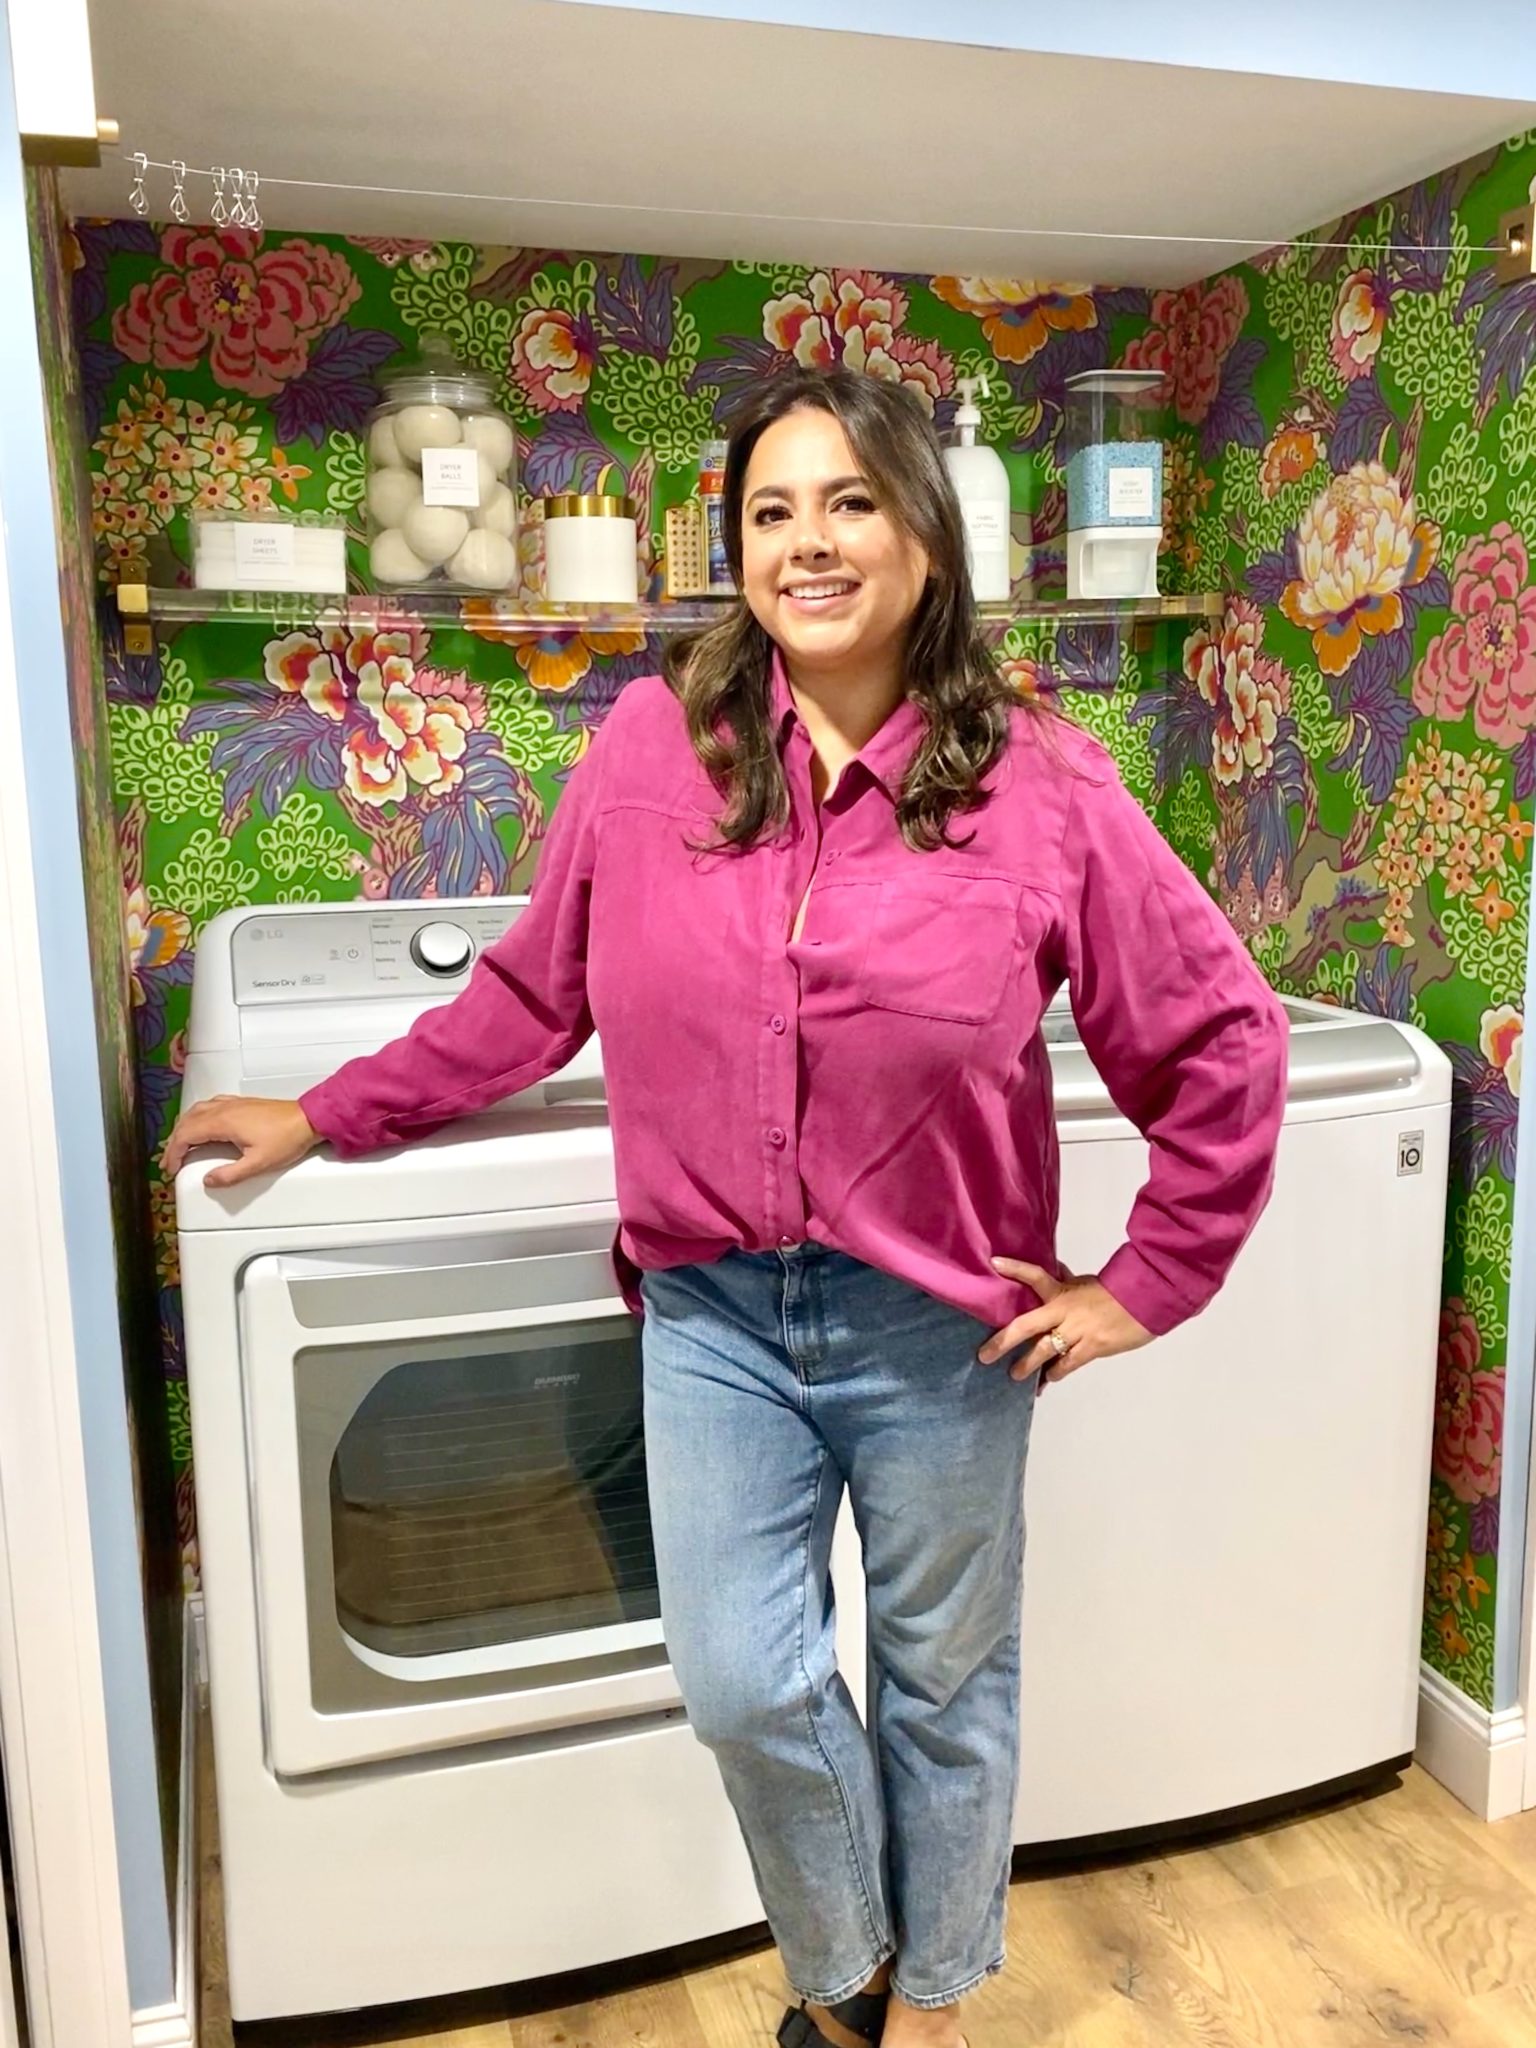
In our new home, the basement was completely unfinished. It was literally one of those dark spaces that you see in horror movies and are terrified of getting locked into. However, with the square footage in this house, I knew I needed to make the basement another workable and liveable floor of the house instead […]
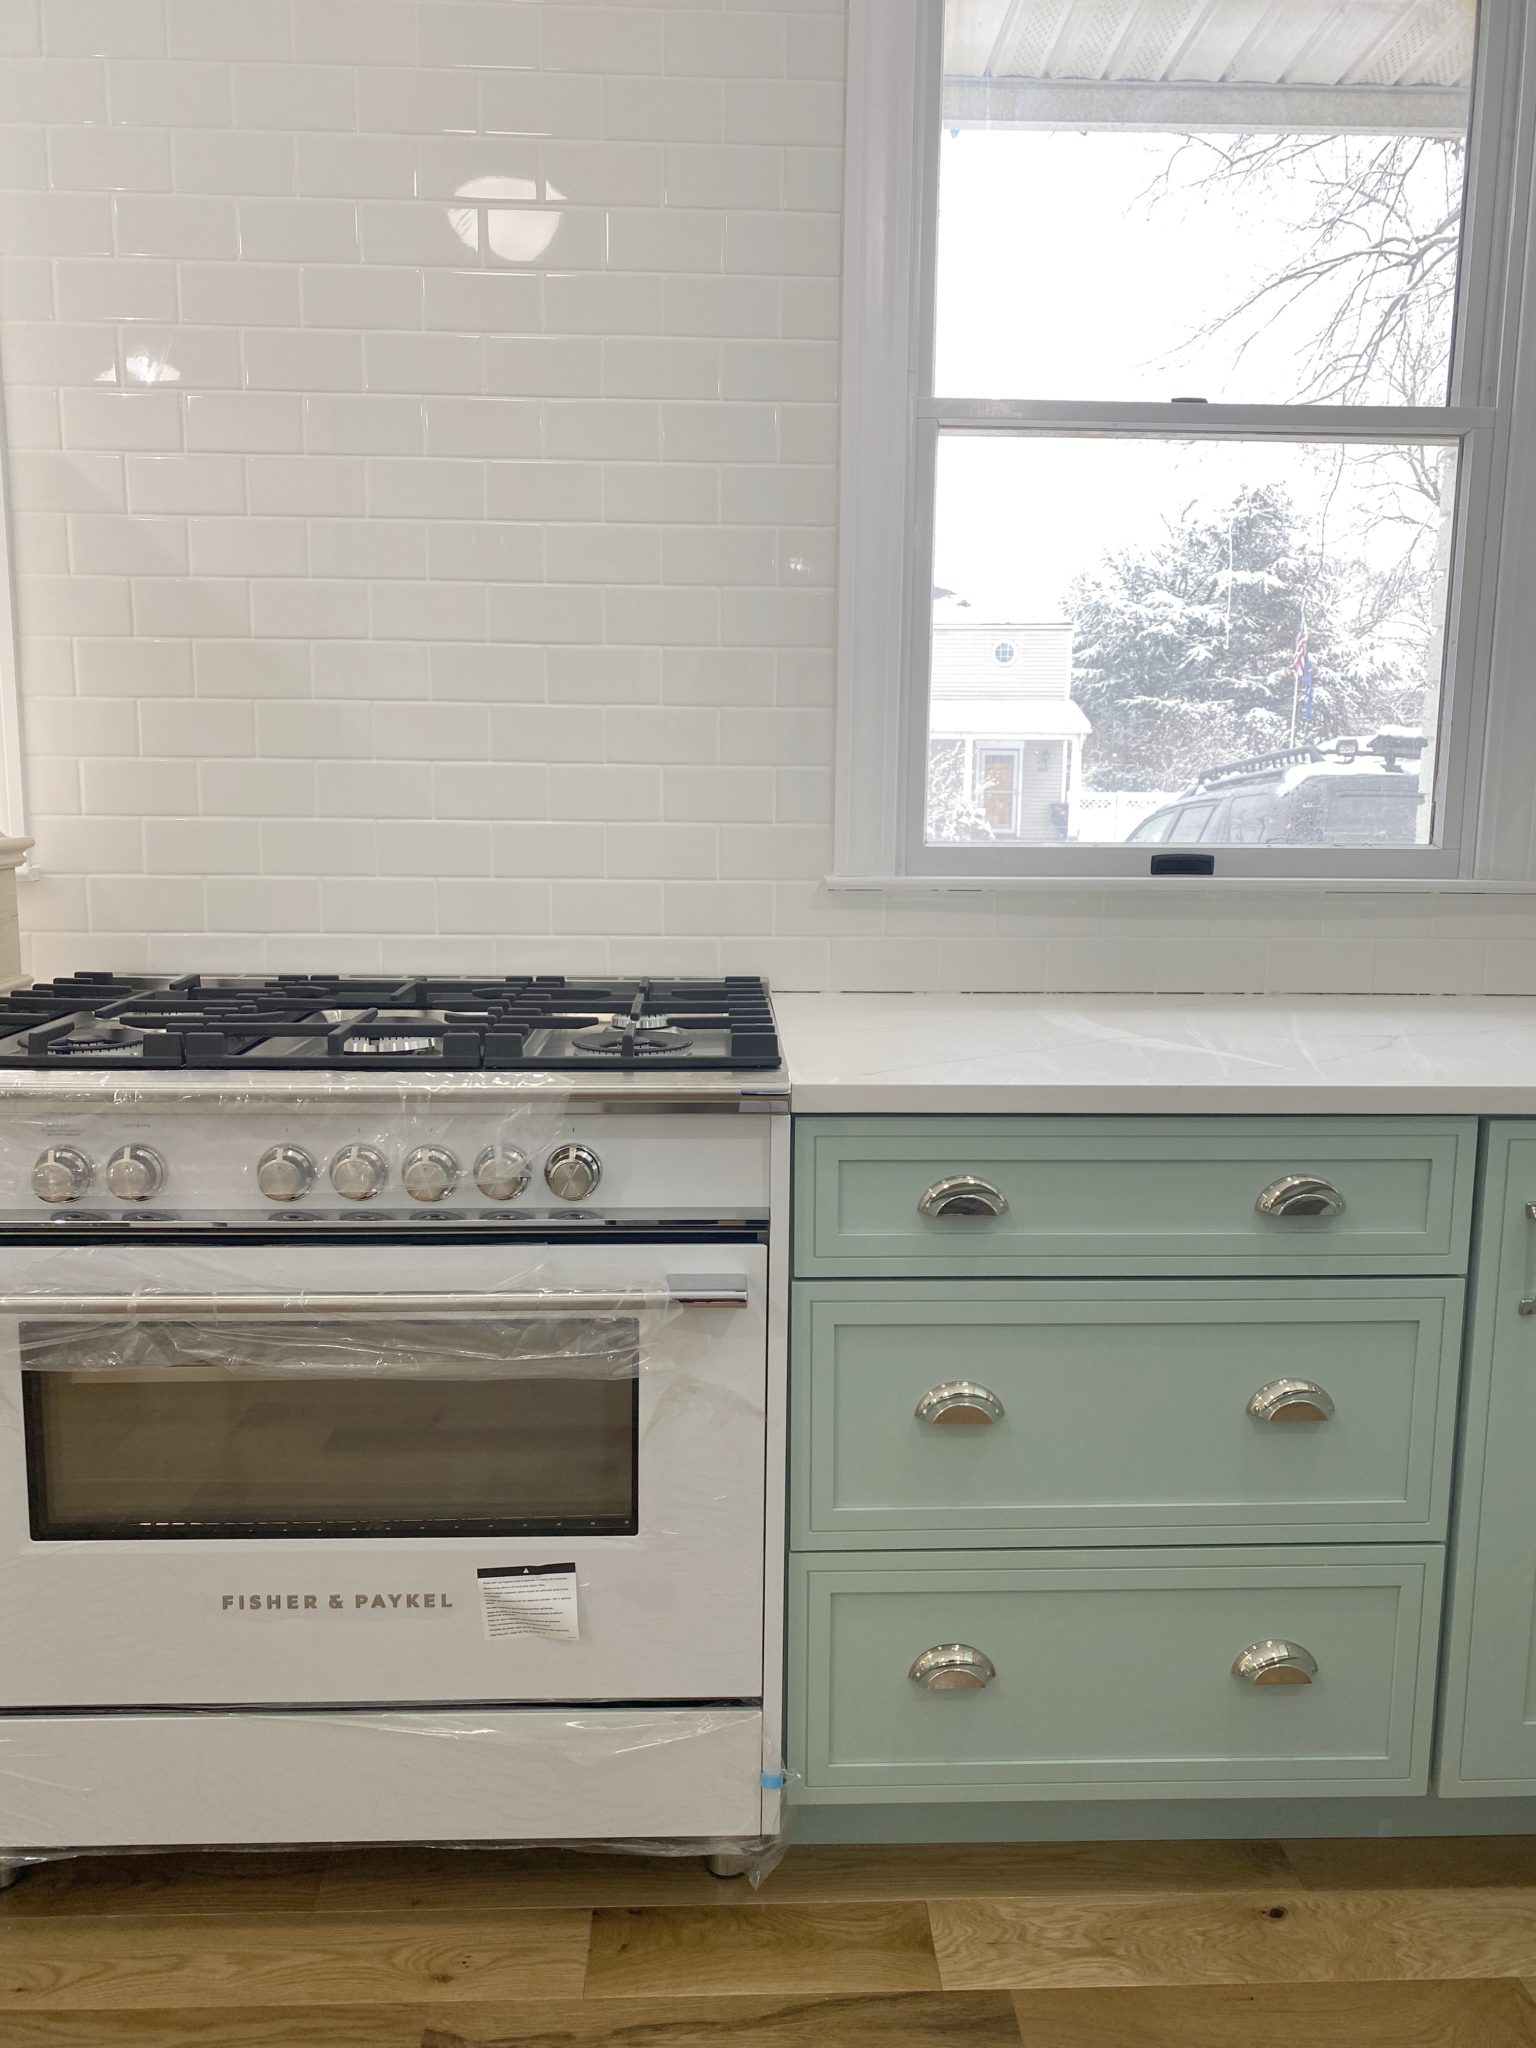
What to look for when it comes to picking out kitchen appliances: Leave room in your budget for appliances. When it comes to kitchen renovations everyone knows that the cabinetry and the labor of demoing and installing cabinetry is going to eat a lot of your budget. However, the second most expensive part of a […]
I don’t think I’m alone in thinking that designing a kitchen is an overwhelming undertaking. I’m an interior designer and even I find it stressful to iron out all of those details. So, when it comes time to design a kitchen I always like to partner with a kitchen designer to make sure I’m remembering […]
