
DIY Grasscloth Console
A long time ago I had Jon build me a Parson style console for our living room. Everything on the market was a bit too skinny for my liking so we had to go the DIY route.
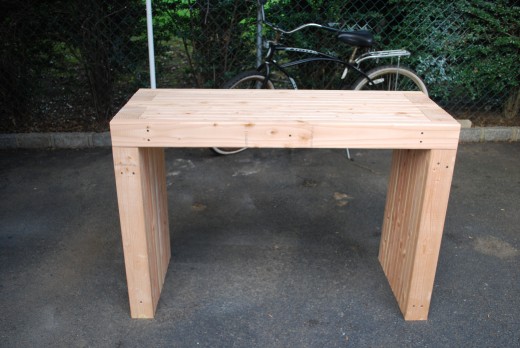
A quick trip to Home Depot for some 2’x4′ and my amazing husband came up with this:
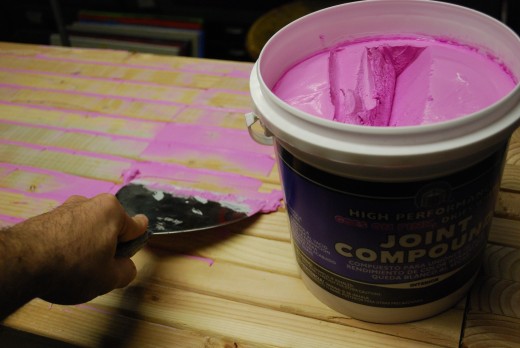
We then had to use joint compound to fix the grooves and give us a smooth surface to work with.
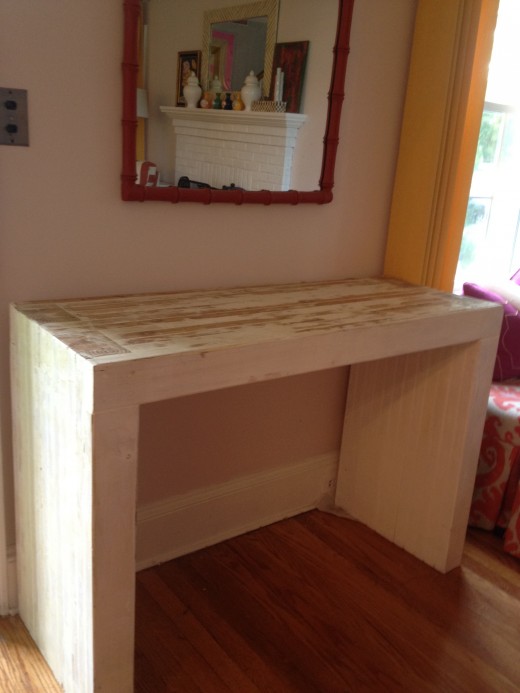
Then I got pregnant, had Hudson and life became super busy so it sat in the basement for a while and then a couple of months ago it made it up to the living room:
It stayed like this for another couple of months and then finally a couple of weeks ago we had a free weekend to just stay home and work on it. Finishing meant covering the whole thing in grasscloth.
Here is how we tackled it:
You will need:
-A roll of grasscloth wallpaper (I use to order budget friendly grasscloth from a wallpaper book called Decortor’s Grasscloth, but it looks like it’s been discontinued)
-Wallpaper paste
-Seam roller
-Wallpaper brush
-Foam brush
-Electric stapler
-Scissors
-Fabric glue
***We had a couple of failed attempts using hot glue and cement glue and wallpaper paste is worked out perfectly.***
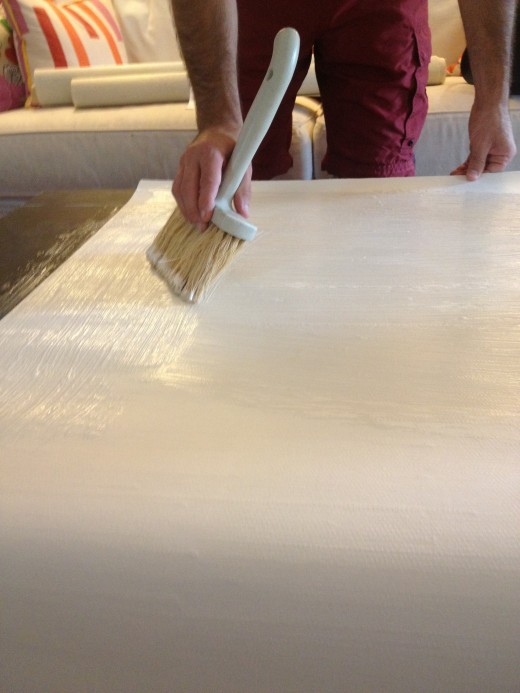
Step 1: We wanted to do this project with the least amount of seams possible. The first cut you are going to make is for the top sections of the console. You will need a piece of wallpaper long enough to start at the base of one leg and be able to go up and over to the base of the opposite leg. Brush on wallpaper paste once it’s cut:
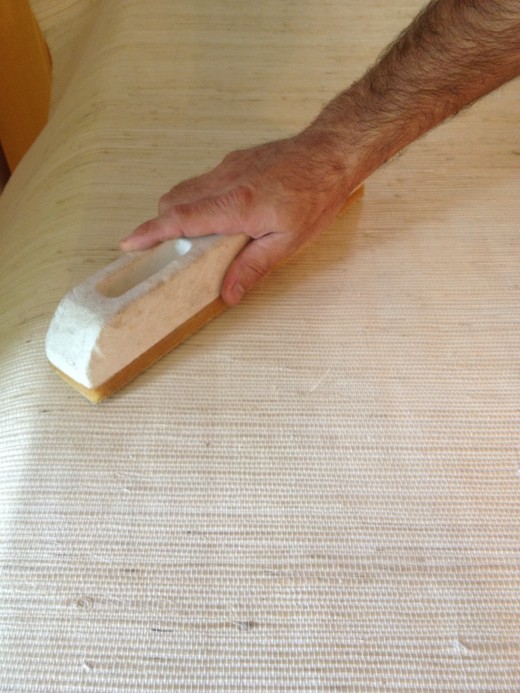
Step 2: Make sure to smooth our air bubbles. We used a foam wallpaper brush and our hands to get a smooth surface:
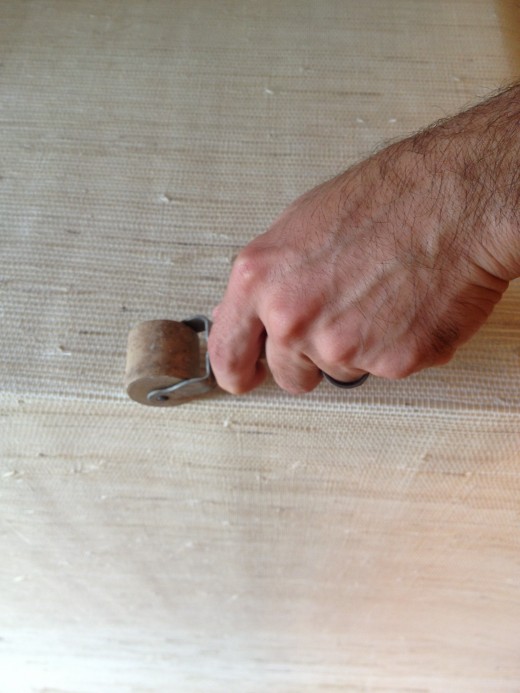
Step 3: Use the rollers to get a crisp edge:
Now since the width of the wallpaper is larger than the width of the console you’ll have excess paper on the front and back. This excess is good because you can fold it underneath the console and have nice finished edges and your seams will be underneath the console.
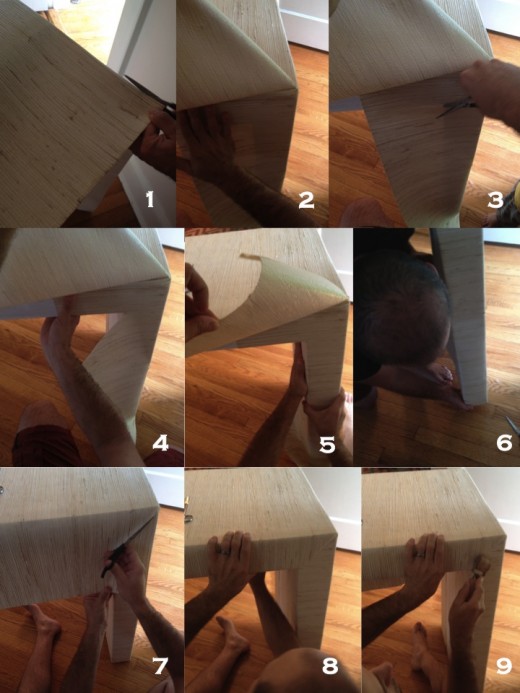
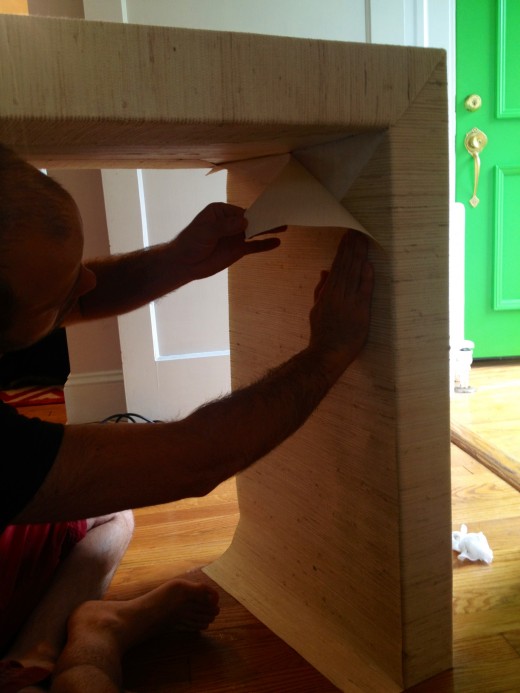
Step 4: In order to fold the excess underneath the console you’ll need to tackle the corners:
Step 5: Repeat the corner process above on the 3 other corners. Once you are done it will look like this:
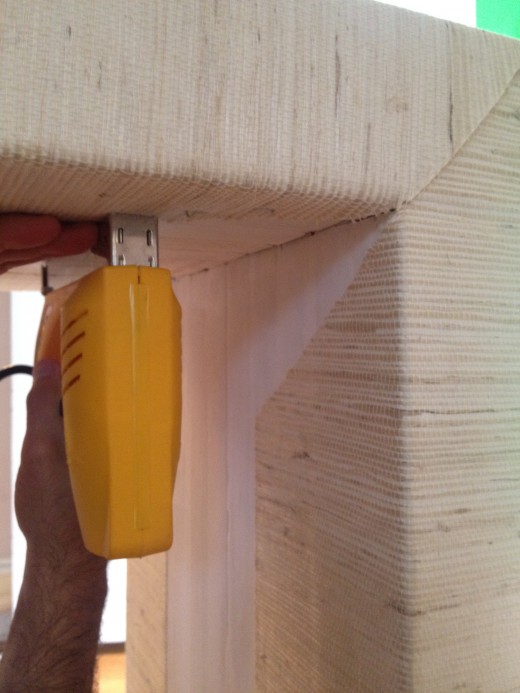
Step 6: The wallpaper paste does a great job of holding the wallpaper in place, but we wanted a little extra support on the pieces directly underneath the top of the console, because of the weight of the grasscloth so, we added a couple of staples:
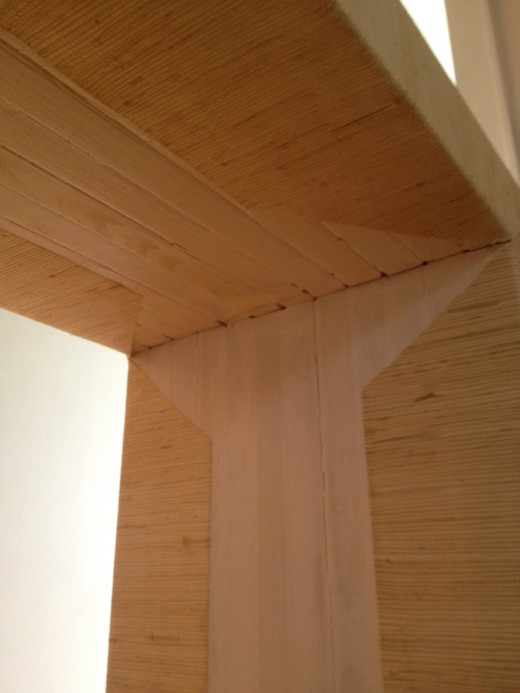
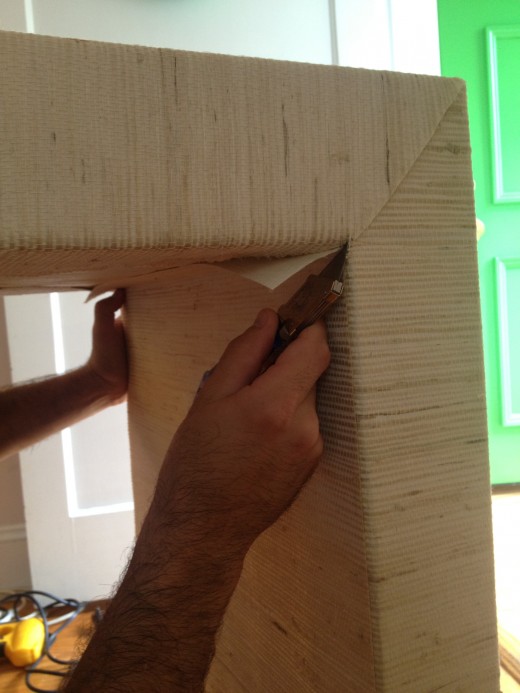
Step 7: The final part of the console is to cut the pieces for underneath the console. Instead of one continuous piece we cut 3 separate pieces. Along with cutting them down in height we cut the sides as well to get the perfect seam. Once the pieces were cut and coated with wallpaper paste we applied it to the console right on the edges:
Step 8: Since you are cutting these panels down to size on both the top/bottoms and sides you might want to make them a little bit larger so you don’t cut them too small and then get rid of the excess with razor for a clean cut. Repeat steps with the other two sides.
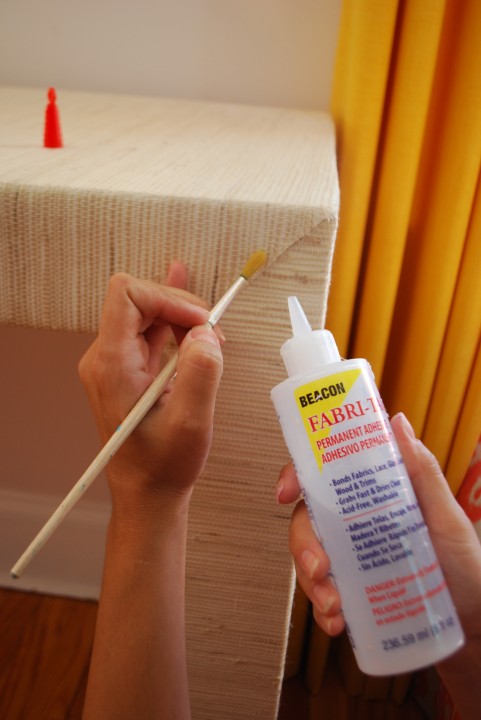
Step 9: Because of the nature of grasscloth wallpaper there can be a little bit of fraying when you cut it. It wasn’t a huge issue, but we had a couple of frayed hairs on the corners so we used a little fabric glue and applied it corner seam to prevent the fraying:
Step 10: Let everything set for 24 hours and then enjoy your new piece of furniture!
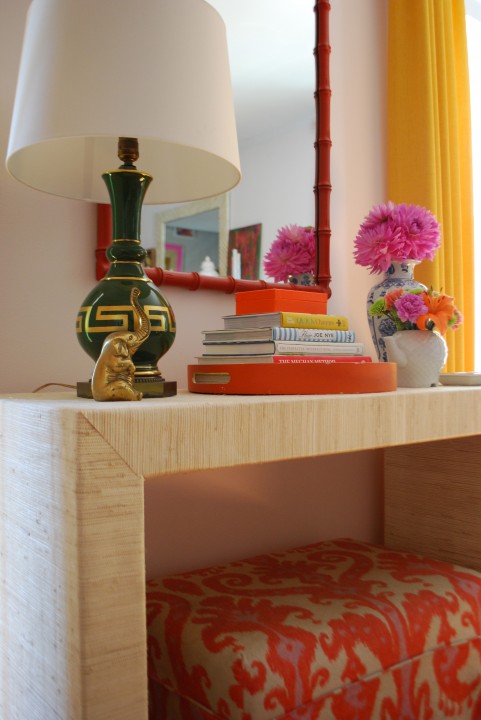
Close up of finished corner:
Whew! Now I know why grassclothed pieces of furniture cost so much. At the end of the day it wasn’t really hard just time consuming. Once you got into the swing of it though it was pretty easy to do.
*In the past when we had tried to grasscloth furniture we never got a result we liked so we are super happy with this result. Our original plan was to lacquer it as well, but we tested out covering grasscloth with a high gloss acrylic coating of poly and the grasscloth just soaked it up and we did not get a lacquered finished.
Related
Leave a Reply Cancel reply
get inspired with our own home tour
ON THE BLOG
My living room is one of the rooms that evolved drastically from when we first moved one. Originally I painted the walls chocolate brown and did accents of white, blue and orange. That lasted maybe 2 years.
Our dining room sat empty for months. Okay maybe it was empty for just a handful of weeks and then we couldn’t take it anymore and put in a folding table and plastic outdoor chairs, but in my mind that was still empty.
On the main floor of our house we have a Florida room. Being that it’s a Florida room it is a considered a 3 season room, because there is no heat in the room. The previous owners used it as an indoor patio with outdoor furniture and it looked like this when we moved in.
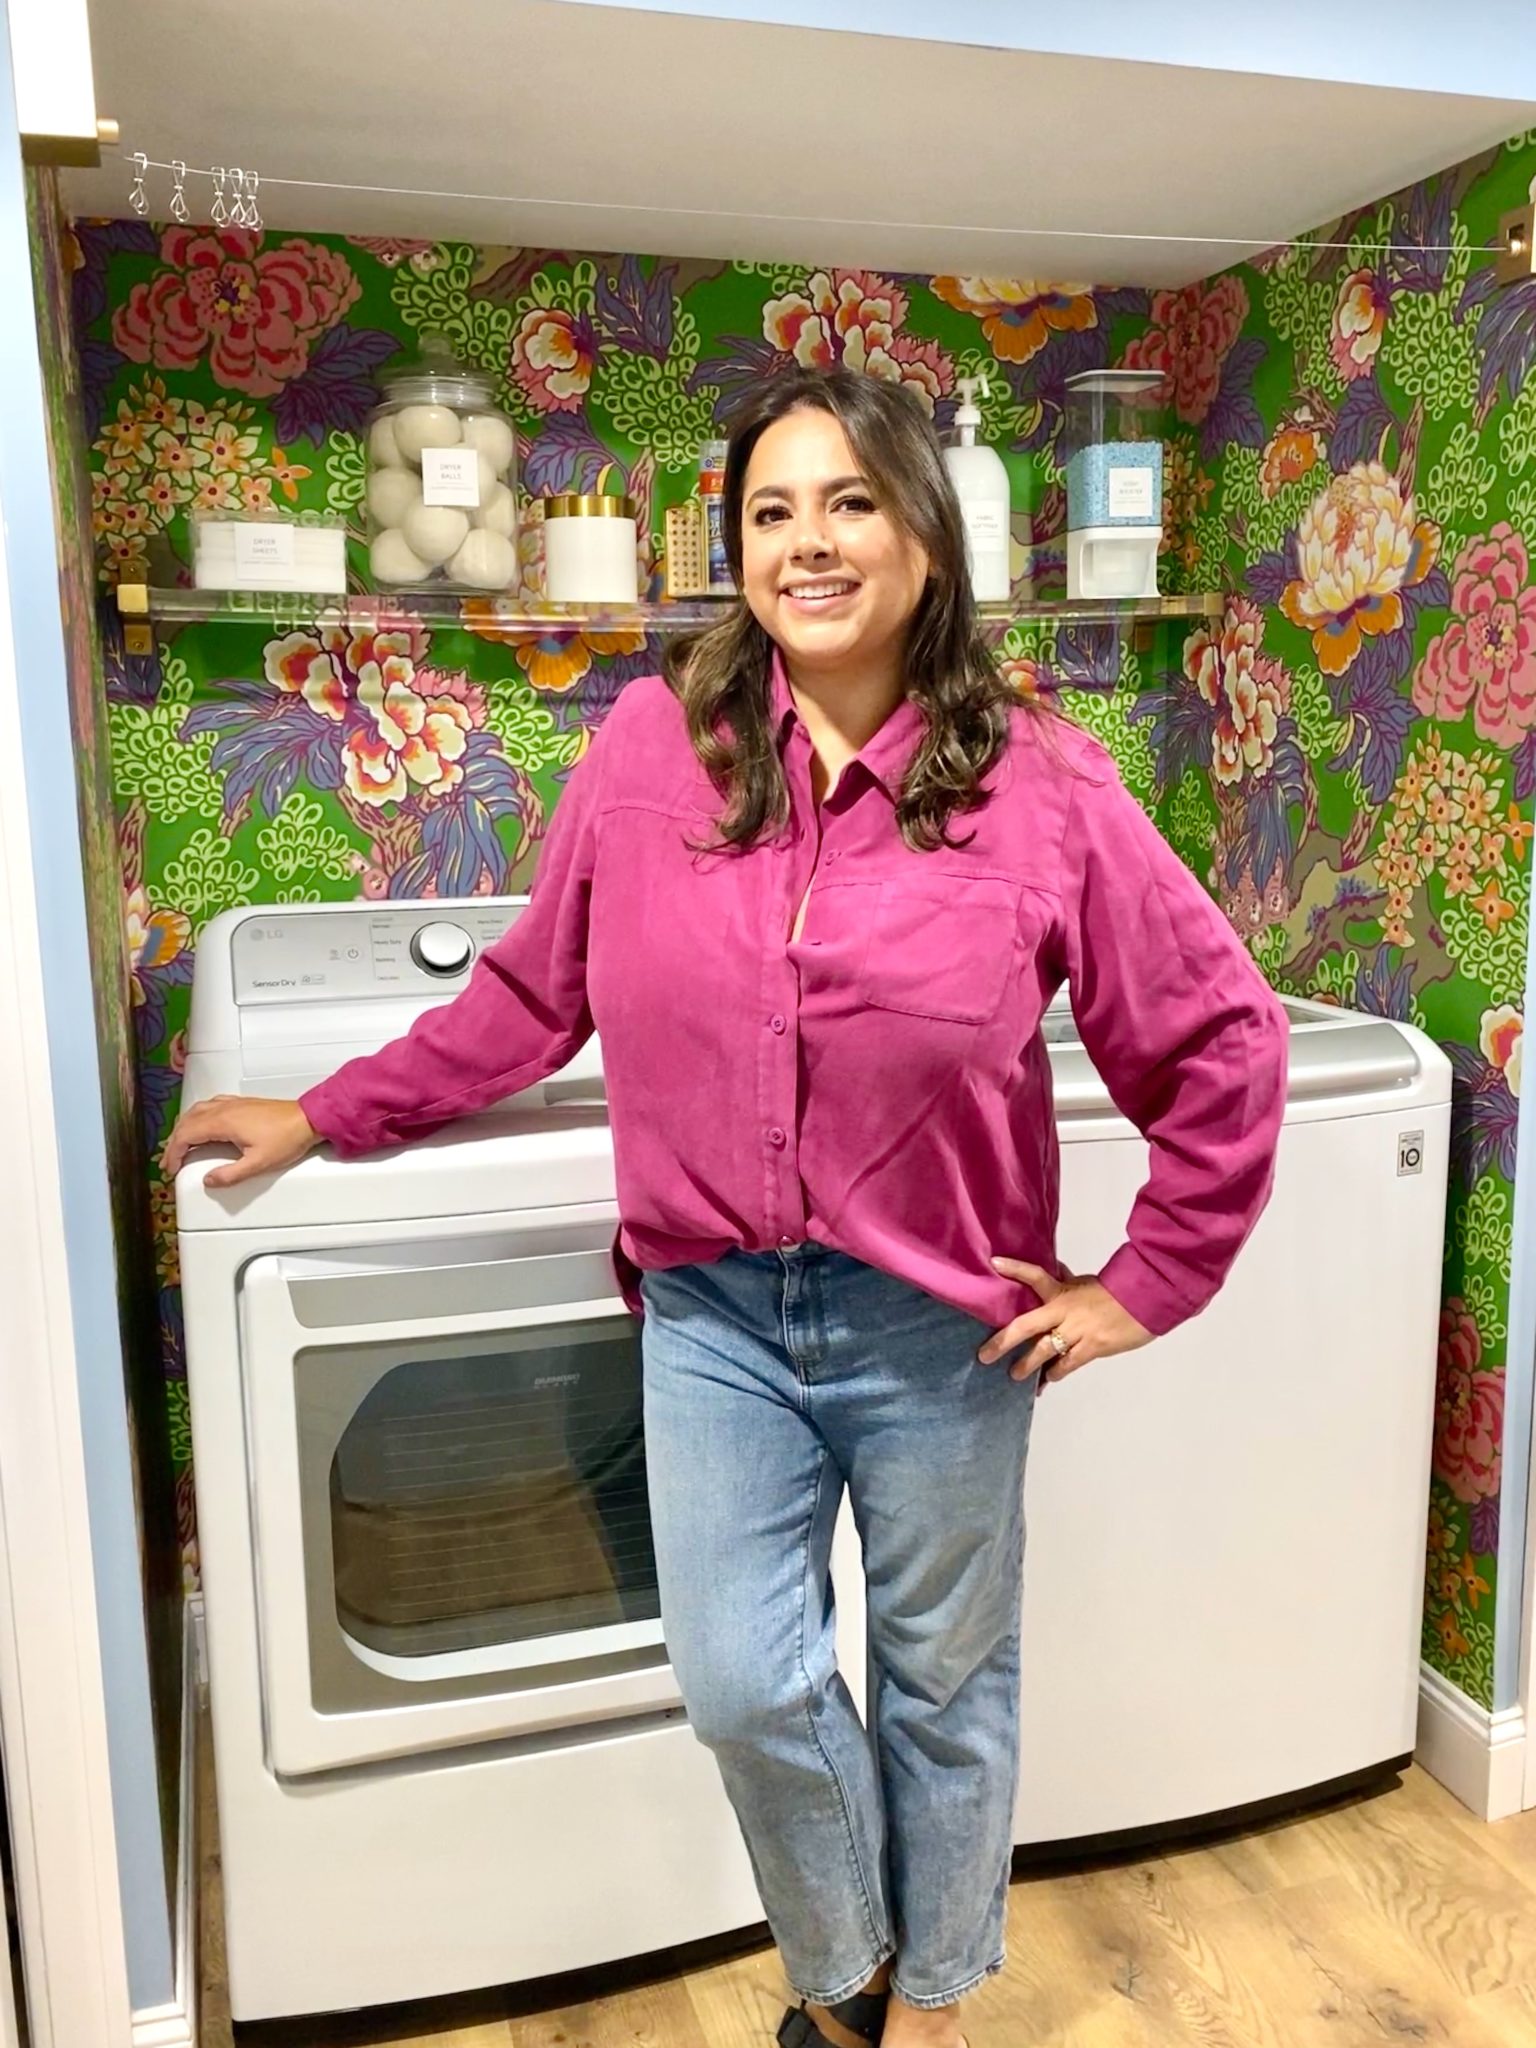
In our new home, the basement was completely unfinished. It was literally one of those dark spaces that you see in horror movies and are terrified of getting locked into. However, with the square footage in this house, I knew I needed to make the basement another workable and liveable floor of the house instead […]
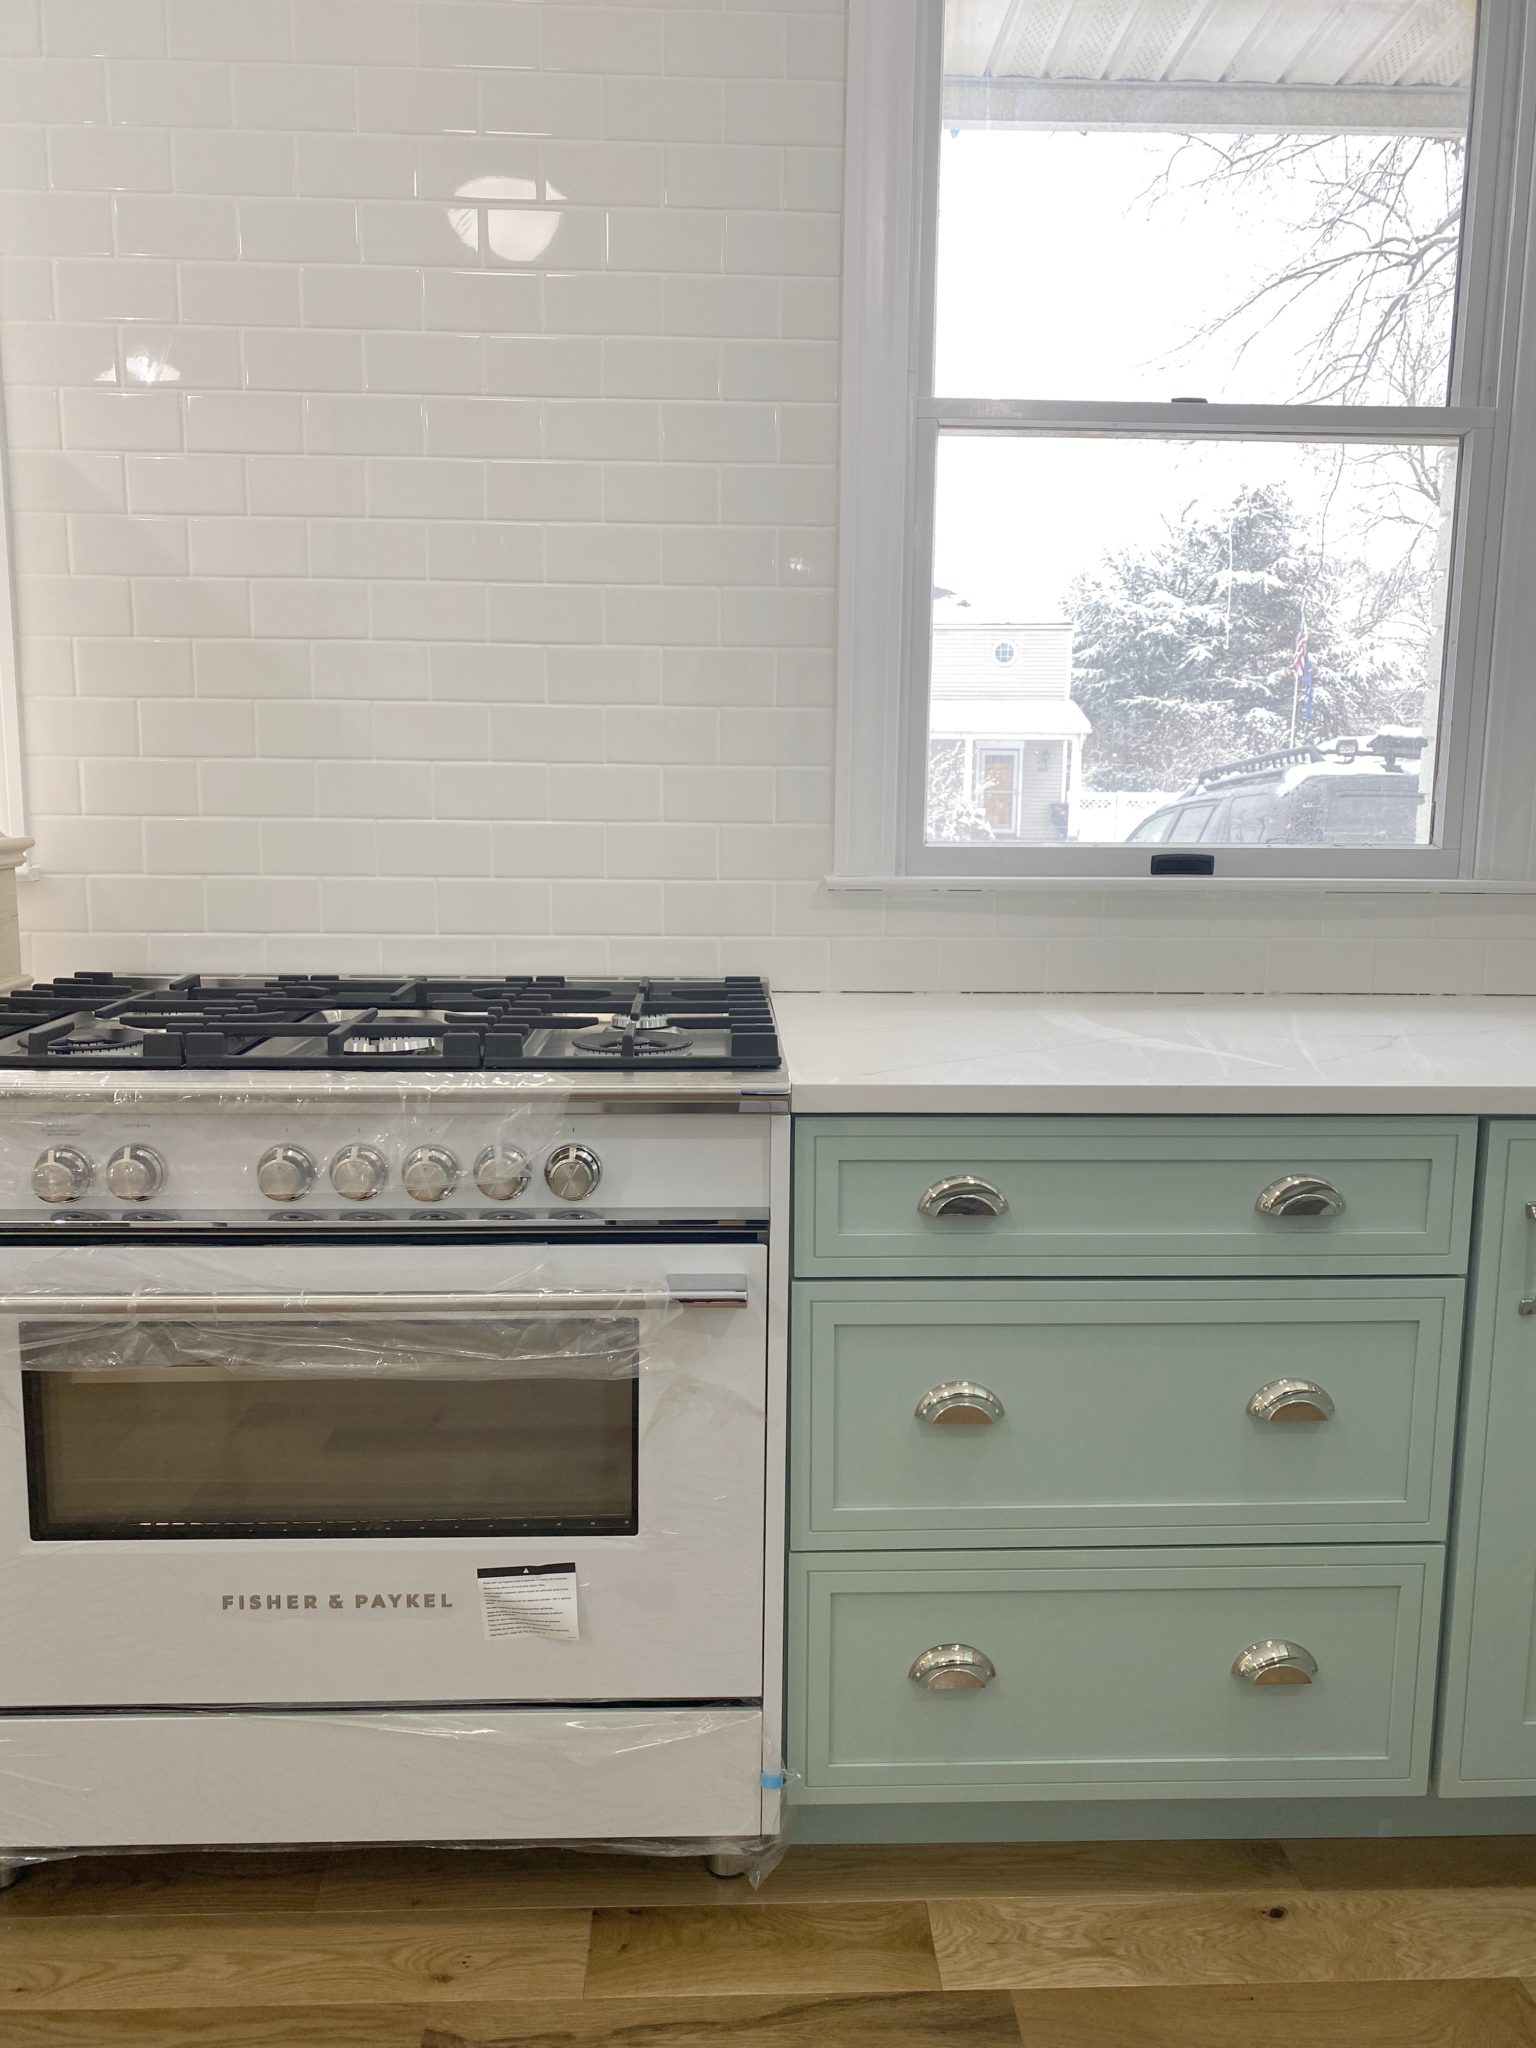
What to look for when it comes to picking out kitchen appliances: Leave room in your budget for appliances. When it comes to kitchen renovations everyone knows that the cabinetry and the labor of demoing and installing cabinetry is going to eat a lot of your budget. However, the second most expensive part of a […]
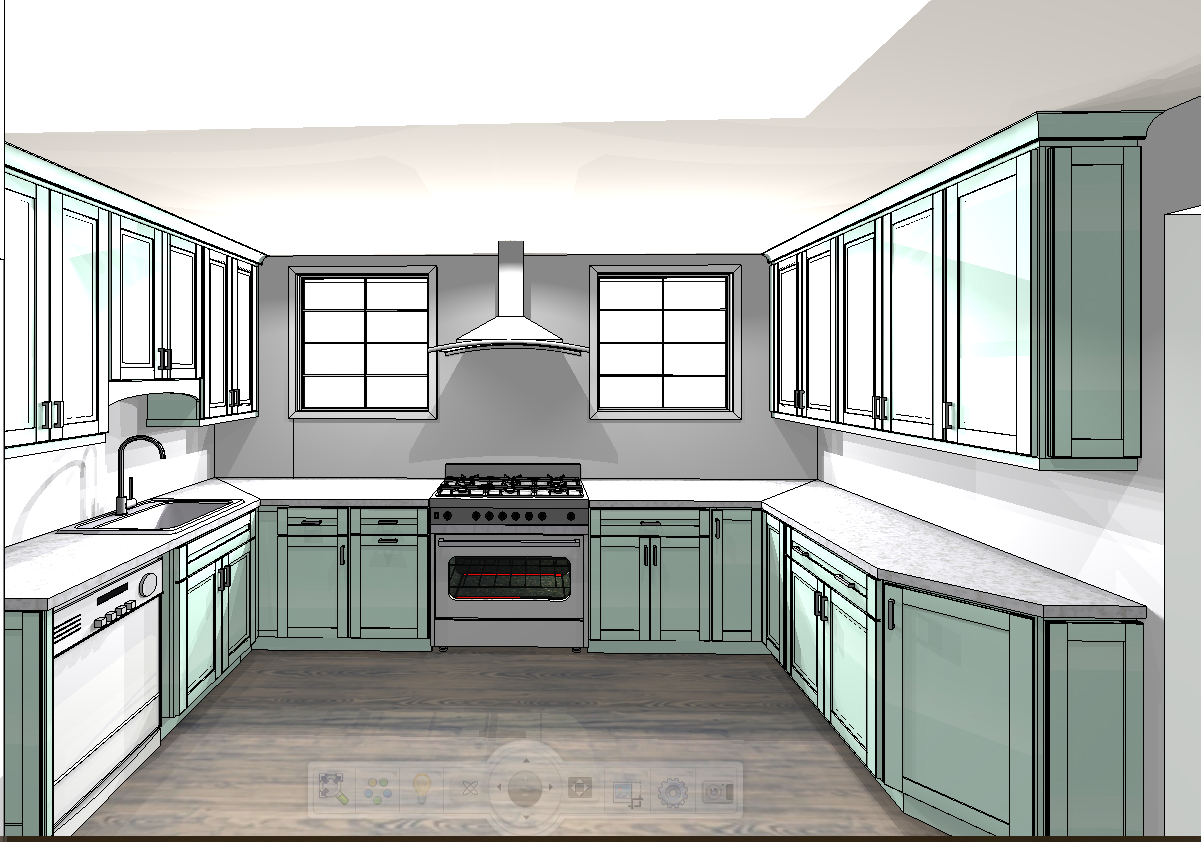
I don’t think I’m alone in thinking that designing a kitchen is an overwhelming undertaking. I’m an interior designer and even I find it stressful to iron out all of those details. So, when it comes time to design a kitchen I always like to partner with a kitchen designer to make sure I’m remembering […]

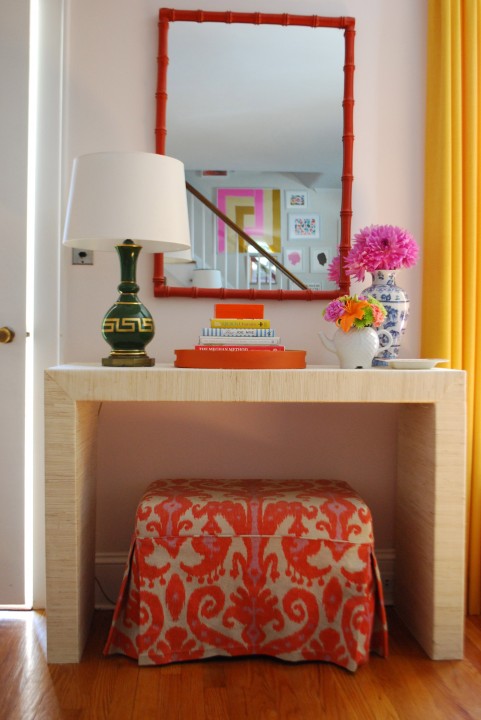

Ok. I have extra grasscloth and I am doing this!!
I’ve been considering doing this to an old console I have and you’ve inspired me! How much grasscloth did this take?
It is absolutely gorgeous! I would be too chicken to try this, but it is off the charts awesome!
That looks so great!!! I wonder if I can rope my dad or BF into building one for me
Love love love this!! I definitely want to try in our house!
This is gorgeous, well done!
I’m obsessed, you are so talented!!
Camila, this table looks absolutely sensational! The crisp corners look so professional. Are you and Jon taking orders?
Worth the wait! Looks really nice!
The grass cloth console table looks fantastic!!! & Looks so professional!!!! WOW!
The console turned out lovely! Great job I saw this on pinterest and clicked over to find out more about that fabulous lamp! Did you make it?
Thanks Naomi! It’s one of my favorites. It was a vintage score from etsy.
That looks great! Impressive.
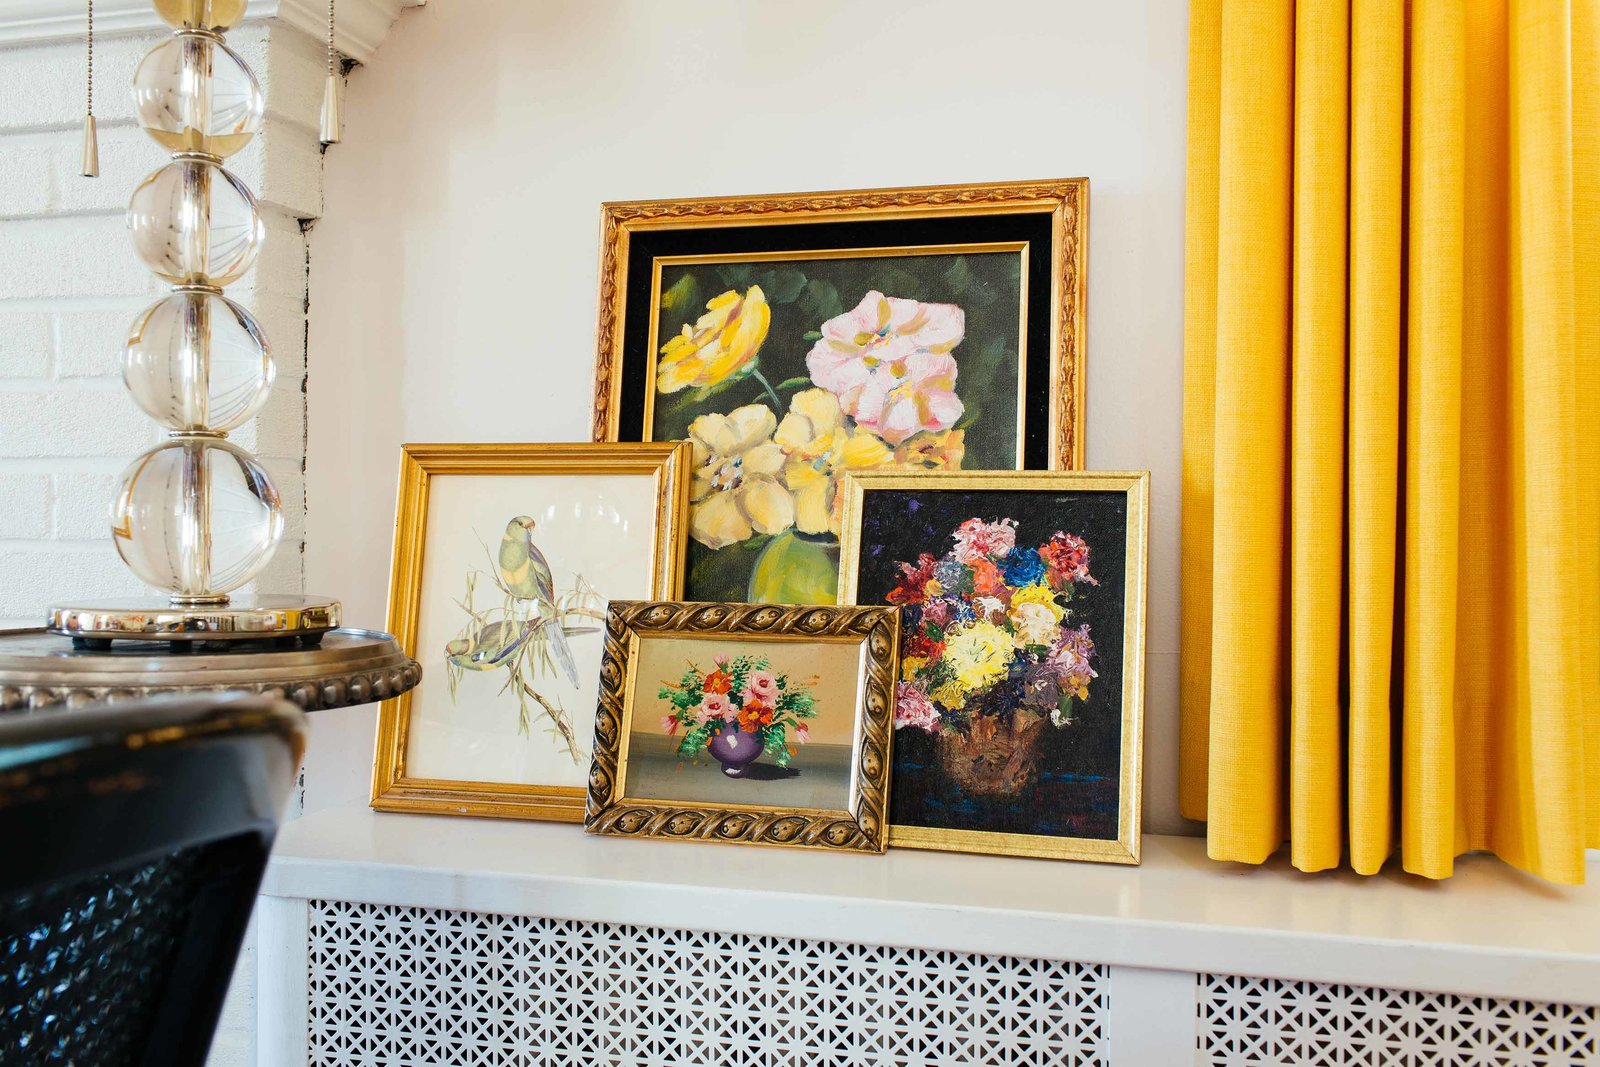
Wow, so much transformation going on here. The grass cloth table looks fantastic. Can you tell me more info on the print/art in the back ground with pink and tan colors? ITs cute!
This is so awesome. It is perfect there! That’s the best part about DIY. I can’t wait to go read your post about the styling too.
This looks spectacular! I always love everything you do–and you’ve styled it to perfection. I’m going to feature this on my blog! Now I’m thinking through my client list on who might be willing to tackle this project. Thanks for sharing!
Abby M.
I love this! thank you for sharing.
xo Nancy
This is gorgeous!! I don’t think I’m talented/patient enough to do it myself, but I LOVE the results!
This is a majorly fabulous DIY!! You are so crafty!
The console looks fantastic! Enjoy!
You made this look SOOOO easy! I’ve seen a few of these same type projects and they are way more complicated! Thanks for posting… I need a skinny so we might be taking the DIY route too!
beautiful! And I am in love with your red bamboo frame.
A piece of glass cut to fit top would also look nice and protect the grasscloth. Just an option!
Thank you for posting this – it was very helpful! I just recovered two old nightstands in grasscloth. It took one double roll and about 10 hours. It was a ton of work, but I love how it turned out. THANK YOU!!
I see I’m late to the game but I love this!!! Timeless style. Can you tell me what grasscloth you used?
It was grasscloth that I ordered thru Steve’s Wallpapers. I couldn’t find the exact one anymore to link it, but they have a bunch of options to pick from.
Hi! Can you please share the size of the table? I’m trying to figure out how many 2x4s I need. I think you are using 13 but I am not sure on the height and I love how yours looks. Thank you!