DIY POM POM BUNNY WREATH
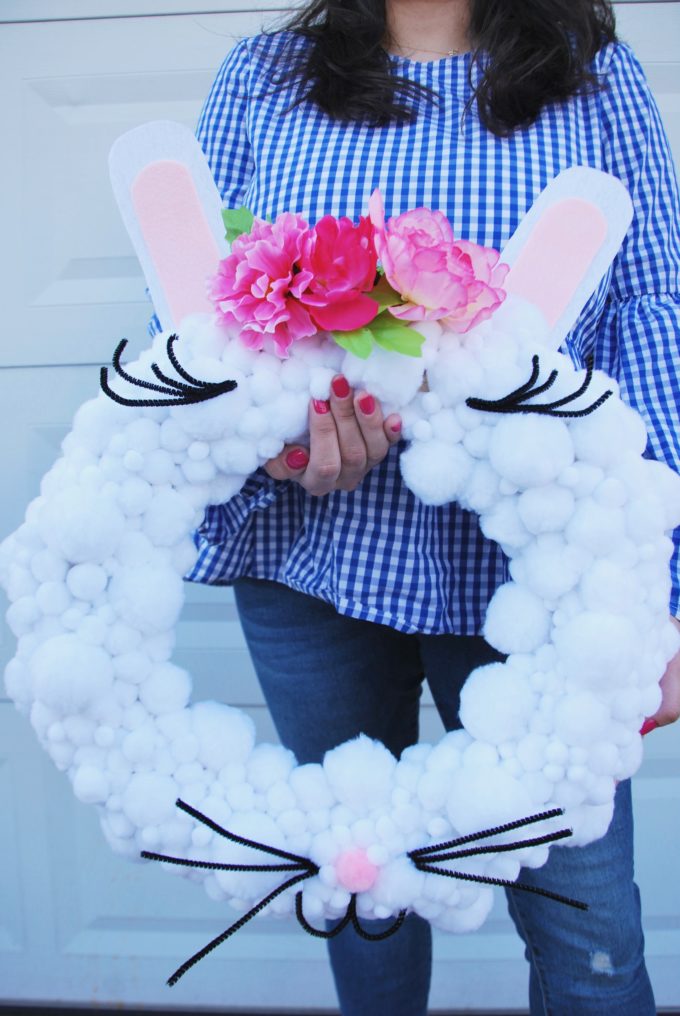
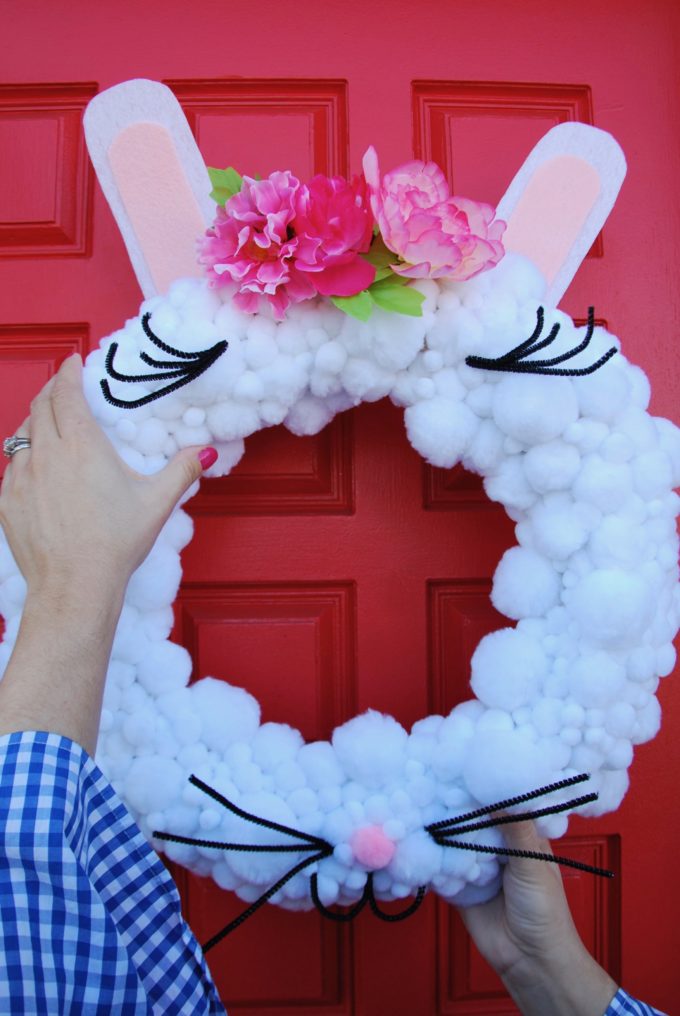
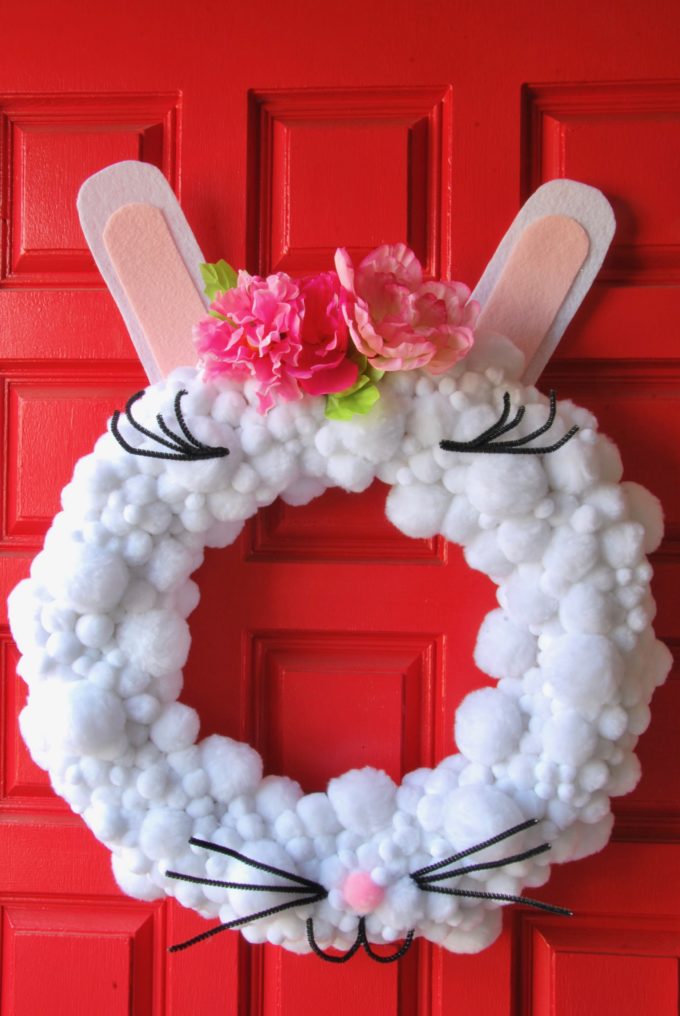
Motherhood has made me completely embrace all holidays! Sure, I always enjoyed decorating for Christmas and even Halloween, but that was really it before kids. Now with the boys they are all about holiday decor! They want to celebrate it all! We decked out the windows for St. Patricks and now since that holiday has come and gone we are on to Easter. Originally I went out to simply buy a wreath and make things easy on myself, but I couldn’t find anything I like. I did end up finding something I was okay with, but it was $75 and that wasn’t going to happen! I started brainstorming with Hudson and we came up with the idea of a bunny with pom poms. I hit up the craft stores and found the perfect items to make a DIY pom pom bunny wreath that come in at around $20! I finished it a couple of days ago and I’m smitten! She is adorable! Yes, the wreath is a girl bunny. It was super easy to tackle and any crafting newbie could make it.
DIY POM POM BUNNY WREATH TUTORIAL
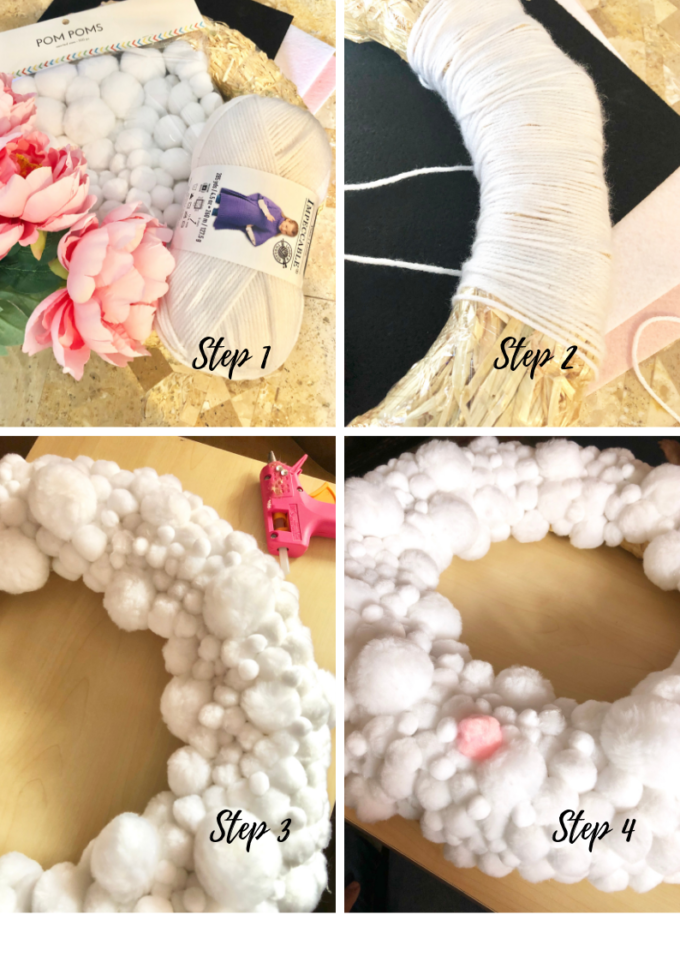
Step 1: Pick up your supplies!
I had the most luck finding the items at AC MOORE.
You will need the following items:
16″ Straw Wreath
Multi-size white pom poms x 2
Black Pipe Cleaners – I already had these at home, but they have packets for $1.
Felt sheets – white and pink. I picked the sturdier felt sheets for $1 each.
White Yarn – optional
Glue Gun/Glue sticks
Faux flowers – I always snag these at Dollar Tree when I’m using them for crafts and not display.
Step 2: This step is optional. I started to wrap the straw wreath in yarn so that I would have a white base and that I wouldn’t have any issues using the glue gun on the plastic wrapped wreath. I only lasted doing this for a little bit, because it was taking forever and hurting my arm with all of the wrapping. So, I stopped and it worked perfectly without it and I used so many pom poms that all of the straw was covered anyway. You could get away with less pom poms if you like, but I was more than happy to purchase an extra bag and save the time.
Step 3: Glue away. I did this while I watched a movie with the boys. It was very easy. Just glue, pom pom, glue, pom pom. The bag had 4 different sizes of pom poms and just mixed them up.
Step 4: Add a cute little pink pom pom for a nose.
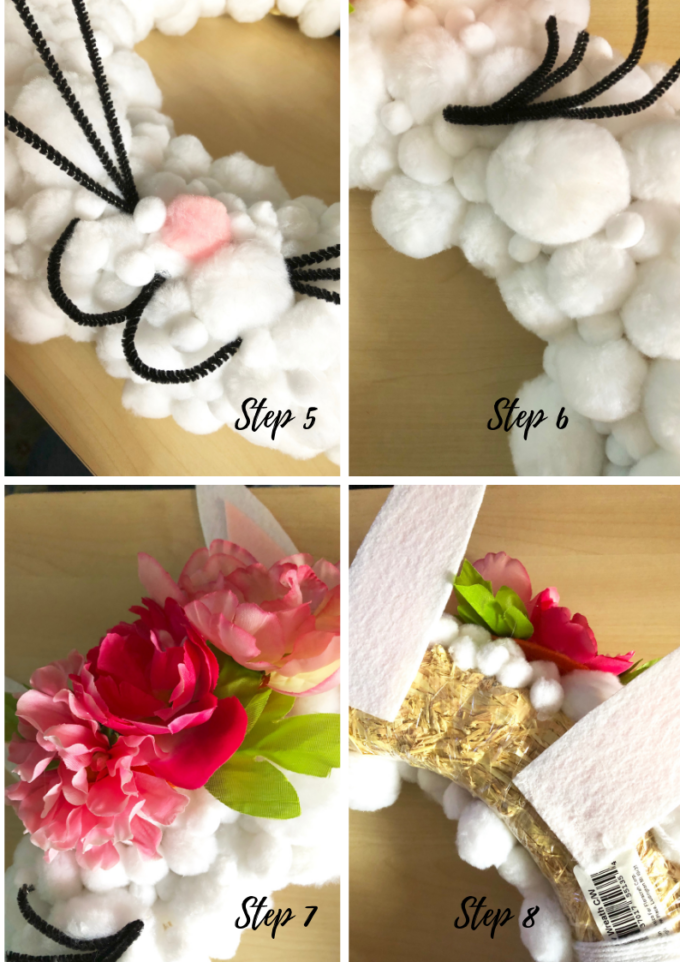
Step 5: Cut three pipe cleaners in half and glue in the bunny’s whiskers. The cut down one pipe cleaner and make her little nose/mouth area.
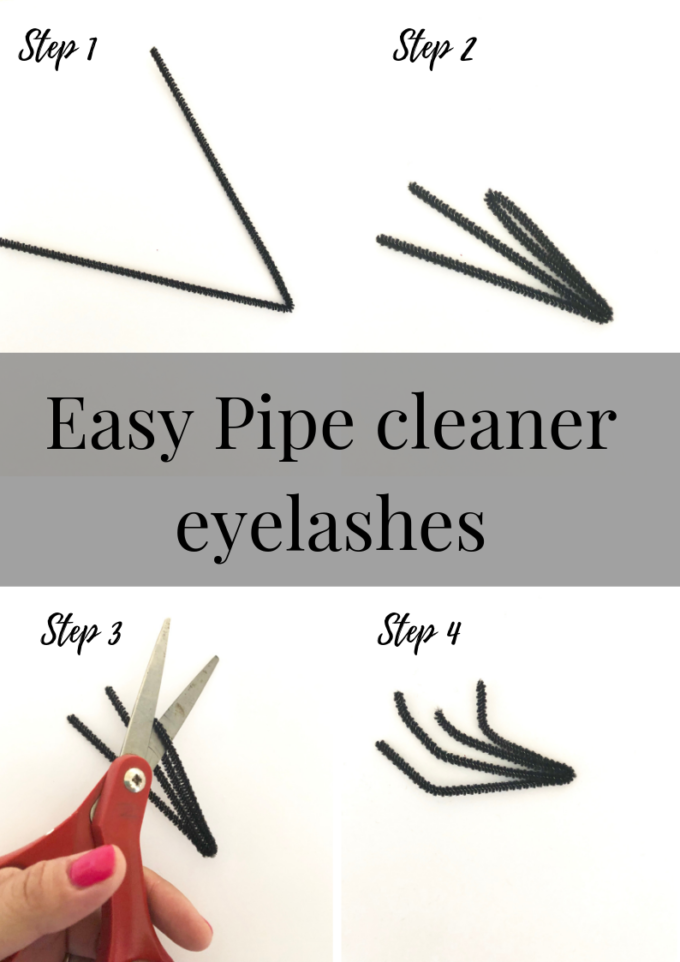
Step 6: Since my bunny was a little lady I wanted some eyelashes on her! It was really simple to make them pipe cleaners as well.
Step 7: Glue on your floral crown. I went 3 flowers and glue them onto a piece of felt first and then attached that with glue to the wreath.
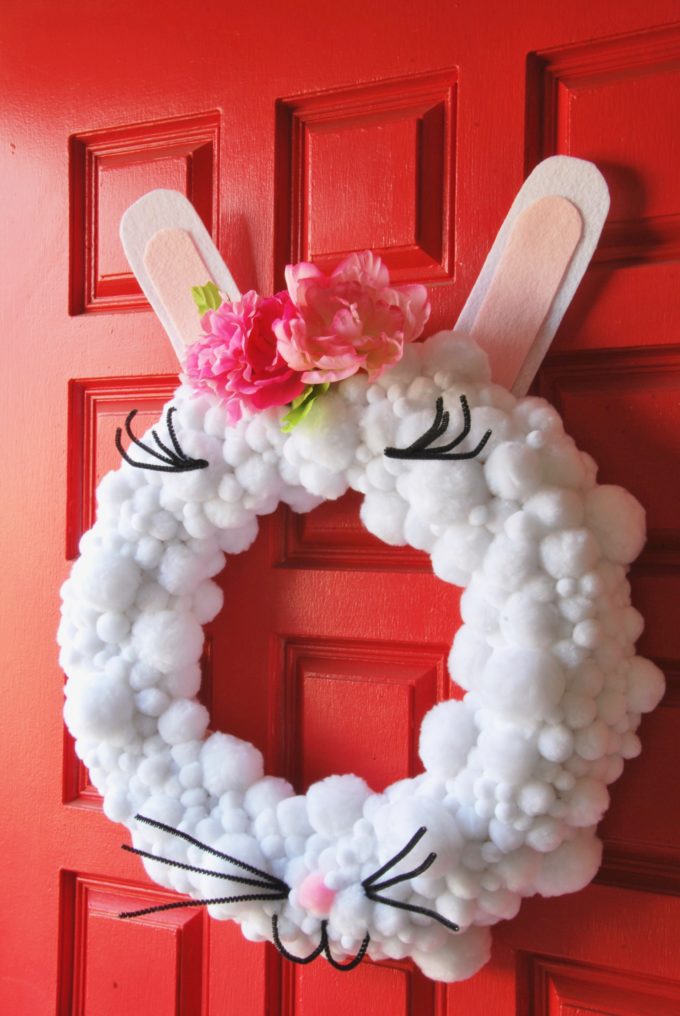
Step 8: Cut your white and pink felt in bunny ear shapes. Glue together and then flip over your wreath and glue the ears to the back. Gluing them in the back helps keep them up.
That’s it! Then you are ready to admire your super cute work and hang your wreath! I simply wrapped a little bit of clear fishing wire around it and knotted it and then used that to hang it on a nail.
I’m one proud crafty momma! Like I want to sign my name on it so, everyone knows who made it!
Are you up for the craft? I would totally host a girls night in with friends and have everyone make one!
Related
Leave a Reply Cancel reply
get inspired with our own home tour
ON THE BLOG
My living room is one of the rooms that evolved drastically from when we first moved one. Originally I painted the walls chocolate brown and did accents of white, blue and orange. That lasted maybe 2 years.
Our dining room sat empty for months. Okay maybe it was empty for just a handful of weeks and then we couldn’t take it anymore and put in a folding table and plastic outdoor chairs, but in my mind that was still empty.
On the main floor of our house we have a Florida room. Being that it’s a Florida room it is a considered a 3 season room, because there is no heat in the room. The previous owners used it as an indoor patio with outdoor furniture and it looked like this when we moved in.
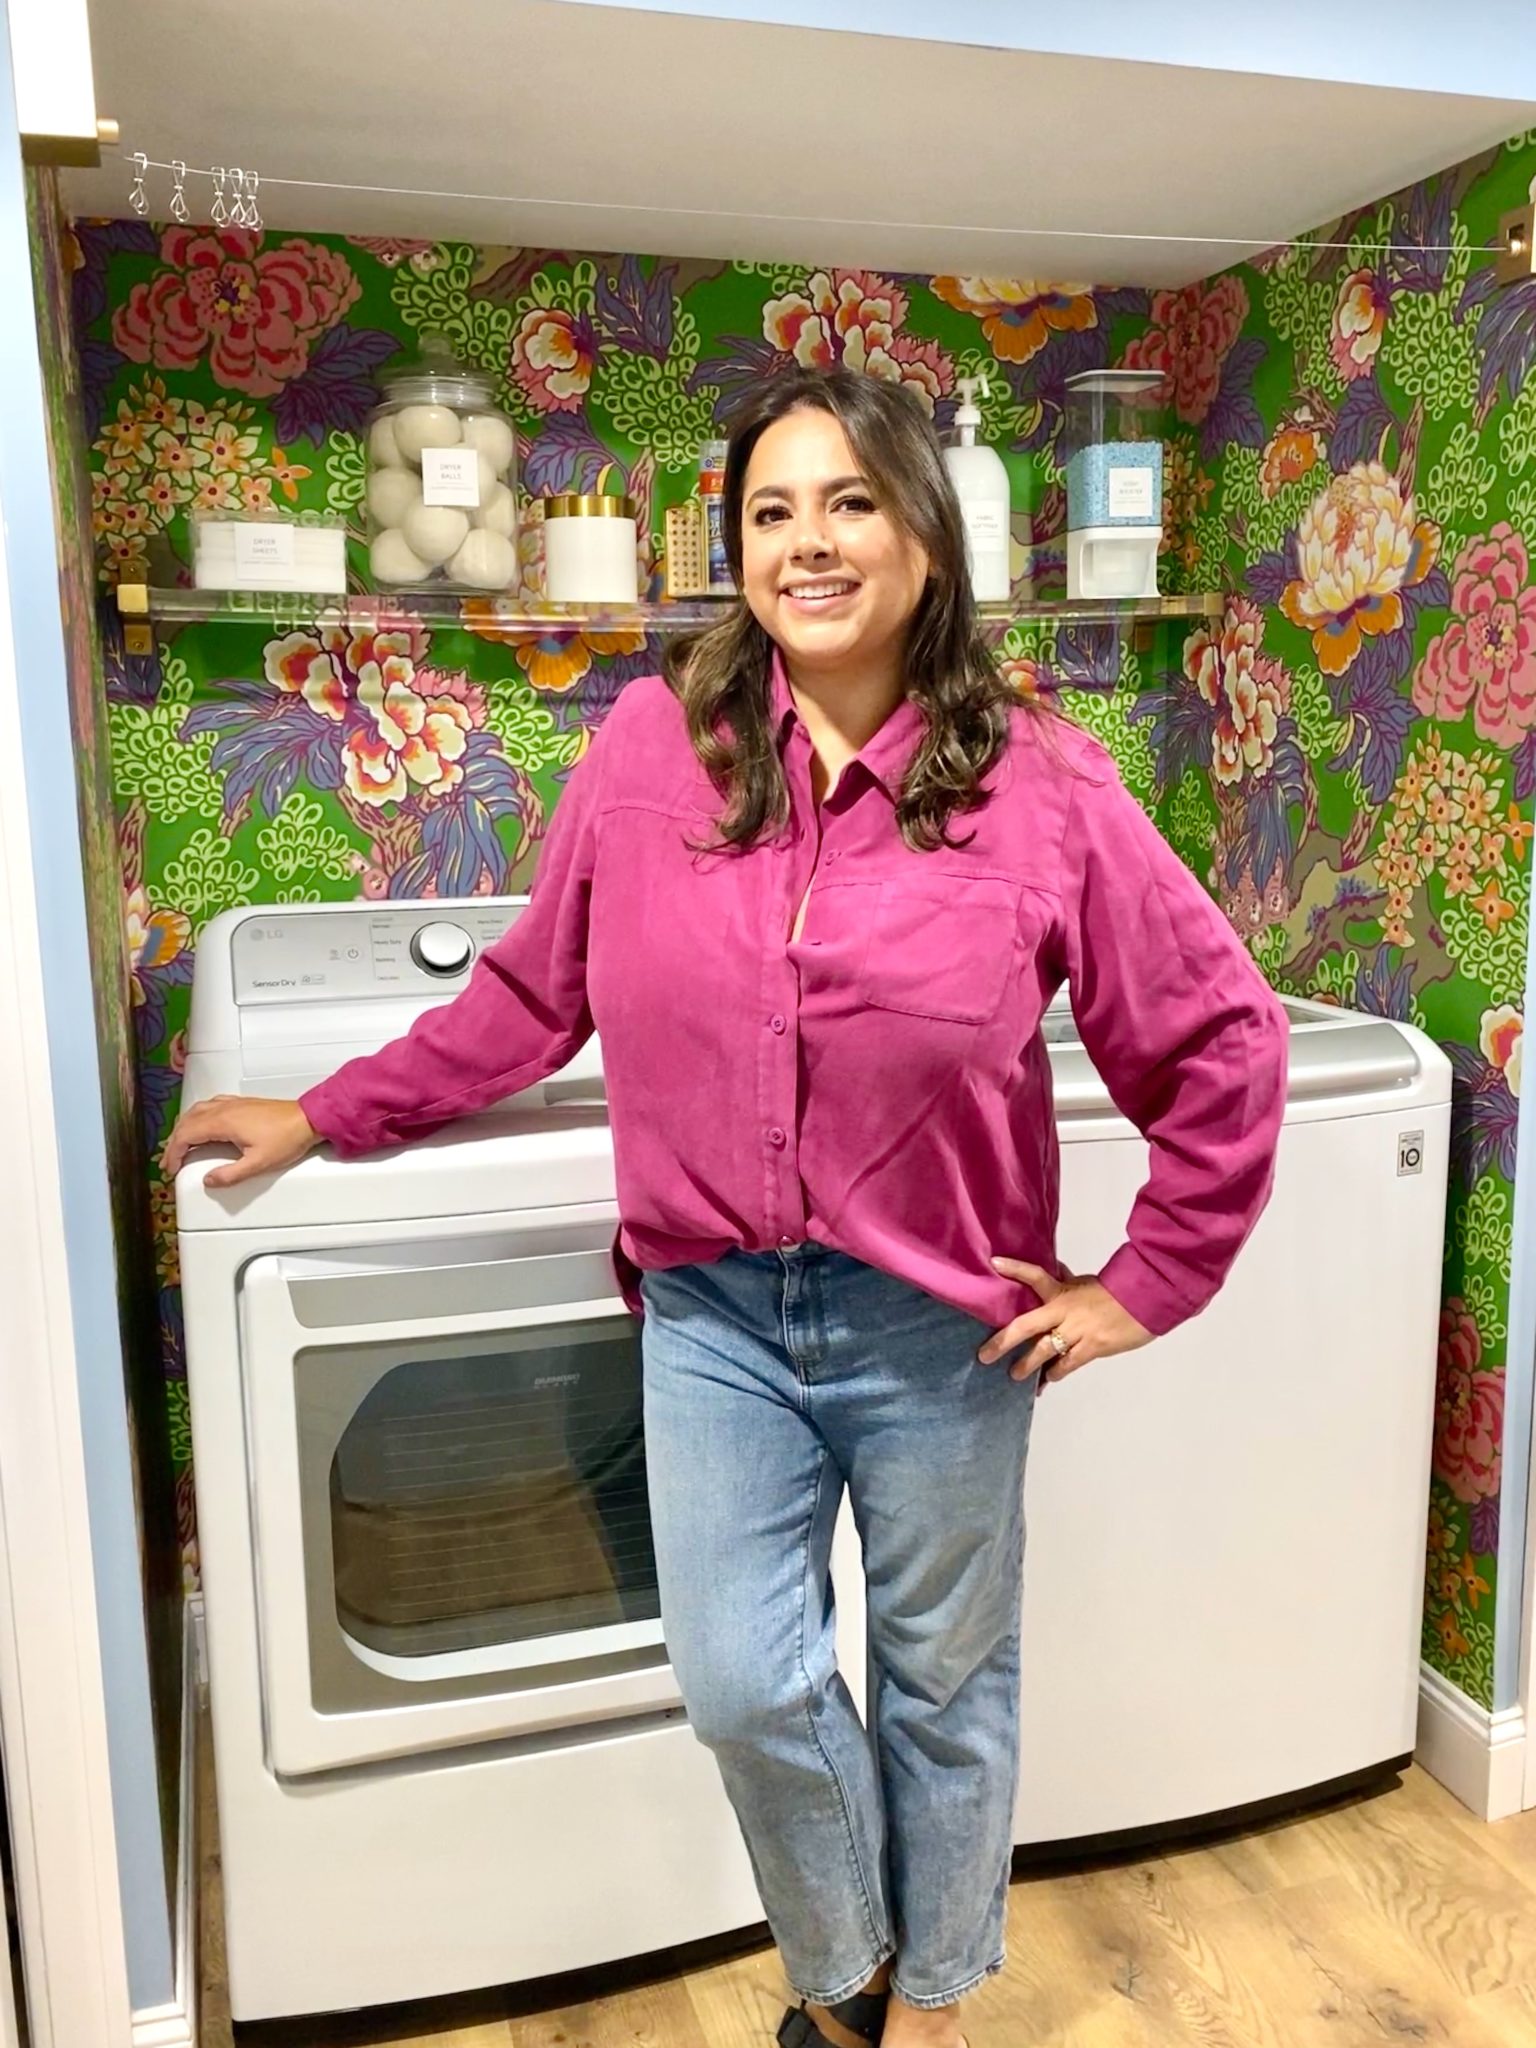
In our new home, the basement was completely unfinished. It was literally one of those dark spaces that you see in horror movies and are terrified of getting locked into. However, with the square footage in this house, I knew I needed to make the basement another workable and liveable floor of the house instead […]
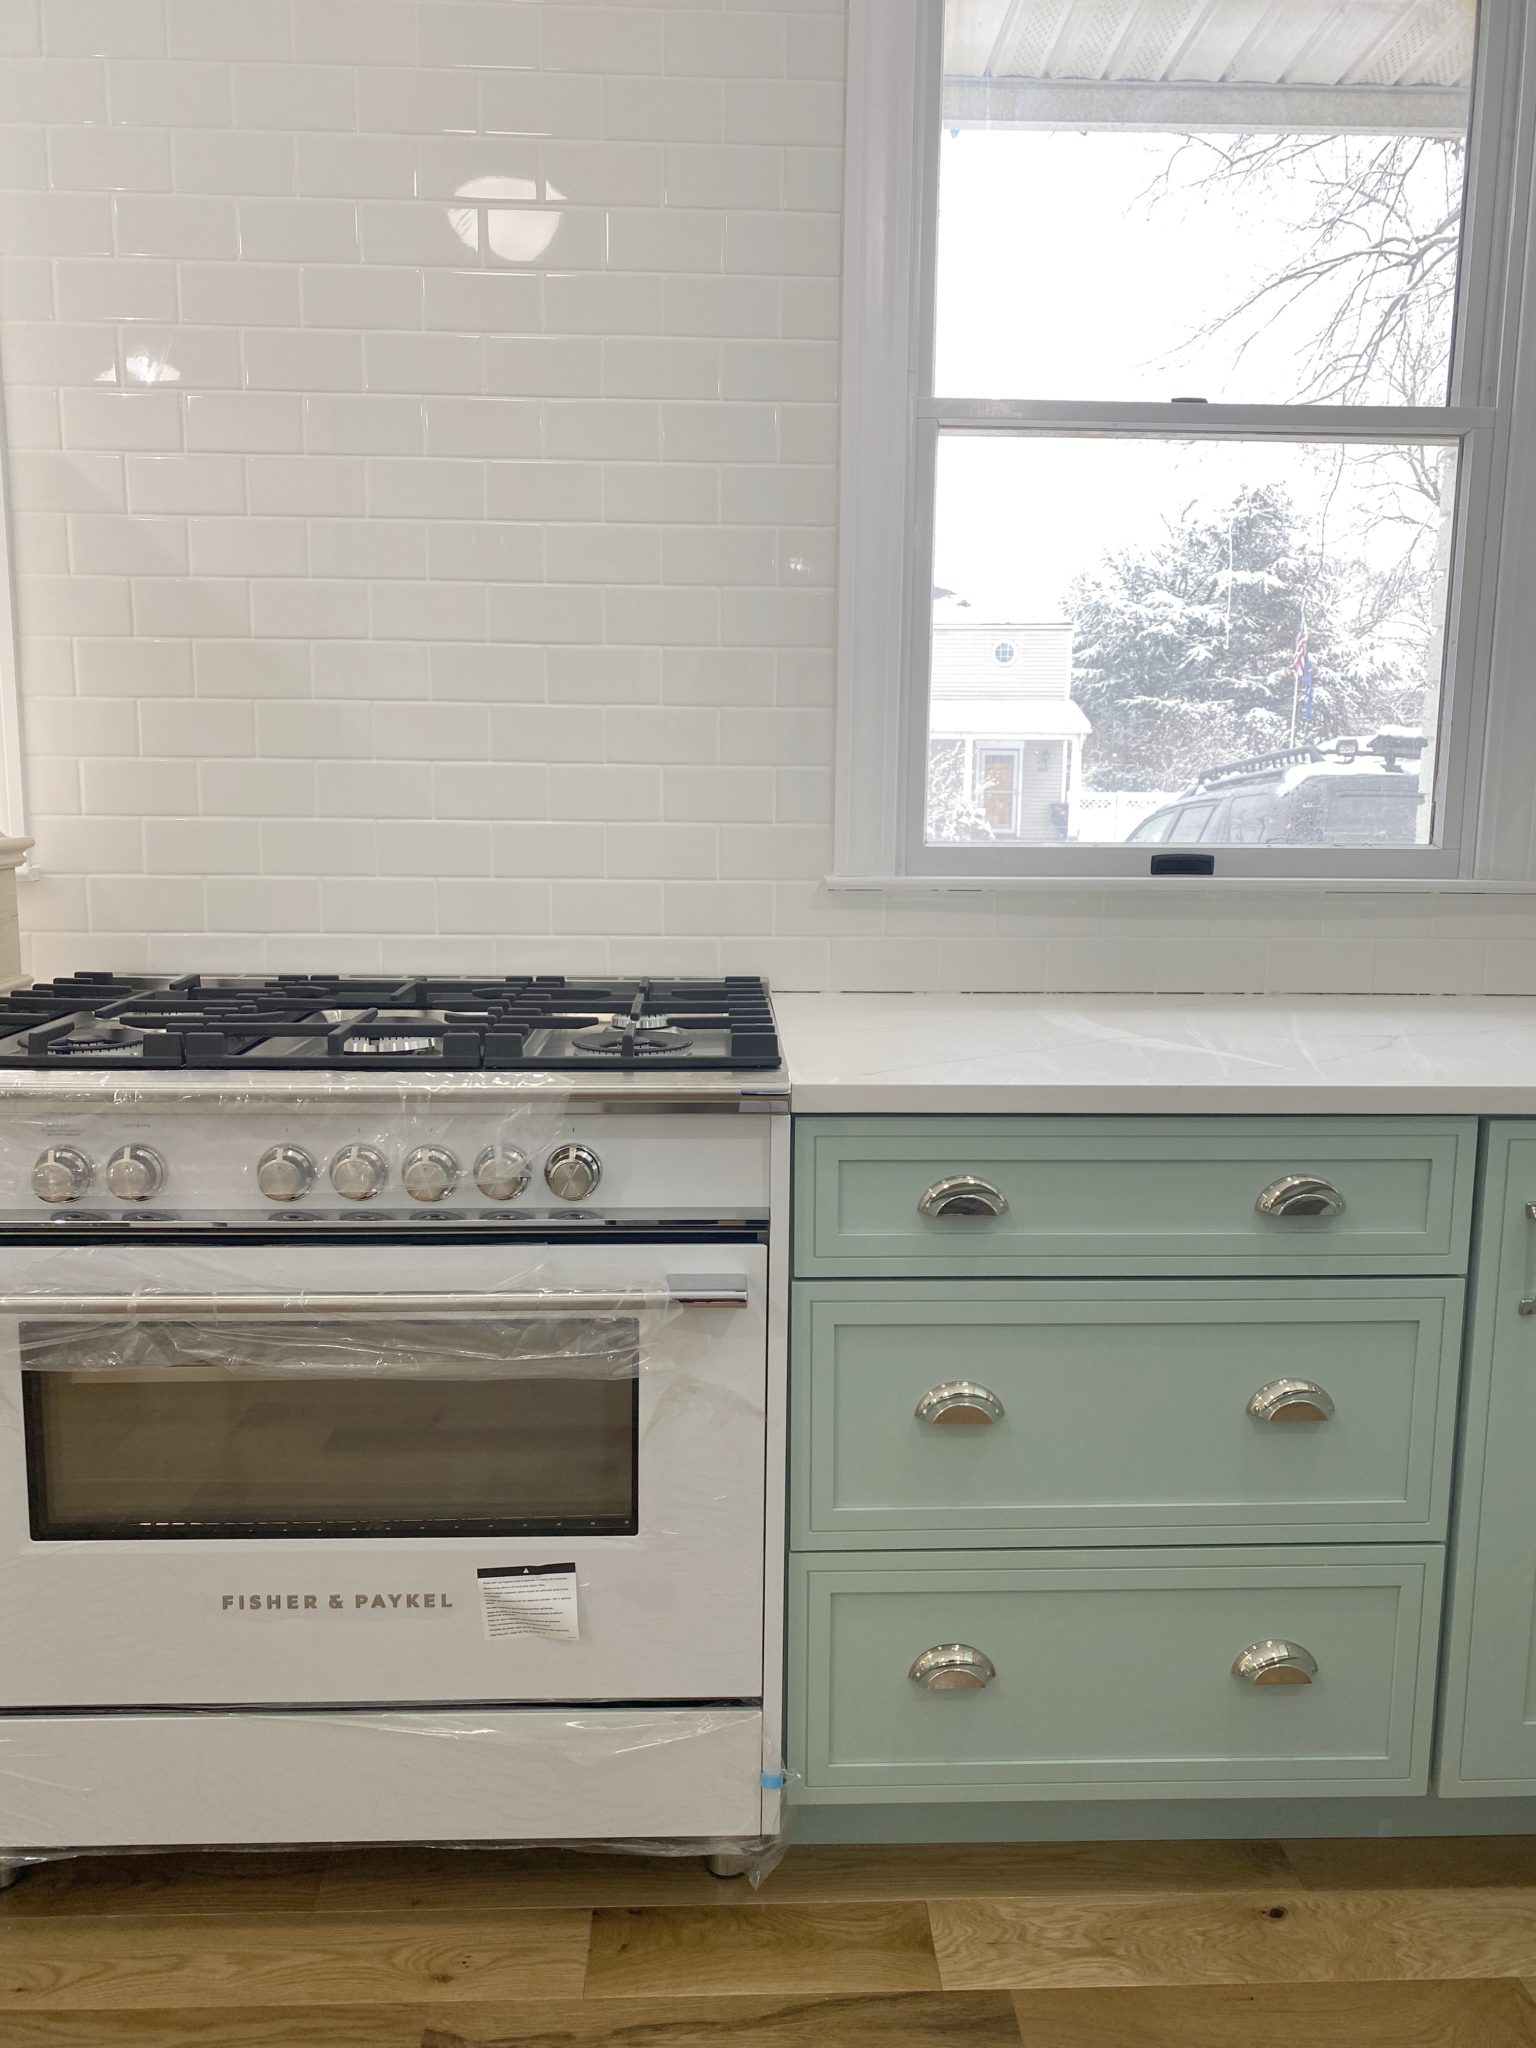
What to look for when it comes to picking out kitchen appliances: Leave room in your budget for appliances. When it comes to kitchen renovations everyone knows that the cabinetry and the labor of demoing and installing cabinetry is going to eat a lot of your budget. However, the second most expensive part of a […]
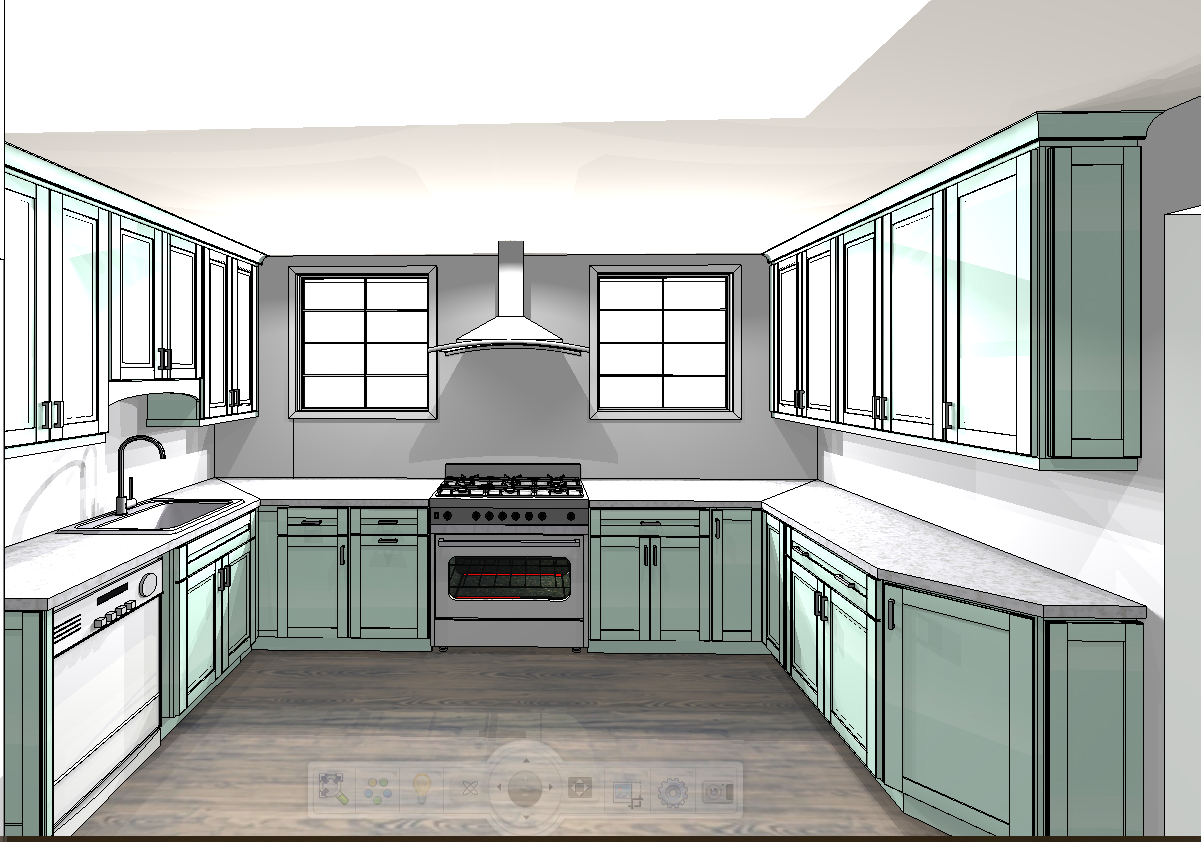
I don’t think I’m alone in thinking that designing a kitchen is an overwhelming undertaking. I’m an interior designer and even I find it stressful to iron out all of those details. So, when it comes time to design a kitchen I always like to partner with a kitchen designer to make sure I’m remembering […]
