
X marks the spot
Leave a Reply
get inspired with our own home tour
ON THE BLOG
My living room is one of the rooms that evolved drastically from when we first moved one. Originally I painted the walls chocolate brown and did accents of white, blue and orange. That lasted maybe 2 years.
Our dining room sat empty for months. Okay maybe it was empty for just a handful of weeks and then we couldn’t take it anymore and put in a folding table and plastic outdoor chairs, but in my mind that was still empty.
On the main floor of our house we have a Florida room. Being that it’s a Florida room it is a considered a 3 season room, because there is no heat in the room. The previous owners used it as an indoor patio with outdoor furniture and it looked like this when we moved in.
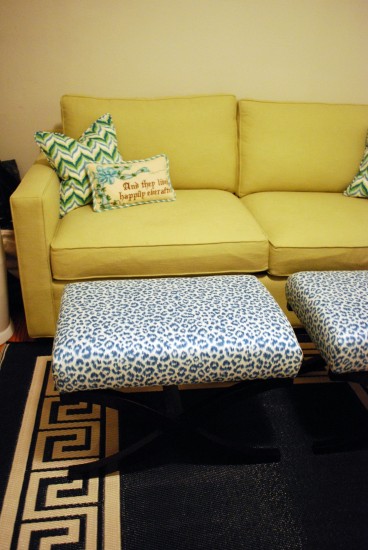

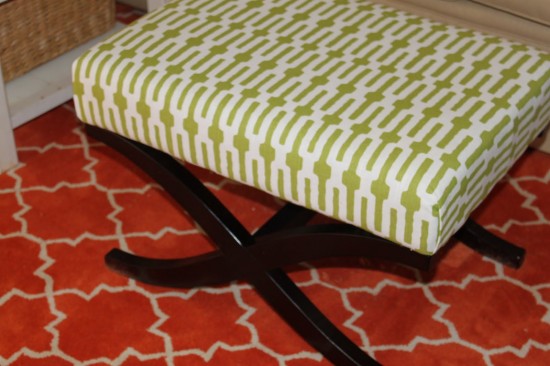
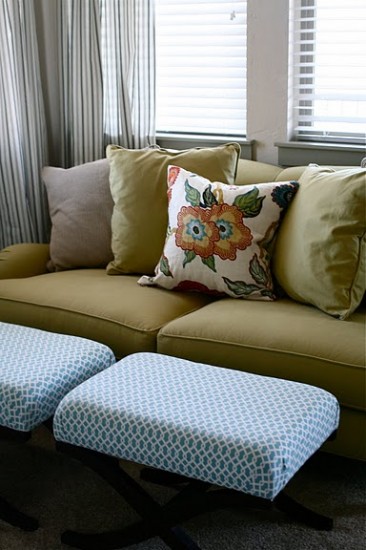
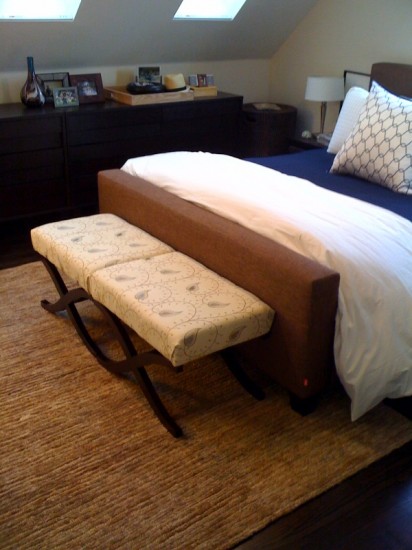
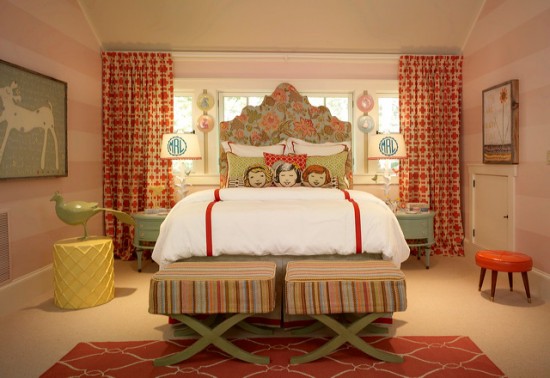


Lovely designs. I really love that last photo. Not just the benches but the entire room just looks like so much fun!
Happy Friday!
I love Serena & Lily’s X Bench. To die for!
I love the look of the slipcovered pair. I have a single, full-upholstered x-bench (purchased on Ebay for $13!) that’s desperate for a new print…it’s a little “Golden Girls” right now. This beautiful round-up is inspiring to get moving on my x-bench!
Great idea for personalization. I’ve been looking for an idea for new “coffee table’s”. FYI Courtney of Courtney Out Loud is a male.
Thanks for the FYI! Feel horrible about that. Just went in and fixed it! Thank you, thank you, thank you.
Thanks for the shout out! And no worries about the pronoun issue. It happens all the time But I do love this bench and will probably be using it in another design I am working on. it’s the perfect price point!!!
Thanks for understanding Courtney. I was blogging at like midnight getting my post ready for this morning and I had a horrible oops!
Love it all!! Where did you find your flame stitch fabric? I have had a sample for ages and now that I want to use it it seems to be sold out everywhere!!
I have those very benches sitting in my house… I’m just waiting to find the perfect fabric to re-upholster them! I had seen Caitlin’s project, but none of the others. Great tip about adding a layer batting.
This looks so chic – and simple to make! Thanks for sharing – these will be perfect in my living room :>)
happy friday!
this is great and I am DEF going to do. this is good for extra seating!
also, I need to back and look at the rug source if you posted..it may be the one I have! indoor/outdoor from frontgate? my mom suprised me with it and i kinda love it..a
The rug is from fab habitat and really shiny and totally outdoor material aka all plastic. We don’t love so it’s getting swapped out, but we loved the pattern/color so we wanted to lay it out and see how it looked.
Oh, I was wondering if those were the same benches as in the other posts – I had seen those DIYs and went and purchased the kmart stools, but the seats of yours looked so much less chunky and sleeker. I was surprised to hear you added even more padding to it since they looked less thick. They look awesome! What was the reason for the extra batting?
The original stools have some tufting to them. I didn’t want to simply cover them with fabric and then have people be able to feel the buttons through the fabric or have the fabric be loose after people handled them and the fabric settled so I use a little bit of batting first to get a nice smooth service and then stapled it with the fabric. Really easy.
I’ve also done a version where I’ve re done the whole piece with new tufting and it’s easy, but takes a lot more time.
Ah, makes sense! So smart! Well they look awesome, I hope I can get mine to turn out as cute as yours
What a terrific and flexible piece…I am passing this along to a couple of clients! Thanks!
Cathy
I love this look! I suggested it for an e-design client and I really hope she does it. Such an easy DIY with a ton of style.
great DIY! can i ask about the quality of the original stools? did you cover them because you wanted a different pattern or because they looked cheap or bad originally? thanks!
Quality is okay, but I didn’t love the animal print. Shocking I know, because I normally love animal print, but it’s a little furry and I little on the dare I say it…trashy side so I recover them all the time. I actually recovered a set over in a new animal print with very similar coloring to the original, but it wasn’t furry and the animal print spots were further apart, which I really love so I’m happy I did it.
i loooove these! especially the last one with the little slipcovers, i’m always worried about swapping out my coffee table for ottomans, but with a slipcover i wouldn’t feel so bad putting my feet on it or resting a plate on them
This is a wonderful idea! I’ll have to remember this next time I see something like this! Covering would be so much easier than completely removing the original fabric and changing it out.
<3
Making a slipcover is a great solution. I’m much better with a staple gun than the sew machine so I totally recovered it.
You, my lady know how to send ones blog visits thru the roof!! Thanks so much for featuring the girls room I designed. And, I’m not sure if you could tell, but I actually made the slipcovers out of a Dash and Albert cotton rug !! The remaining rug remnant was then made into a roman shade for the adjoining bath. I’m a big fan of your blog–been following it for a long time!
I made one too and love it! It’s here: http://monogrammedsuitcase.blogspot.com/2011/02/to-show-updated-home-tour.html. I haven’t gotten around to tufting it yet (if ever), but 33 Shades of Green had a great tutorial for that part: http://33shadesofgreen.blogspot.com/2010/11/recovering-ottoman.html
How creative you all are. And what a versatile p iece that it can have so many successful incarnations!
Thanks! I was just eyeing an identical looking one at Target for 79.99- now I can get two!
I love these benches and wrote about it on our blog as well (http://www.onlinefabricstore.net/blog/) My favorite are the wovens one from Pottery Barn. They are a nice change from the standard bench at the foot of the bed or ottoman coffee table.
Camila – Nice project! Love your choice of fabrics! I could see it as a great solution for me.
We have no coffee table because the kids like the open space in the living room. BUT, I bet these are really lightweight to just pick up and move! And when I want to have a proper party, I can have my coffee tables!
Loretta
p.s. two giveaways on my site – please stop by!
Wow all of these look great!This has made me want to cover ours. Look forward this week looking for fabric! What a great idea and great transformation on these .
I love the idea of slipcovering them!